
1. Introduction
Thank you for choosing the SOOPYK Automatic Bottleless Water and Ice Dispenser. This appliance is designed to provide convenient access to cold water and ice directly from your water line. It features automatic ice making, a 2-in-1 design for both ice and water dispensing, and intuitive touch screen controls. This manual provides essential information for the safe and efficient operation of your new dispenser.

Figure 1.1: The SOOPYK Automatic Bottleless Water and Ice Dispenser, shown with included accessories like the water line, connector, and ice scoop.
2. Important Safety Information
Please read all instructions carefully before using the appliance. Keep this manual for future reference.
- Upon receiving the water dispenser, keep the machine upright for at least 24 hours before its first use. This allows refrigerants to settle properly.
- This appliance is designed for cold water and room temperature water dispensing only. It does not provide hot water.
- The ice maker function produces ice cubes and stores them in an internal bin. It does not keep ice frozen indefinitely; ice will melt over time and be re-made.
- This unit is bottleless and requires a direct connection to a water line. It is not suitable for 5-gallon water bottles and cannot be filled manually.
- This dispenser does not include or require internal filters. Ensure your water source is potable.
- Always ensure the appliance is placed on a stable, level surface.
- Do not operate the appliance with a damaged power cord or plug.
3. Package Contents
Verify that all items are present in the package:
- SOOPYK Automatic Bottleless Water and Ice Dispenser
- Water Line (approximately 118 inches)
- Teflon Tape
- Water Line Connector (Switch Faucet)
- User Manual (this document)

Figure 3.1: Rear view of the dispenser showing the power cord, outlet line, and inlet line connections, along with the included water line, connector, and teflon tape.
4. Setup
- Placement: Place the dispenser on a stable, level countertop surface, ensuring adequate ventilation around the unit.
- Initial Standby: After unpacking, allow the unit to stand upright for 24 hours before plugging it in. This is crucial for the compressor's longevity.
- Water Line Connection:
- Locate a potable water source with a standard water line connection.
- Use the provided teflon tape on the threads of your water source connection.
- Connect the included water line to the water source using the provided water line connector (switch faucet).
- Connect the other end of the water line to the 'Inlet Line' port at the back of the dispenser. Ensure all connections are secure to prevent leaks.

Figure 4.1: Diagram illustrating the connection of the water line from a faucet to the dispenser's inlet.
- Power Connection: Once the water line is securely connected and the 24-hour standby period is complete, plug the power cord into a grounded electrical outlet. The power indicator light will illuminate.
5. Operating Instructions
The dispenser features an intuitive touch screen control panel for all functions.

Figure 5.1: Close-up of the touch screen control panel, showing indicator lights and function buttons.
Control Panel Overview:
- Power Button (⑂): Turns the unit on/off.
- Ice Indicator (🧊): Indicates ice making status.
- Cold Water Indicator (💧): Indicates cold water cooling status.
- Add Water Indicator (🧴): Illuminates if there is an issue with water supply (e.g., low pressure, no connection).
- Water Cooling Button (💧 with circle): Press to activate/deactivate cold water cooling. Indicator blinks while cooling, stays solid when ready.
- Make Ice Button (🧊 with circle): Press to activate/deactivate ice making. Indicator blinks while making ice, stays solid when ice bin is full.
- Ice Fill Button (🧊 with arrow): Press to dispense ice.
- Water Fill Button (💧 with arrow): Press to dispense water (cold or room temperature, depending on cooling function status).
Operating Functions:
- To Make Ice:
- Press the Make Ice button. The ice making indicator will blink.
- The unit will begin producing bullet-shaped ice. It can make 9 pieces per cycle, with a cycle time of approximately 7 minutes.
- When the ice storage bin is full (capacity up to 0.65 lbs), the ice making indicator will stay solid, and the machine will pause ice production.
- To stop ice making, press the Make Ice button again.
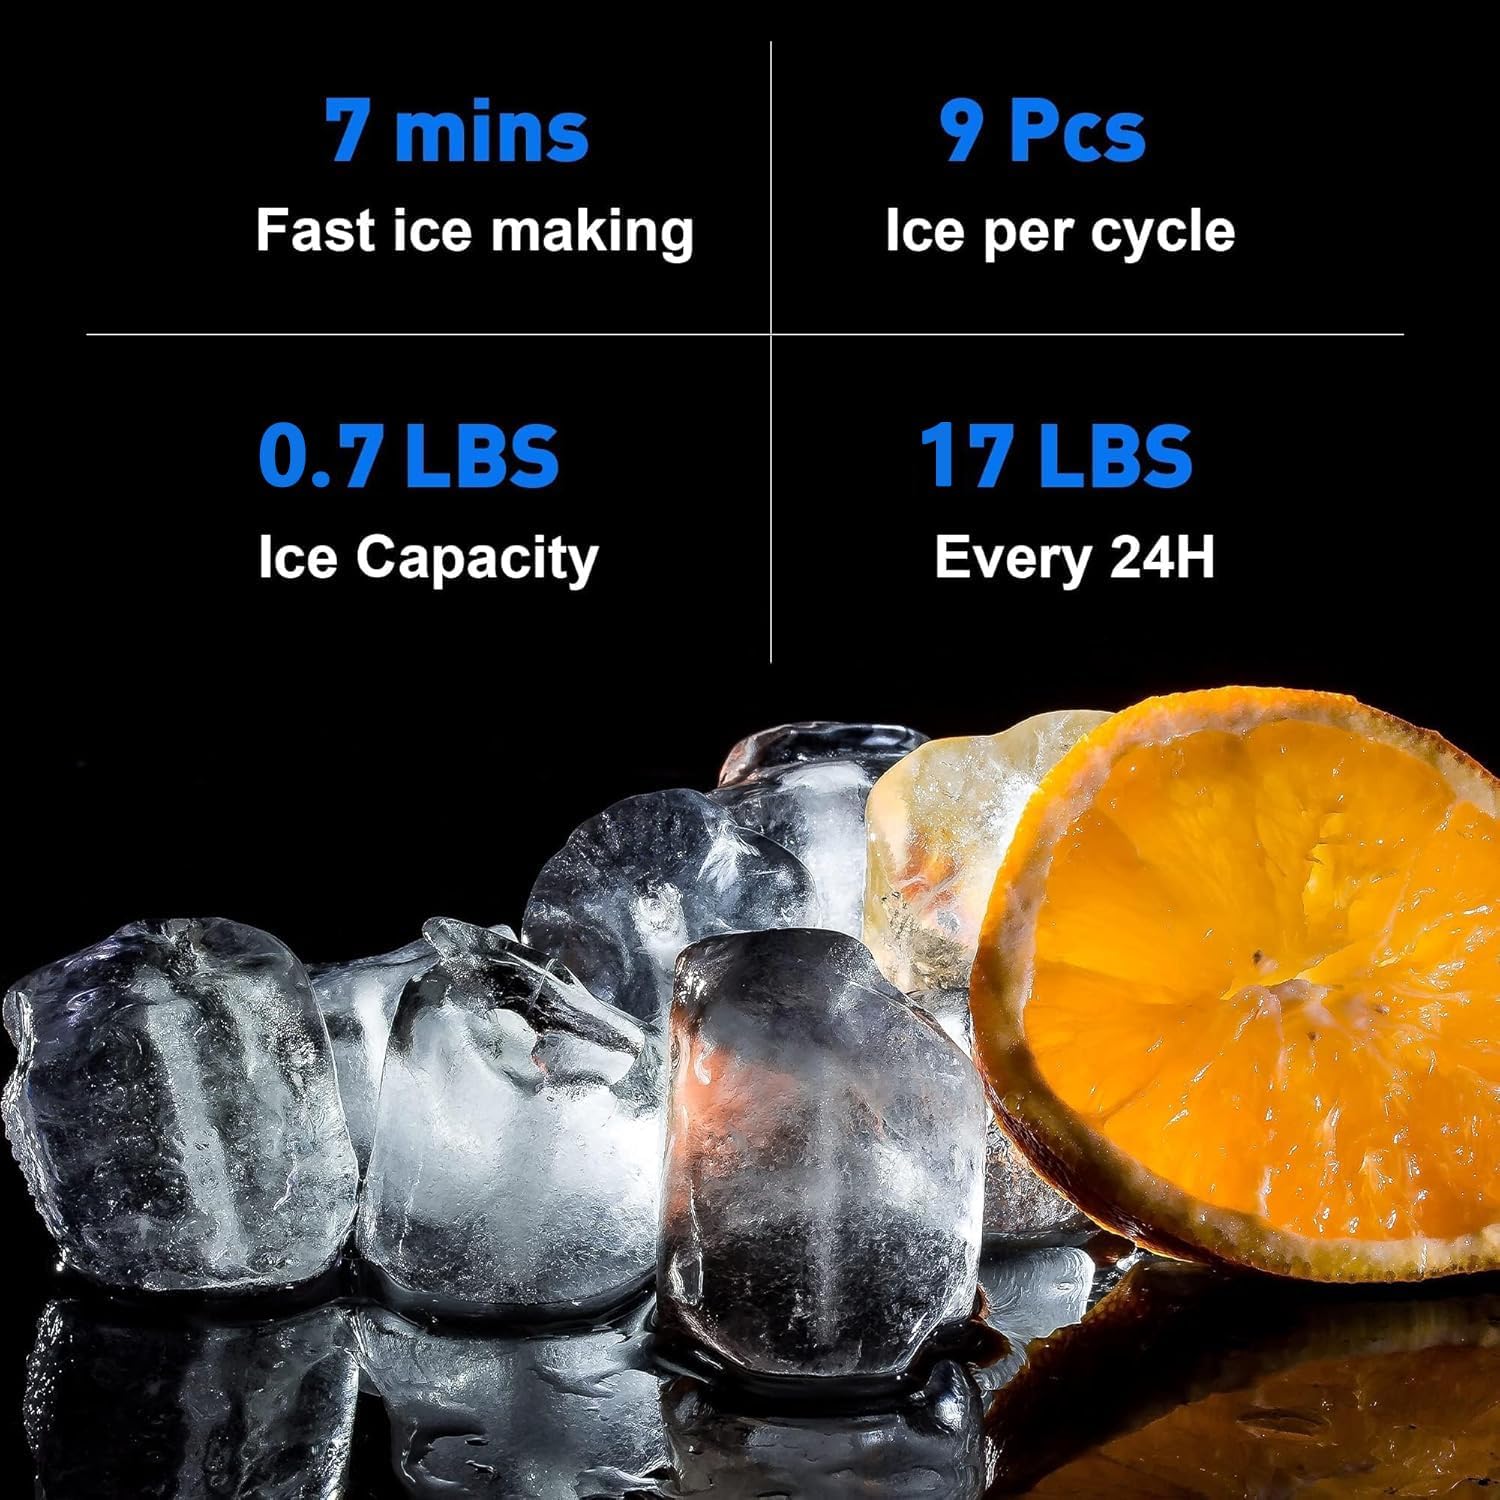
Figure 5.2: Display showing ice making capabilities: 7 minutes per cycle, 9 pieces per cycle, 0.7 lbs ice capacity, and 17 lbs daily production.
- To Dispense Ice:
- Place a glass or container under the ice outlet.
- Press the Ice Fill button. Ice will be dispensed into your container.

Figure 5.3: The dispenser actively dropping ice cubes into a glass placed below the outlet.
- To Get Cold Water:
- Press the Water Cooling button. The cold water indicator will blink while the water is cooling.
- Once the water reaches the desired cold temperature, the indicator will stay solid.
- Place a glass or container under the water outlet.
- Press the Water Fill button to dispense cold water.
- To turn off the cooling function, press the Water Cooling button again.
- To Get Room Temperature Water:
- Ensure the Water Cooling function is turned off (indicator light is off).
- Place a glass or container under the water outlet.
- Press the Water Fill button to dispense room temperature water.
6. Maintenance
Regular cleaning and maintenance will ensure the longevity and optimal performance of your dispenser.
Cleaning the Drip Tray:
- The drip tray is located at the base of the dispensing area and collects any spills or condensation.
- To remove, gently pull the drip tray forward.
- Empty any collected water and wash the tray with mild soap and warm water.
- Rinse thoroughly and dry before reinserting.

Figure 6.1: Image showing the removable drip tray being pulled out from the dispenser for cleaning.
General Cleaning:
- Wipe the exterior of the dispenser with a soft, damp cloth. Do not use abrasive cleaners or solvents.
- For internal cleaning, refer to the troubleshooting section for draining the unit if necessary.
7. Troubleshooting
If you encounter issues with your dispenser, refer to the following common problems and solutions:
| Problem | Possible Cause | Solution |
|---|---|---|
| No ice production or "Ice" indicator blinking continuously. | Insufficient water supply; Ice bin full; Ambient temperature too high. | Check water line connection and supply. If ice bin is full, dispense ice. Ensure proper ventilation around the unit. |
| No cold water or "Cold Water" indicator blinking continuously. | Water cooling function not activated; Insufficient water supply. | Press the Water Cooling button. Check water line connection and supply. |
| "Add Water" indicator is on. | No water supply; Low water pressure. | Ensure the water line is properly connected and the water supply valve is open. Check household water pressure. |
| Ice melts quickly in the bin. | This is normal operation. The unit does not keep ice frozen. | The ice maker will automatically make more ice as it melts. This is not a freezer. |
| Water or ice not dispensing. | Power off; Water line disconnected; Dispensing button not pressed firmly. | Check power connection. Verify water line is connected. Press the respective dispense button firmly. |
8. Specifications
| Feature | Specification |
|---|---|
| Product Dimensions (D x W x H) | 14.5" x 12.2" x 18.3" (36.8 cm x 31 cm x 46.5 cm) |
| Manufacturer | SOOPYK |
| Model Number | BYCZT573 |
| Color | Black |
| Ice Production Capacity | Up to 17.5 lbs per day |
| Ice Storage Capacity | 0.65 lbs |
| Ice Shape | Bullet-shaped |
| Water Type | Cold and Room Temperature |
| Water Source | Direct Water Line Connection |

Figure 8.1: Diagram illustrating the dimensions of the SOOPYK dispenser.
9. Warranty and Support
SOOPYK is committed to providing quality products and customer satisfaction. If you encounter any problems with your water cooler, please do not hesitate to contact us. We aim to reply to all inquiries within 24 hours.
For support, please refer to the contact information provided with your purchase or visit the official SOOPYK brand store online.
