
Introduction
This manual provides detailed instructions for the setup, operation, and maintenance of your HKFUG H6 Power Bank Camera. This device combines a portable power bank with a 1080P HD wireless security camera, featuring motion detection, night vision, and loop recording capabilities. It is designed for indoor security monitoring of your home, baby, or pets, offering peace of mind whether you are traveling or at work.
What's Included
- HKFUG H6 Power Bank Camera
- USB-A to Micro USB Charging Cable
- USB-A to Type-C Adapter
- Micro SD Card Adapter
- Quick Start Guide
- Camera Lens Hiding Sticker

Image: The HKFUG H6 Power Bank Camera shown with its included accessories, including charging cables and adapters.
Product Overview
Components
- Camera Lens: Discreetly located for surveillance.
- USB-A Output Ports (x2): For charging external devices.
- Micro USB Port: For accessing recorded files on a computer.
- Type-C Input Port: For charging the power bank camera.
- Display Screen: Shows battery percentage and recording status.
- Mode Switch (L/M): Selects between Loop Recording (L) and Motion Detection Recording (M).
- Power/Record Button: Powers the device on/off and starts/stops recording.
- Micro SD Card Slot: Supports up to 128GB Micro SD card (not included) for local storage.
- Night Vision IR Lights (x4): Provides clear video in low-light conditions.

Image: Top view of the power bank camera, highlighting the two USB-A output ports, Micro USB port, and Type-C input port.

Image: The power bank camera displaying its digital screen, which indicates battery level and recording status.
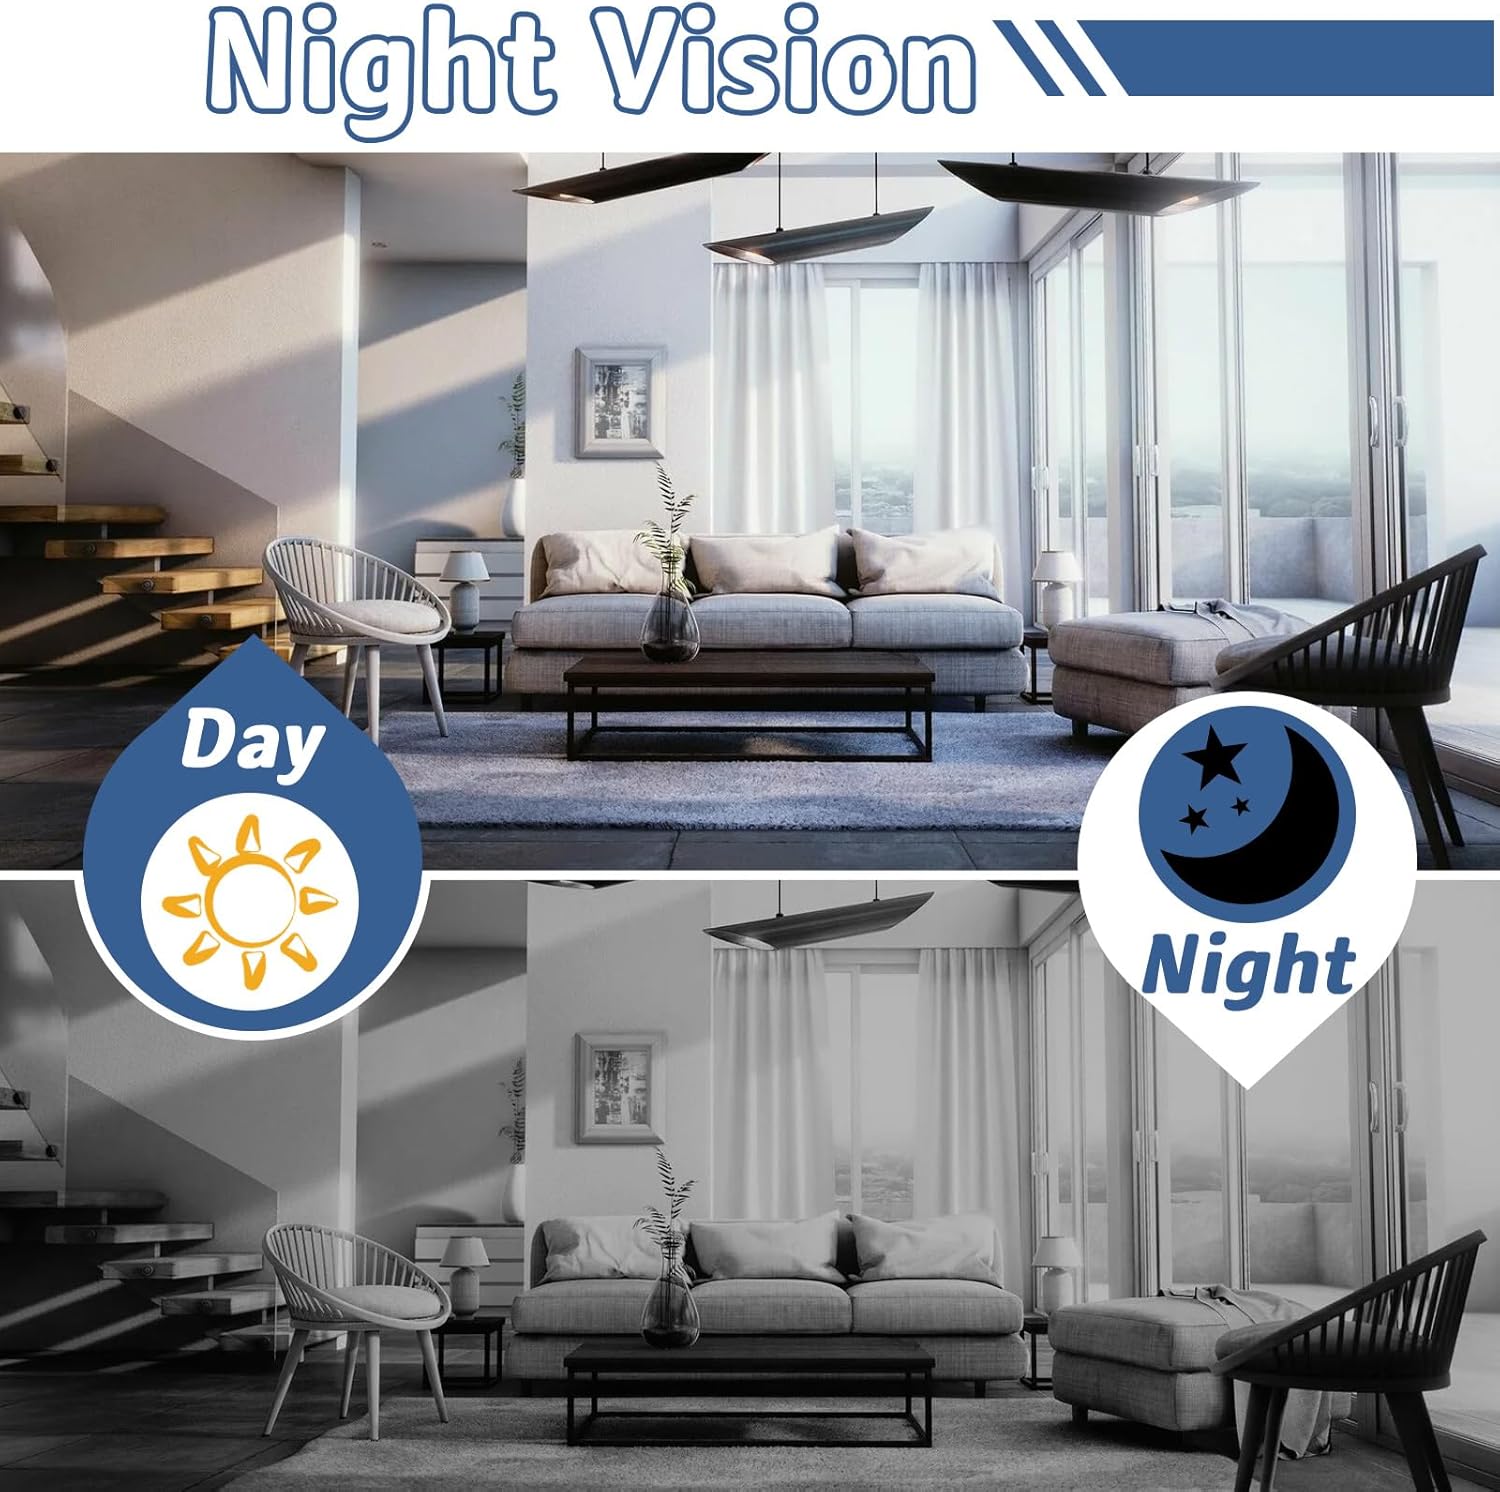
Image: Side view of the power bank camera, showing the slot for the Micro SD card.

Image: The power bank camera with its physical switch for selecting recording modes (Loop or Motion Detection).
Key Features
- 1080P HD Video: Captures clear and colorful silent videos.
- Wi-Fi Connectivity: Connects to 2.4GHz and 5GHz Wi-Fi networks for remote viewing via app.
- Smart Motion Detection: Sends app notifications upon detecting movement.
- Night Vision: Equipped with 4 infrared lights for effective night monitoring up to 6 feet.
- Portable Power Bank: Features a 5000mAh rechargeable battery, capable of charging other devices.
- Loop Recording: Automatically overwrites older footage when the Micro SD card is full.
- Local Storage: Supports Micro SD cards up to 128GB (not included).
- App Control: Manage settings, view live feed, and playback recordings via a dedicated app (Android/iOS compatible).
Setup
1. Charging the Device
- Connect the provided USB-A to Micro USB cable to a power source (e.g., USB wall adapter, computer USB port).
- Use the Type-C adapter with the Micro USB cable, or a direct Type-C cable, to connect to the Type-C input port on the power bank camera.
- The display screen will show the charging status. Ensure the device is fully charged before first use.

Image: The power bank camera connected to a smartphone, illustrating its charging capability.
2. Inserting the Micro SD Card
- Locate the Micro SD card slot on the side of the device.
- Gently insert a Micro SD card (up to 128GB, not included) into the slot until it clicks into place.
- It is recommended to format the Micro SD card through the app or by connecting the device to a computer before initial use to ensure proper functionality.
3. App Installation and Wi-Fi Connection
- Download the dedicated app for the HKFUG H6 camera from your smartphone's app store (compatible with Android/iOS).
- Follow the in-app instructions to pair the camera with your smartphone. Ensure your phone is connected to a 2.4GHz or 5GHz Wi-Fi network during the pairing process.
- Once paired, you can view live footage, adjust settings, and access recordings remotely.

Image: A visual comparison demonstrating the clarity of 1080P HD video captured by the security camera versus 720P.
Operating Instructions
1. Power On/Off
- To power on, press and hold the Power/Record button for approximately 5 seconds until the display lights up.
- To power off, press and hold the Power/Record button again until the display turns off.
2. Recording Modes
The device supports different recording modes, selectable via the L/M switch.
- Loop Recording (L): Slide the switch to 'L'. Press the Power/Record button once to start recording. The blue indicator light will illuminate, indicating continuous recording. Press the button again to stop.
- Motion Detection Recording (M): Slide the switch to 'M'. Press the Power/Record button once to activate motion detection. The device will record only when motion is detected and send notifications to your app. Press the button again to stop.
- Night Vision: The camera automatically activates its 4 infrared lights in low-light conditions to provide clear night vision footage.

Image: A smartphone displaying a motion detection alert from the camera, with dogs playing in the foreground, demonstrating the alert feature.

Image: A split image showing the same room during the day and at night, illustrating the camera's night vision capability.
3. Accessing Recorded Files
- Via App: Open the dedicated app on your smartphone. Navigate to the playback section to view recorded videos stored on the Micro SD card or cloud storage (if subscribed).
- Via Computer: Connect the power bank camera to your computer using the Micro USB cable. Your computer should recognize the device as a mass storage device, allowing you to access and transfer video files. Use the Micro SD card adapter to directly access files from the card if preferred.
Video: A demonstration of unboxing the power bank camera, detailing its components, and showing how to access recorded video files on a smartphone using the provided adapters.
Image: An illustration showing a timeline of recorded events, highlighting options for Micro SD card storage, 24/7 live streaming, and optional cloud storage.
Maintenance
Battery Care
- Charge the device regularly, even if not in use, to maintain battery health.
- Avoid exposing the device to extreme temperatures, which can degrade battery performance.
Cleaning
- Use a soft, dry cloth to clean the exterior of the device.
- Do not use liquid cleaners or abrasive materials, as they may damage the camera or ports.
Storage
- Store the device in a cool, dry place away from direct sunlight.
- If storing for extended periods, ensure the battery is partially charged (around 50%) to prevent deep discharge.
Troubleshooting
- Device not powering on: Ensure the device is fully charged.
- Cannot connect to Wi-Fi: Verify your Wi-Fi network is 2.4GHz or 5GHz and that the camera is within range. Re-attempt pairing through the app.
- No recording: Check if a Micro SD card is properly inserted and formatted. Ensure sufficient storage space.
- Indicator lights: Refer to the included Quick Start Guide for explanations of different blinking light patterns and their corresponding modes/statuses.
- Poor video quality: Ensure the camera lens is clean and free from obstructions. Check lighting conditions.
Specifications
| Brand | HKFUG |
| Model Name | H6 |
| Recommended Uses | Indoor Security |
| Connectivity Technology | Wireless (Wi-Fi) |
| Special Features | HD Resolution, Local Recording, Motion Sensor, Night Vision, Portable |
| Indoor/Outdoor Usage | Indoor |
| Compatible Devices | Android/iOS |
| Control Method | App |
| Mount Type | Portable, Freestanding |
| Color | Black |
| Enclosure Material | Plastic |
| Water Resistance Level | Not Water Resistant |
| Frame Rate | 30 frames per second |
| Night Vision Range | 6 Feet |
| Number of IR LEDs | 4 |
| Power Source | Battery Powered |
| Battery Capacity | 5000mAh (implied from images) |
| Item Dimensions | 5.4 x 2.2 x 0.9 inches |
Warranty and Support
For any issues with camera pairing, operation, or other assistance, please contact customer support. The manufacturer is committed to providing service and support for your product.