
1. Introduction
This manual provides essential information for the safe and efficient installation, operation, and maintenance of your Nessxa 2.65 Gallon Electric Mini Tank Water Heater. Please read all instructions carefully before installation and use. Retain this manual for future reference.
2. Safety Information
WARNING:
- Improper installation, adjustment, alteration, service, or maintenance can cause property damage, injury, or death.
- This appliance must be installed by a qualified technician in accordance with all local codes and ordinances.
- Ensure the power supply is disconnected before performing any maintenance or service.
- Do not operate the water heater if it is damaged or malfunctioning.
- This water heater is designed for indoor use only.
3. Product Overview
The Nessxa 2.65 Gallon Electric Mini Tank Water Heater is designed to provide instant hot water at the point of use, reducing wait times and water waste. Its compact design allows for flexible installation in various locations.

Figure 1: Front view of the Nessxa Electric Mini Tank Water Heater, showing the digital display and control knob.
Key Features:
- Instant Hot Water: Delivers hot water on demand, minimizing waiting time.
- Compact Design: Ideal for under-sink installation in kitchens, bathrooms, RVs, and other small spaces.
- High-Density Insulation: Polyvinyl chloride integral foaming process ensures uniform heating and improved durability.
- Multi-Protection Features: Includes IPX4 waterproof rating, water and electricity separation, overheat protection, anti-high voltage protection, and sensitive leakage protection.
- User-Friendly Controls: Features an LED display for easy temperature viewing and a simple temperature adjustment knob.
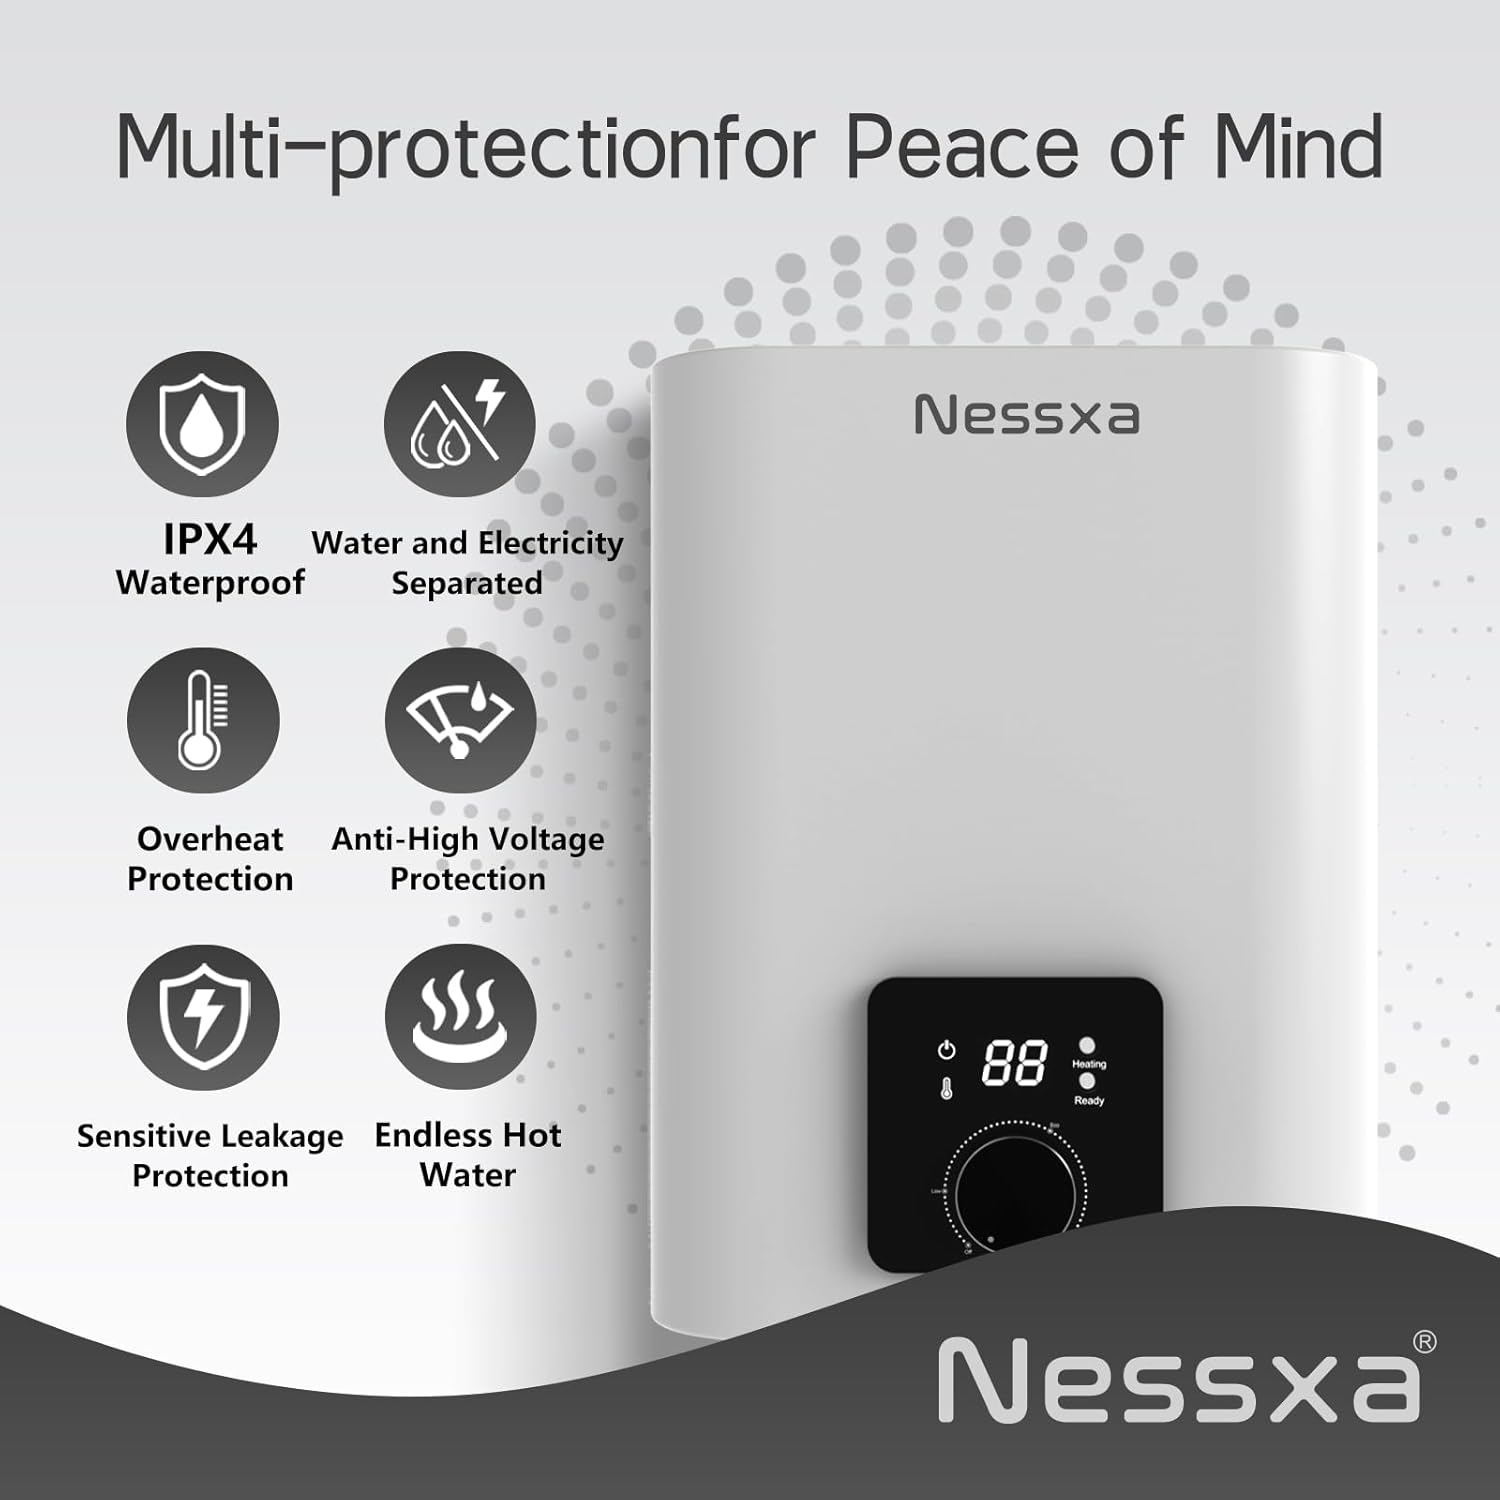
Figure 2: Diagram illustrating the multi-protection features of the water heater, including IPX4 waterproof, water and electricity separated, overheat protection, anti-high voltage protection, sensitive leakage protection, and endless hot water.

Figure 3: Close-up of the water heater's user interface, highlighting the temperature adjustment knob and LED display for easy water temperature viewing.
4. Specifications
| Attribute | Value |
|---|---|
| Brand | Nessxa |
| Model Number | YYJ24039-2 |
| Capacity | 2.65 Gallons |
| Power Source | Electric |
| Wattage | 1500 watts |
| Voltage | 110 Volts (AC) |
| Maximum Temperature | 176 Degrees Fahrenheit |
| Product Dimensions | 12.5"W x 11.8"H |
| Item Weight | 17.64 pounds |
| Mounting Type | Wall, Floor |
| Color | White |
5. Setup and Installation
The Nessxa Mini Tank Water Heater offers multiple installation options, including wall-mounted or floor-mounted, making it versatile for various spaces. Ensure proper plumbing and electrical connections are made by a qualified professional.

Figure 4: Illustration of the water heater installed in both wall-mounted and floor-mounted configurations under a sink, demonstrating its compact and space-saving design.
Installation Steps:
- Prepare the Area: Choose a suitable location for installation (under-sink, wall, or floor). Ensure adequate space for maintenance and proper ventilation.
- Mounting: If wall-mounting, use the provided hook screws to securely fasten the unit to a sturdy surface. For floor mounting, ensure the unit is placed on a stable, level surface.
- Plumbing Connections:
- Connect the cold water inlet (blue) to your cold water supply line.
- Connect the hot water outlet (red) to your faucet's hot water line.
- Install the pressure relief valve (included) as per local codes.
- Ensure all connections are tight and leak-free.
- Fill the Tank: Before connecting power, open the hot water faucet to allow the tank to fill completely and purge air. Water should flow steadily from the faucet.
- Electrical Connection: Plug the water heater into a grounded 110V (AC) 1500W electrical outlet.
Installation Videos:
Video 1: This video demonstrates the installation process for a mini tank water heater, including electrical wiring and plumbing connections. It highlights the steps for connecting the unit to a water source and power outlet.
Video 2: A detailed installation guide for a mini tank water heater, covering essential steps and considerations for proper setup.
Video 3: Instructions on how to install an under-sink water heater, including after-sale information.
Video 4: A brief overview of the Mizudo 1.5 Gallon Electric Mini Tank Water Heater, showcasing its features and compact size.
6. Operating Instructions
- Power On: After successful installation and filling the tank with water, press the power button on the unit. The LED display will illuminate.
- Adjust Temperature: Use the control knob to set your desired water temperature. The LED display will show the current temperature. The maximum temperature is 176°F.
- Hot Water Delivery: Once the desired temperature is reached, hot water will be available instantly when you open the hot water faucet.
- Power Off: To turn off the unit, press the power button again or rotate the control knob to the 'Off' position.
7. Maintenance
- Regular Cleaning: Periodically wipe the exterior of the unit with a soft, damp cloth. Do not use abrasive cleaners.
- Drainage: If the unit will not be used for an extended period or in freezing conditions, drain the tank completely to prevent damage.
- Pressure Relief Valve: Regularly check the pressure relief valve for proper operation. Refer to local codes for testing frequency.
8. Troubleshooting
| Problem | Possible Cause | Solution |
|---|---|---|
| No hot water | No power; unit not turned on; tank not filled | Check power connection; turn on unit; ensure tank is filled and air purged |
| Water not hot enough | Temperature setting too low; excessive hot water demand | Increase temperature setting; allow time for reheating if demand is high |
| Water leaking | Loose plumbing connections; faulty pressure relief valve | Tighten connections; inspect/replace pressure relief valve; contact qualified technician |
| Unit not heating | Electrical issue; heating element failure | Check circuit breaker; contact qualified technician for inspection |
9. Warranty and Support
For warranty information or technical support, please refer to the documentation included with your purchase or contact Nessxa customer service. Keep your purchase receipt as proof of purchase.