
DigiTech DOD-250-50TH
DigiTech DOD-250-50TH Overdrive Preamp 50th Anniversary Edition User Manual
Model: DOD-250-50TH
1. Introduction
Congratulations on your purchase of the DigiTech DOD-250-50TH Overdrive Preamp, a special 50th Anniversary Edition pedal. This manual provides comprehensive instructions for setting up, operating, and maintaining your new overdrive pedal, ensuring you get the most out of its versatile sound capabilities. Hand-built in the USA, this limited edition pedal honors the original DOD 250 design while introducing new functionalities for enhanced expressiveness.
2. Key Features
- 50th Anniversary Limited Edition design.
- Hand-built in the USA with through-hole components.
- Features Gain and Level controls with original potentiometer values and tapers.
- Includes a 3-position toggle switch for distinct distortion modes:
- SILICON: Faithfully replicates the traditional original sound.
- Ge/ASYM: Provides an asymmetrical even-harmonic distortion using a vintage Germanium diode.
- LIFT: Eliminates diode clipping for clean boost or dirty boost at higher gain settings.
- Striking metal flake gray finish with bright yellow silkscreen.
- Adorned with an etched aluminum commemorative 50th Anniversary badge.
- Socketed LM741 op-amp.
- True Bypass with neon yellow-green LED indicator.
- Modern 9V DC power supply input.
- Lighter aluminum chassis.
- Includes a limited-edition 50th Anniversary custom laser-etched aluminum pedal topper with hex wrench.
- Comes with 4 unique stickers and 4 unique guitar picks.
3. Controls and Connections
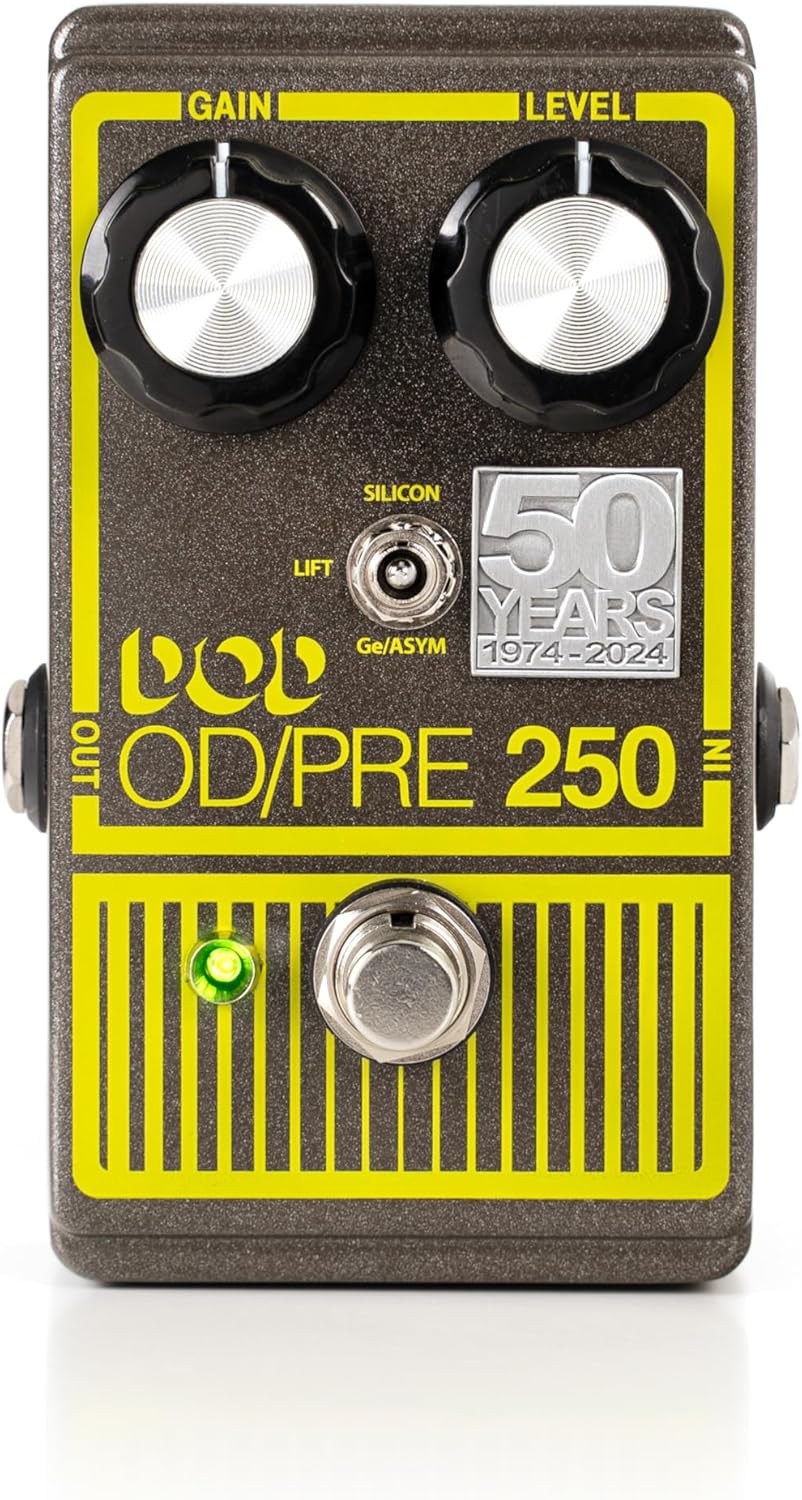
Figure 3.1: Front Panel Overview
This image displays the main controls of the pedal: the Gain knob (left), Level knob (right), the three-position mode toggle switch (Silicon, Ge/Asym, Lift), the footswitch, and the neon yellow-green LED indicator.
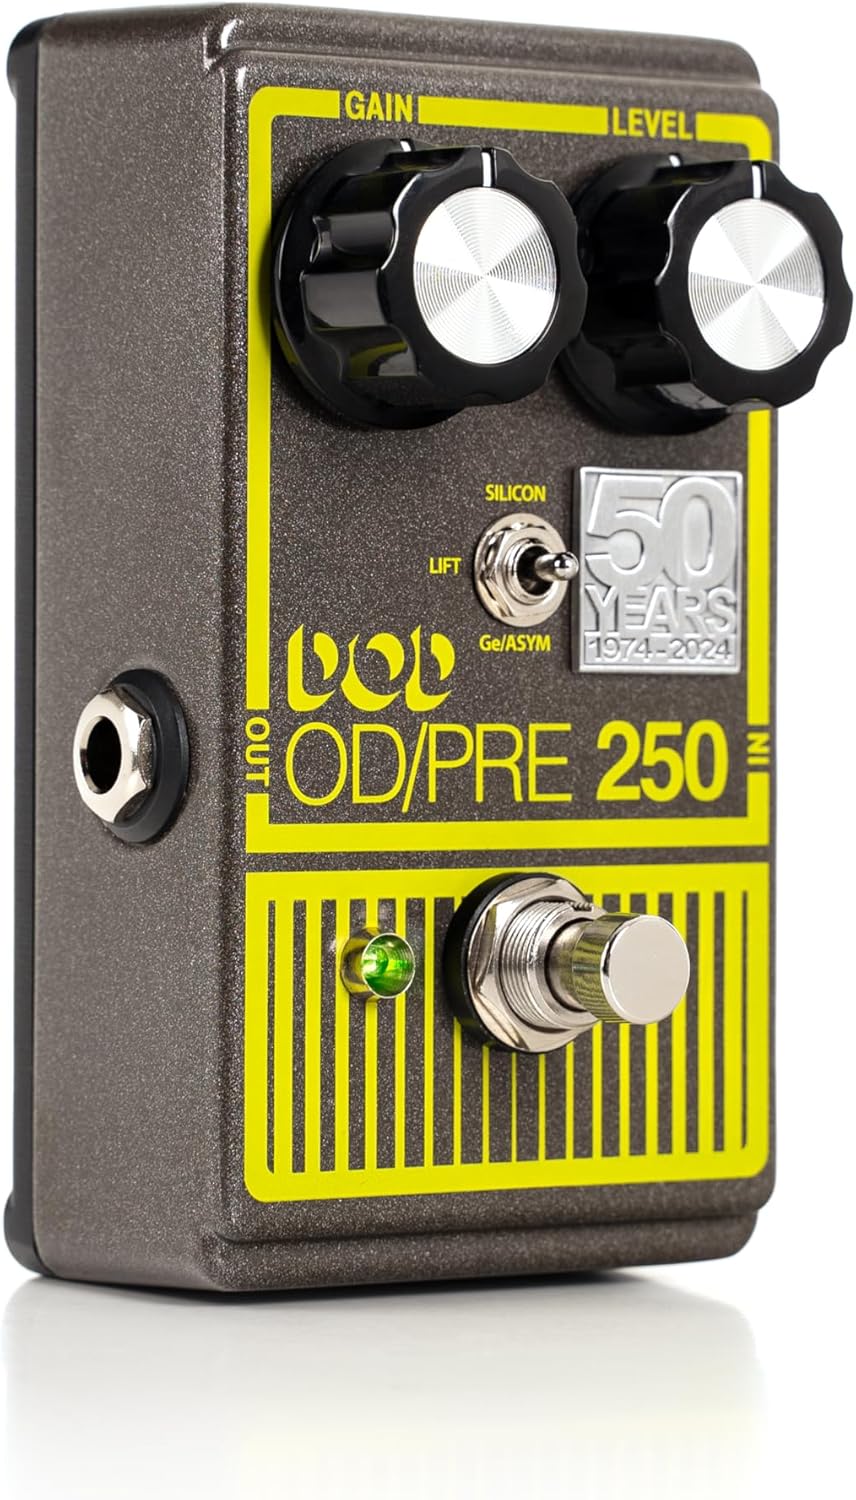
Figure 3.2: Side Panel Connections
This image highlights the 1/4" instrument input jack on the right side of the pedal and the 1/4" instrument output jack on the left side.
Gain Knob:
Controls the amount of overdrive or distortion applied to your signal. Turning it clockwise increases the gain, leading to more saturated tones.
Level Knob:
Adjusts the overall output volume of the pedal. Use this to balance the pedal's volume with your amplifier's clean signal or to provide a volume boost.
Mode Toggle Switch:
A three-position switch that selects the clipping mode of the pedal:
- SILICON (Up Position): The classic DOD 250 sound, offering a smooth, symmetrical clipping characteristic.
- Ge/ASYM (Middle Position): Utilizes a vintage Germanium diode for an asymmetrical clipping, producing a different harmonic texture and a warmer, more compressed feel.
- LIFT (Down Position): Bypasses the clipping diodes entirely. In this mode, the pedal acts as a clean boost at lower gain settings, or a "dirty boost" as the LM741 op-amp clips at higher gain settings, adding a unique character without traditional diode clipping.
Footswitch:
Engages or bypasses the effect. When the LED is lit, the effect is active. When the LED is off, the pedal is in true bypass mode, allowing your instrument's signal to pass through unaffected.
LED Indicator:
A neon yellow-green LED that illuminates when the pedal is active and the effect is engaged.
Input Jack (1/4" Instrument):
Connect your instrument (guitar, bass, etc.) to this jack using a standard 1/4" instrument cable.
Output Jack (1/4" Instrument):
Connect this jack to your amplifier's input or to the next pedal in your signal chain using a standard 1/4" instrument cable.
Power Input (2.1mm DC Barrel Jack, Tip Negative):
Connect a 9V DC power supply (not included) to this jack. Ensure the power supply is tip-negative. The pedal can also be powered by a 9V alkaline battery (not included).

Figure 3.3: Power Input
This image shows the 2.1mm DC barrel jack for connecting a 9V tip-negative power supply.
4. Setup
- Power Supply Connection:
- For external power, connect a 9V DC (tip-negative) power supply to the Power Input jack on the rear of the pedal.
- Alternatively, to install a 9V battery, carefully remove the bottom plate of the pedal. Connect a 9V alkaline battery to the battery clip inside and replace the bottom plate.
- Instrument Connection:
Connect your guitar or other instrument to the INPUT jack on the right side of the pedal using a standard 1/4" instrument cable.
- Amplifier Connection:
Connect the OUTPUT jack on the left side of the pedal to your amplifier's input or to the input of the next pedal in your effects chain using a standard 1/4" instrument cable.
- Initial Settings:
Before powering on, set the Gain and Level knobs to their minimum positions (fully counter-clockwise). Set the Mode toggle switch to the 'SILICON' position for a familiar starting point.
5. Operating the Pedal
- Engaging the Effect:
Press the footswitch to engage the overdrive effect. The neon yellow-green LED will illuminate, indicating the effect is active. Press the footswitch again to bypass the effect; the LED will turn off.
- Adjusting Gain:
Slowly turn the Gain knob clockwise to increase the amount of overdrive. Experiment with different gain levels to achieve sounds ranging from subtle grit to heavy distortion.
- Setting Output Level:
Adjust the Level knob to control the overall output volume. It is recommended to set the Level so that the engaged effect volume is roughly equal to or slightly above your bypassed signal volume, depending on your desired application (e.g., a boost for solos).
- Exploring Clipping Modes:
Experiment with the Mode Toggle Switch to discover the different tonal characteristics:
- SILICON: Ideal for classic overdrive tones, offering a smooth and balanced distortion.
- Ge/ASYM: Provides a unique, warmer, and more compressed overdrive with a distinct harmonic content due to the Germanium diode. Great for blues and classic rock tones.
- LIFT: This mode offers a clean boost at lower gain settings, perfect for pushing an already overdriven amplifier. At higher gain settings, the op-amp itself will clip, providing a raw, uncompressed "dirty boost" sound.
- Combining with Other Pedals:
The DOD-250-50TH can be placed at various points in your signal chain. Placing it before other distortion/overdrive pedals can stack gain, while placing it after can act as a volume boost or tone shaper for existing distorted signals.
6. Maintenance
- Cleaning: Use a soft, dry cloth to clean the pedal's exterior. Avoid abrasive cleaners or solvents, as they may damage the finish or silkscreen.
- Battery Replacement: If using battery power, replace the 9V battery when the LED indicator dims or the sound quality degrades. Always disconnect input/output cables when not in use to conserve battery life.
- Storage: Store the pedal in a cool, dry place away from direct sunlight and extreme temperatures. If storing for extended periods, remove the battery to prevent leakage.
- Cable Connections: Periodically check all cable connections for wear and tear. Ensure cables are securely plugged in to prevent signal loss or intermittent operation.
7. Troubleshooting
| Problem | Possible Cause | Solution |
|---|---|---|
| No sound when pedal is engaged. |
|
|
| LED does not light up. |
|
|
| Weak or distorted sound (unintended). |
|
|
8. Specifications
| Parameter | Value |
|---|---|
| Input | ¼” Instrument |
| Input Z | >300kΩ typical |
| Output | ¼” Instrument |
| Output Z | 9.1kΩ – 27.5kΩ (based on Level control position) |
| Power Input | 2.1mm DC Barrel Jack, tip negative |
| Chassis | Aluminum |
| Power Supply | 9V Alkaline Battery, PS0913DC Power Supply, Other well-regulated 9V tip-negative supply |
| Consumption | 7 mA typical |
| Item Weight | 14.1 ounces |
| Product Dimensions | 8.2 x 6.4 x 4.9 inches |
| Color | Metal flake gray and bright yellow |
9. Warranty and Support
For warranty information and technical support, please refer to the official DigiTech website or contact their customer service directly. Keep your proof of purchase for any warranty claims.
Online Resources: Visit the DigiTech Store on Amazon for additional product information and updates.
Related documentsDOD-250-50TH


Ask a question about this manual
Ask about setup, troubleshooting, compatibility, parts, safety, or missing instructions. Manuals+ will review the question and use this page’s manual context to help answer it.