
1. Introduction
This manual provides instructions for the installation, operation, and maintenance of the CHICIRIS KM140F Battery Monitor Remote Control. This device is designed to monitor various battery parameters, including voltage, current, power, capacity, watt-hours, and time. It features a 2.4-inch display, a responsive silicone keypad, and supports remote connection via an application.
2. Safety Information
- Always disconnect power before installation or maintenance to prevent electric shock.
- Ensure all connections are secure and correctly polarized to avoid damage to the device or battery.
- Do not expose the device to extreme temperatures, moisture, or corrosive environments.
- Only use the provided cables and accessories.
- Keep the device away from children.
3. Package Contents
Verify that all items listed below are present in your package:
- 1 x Battery Monitor
- 1 x Sampler
- 1 x 1m Red Positive Wire
- 1 x 5m Communicating Line
- 1 x User Manual

Figure 3.1: Package contents including the monitor, sampler, and cables.
4. Product Overview
The CHICIRIS KM140F Battery Monitor consists of a display unit and a separate sampler unit. The display unit features a 2.4-inch screen for real-time data display and control buttons for navigation and settings. The sampler unit is responsible for measuring battery parameters and communicating with the display unit.
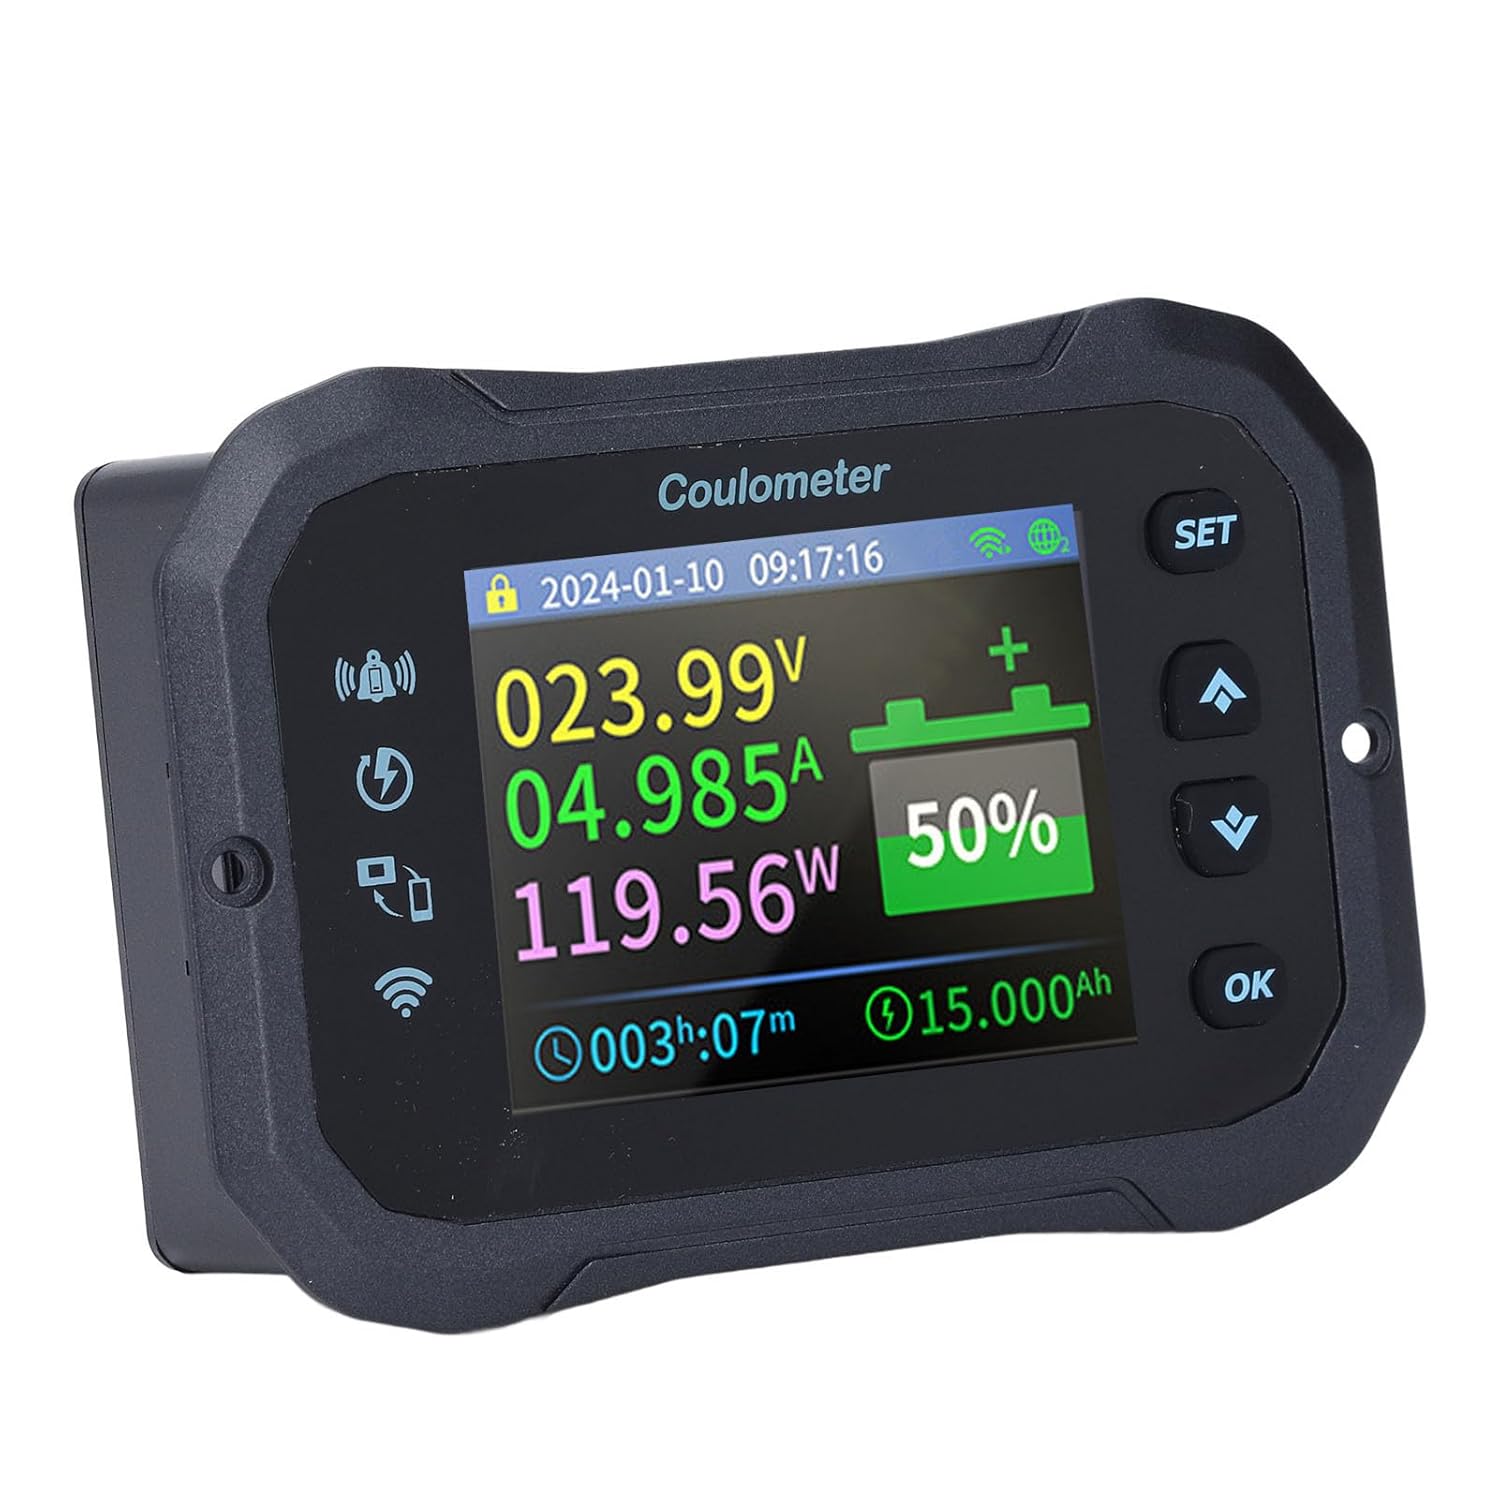
Figure 4.1: Front view of the Battery Monitor display unit.
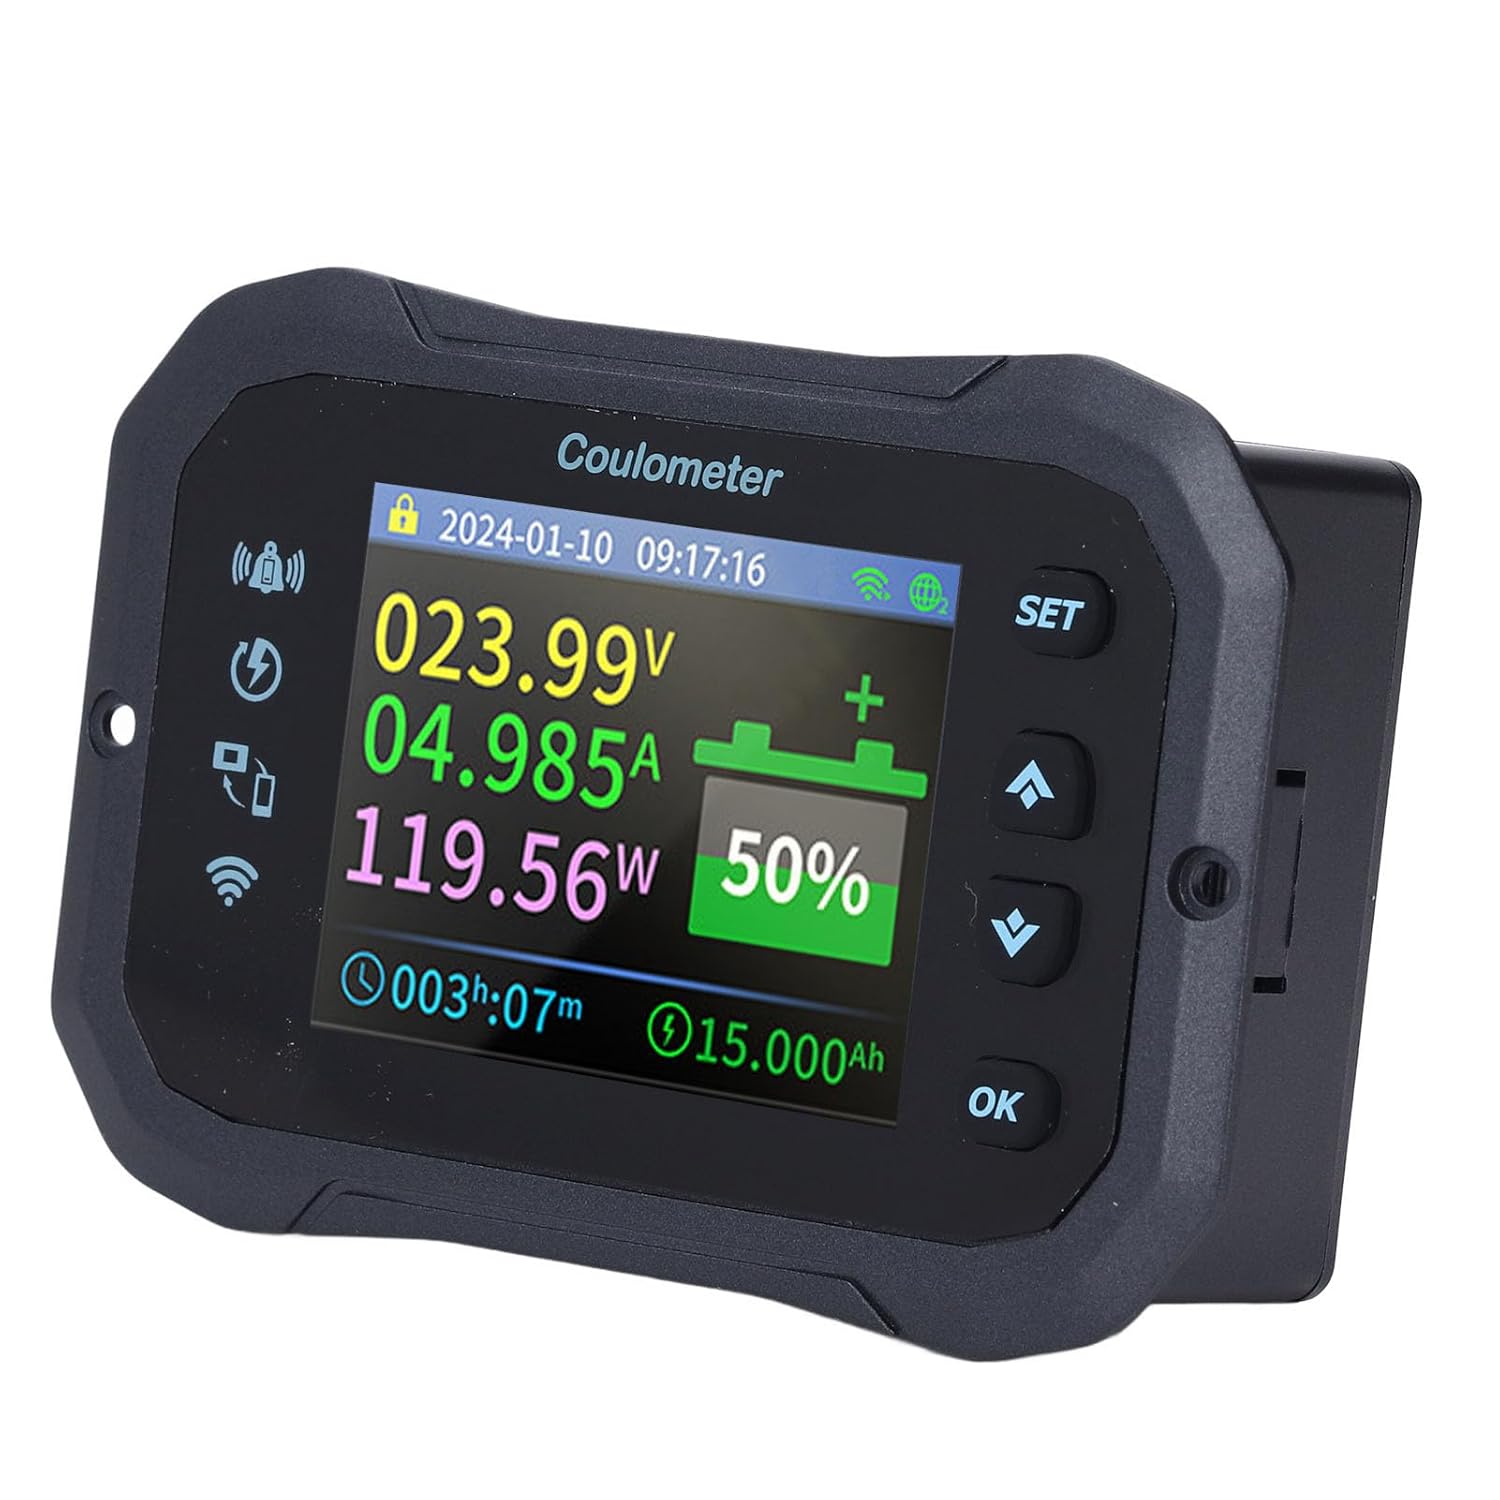
Figure 4.2: Close-up of the control buttons.

Figure 4.3: Sampler unit connection terminals.
5. Setup
Follow these steps to install your battery monitor:
- Connect the Sampler: Connect the sampler unit to your battery system. Refer to Figure 4.3 for terminal identification.
- Connect the Communication Line: Use the provided 5m communication line to connect the sampler unit to the display unit. The communication port is typically located on the side of the display unit.
- Connect the Red Positive Wire: Connect the 1m red positive wire from the battery's positive terminal to the appropriate input on the sampler unit, if required by your specific wiring diagram.
- Power On: Once all connections are secure, power on your battery system. The display unit should illuminate and begin showing readings.

Figure 5.1: Communication port on the display unit.
6. Operating
6.1 Display Interface
The 2.4-inch screen provides real-time information. Key parameters displayed include:
- Voltage (V): Current battery voltage.
- Current (A): Current flowing into or out of the battery.
- Power (W): Instantaneous power consumption or generation.
- Capacity (%): Remaining battery capacity as a percentage.
- Ah: Ampere-hours consumed or remaining.
- Time: Elapsed time of operation or discharge.
6.2 Button Functions
- SET Button: Enters the settings menu or confirms a selection.
- Up Arrow Button: Navigates up through menu options or increases a value.
- Down Arrow Button: Navigates down through menu options or decreases a value.
- OK Button: Confirms a selection or exits a menu.
6.3 Remote Monitoring via App
The monitor supports remote connection via a dedicated application. Refer to the specific instructions provided with the app for pairing and remote monitoring functionalities. This feature allows users to check battery status from a distance.
6.4 Alert System
The device is equipped with a buzzer and pop-up notifications to alert users to low battery levels or other critical conditions. These alerts help ensure timely awareness of the battery status.
7. Maintenance
- Cleaning: Use a soft, dry cloth to clean the display and casing. Do not use abrasive cleaners or solvents.
- Storage: If storing the device for an extended period, ensure it is powered off and kept in a dry, cool environment.
- Firmware Updates: Check the manufacturer's website or app for any available firmware updates to ensure optimal performance.
8. Troubleshooting
- Device Not Powering On: Check all power connections. Ensure the battery voltage is within the specified operating range (10-100V).
- Incorrect Readings: Verify that the sampler is correctly wired to the battery. Ensure the communication line between the sampler and display is secure.
- App Connection Issues: Ensure the device's wireless function is enabled. Check your mobile device's network connection and ensure the app is up to date. Refer to the app's specific troubleshooting guide.
- Buzzer Alerting Constantly: Check battery parameters. Adjust alert thresholds in the settings menu if necessary.
9. Specifications
| Parameter | Value |
|---|---|
| Item Type | Battery Monitor |
| Model | KM140F |
| Material | ABS, Brass, Silicone |
| Screen Size | 2.4 Inch |
| Sampling Method | Shunt |
| Voltage Testing Range | 10-100V |
| Current Testing Range | 0-400A |
| Current Resolution | 0.01A |
| Capacity Display Range | 0-100% |
| Power Testing Range | 0-40KW |
| Power Resolution | 0.0001W |
| Ah Testing Range | 0-9999.9Ah |
| Capacity Resolution | 0.001Ah |
| Connection Distance (Local) | Approx. 10m / 32.81ft |
| Remote Connection Range | Global (via APP) |
| Voltage Accuracy | ±5%+0.02V |
| Current Accuracy | ±2+0.01A |
| Sampling Rate | 5 times / second |
| Display Power Consumption | 0.9W |
| Screen Off Time Options | 10S, 20S, 30S, 40S, 50S, 60S, AUTO |
10. Warranty
Warranty information for this product is typically provided by the manufacturer or seller at the time of purchase. Please refer to your purchase documentation or contact the seller for details regarding warranty coverage and terms.
11. Support
For technical assistance, troubleshooting beyond this manual, or inquiries about your product, please contact the CHICIRIS customer support or the seller from whom you purchased the device. Have your model number (KM140F) and purchase details ready when contacting support.