
1. Introduction
This manual provides detailed instructions for the safe installation, operation, and maintenance of your VOLISUN 52-inch Low Profile Ceiling Fan with Light and Remote. Please read this manual thoroughly before installation and retain it for future reference. Proper installation and operation are crucial for optimal performance and safety.
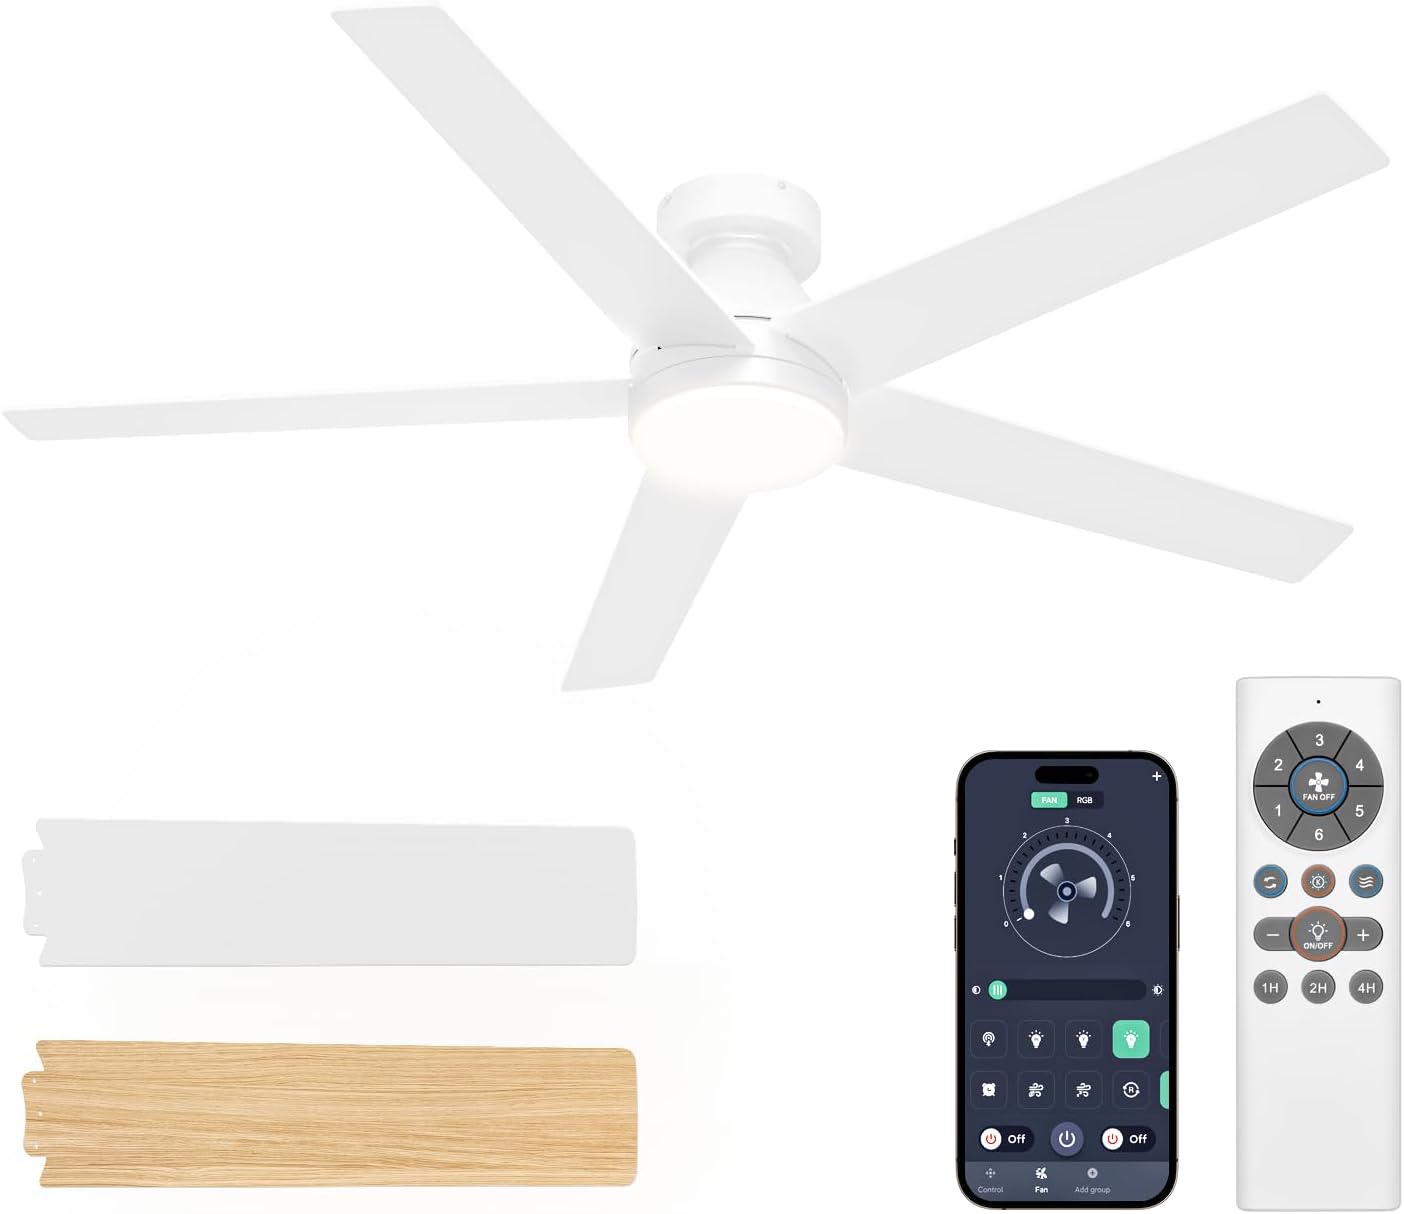
Image 1.1: Overview of the VOLISUN 52-inch Ceiling Fan components, including the fan unit, remote control, and reversible fan blades.
2. Safety Information
Always follow basic safety precautions when installing and operating electrical appliances to reduce the risk of fire, electric shock, and personal injury.
- Ensure the power is turned off at the circuit breaker before installation or servicing.
- All wiring must be in accordance with national and local electrical codes. Consult a qualified electrician if you are unsure.
- The mounting structure must be capable of supporting the weight of the fan (approximately 12.77 lbs).
- Do not bend the blade holders during installation or cleaning.
- Keep hands, tools, and other objects clear of the fan blades when in operation.
- This fan is suitable for both indoor and outdoor (covered patio) use. Ensure proper protection from direct water exposure for outdoor installations.
3. Package Contents
Verify that all components are present and undamaged before proceeding with installation. If any parts are missing or damaged, contact VOLISUN customer service.
- Ceiling Fan Motor Assembly
- Fan Blades (5x, dual-sided: White and Walnut finish)
- Light Kit with LED Module
- Remote Control with Wall Mount Holder
- Mounting Bracket
- Hardware Pack (screws, wire nuts, washers)
- Instruction Manual
4. Setup and Installation
Follow these steps carefully for proper installation. Professional installation is recommended if you are not familiar with electrical wiring.
4.1 Pre-Installation
- Turn off power at the main circuit breaker.
- Ensure the electrical box is securely mounted and capable of supporting the fan.
- Unpack all components and lay them out on a soft surface to prevent scratches.
4.2 Mounting the Bracket
- Attach the mounting bracket to the ceiling electrical box using the screws provided. Ensure it is firmly secured.
4.3 Wiring Connections
- Connect the fan's electrical wires to the household wiring according to the wiring diagram in the separate installation guide. Typically, this involves connecting live, neutral, and ground wires.
- Secure all connections with wire nuts and ensure no loose strands of wire are exposed.
4.4 Attaching the Motor Assembly
- Carefully lift the fan motor assembly and attach it to the mounting bracket. Follow the specific instructions in the installation guide for securing the fan body.
4.5 Installing Blades
The fan blades are dual-sided, offering a white finish and a walnut finish. Choose the desired side before installation.
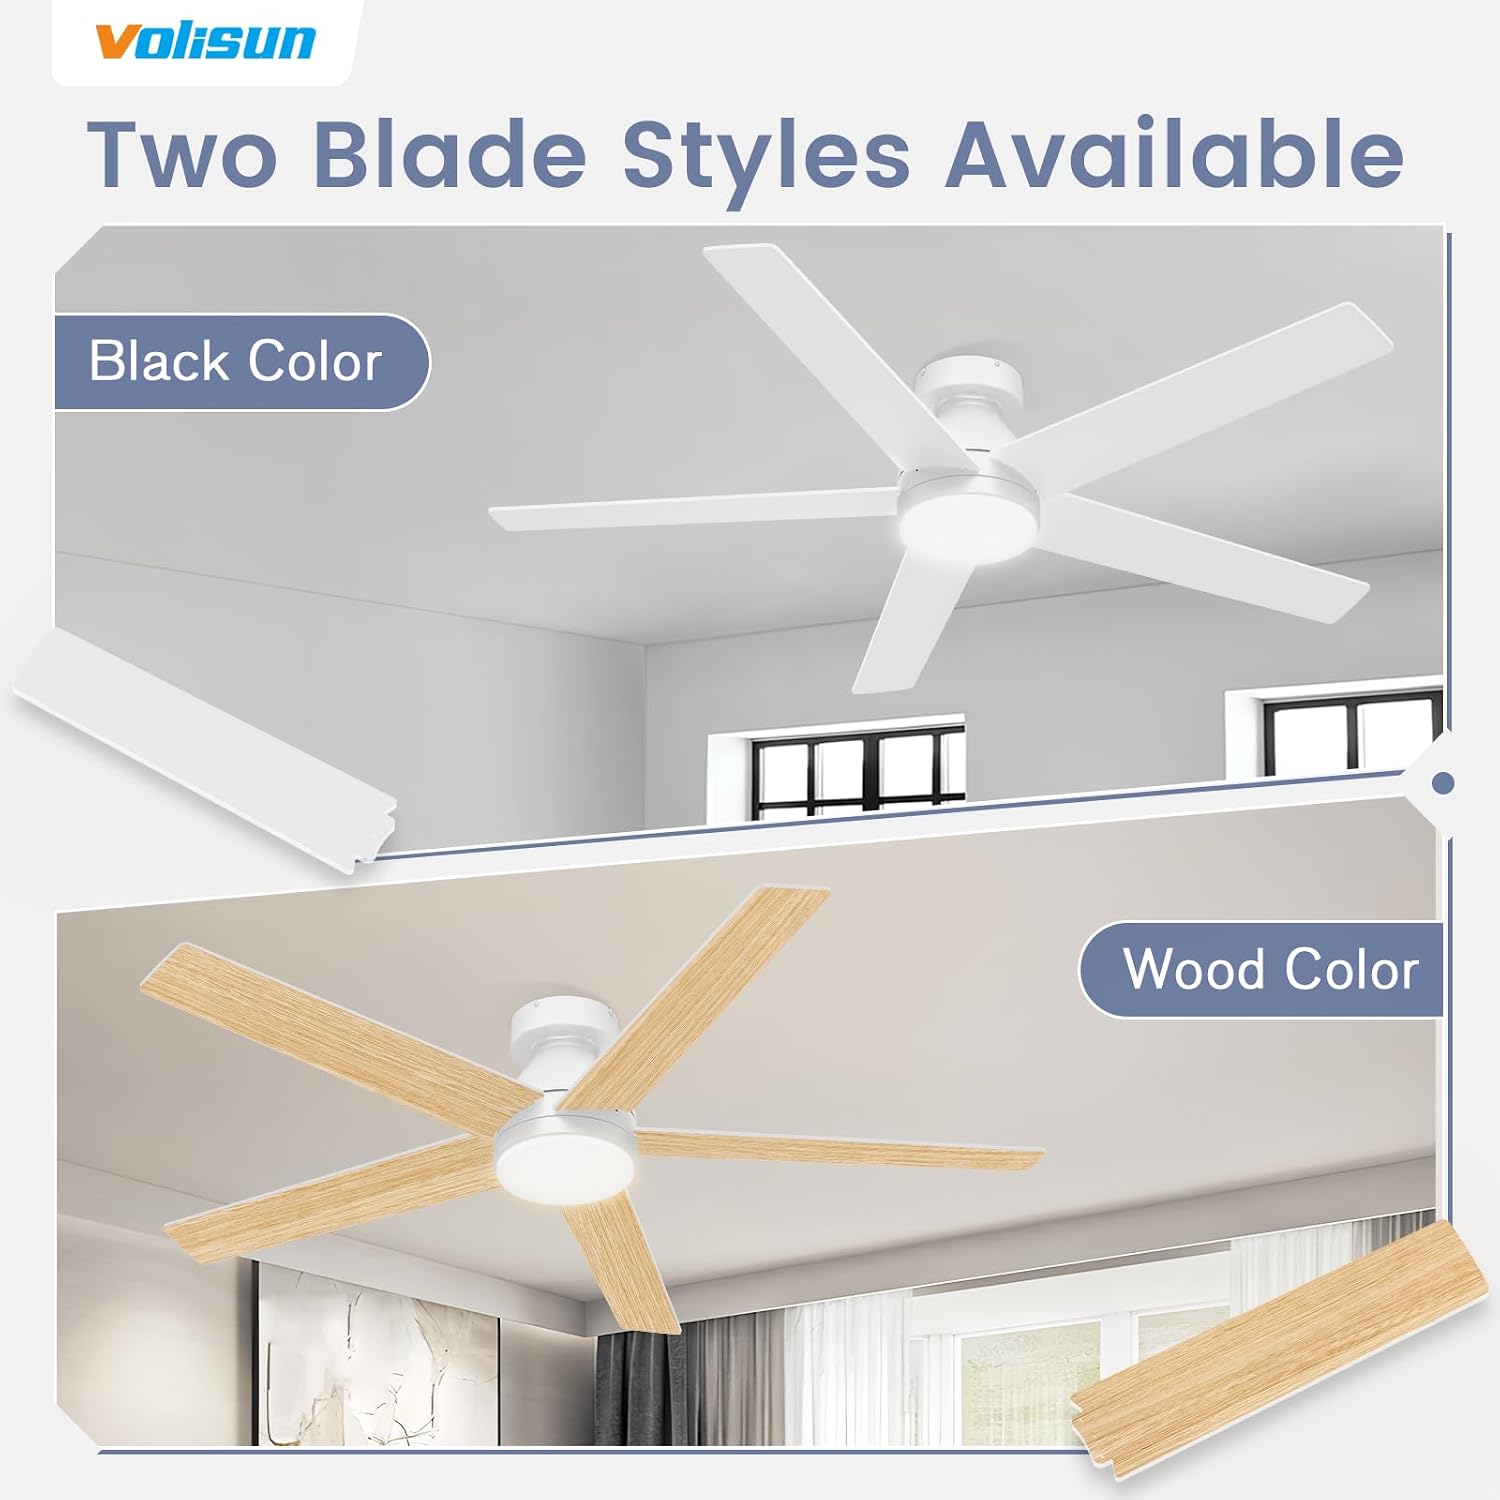
Image 4.5: The fan blades feature a dual-sided design, allowing selection between a modern white finish and a classic wood grain finish.
- Attach each fan blade to the motor housing using the provided screws. Ensure all screws are tightened securely.
4.6 Installing the Light Kit
- Connect the light kit wiring to the fan motor assembly wiring.
- Secure the light kit to the bottom of the fan motor assembly.
5. Operating Instructions
Your VOLISUN ceiling fan is controlled by the included remote control. Ensure batteries are installed in the remote.

Image 5.1: Remote control layout with functions for fan speed, light control, color temperature, dimming, and timer settings.
5.1 Fan Control
- Fan ON/OFF: Press the power button to turn the fan on or off.
- Fan Speed (1-6): Use the numbered buttons (1-6) to select desired fan speed. '1' is the lowest speed, '6' is the highest.
- Reversible Function: Press the 'Fan rotates forward/reverse' button to change the direction of blade rotation. This is useful for seasonal air circulation.

Image 5.2: Illustration of the reversible function, demonstrating downward airflow for cooling in summer and upward airflow for circulating warm air in winter.
5.2 Light Control
- Light ON/OFF: Press the light power button to turn the light on or off.
- Color Temperature (3CCT): Press the 'Color temperature switch' button to cycle through 3000K (Warm Light), 4500K (Natural White), and 6000K (White Light).
- Brightness Adjustment: Use the 'Light brightness +' and 'Light brightness -' buttons to dim or brighten the light from 5% to 100%.
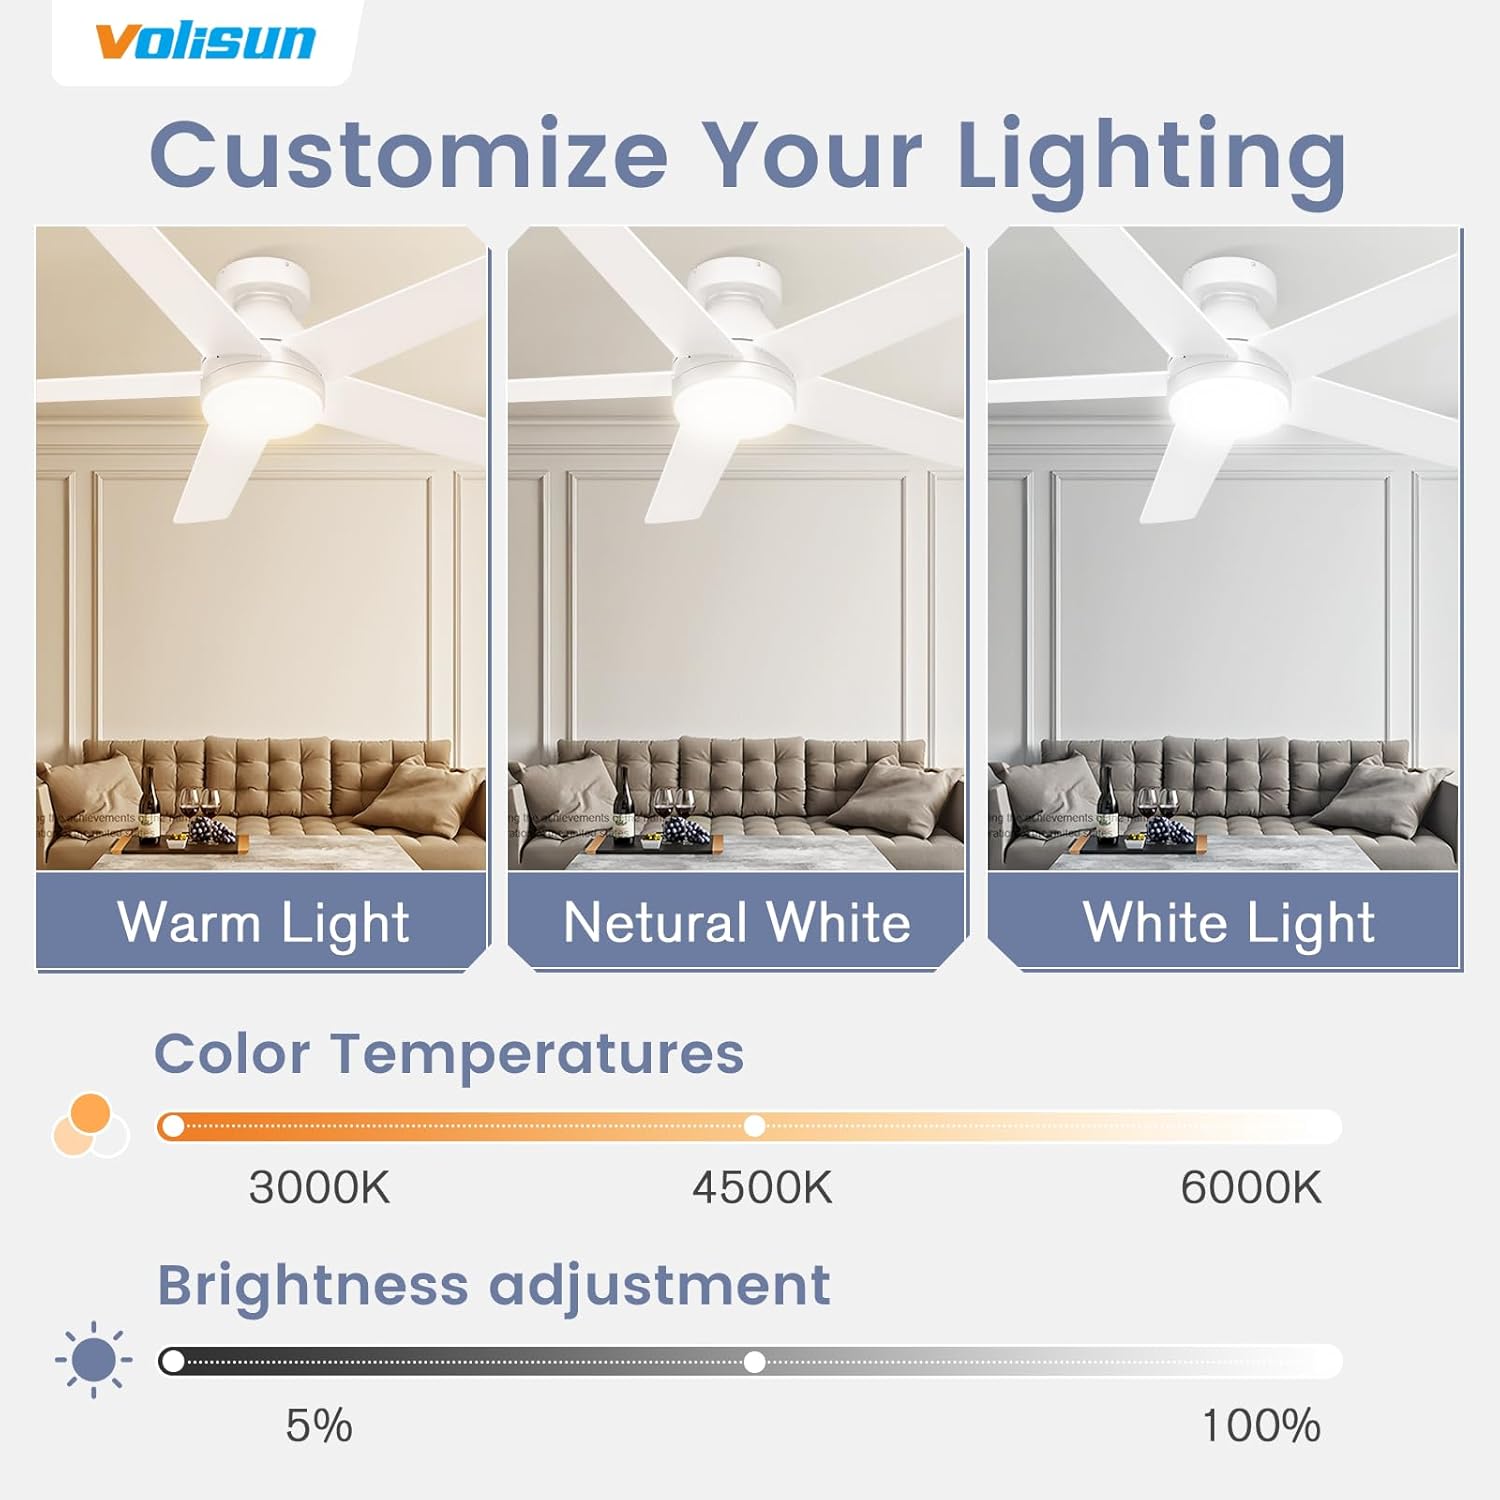
Image 5.3: Visual representation of the adjustable color temperatures (3000K, 4500K, 6000K) and dimmable brightness range (5% to 100%).
5.3 Memory Function
The fan's light features a memory function. When you turn off the light and turn it back on after more than 7 seconds, it will recall your last selected brightness and color temperature settings. If turned off for less than 7 seconds, the color temperature may switch.

Image 5.4: Explanation of the light's memory function, detailing how to save and recall preferred light settings.
5.4 Timer Function
Use the timer buttons (1H, 2H, 4H) on the remote to set the fan to automatically turn off after 1, 2, or 4 hours.
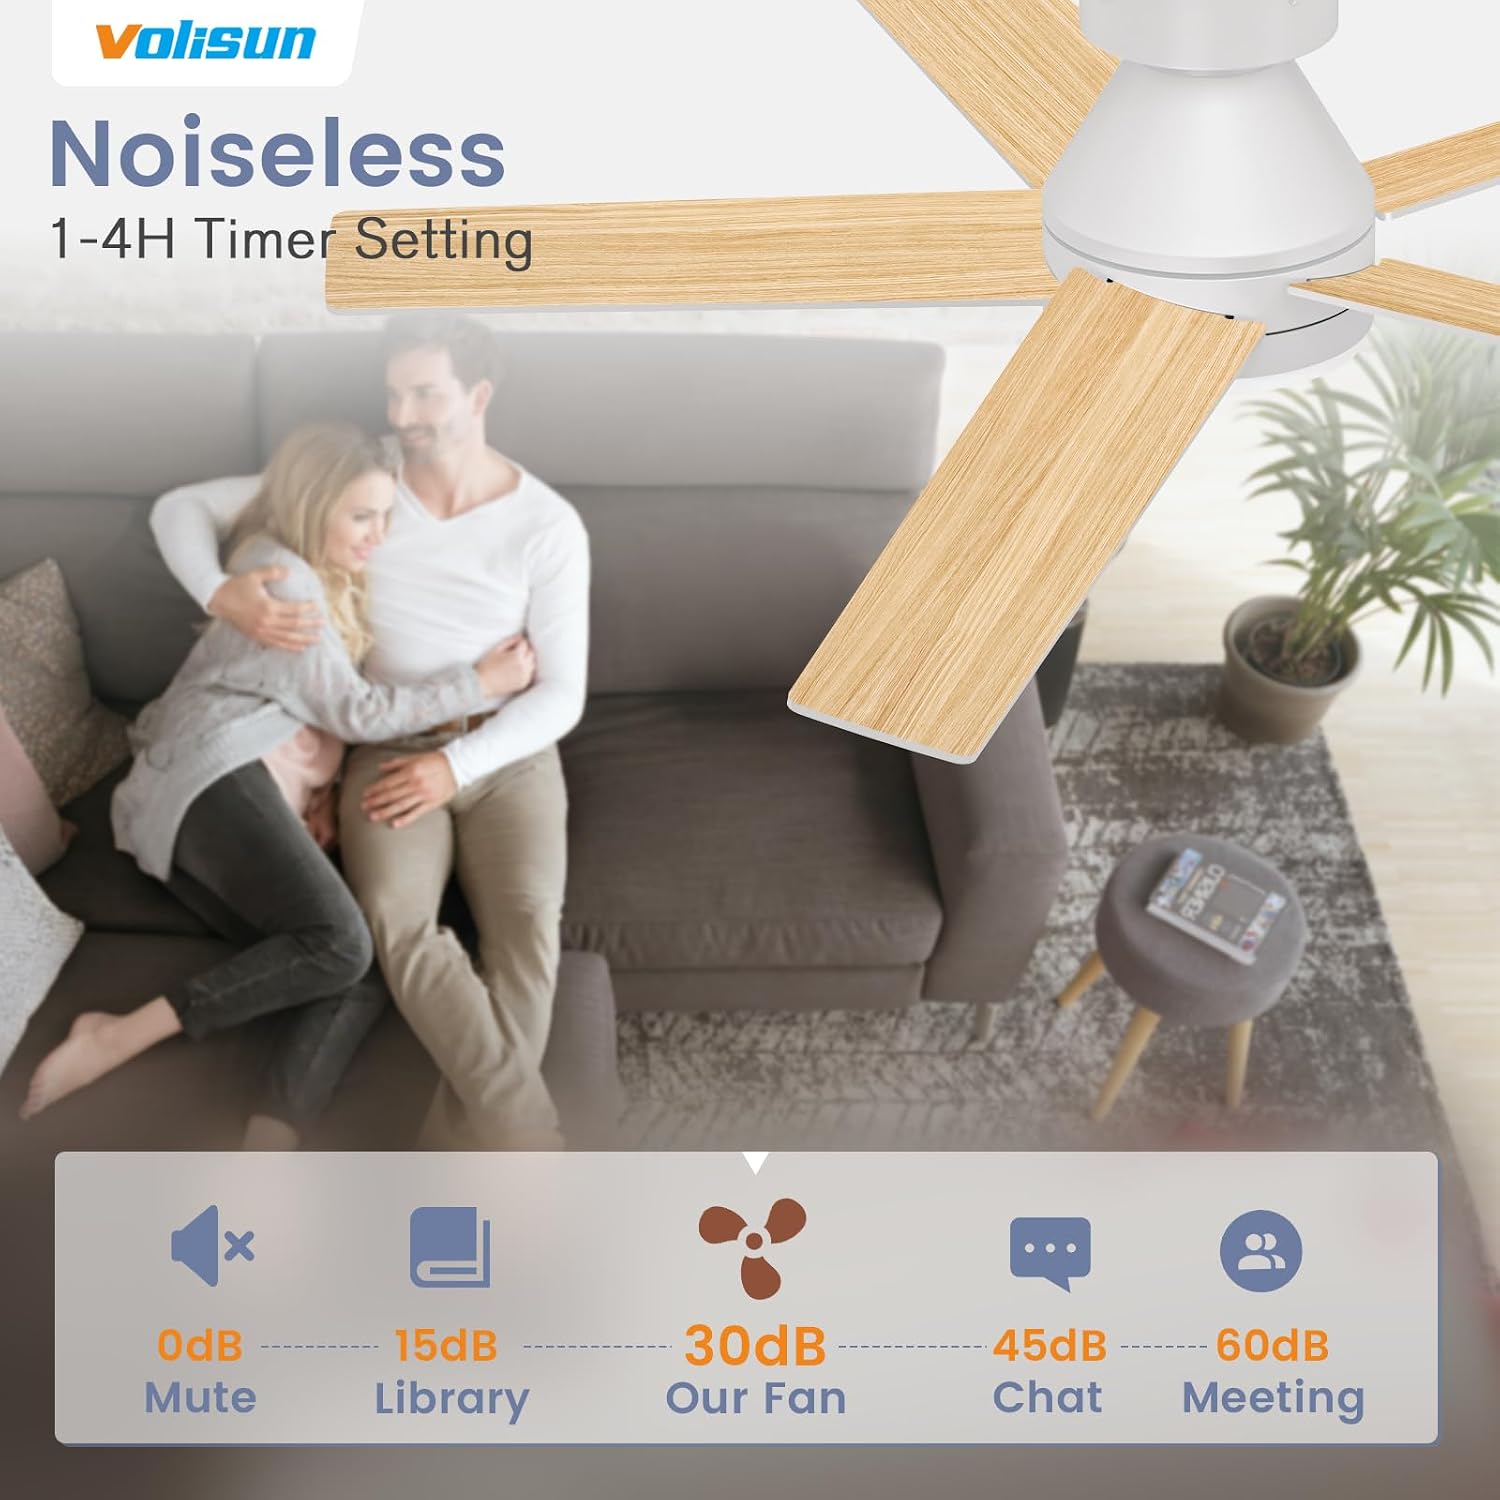
Image 5.5: The fan includes a timer function for 1, 2, or 4 hours, and operates quietly at approximately 30dB.
6. Maintenance
Regular maintenance ensures the longevity and optimal performance of your ceiling fan.
- Cleaning: Periodically wipe the fan blades and motor housing with a soft, damp cloth. Do not use abrasive cleaners or solvents.
- Tightening Screws: Check all screws on the fan blades and mounting hardware annually to ensure they are securely tightened.
- Light Source: The LED light module is integrated. Do not attempt to replace individual LEDs. If the light fails, contact customer service for assistance.
7. Troubleshooting
If you encounter issues with your fan, refer to the following common problems and solutions:
| Problem | Possible Cause | Solution |
|---|---|---|
| Fan does not start | No power to the fan; Loose wire connections; Remote control battery dead. | Check circuit breaker; Verify all wire connections are secure; Replace remote control battery. |
| Light does not work | Loose wire connection to light kit; LED module failure. | Check light kit wiring; Contact customer service if LED module is faulty. |
| Fan wobbles | Loose blade screws; Unbalanced blades; Loose mounting bracket. | Tighten all blade screws; Ensure blades are balanced (a balancing kit may be needed); Secure mounting bracket. |
| Remote control not responding | Dead battery; Remote not paired (if applicable); Obstruction between remote and receiver. | Replace remote battery; Ensure clear line of sight; Refer to pairing instructions if available (not typically needed for pre-paired units). |
If the problem persists after attempting these solutions, please contact VOLISUN customer support.
8. Specifications
| Feature | Detail |
|---|---|
| Brand | VOLISUN |
| Model Name | Ceiling Fan with Light (Model 21689ZM) |
| Size | 52 inch |
| Color | White |
| Power Source | Corded Electric |
| Voltage | 110 Volts |
| Wattage | 22 watts |
| Control Method | Remote, Touch (via app if available) |
| Number of Power Levels | 6 (Fan Speeds) |
| Light Features | 3CCT Dimmable (3000K, 4500K, 6000K), Memory Function |
| Special Features | Reversible Motor, 1/2/4H Timer Off, Dual-sided Blades (White/Walnut) |
| Indoor/Outdoor Usage | Indoor, Outdoor (covered patio) |
| Installation Type | Flush Mount |
| Product Dimensions | 52 x 52 x 9.3 inches |
| Item Weight | 12.77 pounds |

Image 8.1: Key dimensions of the 52-inch VOLISUN ceiling fan, including overall width, height, and blade length.
9. Warranty and Support
VOLISUN stands behind its products with a commitment to customer satisfaction.
- 2-Year Service: This product is covered by a full 2-year service period from the date of purchase. This service covers manufacturing defects and operational failures under normal use.
- Contact Support: For any questions, technical assistance, or warranty claims, please contact VOLISUN customer service through the retailer where the product was purchased or visit the official VOLISUN store page.