
1. Introduction
This manual provides essential instructions for the safe and effective operation of your Gemmac Portable Emergency Radio, Model XLN-383SW. Please read this manual thoroughly before use and retain it for future reference.

The Gemmac Portable Emergency Radio, model XLN-383SW, is shown in its grey casing, featuring a built-in flashlight, radio controls, and a solar panel. A smartphone is connected via USB, illustrating the power bank function.
2. Product Features
- AM/FM/SW Radio: Access to multiple radio bands for news and entertainment.
- Emergency Flashlight: Integrated 1W LED flashlight for illumination.
- SOS Alarm: Activates a loud siren and flashing light for emergency signaling.
- 2000mAh Power Bank: Rechargeable battery to power external USB-compatible devices.
- Multiple Charging Options: USB input, hand crank, and solar panel.
- Portable Design: Compact, lightweight, and includes a hook for easy carrying.
3. Setup and Initial Use
3.1 Battery Installation
The radio uses a rechargeable 18650 Lithium-ion battery. Ensure the battery is correctly inserted into the battery compartment according to the polarity markings.

This image reveals the internal battery compartment of the radio, featuring a removable 18650 rechargeable lithium battery, which serves as the primary power source and power bank.
3.2 Charging the Radio
Your Gemmac emergency radio offers three methods for charging its internal battery:
- USB Charging: Connect the provided USB cable to the radio's USB input port and a standard 5V USB power source (e.g., wall adapter, computer). The charging indicator lights will illuminate.
- Hand Crank Charging: Extend the hand crank located on the back of the radio. Rotate the crank clockwise or counter-clockwise at a steady pace (approximately 130-150 RPM) for 3-5 minutes to generate sufficient power for short-term use or to initiate charging.
- Solar Panel Charging: Place the radio with its solar panel facing direct sunlight. The solar indicator light will turn on when charging. This method is ideal for maintaining battery charge or for slow charging over extended periods.

A composite image illustrating the three primary charging methods for the radio: manual hand cranking, direct USB input, and solar energy absorption through the top panel.

The radio is shown outdoors with its solar panel exposed to sunlight, indicating the solar charging function.

A hand is shown actively rotating the hand crank on the emergency radio, demonstrating the manual power generation feature.
4. Operating Instructions
4.1 Radio Operation
- Power On/Off: Rotate the VOL knob clockwise to turn the radio on and adjust the volume. Rotate counter-clockwise until it clicks to turn off.
- Band Selection: Use the AM/FM/SW switch to select the desired radio band.
- Tuning: Extend the telescopic antenna for better reception. Rotate the TUNE knob to scan for stations. The frequency display will indicate the current station.
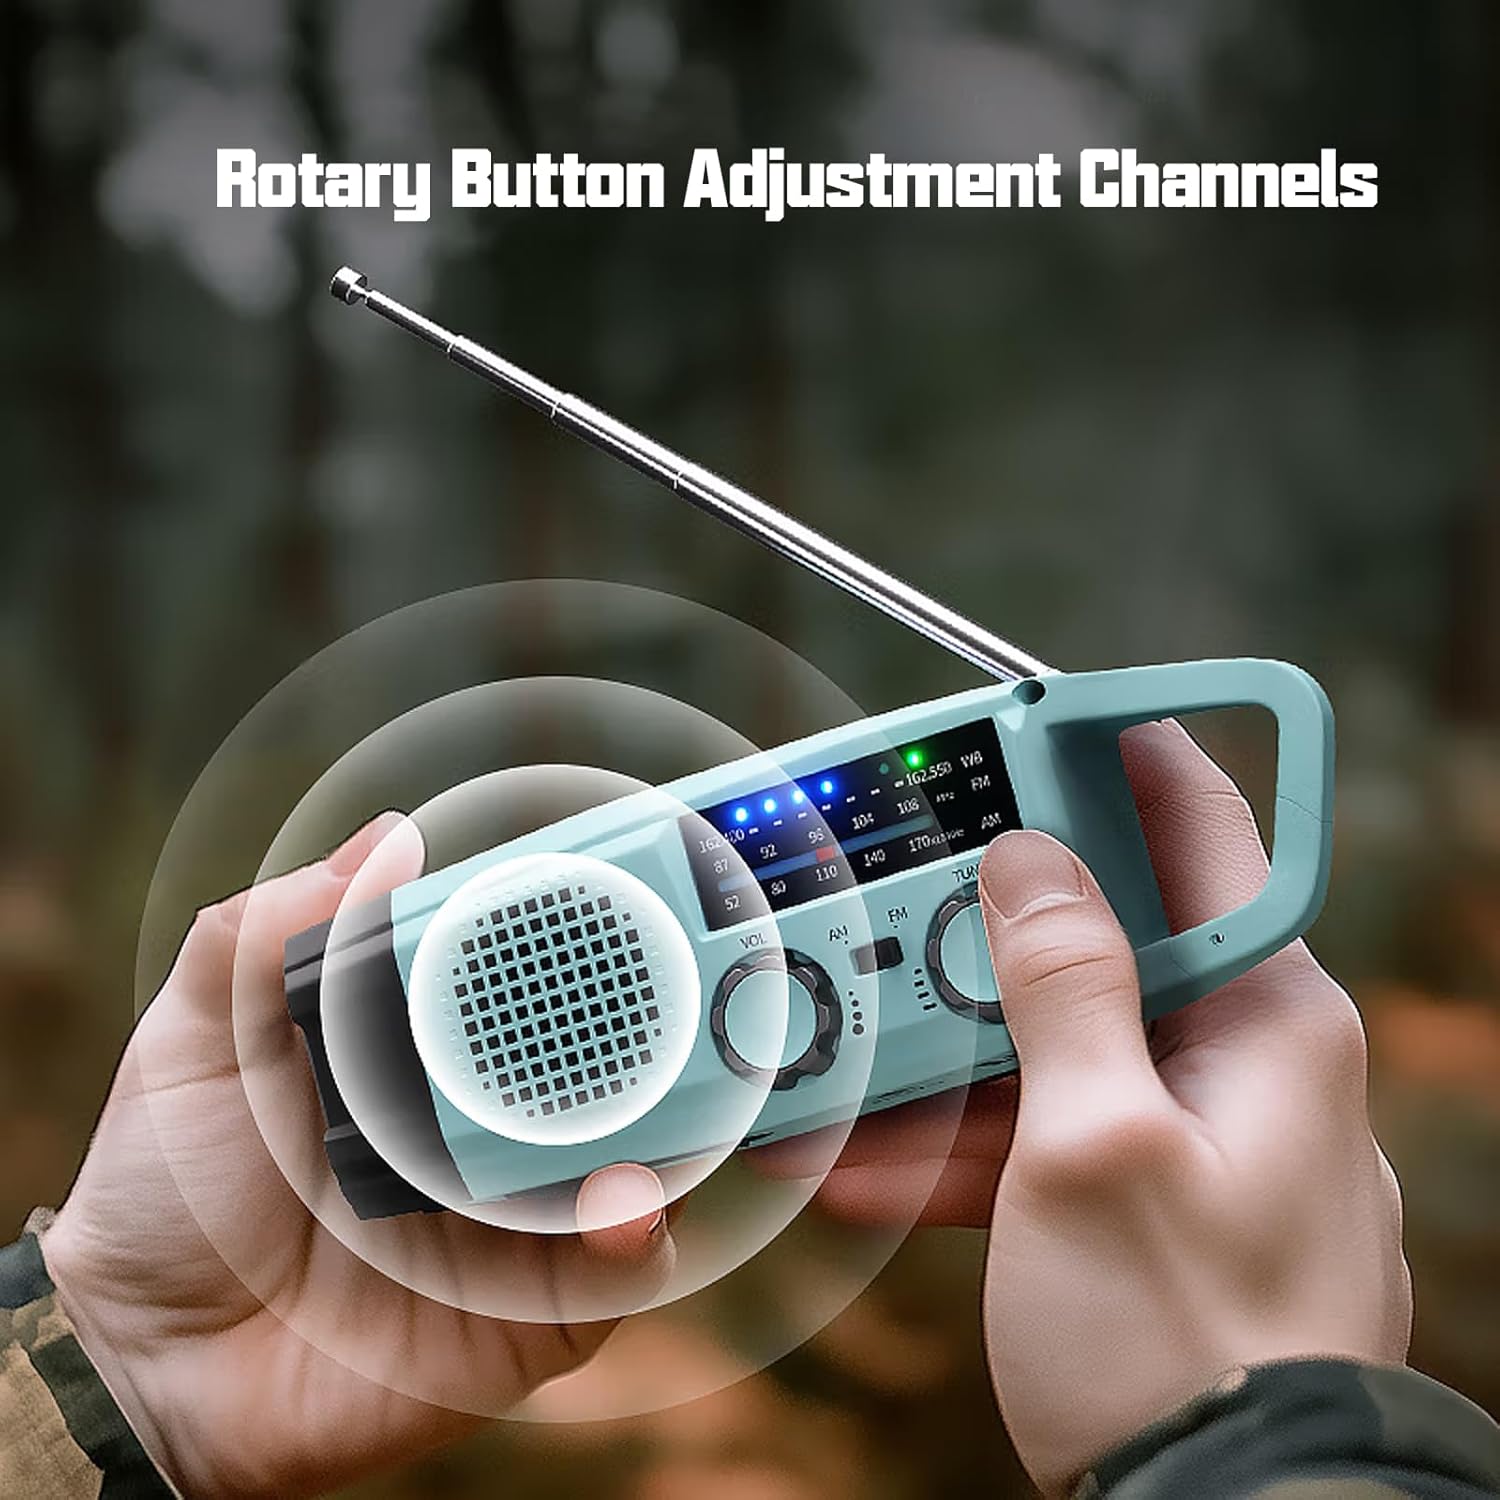
The image shows a user adjusting the rotary knobs for volume and radio tuning, indicating the ease of operation for selecting AM, FM, or SW bands.
4.2 Flashlight Function
Press the dedicated flashlight button (usually located near the flashlight lens) to turn the 1W LED flashlight on or off.
4.3 SOS Alarm
In an emergency, press and hold the SOS button (often marked with a bell or SOS symbol) to activate the loud siren and flashing light. Release the button to deactivate the alarm.

The radio is depicted with a visual overlay indicating the activation of its SOS alarm, which includes a loud siren and flashing light for emergency signaling.
4.4 Power Bank Function
To charge external USB devices, connect your device's charging cable to the radio's USB output port. The radio's internal 2000mAh battery will provide power to your device.
4.5 Portability
The radio features a convenient hook for easy attachment to backpacks, belts, or other gear, making it suitable for outdoor activities.

A detailed view of the radio's integrated hook, designed for easy attachment to backpacks or other gear, enhancing portability.
5. Maintenance
- Keep the device dry. Do not expose it to rain or moisture.
- Clean the radio with a soft, damp cloth. Do not use harsh chemicals or abrasive cleaners.
- Store the radio in a cool, dry place when not in use.
- For optimal battery life, fully charge the radio at least once every three months if stored for extended periods.
6. Troubleshooting
- No Power: Ensure the battery is correctly installed and charged. Try charging via USB, hand crank, or solar panel.
- Poor Radio Reception: Extend the telescopic antenna fully. Try repositioning the radio. Ensure you are within range of broadcast signals.
- Flashlight Not Working: Check battery level. Ensure the flashlight button is pressed correctly.
- External Device Not Charging: Ensure the USB cable is securely connected to both the radio and the external device. Check the radio's battery level.
7. Specifications
| Feature | Specification |
|---|---|
| Brand | Gemmac |
| Model Number | XLN-383SW |
| Color | Green (as per product details, though images show grey/light blue) |
| Radio Bands | AM/FM, SW |
| FM Frequency | 87-108 MHz |
| AM Frequency | 520-1710 kHz |
| SW Frequency | 7-19 MHz |
| Battery Type | Lithium-ion (18650) |
| Battery Capacity | 2000mAh |
| Charging Methods | USB, Hand Crank, Solar Panel |
| Flashlight | 1W LED |
| Connectivity Technology | Auxiliary (for charging external devices) |
| Dimensions | 49L x 54W x 158H millimeters |
| Components Included | USB Cable, User Manual |
8. Warranty and Support
8.1 Warranty Information
This product is covered by a manufacturer's warranty for refund and return within 30 days of purchase. Please refer to your purchase documentation for specific terms and conditions.
8.2 Customer Support
For technical assistance, troubleshooting beyond this manual, or warranty claims, please contact the seller or manufacturer directly through the platform where the product was purchased. Contact information is typically available on your order details or the product listing page.