SIXTOP 4-Channel 1080P Dash Cam User Manual
Model: RM
1. Product Overview
The SIXTOP 4-Channel 1080P Dash Cam is a comprehensive vehicle recording system designed to enhance driving safety and provide evidence in case of incidents. It features a 3-inch IPS display and records simultaneously from four cameras: front, rear, and two internal cameras. Key functionalities include automatic loop recording, G-sensor for collision detection, advanced night vision, and reversing assist.
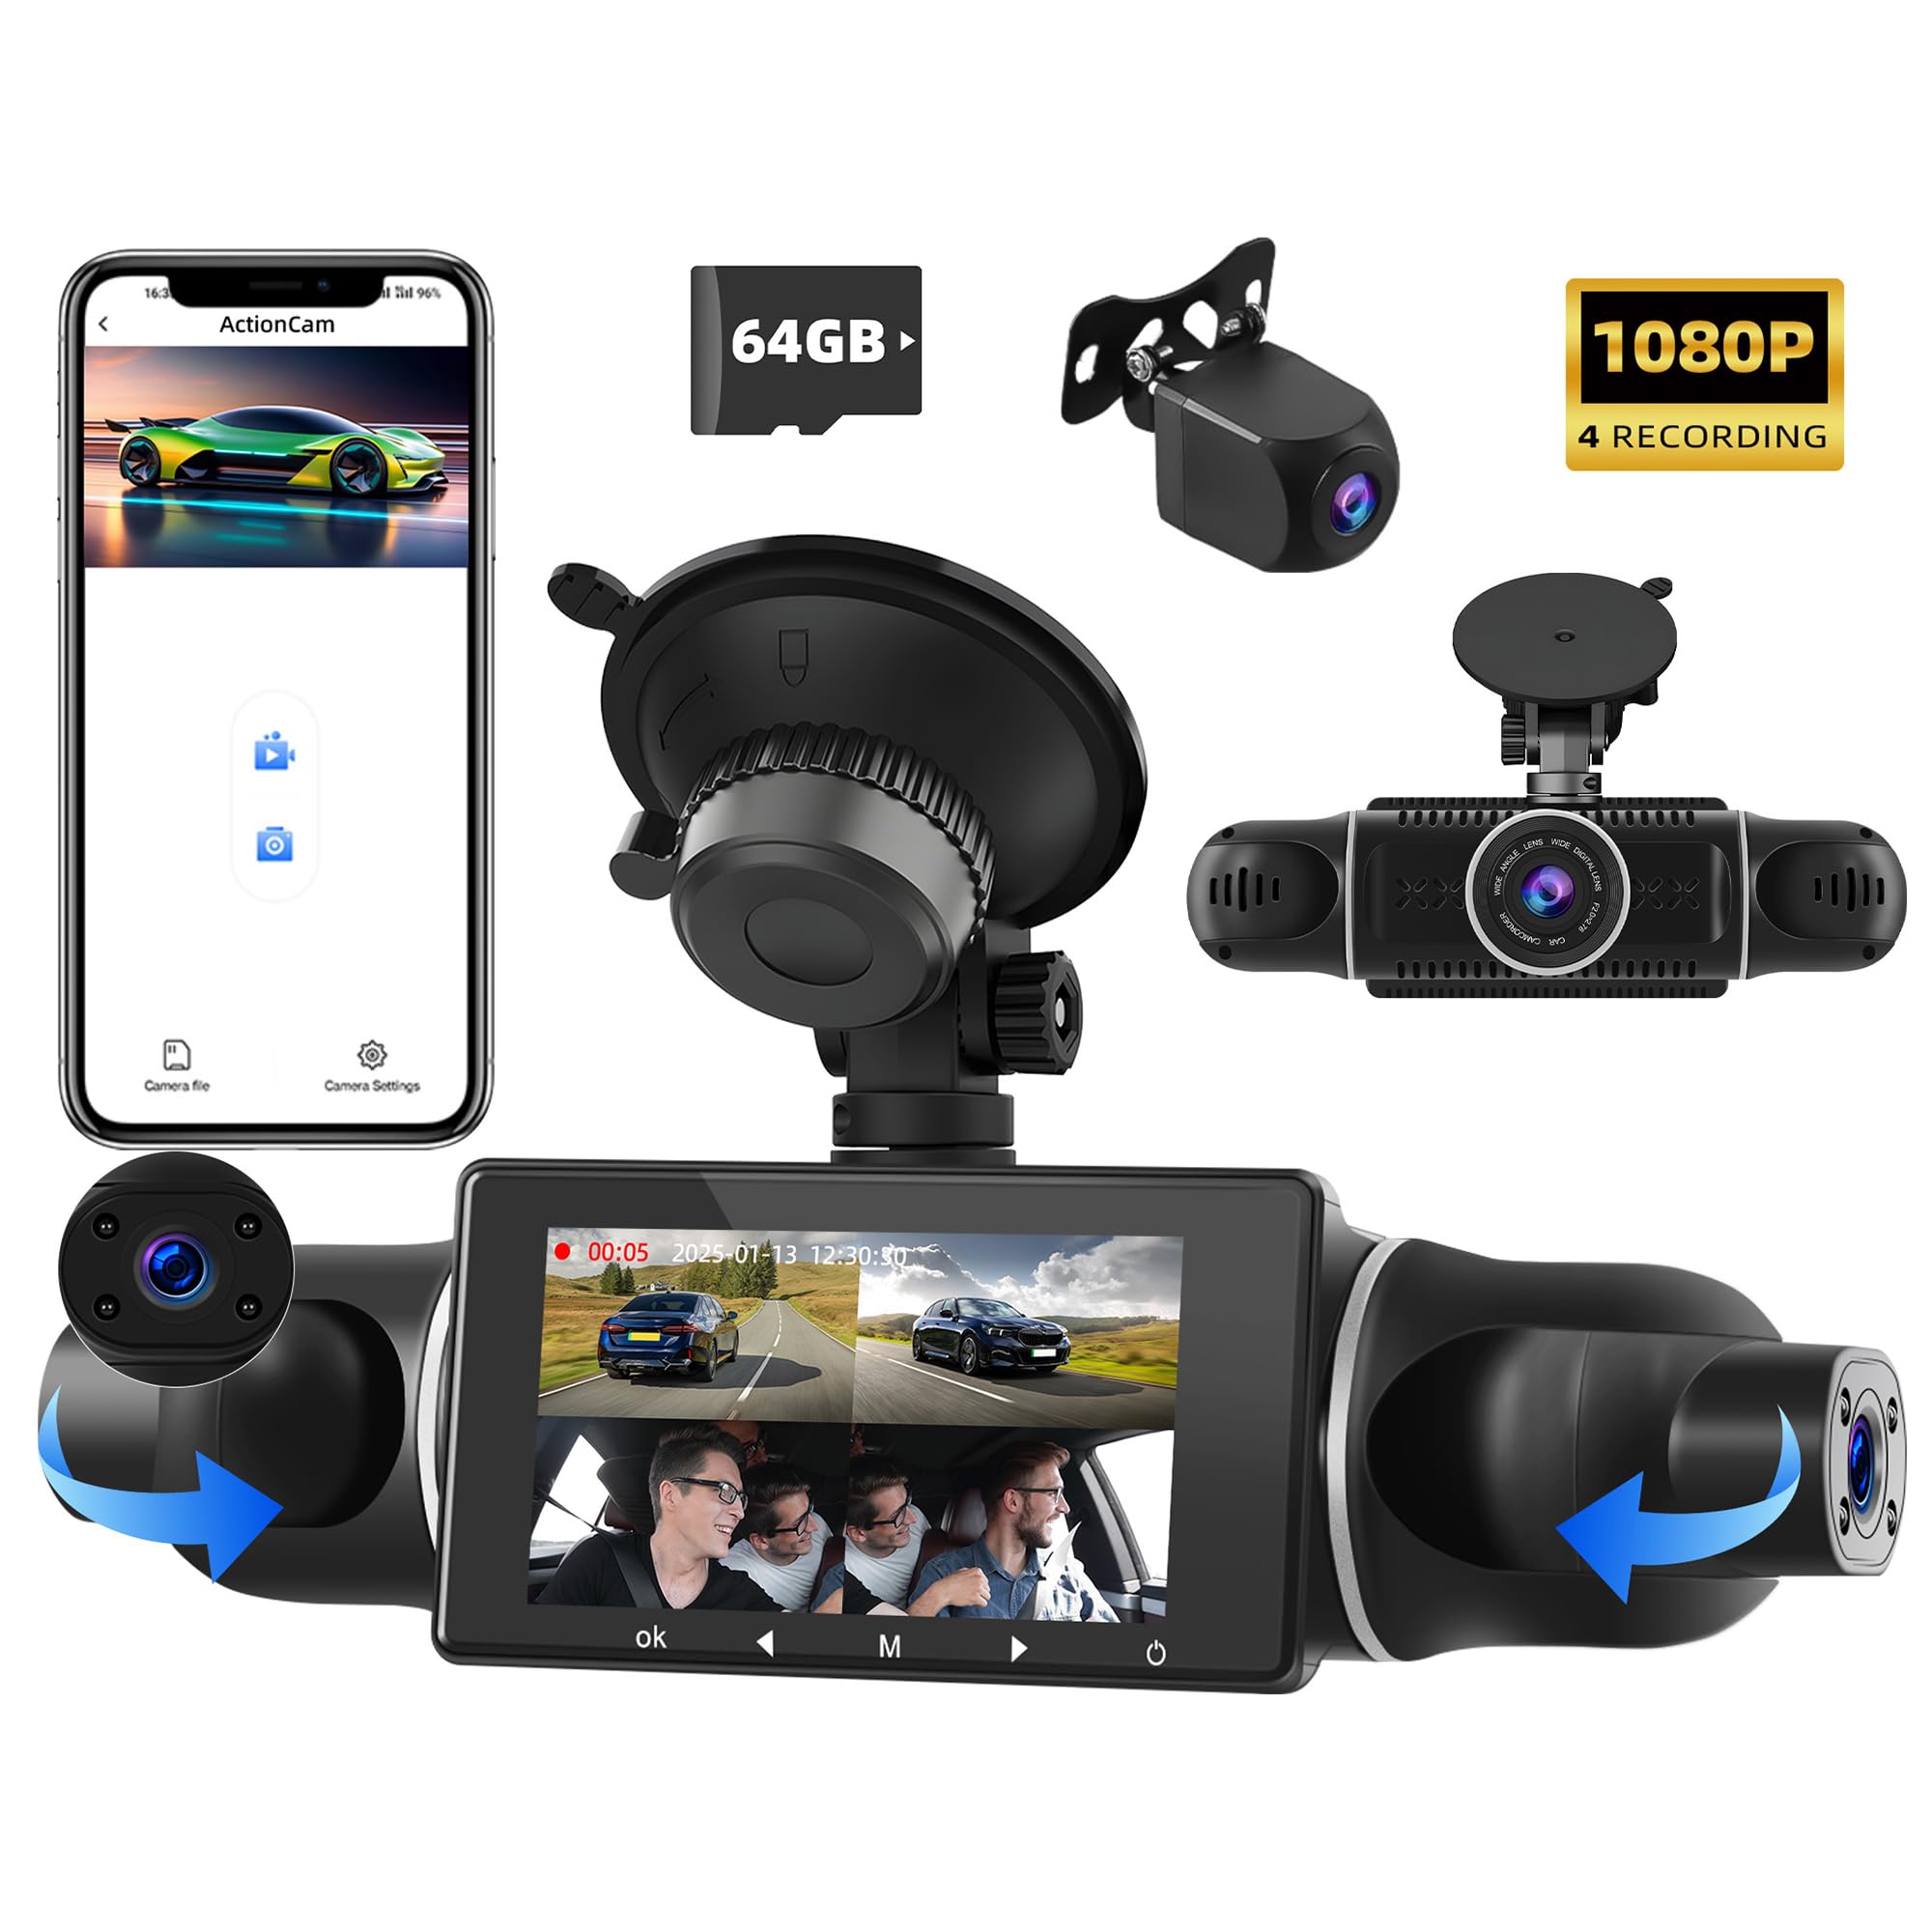
Image: Main unit of the SIXTOP 4-Channel Dash Cam, showing the 3-inch screen and multiple camera lenses.
2. Package Contents
Please verify that all items listed below are included in your package. If any items are missing or damaged, please contact customer support.
- SIXTOP 4-Channel Dash Cam Main Unit (with 3-inch IPS Display)
- Rear View Camera
- Power Cable
- Bracket (Suction Cup Mount)
- Extended Cable
- User Manual
- TF Card (Memory Card)
- Additional Parts (e.g., screws, adhesive pads)
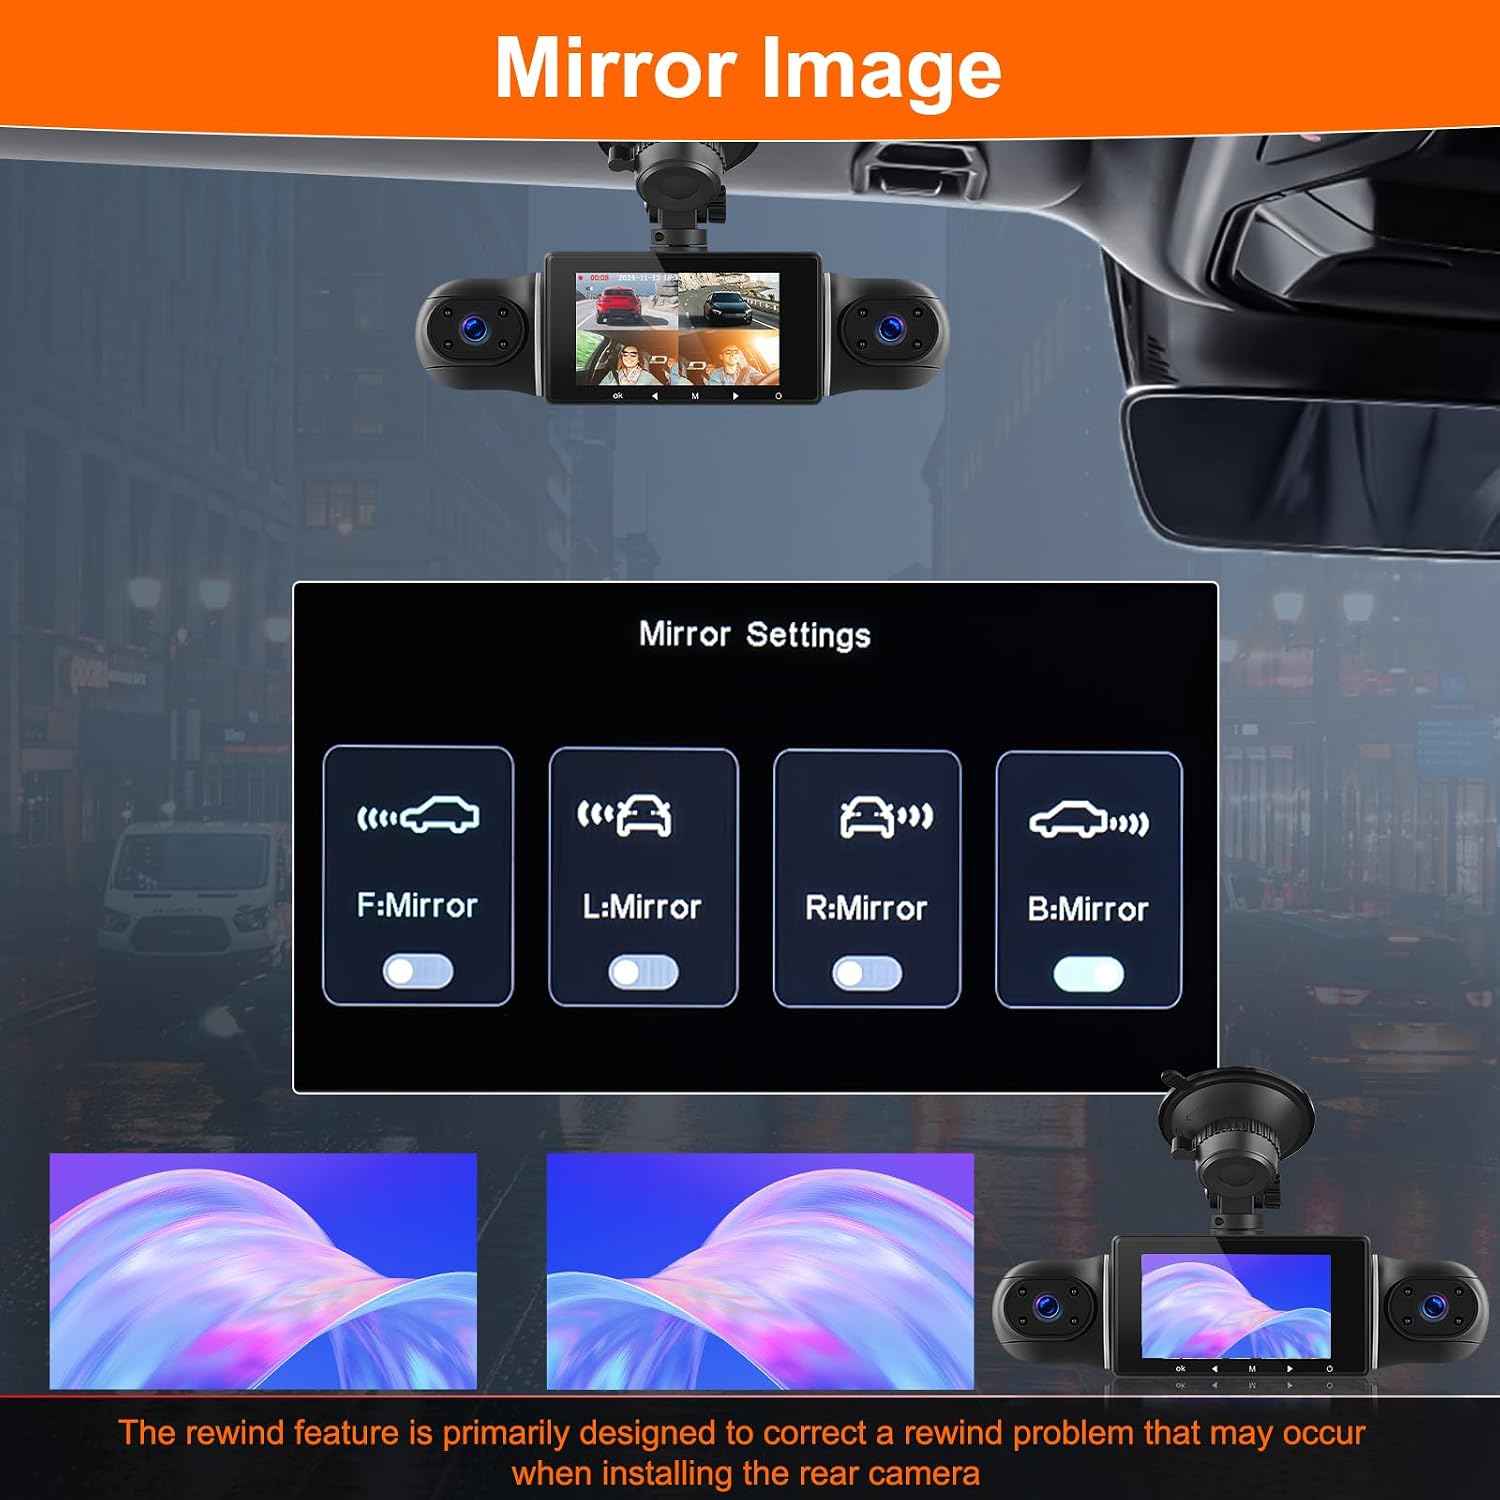
Image: Diagram illustrating the dash cam unit with its components and included accessories such as the rear camera, power cable, bracket, extended cable, user manual, and TF card.
3. Setup and Installation
3.1 Main Unit Installation
- Choose Location: Select a suitable location on your windshield that does not obstruct your view.
- Attach Bracket: Secure the suction cup mount (bracket) to the windshield. Ensure the surface is clean and dry for optimal adhesion.
- Mount Dash Cam: Attach the main dash cam unit to the bracket.
- Connect Power: Connect the power cable to the dash cam and route it neatly to your vehicle's 12V power outlet (cigarette lighter socket).
- Insert TF Card: Insert the provided TF card into the designated slot on the dash cam. Ensure it is inserted correctly.
3.2 Rear View Camera Installation
- Route Cable: Route the extended cable from the main unit to the rear of your vehicle.
- Mount Camera: Mount the rear view camera in a suitable location, typically above the license plate or inside the rear window.
- Connect Trigger Line (Optional for Reversing Assist): The red wire on the rear camera's extension cable is the reversing trigger line. For automatic reversing assist, connect this red wire to your vehicle's reversing light power supply. This will enable the screen to automatically switch to the rear view when reversing. If you prefer manual selection of the rear view, this connection is not required.
- Connect to Main Unit: Connect the rear camera cable to the AV input port on the main dash cam unit.

Image: Example of dash cam installation on a car windshield, showing cable routing.

Image: Illustration of a rear view camera mounted on the back of a vehicle.
4. Operating Instructions
4.1 Basic Operation
- Power On/Off: The dash cam will automatically power on and begin recording when your vehicle starts. It will power off when the vehicle is turned off. You can also manually power it on/off using the power button.
- Recording: Once powered on, the dash cam automatically starts loop recording.
- Menu Navigation: Use the 'Menu' button to access settings. Use 'Up' and 'Down' keys to navigate and 'OK' to confirm selections.
4.2 Key Features
4.2.1 4-View Camera System
This dash cam provides a comprehensive 4-view display, capturing footage from the front, rear, and two internal cameras simultaneously. The 3-inch screen supports full-screen, 3-split, and 4-split screen display modes, allowing you to monitor multiple perspectives.
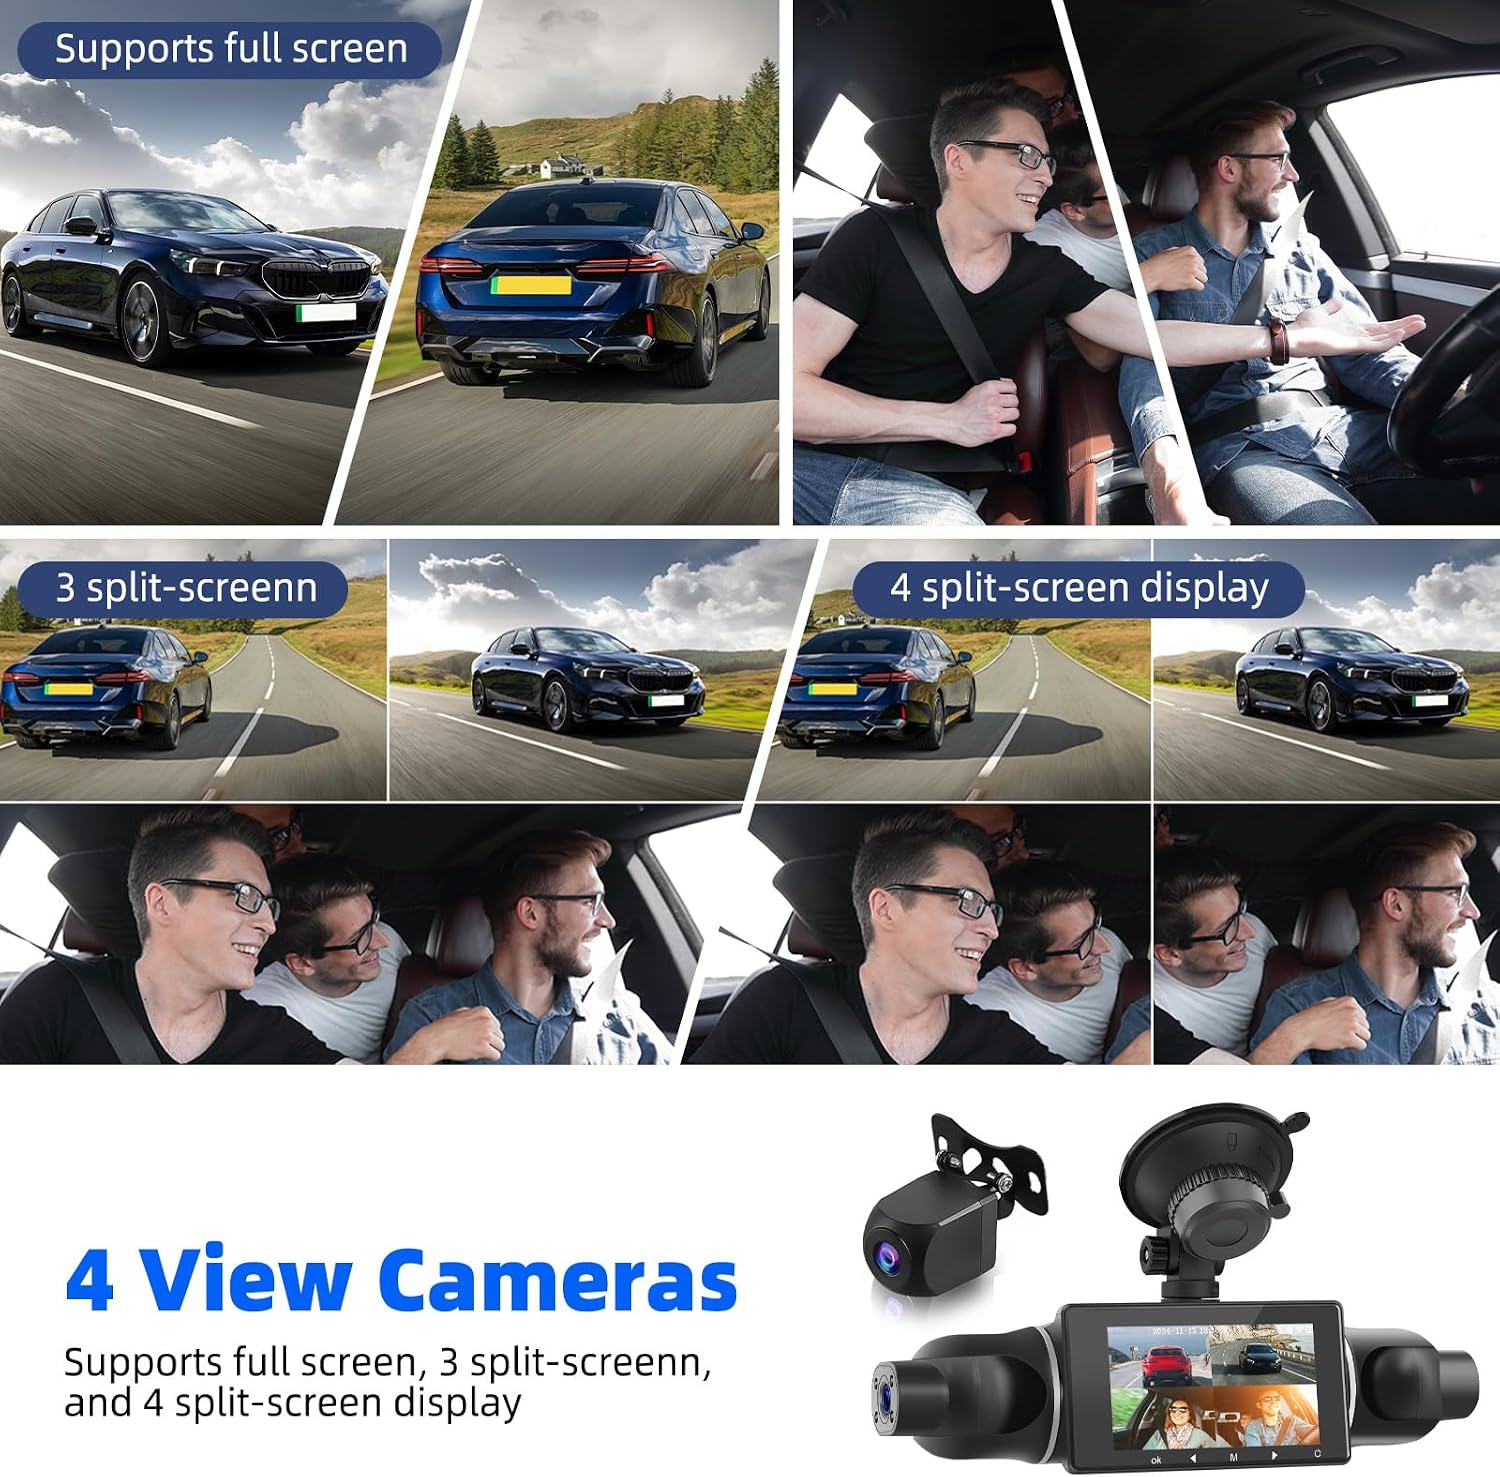
Image: The dash cam screen displaying multiple camera views simultaneously, including front, rear, and internal perspectives.
4.2.2 Automatic Loop Recording
The device supports automatic loop recording, which continuously records video in segments. When the memory card is full, the oldest unlocked footage is overwritten by new recordings. This ensures continuous recording without manual intervention.

Image: Visual representation of loop recording, showing older files being overwritten by new ones.
4.2.3 G-Sensor (Gravity Sensor)
The built-in G-sensor detects sudden movements or impacts, such as those from a collision. Upon detection, the current video segment is automatically locked to prevent it from being overwritten by loop recording. This ensures critical footage is preserved as evidence.
4.2.4 Night Vision
Equipped with 8 non-glare night vision lights and an exposure adjustment function, the dash cam captures clear details in low-light and dark environments. This feature helps maintain recording clarity during nighttime driving without overexposure from strong light sources.

Image: Comparison of dash cam footage in night vision and daytime, highlighting clarity in dark conditions.
4.2.5 Reversing Assist
When the rear camera's red trigger line is connected to the reversing light power supply, the dash cam screen will automatically switch to the rear view with parking guidelines when you engage reverse gear. The reversing lines can be adjusted for height and width in the settings menu.

Image: The dash cam display showing reversing guidelines for parking assistance, with an illustration of the rear camera's view.
4.2.6 Mirror Image Adjustment
The dash cam supports image mirroring for front (F:Mirror), left (L:Mirror), right (R:Mirror), and back (B:Mirror) cameras. This feature is primarily designed to correct image orientation, especially when installing the rear camera, ensuring the displayed image matches your perception.

Image: Screenshot of the dash cam's menu showing options for mirror image adjustments for different camera views.
4.2.7 App Connection and Playback
You can connect your mobile phone to the dash cam wirelessly via Wi-Fi to view and download recorded footage. Follow these steps:
- Power on the device and check the Wi-Fi information displayed on the screen.
- Download and install the Viidure APP from https://www.6zhentan.com/app/d0001/index.html.
- Connect to the dash cam's Wi-Fi network using the provided password.
- Add the logger within the Viidure APP.
- Once connected, you can watch live views, review recordings, and download files to your mobile phone.

Image: Step-by-step guide on how to connect the dash cam to a mobile application for wireless viewing and downloading of footage.
5. Maintenance
- Clean Lenses: Regularly clean the camera lenses with a soft, lint-free cloth to ensure clear recording quality.
- Check TF Card: Periodically check the TF card for errors or corruption. Format the card monthly to maintain optimal performance and prevent data issues.
- Firmware Updates: Check the manufacturer's website for any available firmware updates to ensure your device has the latest features and bug fixes.
- Temperature: Avoid exposing the dash cam to extreme temperatures for prolonged periods, as this can affect battery life and device performance.
6. Troubleshooting
| Problem | Possible Solution |
|---|
| Dash cam does not power on. | - Ensure the power cable is securely connected to both the dash cam and the vehicle's power outlet.
- Check if the vehicle's power outlet is functioning.
- Try a different power cable or adapter if available.
|
| Recording stops unexpectedly. | - Check if the TF card is full. Format the card regularly.
- Ensure the TF card is a high-speed card (Class 10 or higher).
- The G-sensor might be too sensitive, locking too many files. Adjust G-sensor sensitivity in settings.
|
| Video footage is blurry or unclear. | - Clean the camera lenses with a soft cloth.
- Ensure the protective film has been removed from the lenses.
- Check if the dash cam is securely mounted and not vibrating.
|
| Wi-Fi connection issues with the app. | - Ensure the dash cam's Wi-Fi is enabled.
- Verify you are connecting to the correct Wi-Fi network and entering the correct password.
- Restart both the dash cam and your mobile device.
- Ensure the Viidure app is up to date.
|
7. Specifications
| Parameter | Detail |
|---|
| Installation Type | For All Vehicles |
| Screen Size | 3-inch IPS Display |
| Camera Sensor | 1080P (all four lenses) |
| Video Format | TS |
| OSD Language Support | Simplified Chinese, Traditional Chinese, English, Russian, Korean, Japanese, Vietnamese, Thai, German, Italian, French, Czech |
| Viewing Angle | Front: 150 degrees, Rear: 120 degrees, Left/Right Internal: 120 degrees |
| Special Features | 4*1080P, 360 Degrees (coverage), Gravity Sensor, Loop Video, Exposure Compensation, Reverse Help, APP Playback, Night Vision |
| Frames per Second | 25 FPS |
| Photo Format | M-JPG |
| Video Resolution | 1080P |
| Memory Card Support | TF (Support Max. 256GB) |
| Built-in Stereo | Support |
| Current Frequency | 50Hz/60Hz |
| Picture Mirroring | Supports Adjustment |
| Product Dimensions | 1.81 x 6.69 x 1.97 inches |
| Item Weight | 1.1 pounds |
| Model Name | RM |
| Manufacturer | SIXTOP |

Image: Detailed diagram illustrating the dimensions of the SIXTOP dash cam unit.
8. Warranty and Support
SIXTOP is committed to providing quality products and customer satisfaction.
- 1-Year Replacement: The product comes with a 1-year replacement warranty for manufacturing defects.
- Lifetime Technical Support: Enjoy lifetime technical support for your SIXTOP dash cam.
- 24/7 Quick Response: Our support team is available 24 hours a day, 7 days a week for quick responses to your inquiries.
Contact Support:
For online support, please email us at: SIXTOP123@163.com


Image: Information regarding online support email and warranty details including 1-year replacement and lifetime technical support.


