
Jectse Jectsesikcd0et3w-11
Jectse Digital Camera User Manual
Model: Jectsesikcd0et3w-11
Introduction
Thank you for purchasing the Jectse Digital Camera. This compact and portable camera is designed to capture high-quality photos and videos, offering features such as 5K video resolution, 80MP photo resolution, and 18X digital zoom. This manual provides detailed instructions on how to set up, operate, and maintain your camera to ensure optimal performance and longevity.
Safety Information
- Do not expose the camera to water or excessive moisture.
- Avoid dropping the camera or subjecting it to strong impacts.
- Keep the camera away from direct sunlight and high temperatures.
- Use only the specified charging cable and power adapter.
- Do not attempt to disassemble or repair the camera yourself. Contact customer support for assistance.
- Keep out of reach of small children.
Package Contents
Please check that all items are present in your package:
- 1 x Jectse Digital Camera
- 1 x Type-C Charging Cable
- 1 x Hand Strap
- 1 x User Manual
- Note: Small Memory Card is not included.

Image: The Jectse Digital Camera shown alongside its included Type-C charging cable and hand strap, illustrating the complete package contents.
Product Overview
Familiarize yourself with the various parts and controls of your Jectse Digital Camera.

Image: Front view of the Jectse Digital Camera, highlighting the lens and flash.

Image: Back view of the Jectse Digital Camera, showing the 2.8-inch display screen and control buttons.
Key Components:
- Lens: F/2.2 f=3.83mm wide angle lens with 18X digital zoom capability.
- Flash: Built-in flash for low-light conditions.
- Display Screen: 2.8-inch screen for framing shots and reviewing content.
- W/T Key: Used for zooming in (W) and out (T).
- Shutter Key: Press to capture photos or start/stop video recording.
- OK/Mode Button: Confirms selections and switches between modes.
- Menu Button: Accesses camera settings and options.
- DISP Button: Changes display information on the screen.
- Battery Compartment: Houses the built-in 750mAh rechargeable battery.
- Type-C Port: For charging the camera.
- Memory Card Slot: Supports Small Memory Cards up to 256GB (not included).
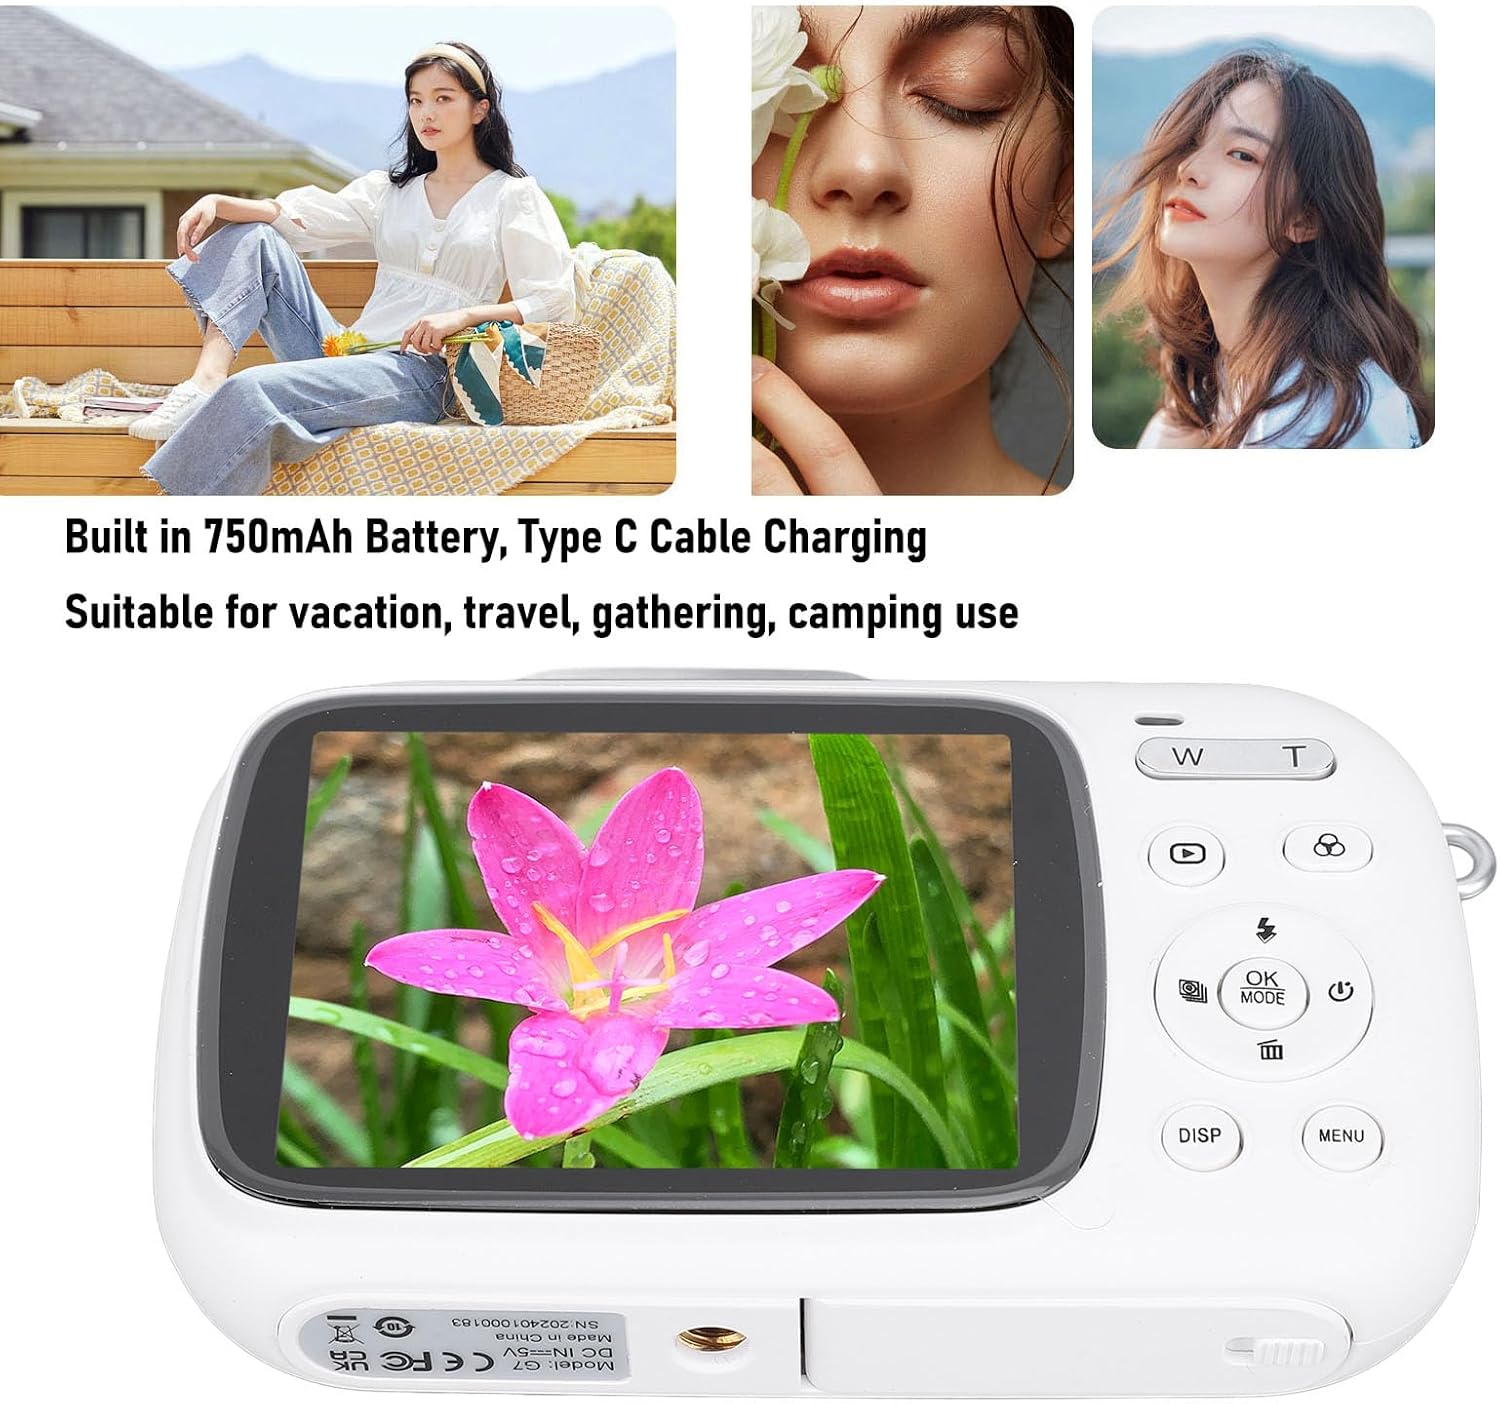
Image: Visual representation of key camera features including 80MP photo pixels, 5K HD video recording, 18X digital zoom, auto focusing, beauty filter, smiling selfie, continuous photo taking, built-in flash, and 2.8-inch display.
Setup
1. Charging the Battery
The camera has a built-in 750mAh rechargeable lithium-ion battery. Before first use, ensure the battery is fully charged.
- Connect the provided Type-C charging cable to the camera's Type-C port.
- Connect the other end of the cable to a USB power adapter (not included) or a computer's USB port.
- The charging indicator light will illuminate. Charging typically takes about 3 hours.
- Once fully charged, the indicator light may change or turn off. Disconnect the cable.
2. Inserting a Memory Card
A Small Memory Card (up to 256GB) is required to store photos and videos. It is not included in the package.
- Locate the memory card slot on the side or bottom of the camera.
- Insert the Small Memory Card into the slot with the metal contacts facing the correct direction (refer to the diagram near the slot if available).
- Push the card gently until it clicks into place.
- To remove the card, push it in again until it springs out slightly, then pull it out.
3. Attaching the Hand Strap
Attach the included hand strap to prevent accidental drops.
- Thread the thin loop of the hand strap through the strap eyelet on the camera body.
- Pass the larger end of the strap through the loop you just created and pull tight to secure it.
Operating Instructions
1. Powering On/Off
- To power on, press and hold the Power button (usually marked with a circle and a vertical line).
- To power off, press and hold the Power button again until the screen turns off.
2. Taking Photos
- Turn on the camera. It will typically default to photo mode. If not, press the MODE button to switch to photo mode.
- Frame your shot using the 2.8-inch display screen.
- Use the W/T keys to zoom in or out (18X digital zoom).
- Press the Shutter key halfway down to focus (if applicable).
- Press the Shutter key fully down to capture the 80MP photo.
3. Recording Videos
- Turn on the camera. Press the MODE button to switch to video recording mode.
- Frame your video using the display screen.
- Press the Shutter key to start recording 5K video. A recording indicator will appear on the screen.
- Press the Shutter key again to stop recording.
4. Using Special Functions
The camera offers several creative functions:
- Continuous Photography: Allows you to take multiple photos in quick succession. Access this setting via the MENU.
- Time Lapse Photography: Captures images at set intervals to create a time-lapse video. Configure in MENU.
- Loop Video: Records video in segments, overwriting older footage when the memory card is full. Useful for continuous recording.
- Composition Lines: Displays grid lines on the screen to help with framing and composition. Toggle with DISP button or in MENU.
- Facial Recognition: Automatically detects and focuses on faces in the frame. Enable/disable in MENU settings.
- Built-in Flash: The flash will automatically activate in low-light conditions or can be manually controlled via the flash button or MENU.
5. Playback and Review
- Press the Playback button (often indicated by a triangle icon) to enter playback mode.
- Use the directional buttons to navigate through your photos and videos.
- Press OK to view a video or zoom into a photo.
- Press the Playback button again to exit playback mode.
Maintenance
Cleaning the Camera
- Use a soft, lint-free cloth to wipe the camera body. Do not use liquid cleaners or solvents.
- For the lens and screen, use a specialized lens cleaning cloth or air blower to remove dust. Avoid touching the lens directly with your fingers.
- Ensure the camera is powered off before cleaning.
Storage
- Store the camera in a cool, dry place away from direct sunlight and extreme temperatures.
- If storing for an extended period, ensure the battery is partially charged (around 50%) and recharge it every few months to maintain battery health.
Troubleshooting
| Problem | Possible Cause / Solution |
|---|---|
| Camera does not power on. |
|
| Cannot take photos/record videos. |
|
| Images are blurry. |
|
| Battery life is short. |
|
Specifications
| Feature | Detail |
|---|---|
| Product Material | ABS |
| Video Resolution | 5K (Maximum), 15FPS |
| Photo Resolution | 80MP (Maximum) |
| Lens | F/2.2 f=3.83mm Wide Angle Lens |
| Digital Zoom | 18X |
| Display Screen | 2.8 inches |
| Storage | Small Memory Card, up to 256GB (not included) |
| Battery | 750mAh Lithium Ion Battery (built-in) |
| Charging Port | Type-C |
| Charging Time | Approx. 3 hours |
| Endurance Time | Approx. 2 hours (usage dependent) |
| Item Weight | 9.1 ounces |
| Model Number | Jectsesikcd0et3w-11 |
Warranty and Support
Jectse products are manufactured to the highest quality standards. For information regarding warranty coverage, technical support, or service inquiries, please refer to the contact information provided with your purchase or visit the official Jectse website.
Please retain your proof of purchase for warranty claims.
Ask a question about this manual
Ask about setup, troubleshooting, compatibility, parts, safety, or missing instructions. Manuals+ will review the question and use this page’s manual context to help answer it.