
1. Introduction and Overview
The Telwin Drive 1800 Kompressor is a compact, multi-functional 12V lithium emergency starter designed for various vehicles including motorcycles, cars, campers, marine engines, and vans. This device integrates an air compressor for tire inflation, a power bank for electronic device charging, and a high-intensity LED light. It utilizes high-efficiency LiPo lithium batteries for quick and complete charging, ensuring a compact and lightweight design. This manual provides essential information for the safe and effective use of your device.
2. Safety Information
Read all safety warnings and instructions before using this product. Failure to follow these instructions may result in electric shock, fire, and/or serious injury.
- Eye Protection: Always wear eye protection when working with batteries.
- Ventilation: Ensure adequate ventilation when charging or jump-starting to prevent accumulation of explosive gases.
- Battery Acid: Battery acid is corrosive. If contact occurs, flush immediately with water and seek medical attention.
- Sparks and Flames: Keep sparks, flames, and smoking materials away from the battery and jump starter.
- Frozen Batteries: Never attempt to jump-start a frozen battery.
- Children: Keep the device out of reach of children.
- Over-inflation: Do not over-inflate tires or other items. Follow manufacturer's recommended pressure.
- Heat: The compressor and hose may become hot during prolonged use. Allow to cool before handling.
- Charging: Use only the provided charging cable. Do not expose the device to rain or wet conditions.
3. Package Contents
Verify that all items are present in the package:
- Telwin Drive 1800 Kompressor Unit
- Starting Cables (Jump Start Clamps)
- USB-C Charging Cable
- Removable Air Hose
- 3 Inflation Nozzles
- Storage Case

Figure 3.1: Included accessories for the Telwin Drive 1800 Kompressor.
4. Product Features and Components
Familiarize yourself with the main components of your Telwin Drive 1800 Kompressor.

Figure 4.1: Front view of the Telwin Drive 1800 Kompressor.

Figure 4.2: Rear view with charging and output ports.

Figure 4.3: Detailed view of the control panel.
- LCD Display: Shows inflation modes, pressure readings, and battery status.
- Control Buttons: Power, mode selection, pressure adjustment (+/-), and LED light activation.
- Jump Start Port: For connecting the jump start cables.
- USB-A Output (OUT: 5V==2.4A): For charging electronic devices.
- USB-C Input (IN: 5V==2A): For charging the Telwin Drive 1800 Kompressor unit.
- Air Hose Connection: For attaching the removable air hose.
- LED Light: High-intensity light with multiple operating modes.
5. Setup
5.1 Initial Charging
Before first use, fully charge the Telwin Drive 1800 Kompressor. Connect the provided USB-C charging cable to the USB-C input port on the device and to a suitable USB power adapter (not included). The LCD display will indicate charging status. Charging time may vary.
5.2 Attaching the Air Hose
To use the compressor function, securely screw the removable air hose into the designated port on the device. Ensure a tight connection to prevent air leakage.
6. Operating Instructions
6.1 Jump Starting a Vehicle
- Ensure the Telwin Drive 1800 Kompressor is sufficiently charged.
- Turn off the vehicle's ignition and all accessories.
- Connect the RED positive (+) clamp to the positive (+) terminal of the vehicle's battery.
- Connect the BLACK negative (-) clamp to a metal part of the vehicle's chassis, away from the battery and fuel lines. Do not connect directly to the negative battery terminal unless specified by the vehicle manufacturer.
- Ensure the clamps are securely attached and do not touch each other.
- Turn on the Telwin Drive 1800 Kompressor.
- Start the vehicle. If it doesn't start immediately, wait 30 seconds and try again. Do not crank for more than 3 seconds per attempt.
- Once the vehicle starts, immediately disconnect the BLACK negative (-) clamp first, then the RED positive (+) clamp.

Figure 6.1: Jump starting a vehicle using the Telwin Drive 1800 Kompressor.
6.2 Using the Air Compressor
- Ensure the air hose is securely attached to the device.
- Select the appropriate inflation nozzle and attach it to the air hose.
- Connect the nozzle to the item to be inflated (e.g., tire valve).
- Turn on the Telwin Drive 1800 Kompressor.
- Use the mode button to select the desired inflation mode (car, SUV, bicycle, inflatables, custom).
- Use the +/- buttons to set the target pressure. The LCD display will show the current and target pressure.
- Press the power button to start inflation. The compressor will automatically stop when the target pressure is reached.
- Disconnect the nozzle and air hose.
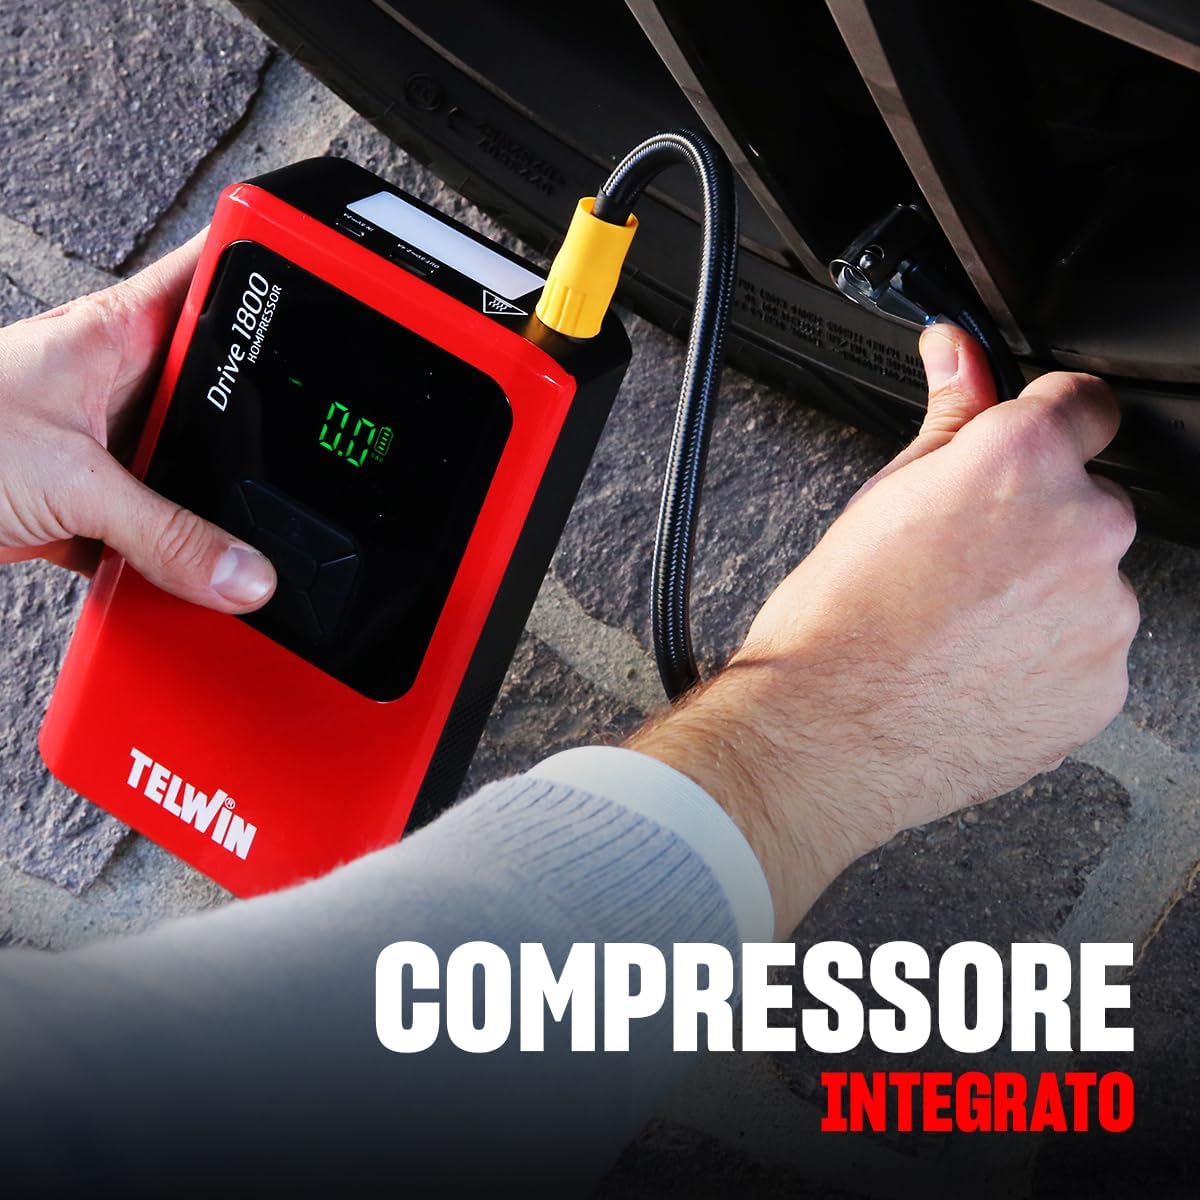
Figure 6.2: Inflating a car tire with the integrated compressor.
6.3 Using as a Power Bank
To charge electronic devices, connect your device's USB charging cable to the USB-A output port (OUT: 5V==2.4A) on the Telwin Drive 1800 Kompressor. The device will automatically begin charging.
6.4 Using the LED Light
Press the dedicated light button on the control panel to cycle through the LED light modes:
- Fixed Light: For general illumination.
- Strobe Light: For signaling or attracting attention.
- S.O.S. Mode: Flashes the international S.O.S. signal.
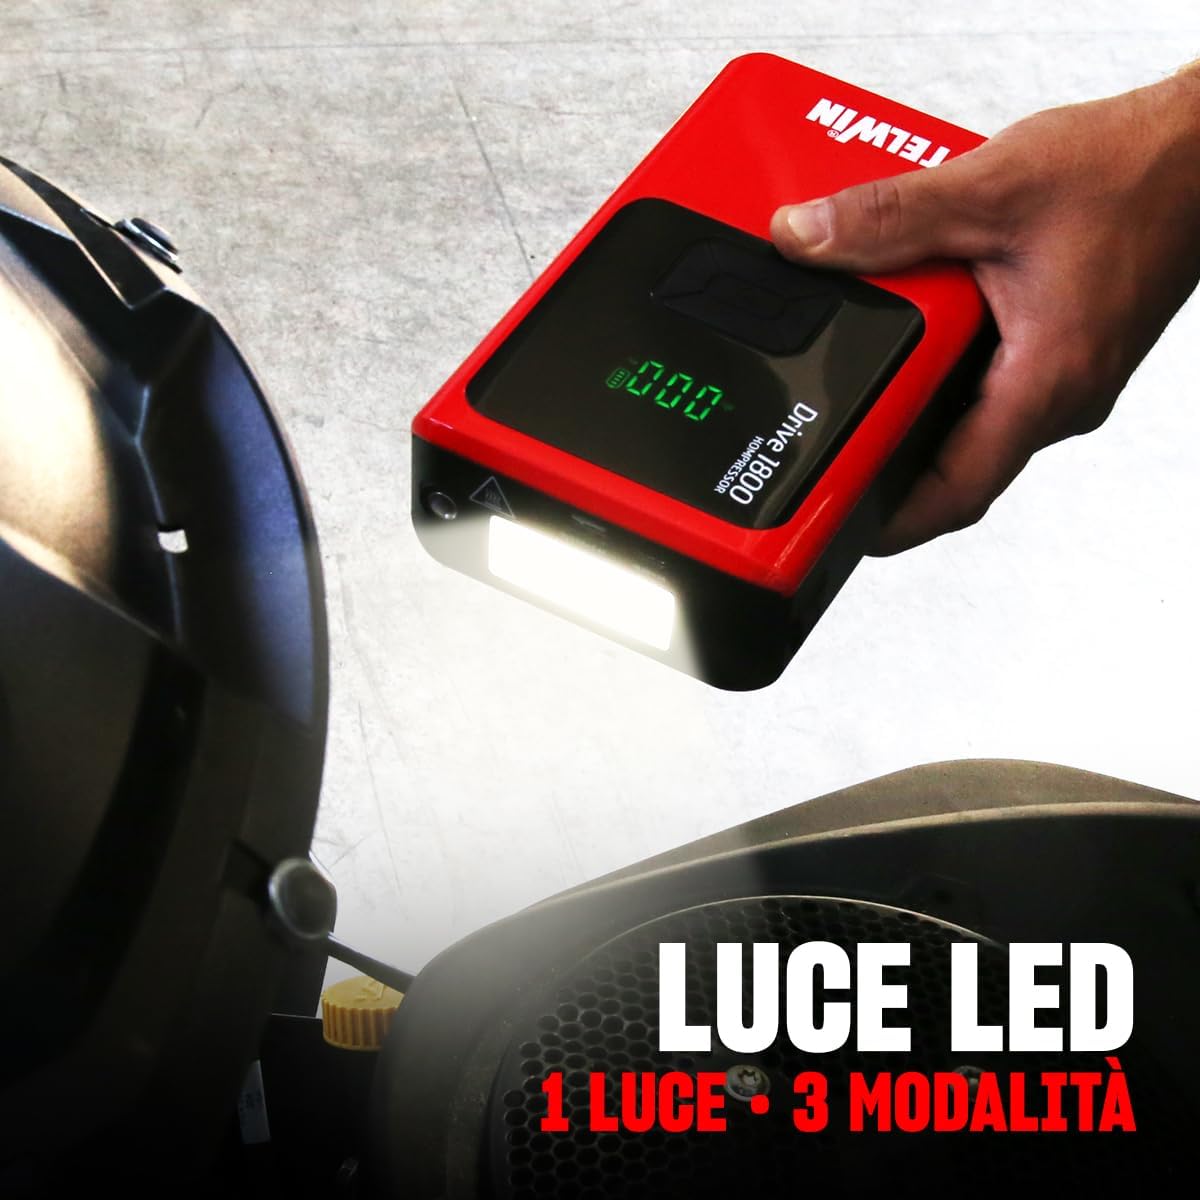
Figure 6.3: The LED light in operation.
7. Maintenance
- Recharging: For optimal battery life, recharge the device every 3-6 months, even if not in use.
- Cleaning: Wipe the exterior with a soft, dry cloth. Do not use harsh chemicals or abrasives.
- Storage: Store the device in a cool, dry place, away from direct sunlight and extreme temperatures. Ensure it is fully charged before long-term storage.
- Air Filter: Periodically check the air intake vents for dust or debris and clean if necessary to maintain compressor efficiency.
8. Troubleshooting
| Problem | Possible Cause | Solution |
|---|---|---|
| Device does not turn on. | Battery is depleted. | Charge the device fully using the USB-C cable. |
| Vehicle does not jump start. | Incorrect clamp connection; vehicle battery too deeply discharged; device battery too low. | Verify clamp connections (red to +, black to chassis); ensure device is fully charged; consult vehicle manual. |
| Compressor not inflating. | Air hose not securely attached; nozzle not properly connected; target pressure not set. | Check all connections; ensure nozzle is firmly attached; set target pressure on the display. |
| LED light not working. | Device battery is depleted; light button not pressed correctly. | Charge the device; press the light button firmly to cycle modes. |
9. Specifications
- Model: Drive 1800 Kompressor
- Manufacturer: Telwin
- Item Weight: 2 Kilograms
- Package Dimensions: 25.8 x 12.7 x 11 cm
- Model Number: 829575
- Max Amperage: 1800 A
- Voltage: 12 Volts
- Battery Composition: Lithium-ion (LiPo)
- Compressor Max Pressure: Up to 3.5 bar
- USB-A Output: 5V==2.4A
- USB-C Input: 5V==2A
10. Warranty and Support
For warranty information and customer support, please refer to the documentation included with your purchase or visit the official Telwin website. Keep your proof of purchase for warranty claims.


