
1. Introduction
The Retevis Ailunce HA1G is a robust GMRS two-way radio designed for reliable communication in various environments. It features IP67 waterproofing, a long-lasting 2800mAh battery, NOAA weather alerts, and multiple channels including GMRS repeater channels. This manual provides essential information for the proper setup, operation, and maintenance of your HA1G radio.
2. Package Contents
Please check the package for the following items:
- 1 x HA1G GMRS two-way radio
- 1 x Battery
- 1 x USB-C charging cable
- 1 x Desk charger
- 1 x Belt clip
- 1 x Lanyard
- 1 x User manual

3. Product Features
- IP67 Waterproof Rating: The HA1G radio is designed to withstand submersion in water up to 1 meter for 30 minutes, making it suitable for outdoor and water-related activities.
- Long Range Communication: Includes 8 GMRS repeater channels and 256 memory channels, allowing for extended communication distances.
- 2800mAh Battery: Equipped with a high-capacity battery for extended use, providing approximately 17 hours of working time and 5 days of standby time.
- USB-C Charging: Convenient charging via USB-C, compatible with power banks, vehicle chargers, and computers.
- NOAA Weather Alerts: Features 12 NOAA channels for receiving weather information and alerts, enhancing safety during outdoor activities.
- Clear Sound: Incorporates squelch function and microphone gain for clear and accurate audio transmission.
- VFO Mode & CHIRP Support: Offers VFO mode for flexible frequency tuning and supports CHIRP software for easy programming.
- Emergency Alarm: Multiple alarm modes for quick assistance in emergency situations.
- 1.77-inch Color Screen: Provides clear display of channel and battery information, with excellent readability even in sunlight.
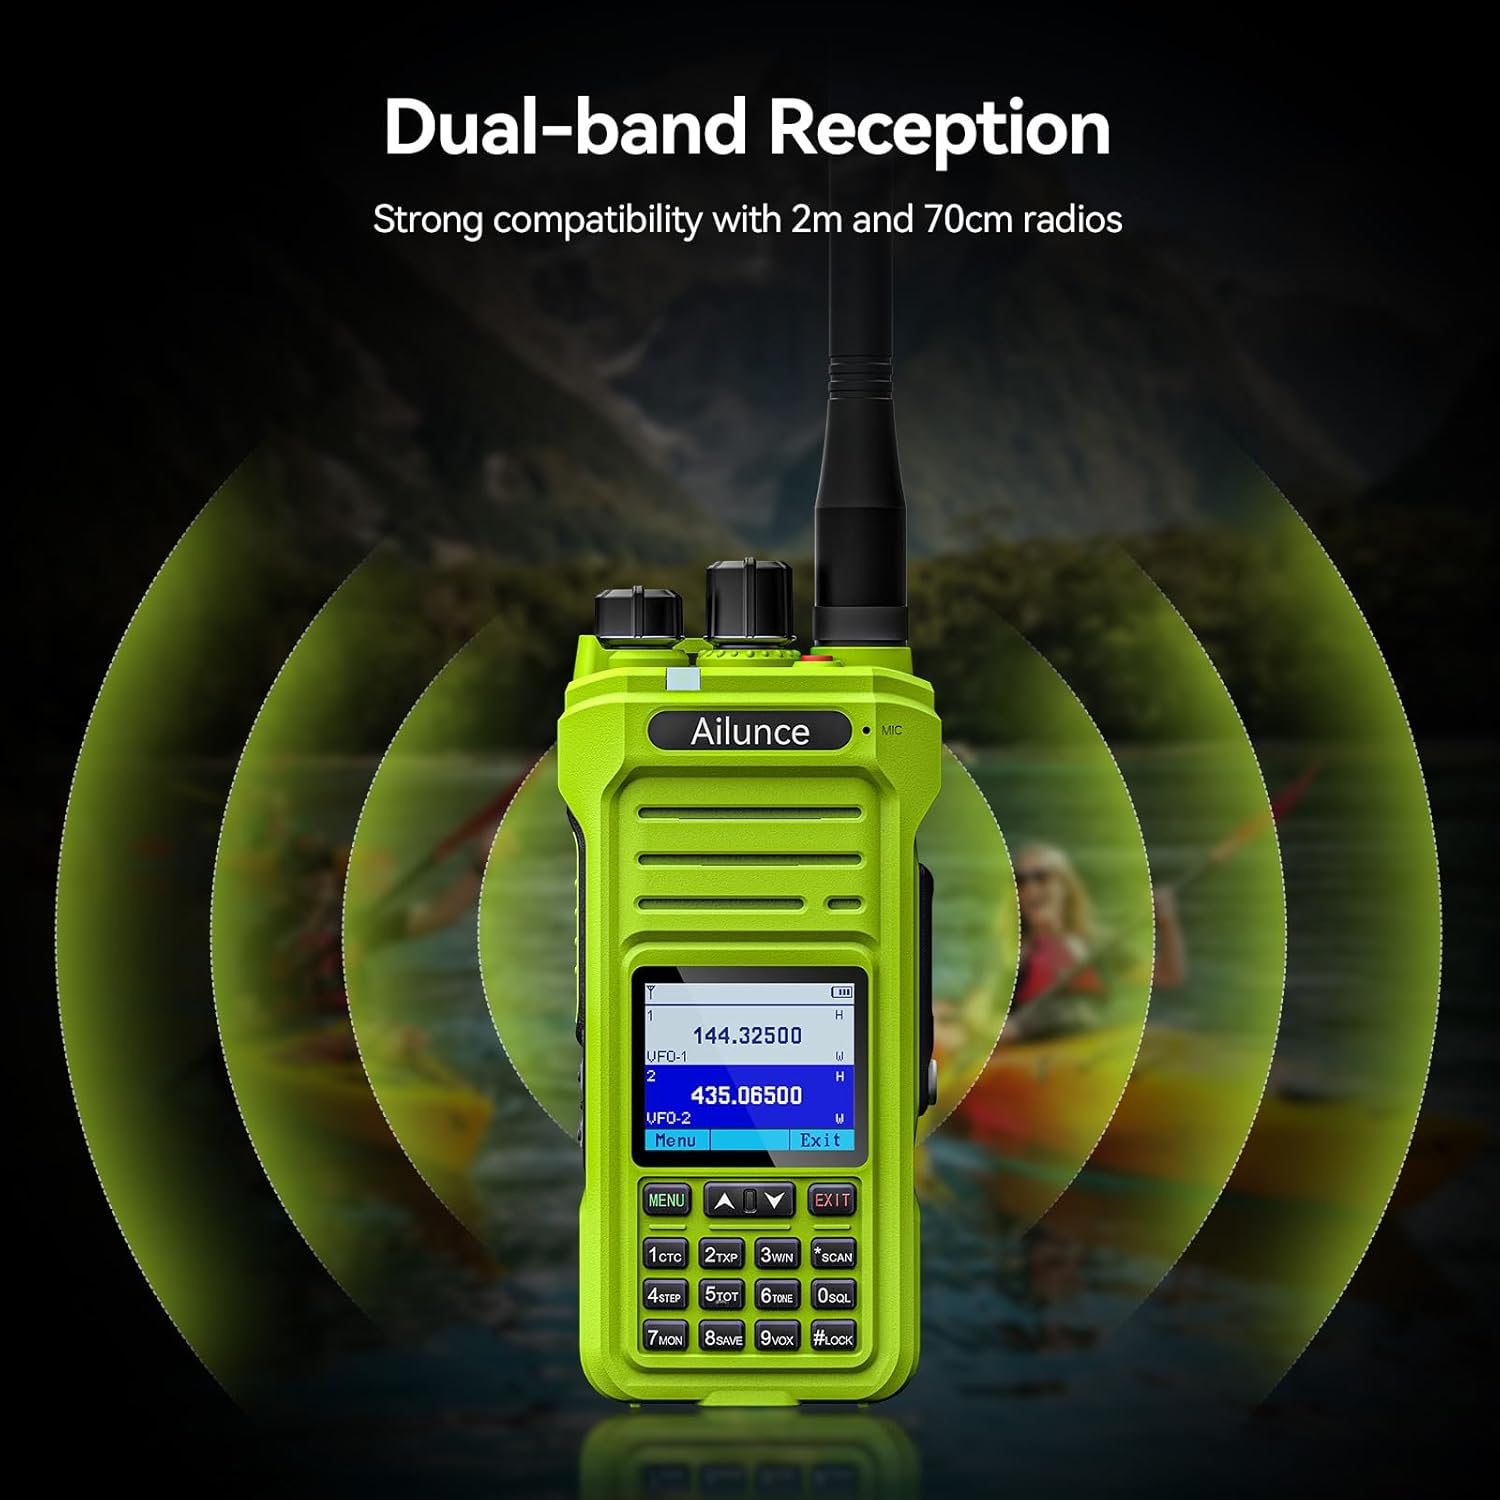
- Dual-band Reception: Strong compatibility with 2m and 70cm radios.




Video: NOAA Function and Usage Scenarios
This video demonstrates the NOAA weather alert function and various usage scenarios for the Retevis Ailunce HA1G GMRS Radio, including its application for hikers and campers.
Video: Screen Readability in Sunlight
This video compares the screen readability of the Retevis Ailunce HA1G GMRS Radio in direct sunlight against another radio, highlighting its superior legibility.
4. Setup
4.1 Battery Installation
- Ensure the radio is powered off.
- Align the battery with the battery compartment on the back of the radio.
- Gently push the battery into place until it clicks securely.
4.2 Antenna Attachment
- Screw the antenna clockwise onto the connector at the top of the radio until it is finger-tight. Do not overtighten.
4.3 Charging the Battery
Before first use, fully charge the battery for 4-6 hours.
- Connect the USB-C charging cable to the desk charger.
- Place the radio with the battery installed into the desk charger. Ensure the charging contacts align.
- The charging indicator on the charger will show the charging status.

5. Operating Instructions
5.1 Power On/Off and Volume Control
- To power on, rotate the power/volume knob clockwise until you hear a "click" and the screen illuminates.
- To adjust volume, continue rotating the knob clockwise to increase volume or counter-clockwise to decrease.
- To power off, rotate the knob counter-clockwise until you hear a "click".
5.2 Channel Selection
The HA1G supports GMRS channels and memory channels.
- Use the Up/Down arrow buttons on the keypad to navigate through available channels.
- The radio includes 8 pre-programmed GMRS repeater channels and 256 memory channels for custom programming.
5.3 Transmitting and Receiving
- To transmit, press and hold the Push-To-Talk (PTT) button on the side of the radio. Speak clearly into the microphone.
- Release the PTT button to stop transmitting and return to receive mode.
- The radio also features a programmable sub-PTT button for quick communication.

5.4 Privacy Codes (CTCSS/DCS) and Split Tones
Privacy codes (CTCSS/DCS) filter out unwanted transmissions, allowing you to only hear communications from radios using the same code. When connecting to repeaters, you may need to use different privacy codes for transmission and reception, known as split tones. The HA1G supports these features, which can be configured through the radio's menu or programming software.
5.5 NOAA Weather Alerts
The HA1G can receive NOAA weather channels and provide alerts for severe weather conditions. You can set up one of the dual channels to continuously monitor NOAA alerts while using the other for regular communication.
5.6 VFO Mode
VFO (Variable Frequency Oscillator) mode allows for direct frequency input and tuning, providing flexibility for advanced users to access specific frequencies not stored in memory channels.
5.7 FM Radio
The HA1G includes an FM radio function for entertainment or receiving local broadcasts when not actively using the two-way radio features.
6. Maintenance
6.1 Battery Care
- Avoid overcharging or completely draining the battery.
- Store the battery in a cool, dry place when not in use.
- If the radio will not be used for an extended period, remove the battery.
6.2 Cleaning
- Wipe the radio with a soft, damp cloth. Do not use harsh chemicals or abrasive cleaners.
- Ensure all port covers are securely closed to maintain waterproof integrity.
6.3 Storage
- Store the radio in a dry, dust-free environment.
- Keep out of direct sunlight and extreme temperatures.
7. Troubleshooting
| Problem | Solutions |
|---|---|
| It does not work |
|
| Will not take programming |
|
| Kept cutting out (Audio is choppy or drops) |
|
| It doesn't receive signals properly |
|
8. Specifications
| Feature | Detail |
|---|---|
| Brand | Retevis |
| Model Number | HA1G |
| Color | Green |
| Number of Channels | 256 |
| Frequency Range | GMRS |
| Talking Range Maximum | 5 Miles |
| Water Resistance Level | IP67 Waterproof |
| Battery Capacity | 2800mAh (1 CR5 battery included) |
| Battery Average Life | 20 Hours |
| Charging Type | USB-C Rechargable |
| Item Weight | 300 Grams |
| Voltage | 7.4 Volts |
| Audible Noise | 40 Decibels |
| Compatible Devices | FRS radios, GMRS radios, USB-C charging accessories |
| Temperature Range | -10°C ~ 55°C |
| Impedance | 50 Ohms |
| Tuner Type | GMRS |
| Connectivity Protocol | GMRS |
9. Warranty and Support
Retevis provides a 2-year warranty for the radio body and a 1-year warranty for accessories. Additionally, there is a 30-day no-reason return policy. For any issues or support inquiries, please contact Retevis customer service on Amazon. They aim to respond within 12 hours.
For further assistance, visit the official Retevis Store on Amazon.


