
Introduction
The REACHER 16.5-inch Digital LED Wall Clock (Model GQ01-DE) combines a clock, timer, and temperature display into one device. Featuring a super clear LED screen with large, vibrant digits, it ensures readability from a distance. The included remote control allows for convenient adjustment of all settings. An ambient light sensor automatically adjusts brightness, while manual brightness control with 6 levels (including total darkness) is also available. This clock is suitable for various environments such as homes, gyms, offices, and schools.
Package Contents
- REACHER 16.5-inch Digital LED Wall Clock
- Remote Control
- Power Adapter with 3m Cable
- Mounting Template
- User Manual
Note: 1 x AAA battery for backup memory is not included and must be purchased separately.
Safety Information
- Ensure the power adapter is compatible with your local power supply.
- Do not expose the clock to extreme temperatures, direct sunlight, or high humidity.
- Keep the device away from water or other liquids.
- Do not attempt to disassemble or repair the clock yourself. Contact qualified service personnel.
- Dispose of batteries according to local regulations.
Setup
1. Power Connection
- Connect the power adapter to the clock's power input port.
- Plug the power adapter into a standard electrical outlet. The clock display will illuminate.
2. Battery Backup Installation
To retain time and settings during a power outage, install one AAA battery (not included) into the battery compartment on the back of the clock. During battery backup, the display will be blank to conserve power, but settings will be preserved.
3. Wall Mounting
- Select a suitable location on a wall.
- Use the provided drilling template to mark the positions for the mounting screws.
- Drill holes and insert wall anchors if necessary.
- Install screws, leaving a small gap for the clock's keyhole slots.
- Align the clock's two keyhole slots with the screws and slide the clock down to secure it.
- Utilize the integrated cable organizer on the back of the clock to manage the power cable for a clean appearance.

This image depicts the back of the clock, showcasing the integrated cable organizer designed to keep the power cable tidy and flush against the wall. The 3-meter (9.87 ft) power cable is shown extending downwards, emphasizing a clean installation.
Operating Instructions
All functions of the clock can be controlled using the included remote control.
1. Basic Time Setting
Refer to the remote control for specific buttons to set the time (e.g., 'SET' button, arrow keys for hour/minute adjustment). The clock supports 12-hour and 24-hour formats.
2. Brightness Adjustment
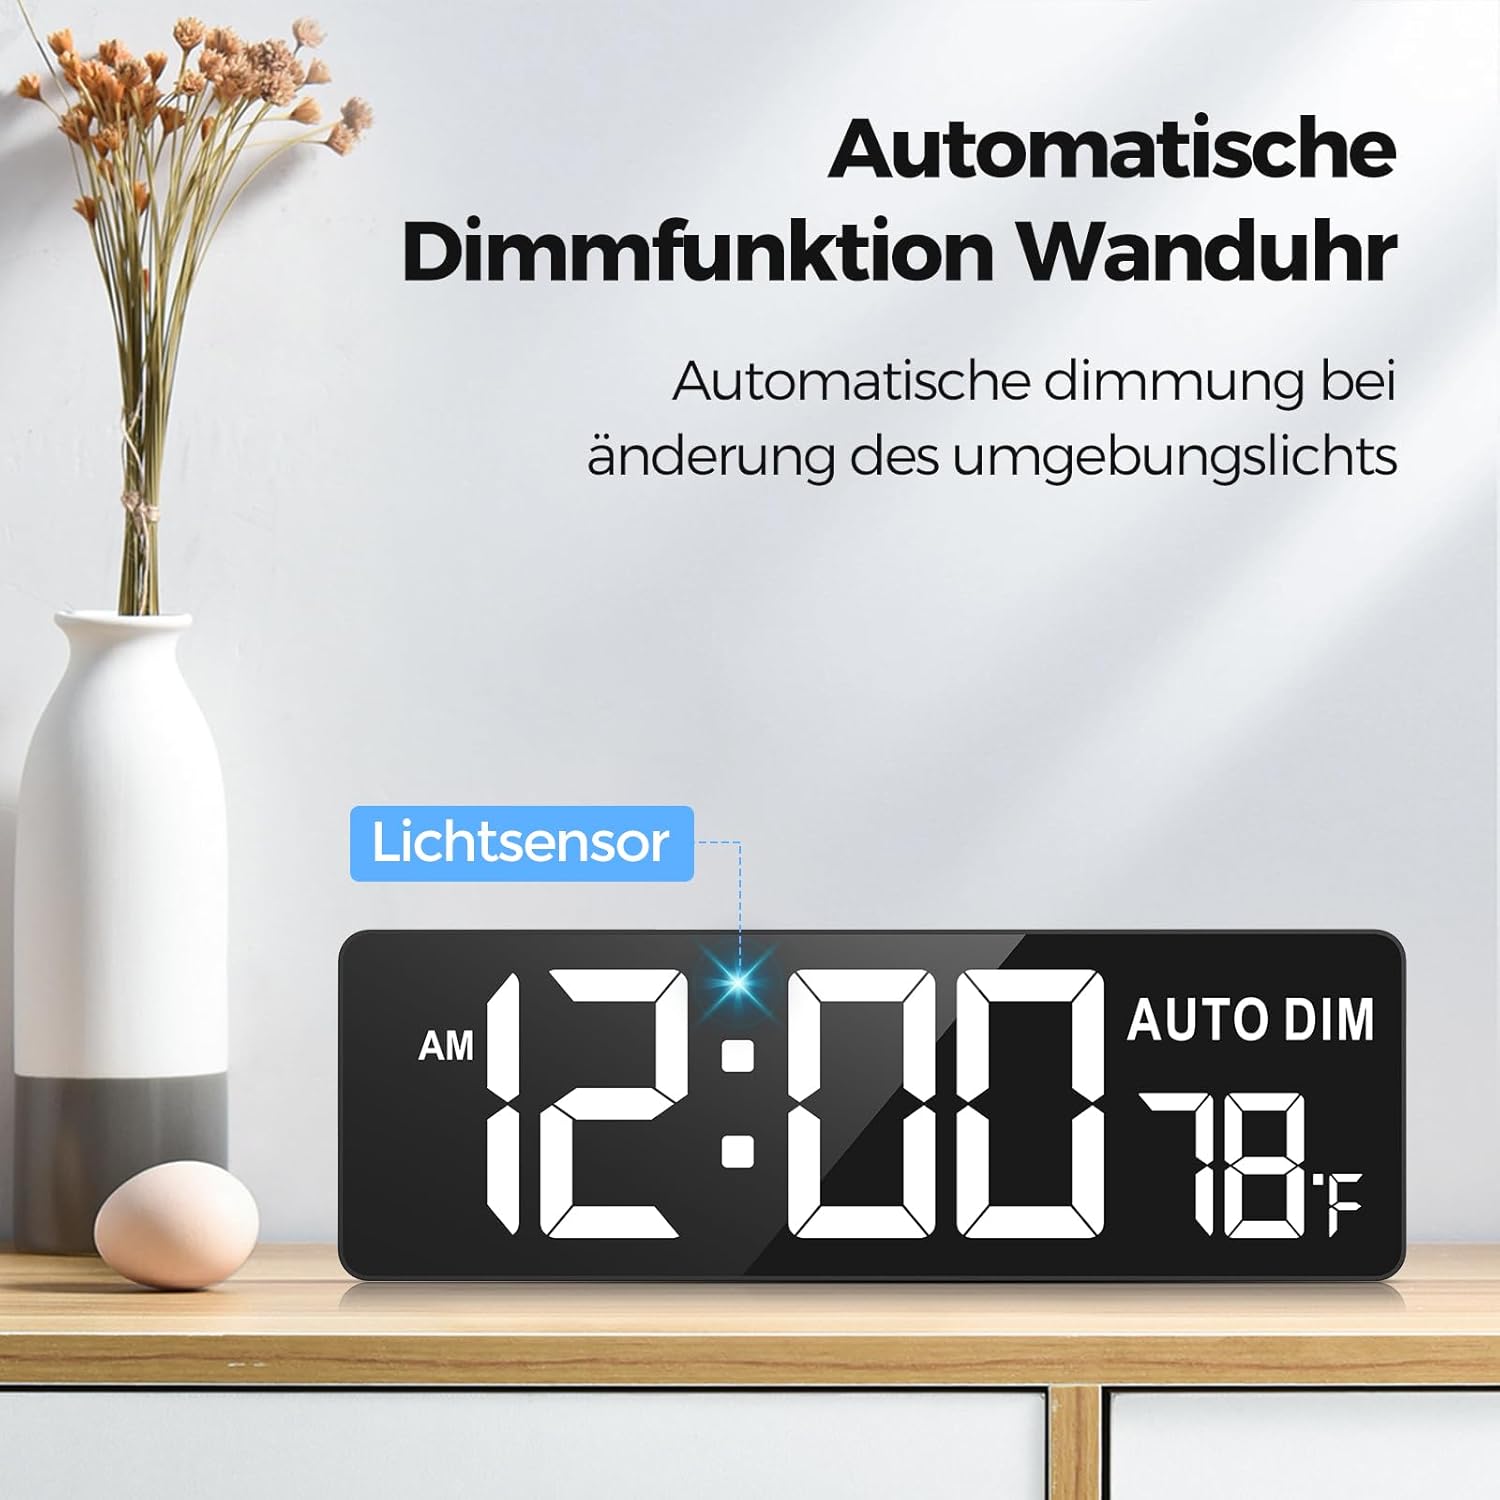
The clock is shown on a wooden shelf, illustrating its automatic dimming feature. A 'Lichtsensor' (light sensor) is indicated, which adjusts the display brightness based on ambient light conditions. The time 12:00 AM and temperature 78°F are visible.
- Automatic Dimming: The clock features an ambient light sensor that automatically adjusts the display brightness based on the surrounding light conditions. This sensor reduces brightness in dark environments and increases it in bright areas.
- Manual Brightness: Use the remote control to manually adjust the brightness through 6 levels, including a total darkness option.
3. Color Selection
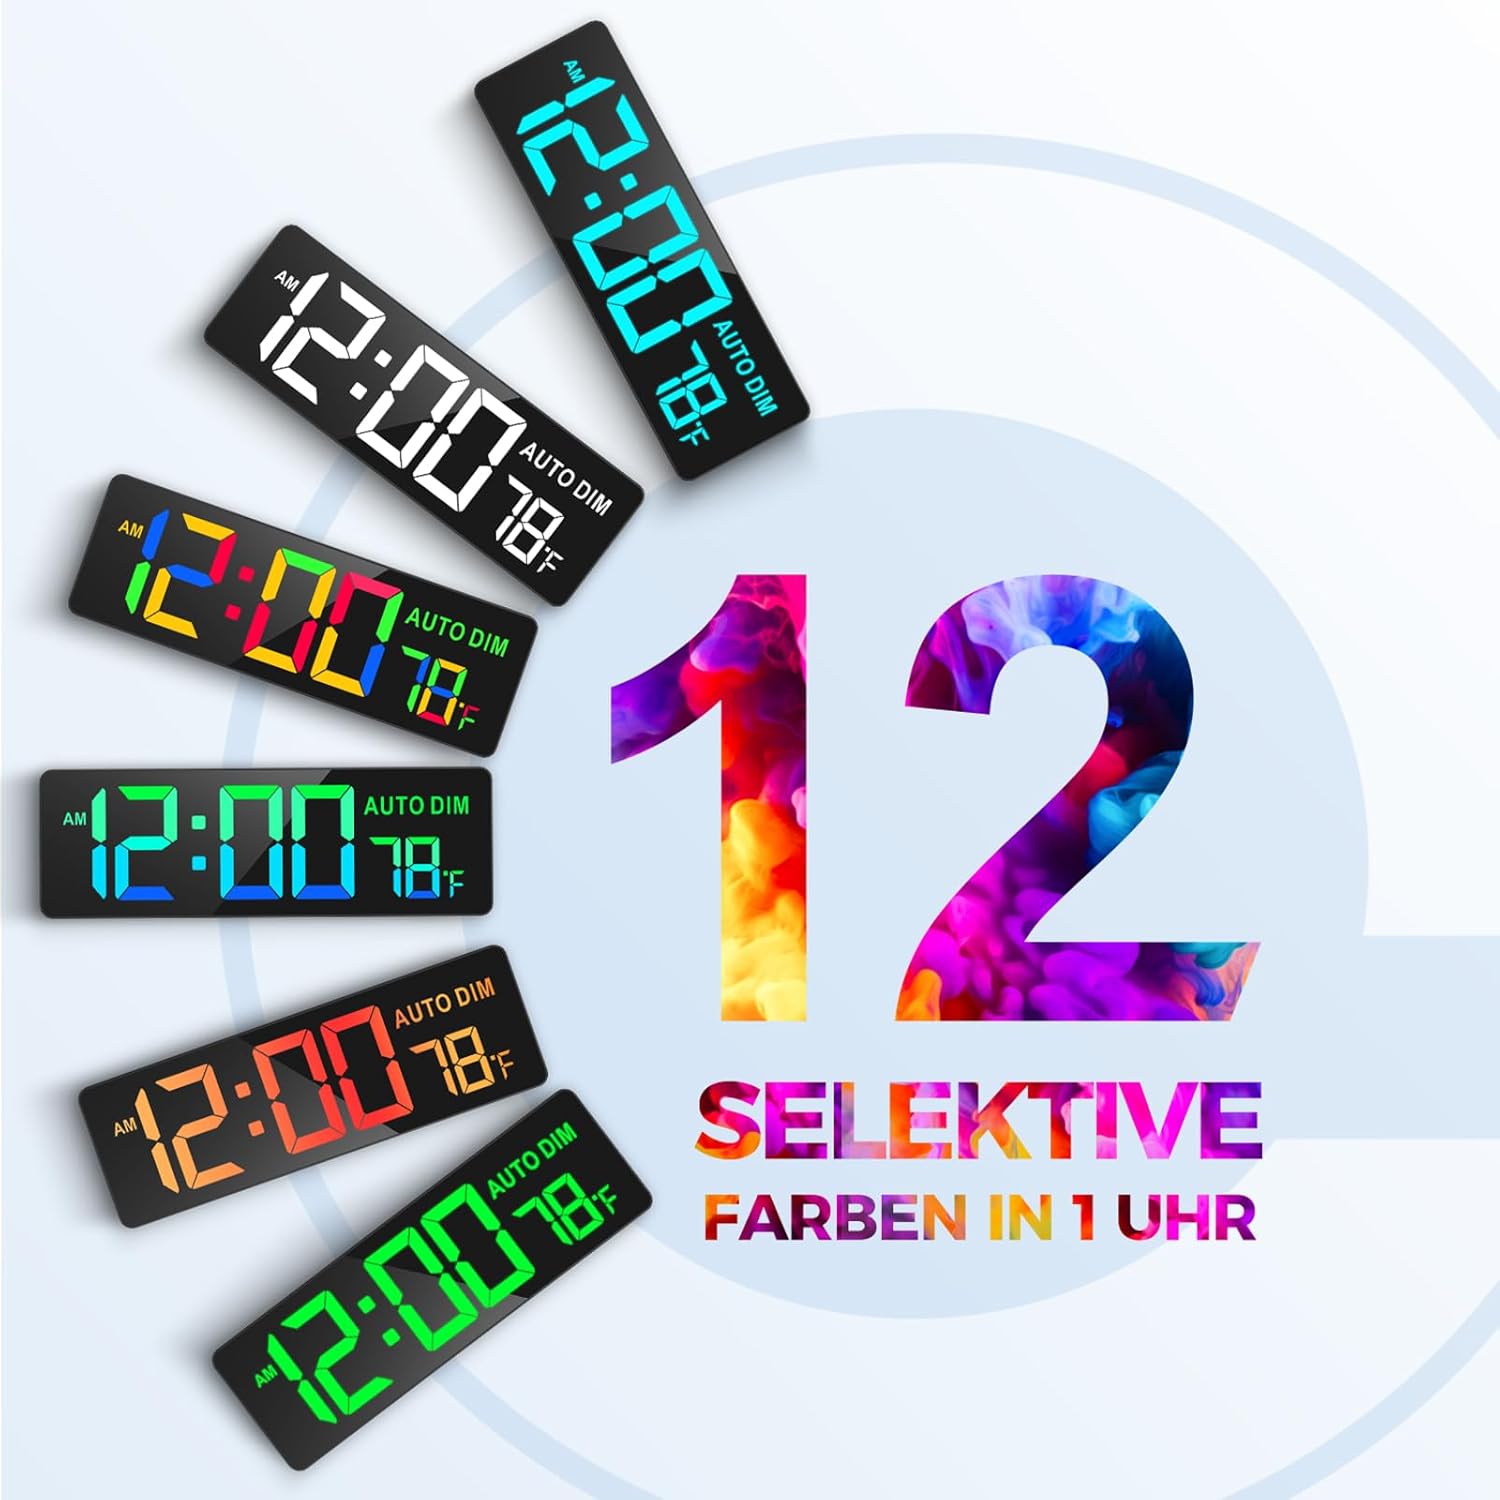
This graphic demonstrates the 12 selective color options available for the clock's digits. Various clock faces are shown with different vibrant colors, highlighting the customization feature for style and ambiance.
The clock offers 12 distinct digit colors, including 4 color gradients and a rainbow mode. Use the dedicated color selection buttons on the remote control to cycle through these options and choose your preferred display color.
4. Countdown and Count-up Timer Function

This image features the clock displaying a countdown timer set to 99 minutes and 59 seconds. The remote control is shown with quick access buttons for common countdown durations (30s, 1m, 3m, 5m, 10m, 15m, 30m), demonstrating its intelligent control for training or other activities.

The clock is mounted on a wall in a classroom, showing '00:00' and 'AUTO DIM' with temperature. This illustrates its function as a quiet counter, useful for managing learning time for students, with a maximum count-up/countdown capacity of 99 minutes and 59 seconds.
- Quick Access: The remote control includes 7 shortcut keys for common countdown durations (30 seconds to 30 minutes).
- Custom Timer: Set a custom countdown or count-up timer up to 99 minutes and 59 seconds using the remote control's numeric and control buttons.
- Volume: The timer features 30 volume levels for alerts.
5. Temperature Display
The clock displays the ambient temperature. Use the remote control to switch between Celsius and Fahrenheit units if applicable.

This image displays the 16.5-inch LED screen of the clock, highlighting its large digits for clear visibility. It shows the time, 'AM' indicator, 'AUTO DIM' status, and temperature in Fahrenheit. Dimensions of 16.5 inches (41.9 cm) width and 4.3 inches (10.9 cm) height are marked.
6. Remote Control Usage
The remote control operates wirelessly with a range of up to 9 meters (30 feet). Its soft-touch buttons ensure quiet operation. Point the remote control towards the clock when making adjustments.
Maintenance
- Cleaning: Wipe the clock's surface with a soft, dry cloth. Do not use abrasive cleaners or solvents.
- Battery Replacement: If the backup battery (AAA) is installed, replace it periodically to ensure settings are saved during power interruptions.
- Storage: If storing the clock for an extended period, disconnect it from power and remove the backup battery.
Troubleshooting
| Problem | Possible Cause | Solution |
|---|---|---|
| Clock display is blank. | No power supply. Backup battery is active (display off). | Check power connection. If on backup battery, display is intentionally off. |
| Remote control not working. | Remote battery depleted. Obstruction between remote and clock. | Replace remote control battery. Ensure clear line of sight to the clock. |
| Time/settings reset after power outage. | No backup battery installed or battery depleted. | Install a fresh AAA backup battery. |
| Display too dim/bright. | Automatic dimming active or manual setting incorrect. | Adjust brightness manually using the remote or check ambient light conditions. |
Specifications
| Feature | Detail |
|---|---|
| Brand | REACHER |
| Model Number | GQ01-DE |
| Color | Black |
| Product Dimensions (L x W x H) | 41 x 3.81 x 13.5 cm (16.14 x 1.5 x 5.31 inches) |
| Item Weight | 1.04 Kilograms (2.29 lbs) |
| Material | Plastic |
| Display Size | 16.5 inches (diagonal) |
| Digit Size | 9.4 x 4.3 inches |
| Brightness Levels | 6 (manual) + Automatic Dimmer |
| Display Colors | 12 selectable colors, including gradients and rainbow mode |
| Timer Max Duration | 99 minutes 59 seconds |
| Remote Control Range | Up to 9 meters (30 feet) |
| Backup Battery | 1 x AAA (not included) |
Warranty Information
REACHER products are designed and manufactured to the highest quality standards. For specific warranty details, please refer to the warranty card included with your purchase or contact REACHER customer support. Keep your proof of purchase for warranty claims.
Support
For technical assistance, troubleshooting, or product inquiries, please contact REACHER customer support. Contact information can typically be found on the product packaging, warranty card, or the official REACHER website.
