
Introduction
This manual provides essential information for the assembly, operation, and maintenance of your AODK Gaming Desk. Please read these instructions carefully before assembly and retain for future reference.
Safety Information
- Ensure all components are present and undamaged before assembly.
- Assemble the desk on a soft, clean surface to prevent scratches.
- Do not overtighten screws during assembly to avoid damaging components.
- Keep small parts away from children to prevent choking hazards.
- Do not exceed the maximum weight capacity of the desk.
- Ensure the power cord for the integrated outlets is properly connected to a suitable power source.
Package Contents
Verify that all the following parts are included in your package:
- Desk tabletop (Carbon Black finish)
- Desk frame components (steel)
- Monitor stand components
- Storage rack shelves (2 tiers)
- Integrated power strip with 2 AC outlets and 2 USB ports
- RGB LED bar light
- Assembly hardware (screws, bolts, wrench)
- Instruction manual (Japanese and English)

Image: Overview of the AODK Gaming Desk, showcasing its features including the monitor stand, LED lighting, and integrated power strip.
Setup Instructions
Assembly is required. A wrench is included; no additional tools are necessary.
Step 1: Assemble the Desk Frame
Begin by connecting the main steel frame components. Ensure all connections are secure but do not fully tighten screws until the entire frame is assembled.
Step 2: Attach the Tabletop
Carefully place the carbon-tone tabletop onto the assembled frame. Align the screw holes and secure the tabletop using the provided hardware. Fully tighten all screws once the tabletop is in place.
Step 3: Install the Storage Rack
The storage rack can be installed on either the left or right side of the desk. Attach the rack frame to the main desk frame. Insert the two shelves into the rack. The upper shelf's position is adjustable to accommodate different item heights. The lower shelf is recommended for a PC tower or similar equipment.

Image: Detail of the two-tier storage rack, illustrating the adjustable height of the upper shelf (20.8cm clearance).
Step 4: Mount the Monitor Stand
Attach the monitor stand to the back of the desk. The monitor stand offers three height adjustment options: 10cm, 13cm, and 16cm. Select the height that provides the most ergonomic viewing angle for your setup.

Image: Illustration of the monitor stand's three adjustable heights (10cm, 13cm, 16cm) and how it promotes better posture.
Step 5: Connect the Power Strip and LED Light
Secure the integrated power strip to its designated location on the desk. Plug the power strip's cord into a wall outlet. Connect the RGB LED bar light to the power strip or its dedicated power source as indicated in the LED light's specific instructions.
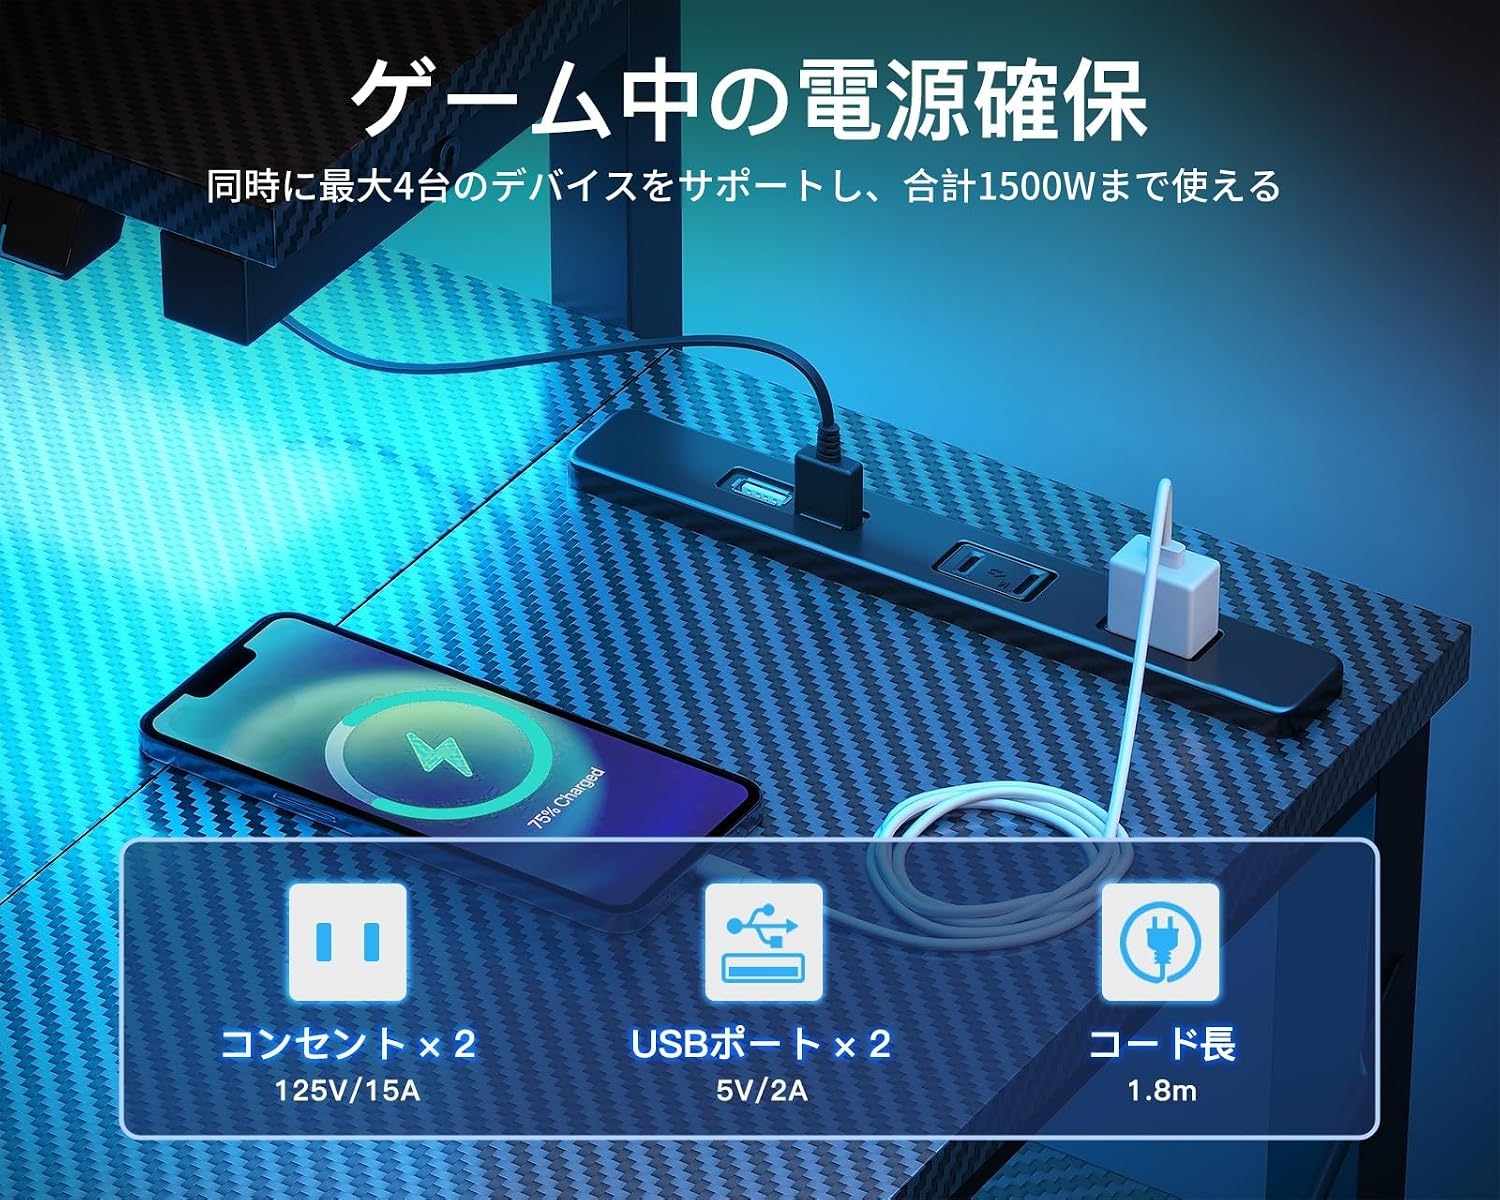
Image: The integrated power strip, featuring two 125V/15A outlets and two 5V/2A USB ports, with a 1.8m cord length.
Operating Instructions
RGB LED Bar Light
The LED bar light features 10 color adjustment levels and 9 brightness adjustment levels. Use the control buttons on the LED bar to cycle through colors and adjust brightness to create your desired ambiance.

Image: The RGB LED bar light, illustrating its capability to display 10 different colors and 9 brightness settings.
Integrated Power Outlets and USB Ports
The desk is equipped with 2 standard AC power outlets (125V/15A) and 2 USB charging ports (5V/2A). These allow you to power and charge up to 4 devices simultaneously, with a total maximum capacity of 1500W. This feature provides convenient power access for your gaming equipment, peripherals, and mobile devices.
Maintenance
- Cleaning: The carbon fiber tabletop is resistant to scratches, heat, and water. For general cleaning, wipe with a soft, damp cloth. Avoid abrasive cleaners.
- Tightening: Periodically check all screws and connections to ensure they remain tight and secure. Retighten if necessary.
- Cable Management: Utilize cable ties or clips (not included) to manage cables and prevent them from snagging or becoming a hazard.
Troubleshooting
Desk Wobbles After Assembly
- Ensure all screws are fully tightened.
- Check that the desk is placed on a level surface.
- Verify that the adjustable feet (if present) are properly adjusted to compensate for uneven floors.
LED Light Not Functioning
- Check if the LED bar is securely connected to its power source.
- Ensure the power strip is plugged into a live wall outlet.
- Press the power button on the LED control panel.
Power Outlets/USB Ports Not Working
- Verify the power strip's main plug is firmly inserted into a functional wall outlet.
- Check if the total power draw of connected devices exceeds 1500W. Disconnect some devices if overloaded.
- Test the wall outlet with another device to confirm it is supplying power.
Specifications
| Feature | Detail |
|---|---|
| Brand | AODK |
| Model | 100*50*75.7cm |
| Color | Carbon Black |
| Product Dimensions (L x W x H) | 100 cm x 50 cm x 75.7 cm (tabletop height) |
| Monitor Stand Height Adjustment | 10cm, 13cm, 16cm |
| Power Outlets | 2 x AC (125V/15A) |
| USB Ports | 2 x USB (5V/2A) |
| Total Power Capacity | 1500W |
| LED Lighting | RGB Bar Light (10 colors, 9 brightness levels) |
| Base Material | Metal |
| Finish Type | Matte |
| Product Weight | 12 kg |
| Package Weight | 13.5 kg |
Warranty and Support
In case of initial defects with the purchased product, please contact the seller directly for assistance. The manufacturer, AODK, is committed to customer satisfaction and will address product issues promptly.
For further inquiries or support, please refer to the contact information provided at the point of purchase or on the official AODK brand store page: AODK Store.


