
Introduction
Thank you for choosing the Roamix Vision+ 4K Action Camera. This manual provides essential information for setting up, operating, and maintaining your camera. Please read it thoroughly before use to ensure optimal performance and longevity of your device.
The Roamix Vision+ 4K Action Camera is designed for capturing high-quality video and photos in various environments, including underwater, thanks to its waterproof capabilities. It features a 2.0-inch display and 4K video recording.

Image: Roamix Vision+ 4K Action Camera with its waterproof housing and a mounting accessory, displayed against a snowy mountain backdrop. The camera features a 2.0-inch display and is advertised as 30m depth waterproof.
What's in the Box
The Roamix Vision+ 4K Action Camera comes with a comprehensive accessory bundle to support various activities. Please check the package contents against the list below:

Image: A collection of accessories for the Roamix Vision+ 4K Action Camera. This includes a recording board, back splint, bicycle rack, base, wok cord, adapter, three transfer brackets, data cable, helmet seat, cable tie, lacing, 3M adhesive, a specification sheet, wiping cloth, waterproof case, the host machine (camera), and the retail package.
- Roamix Vision+ 4K Action Camera (Host Machine)
- Waterproof Case
- Recording Board
- Back Splint
- Bicycle Rack
- Base
- Wok Cord
- Adapter
- Transfer Bracket 1, 2, and 3
- Data Cable
- Helmet Seat
- Cable Tie
- Lacing
- 3M Adhesive
- Wiping Cloth
- Specification Sheet
Product Overview
Familiarize yourself with the camera's components and controls.
Camera Body
- Lens: The primary optical component for capturing images and videos.
- Power/Mode Button: Used to power the camera on/off and switch between recording modes.
- Shutter/Select Button: Used to start/stop recording, take photos, or confirm selections.
- Navigation Buttons: For navigating menus and settings.
- 2.0-inch LCD Screen: Displays live view, playback, and menu options.
- MicroSD Card Slot: For inserting your memory card.
- Micro USB Port: For charging and data transfer.
- HDMI Port: For connecting to an external display.
- Battery Compartment: Houses the camera battery.
Setup
1. Battery Installation
- Locate the battery compartment on the bottom of the camera.
- Open the battery compartment cover.
- Insert the battery with the correct orientation, matching the contacts.
- Close the battery compartment cover securely.
2. Memory Card Installation
A MicroSD card (not included) is required to store photos and videos. The camera supports 8-64GB cards.
- Locate the MicroSD card slot on the side of the camera.
- Insert the MicroSD card with the metal contacts facing the front of the camera until it clicks into place.
- To remove, gently push the card until it springs out.
3. Charging the Battery
- Connect the camera to a USB power source (e.g., computer, wall adapter) using the provided USB data cable.
- The charging indicator light will illuminate.
- The light will turn off or change color once charging is complete.
4. Using the Waterproof Case
The waterproof case allows the camera to be used underwater up to 30 meters.

Image: The Roamix Vision+ 4K Action Camera encased in its waterproof housing, partially submerged in water with splashes. This illustrates its 30m waterproof capability.
- Ensure the camera is dry before placing it into the waterproof case.
- Open the latch on the waterproof case and carefully insert the camera.
- Close the latch firmly to ensure a watertight seal.
- Before first use, test the waterproof case without the camera inside by submerging it in water to check for leaks.
Operating the Camera
1. Power On/Off
- Power On: Press and hold the Power/Mode button for a few seconds.
- Power Off: Press and hold the Power/Mode button again for a few seconds.
2. Mode Switching
After powering on, repeatedly press the Power/Mode button to cycle through different modes: Video Recording, Photo Mode, Playback Mode, and Settings.
3. Recording Video
- Switch to Video Recording mode. The screen will display a video icon.
- Press the Shutter/Select button to start recording. A red indicator or timer will appear on the screen.
- Press the Shutter/Select button again to stop recording. The video file will be saved to the MicroSD card.
4. Taking Photos
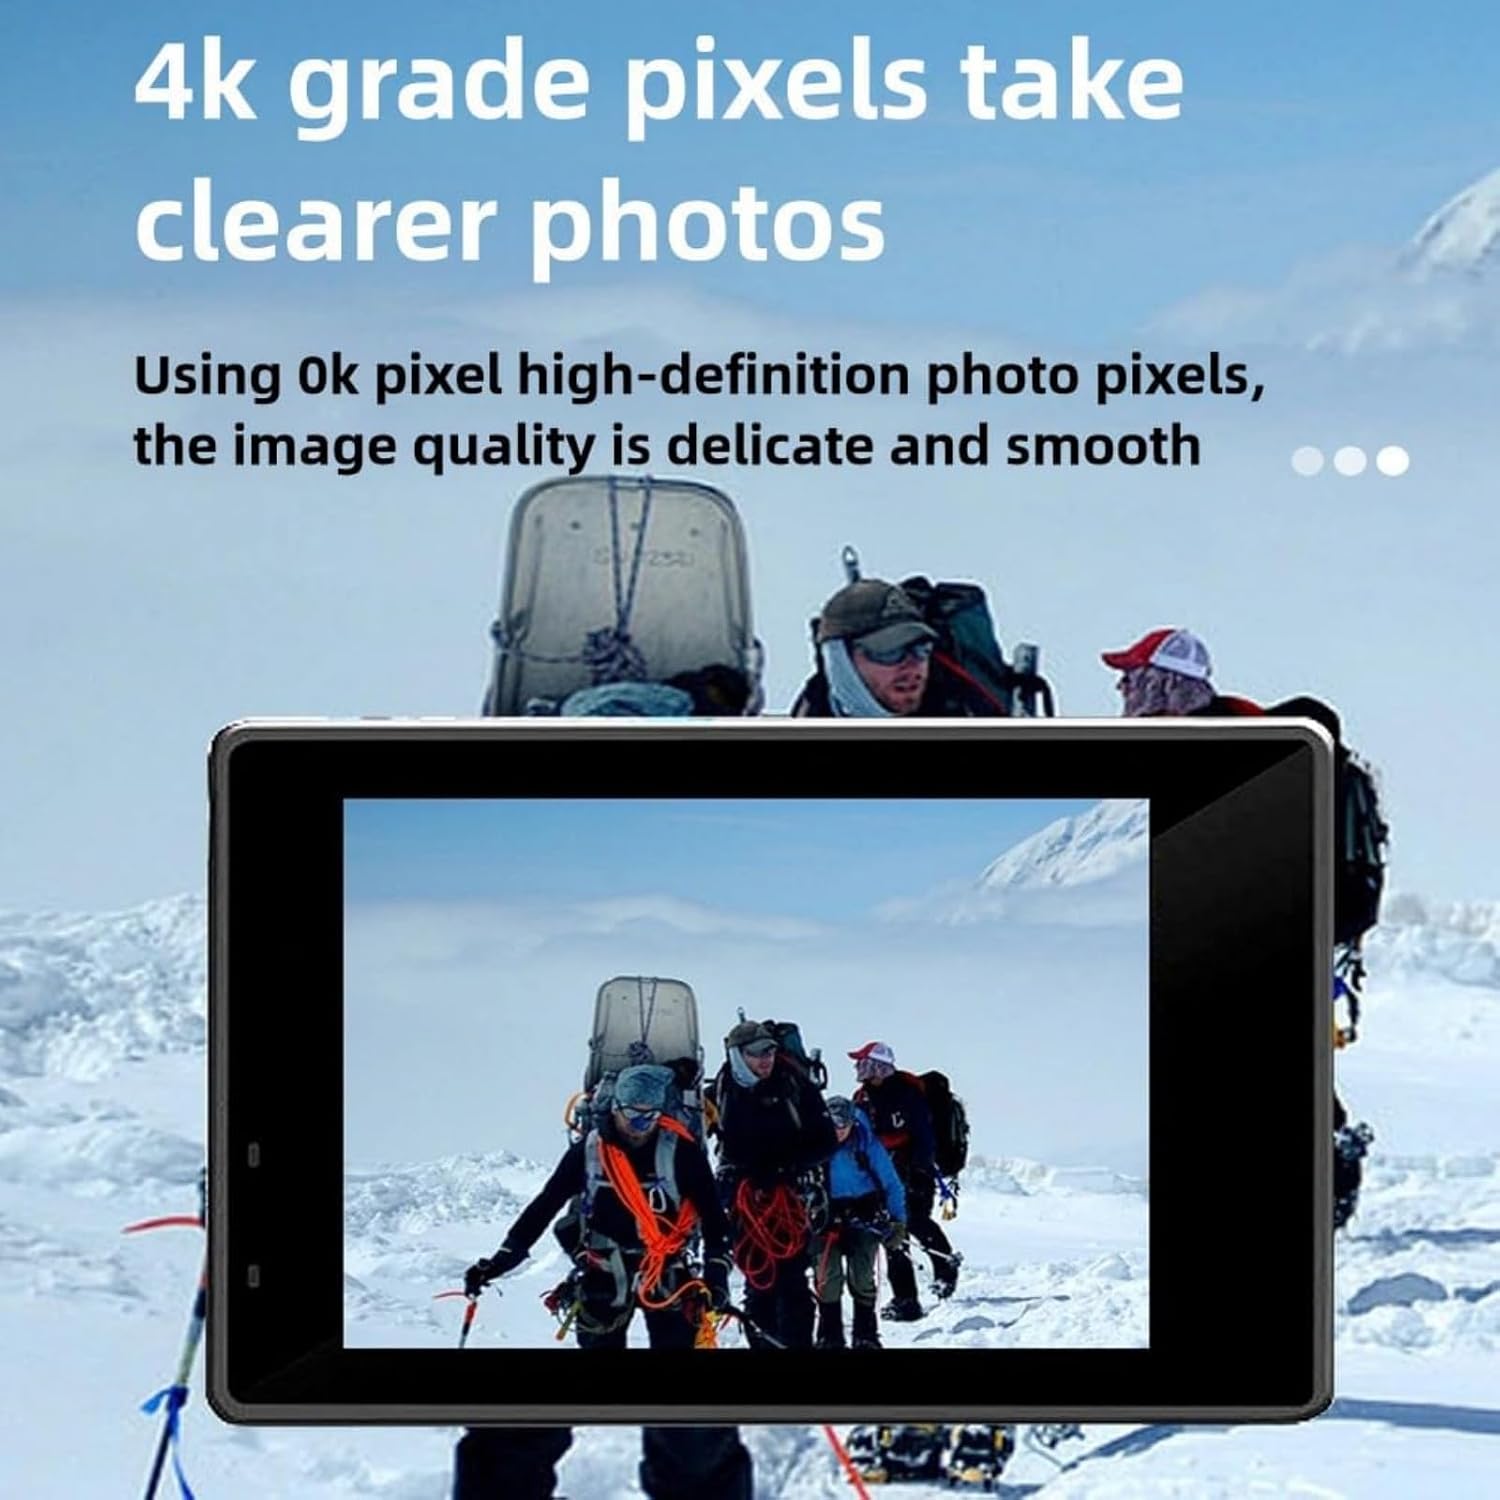
Image: The Roamix Vision+ 4K Action Camera's screen displaying a clear, high-resolution photograph of people hiking in a snowy landscape, illustrating its 4K image quality.
- Switch to Photo Mode. The screen will display a camera icon.
- Frame your shot using the LCD screen.
- Press the Shutter/Select button to take a photo. The image will be saved to the MicroSD card.
5. WiFi Connection and App Control
Connect your camera to a smartphone or tablet via Wi-Fi for remote control and file transfer.
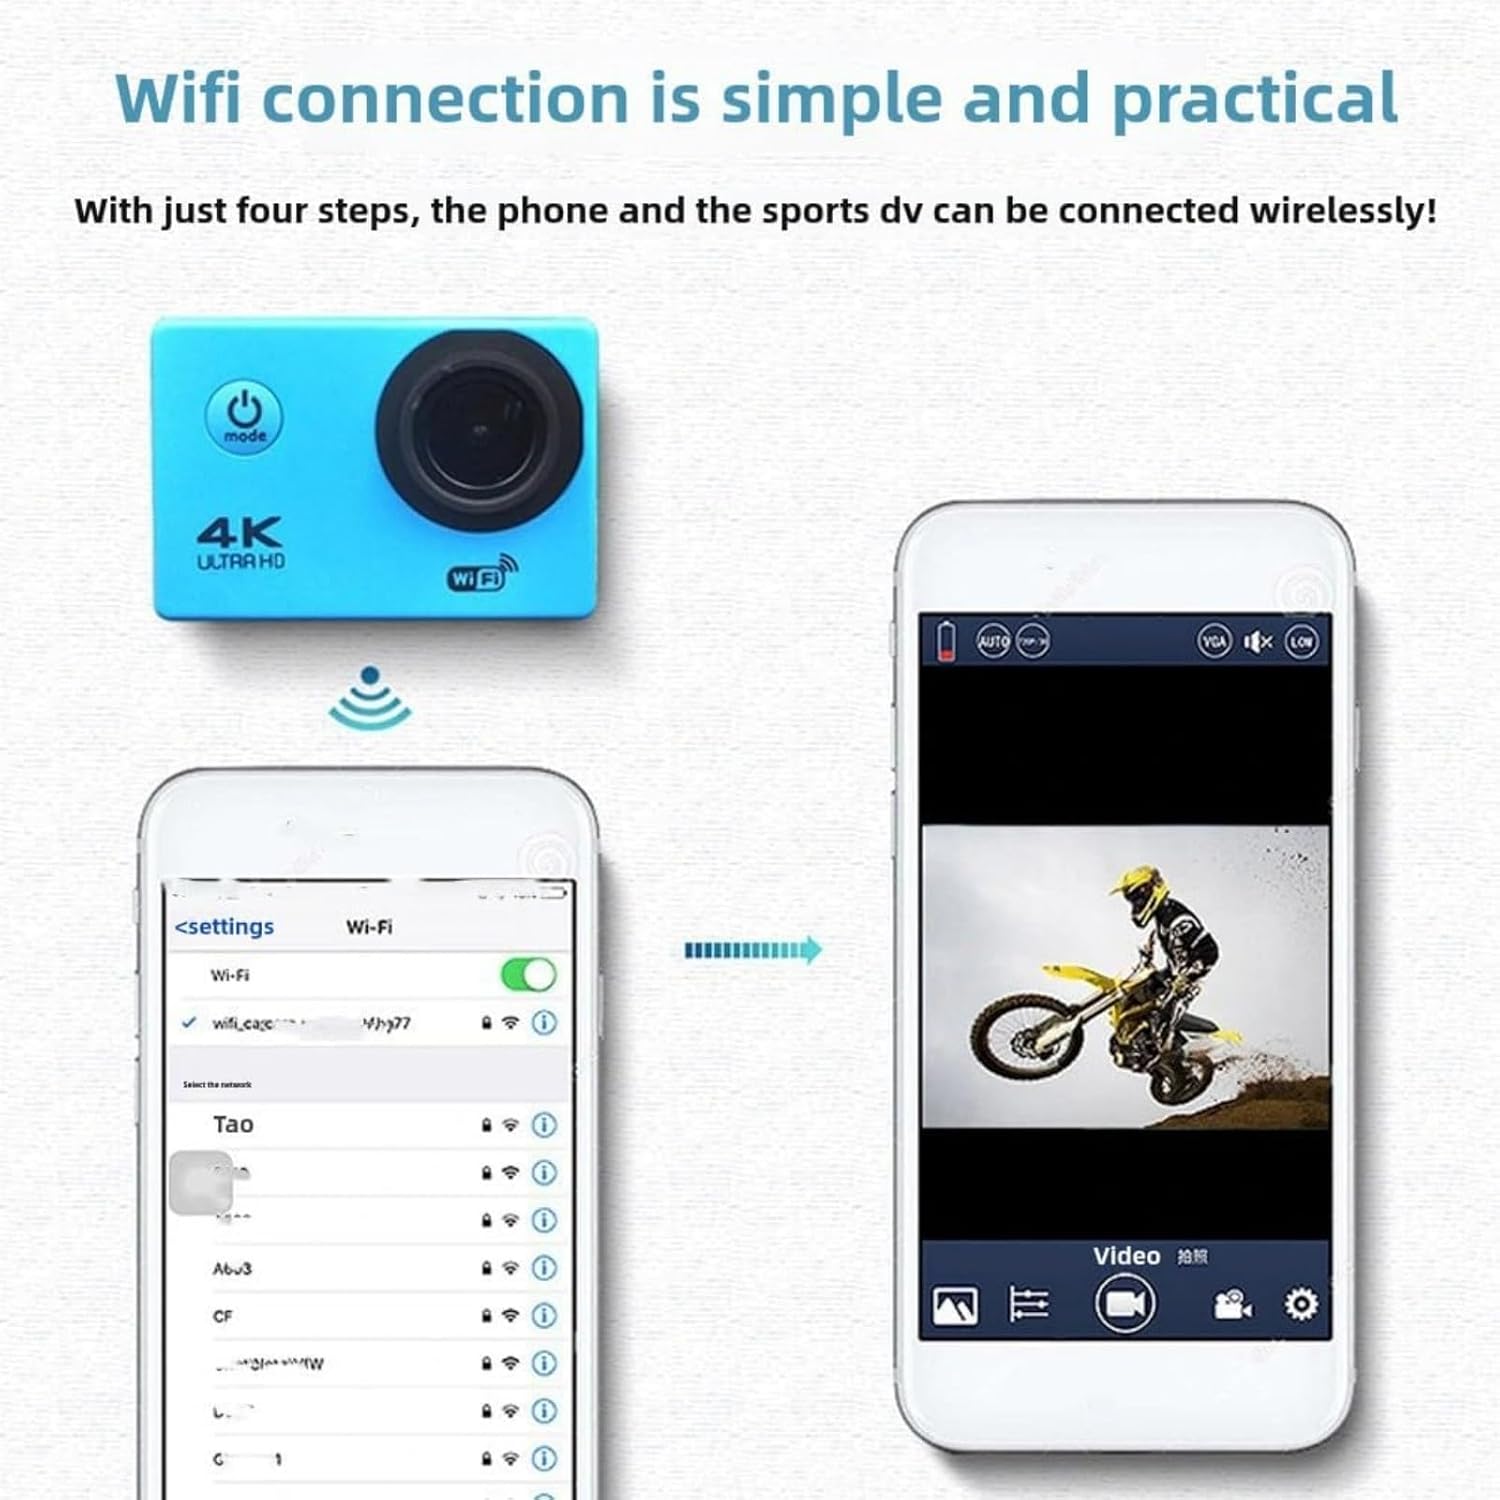
Image: A smartphone displaying its Wi-Fi settings, showing a connection to a network named 'wifi_cagc'. Next to it, another smartphone shows a live feed from the Roamix Vision+ 4K Action Camera, demonstrating wireless connectivity and remote viewing.
- Download the dedicated app for the Roamix Vision+ 4K Action Camera from your device's app store.
- On the camera, enter the Settings menu and enable Wi-Fi. The camera's Wi-Fi name (SSID) and password will be displayed.
- On your smartphone/tablet, go to Wi-Fi settings and connect to the camera's Wi-Fi network.
- Open the app. You should now be able to control the camera, view live footage, and download files.

Image: A hand holding a smartphone showing the camera's companion app interface, with various photo and video thumbnails. Beside it, the Roamix Vision+ 4K Action Camera is visible, indicating its Wi-Fi synchronization capability for remote control and content management.
6. Playback
- Switch to Playback Mode.
- Use the navigation buttons to browse through your recorded videos and photos.
- Press the Shutter/Select button to view a selected file.
Maintenance
1. Cleaning the Camera and Case
- Use the provided wiping cloth or a soft, lint-free cloth to clean the camera lens and screen.
- For the waterproof case, rinse it with fresh water after use in saltwater and allow it to air dry. Ensure no sand or debris is trapped in the seals.
- Do not use harsh chemicals or abrasive cleaners.
2. Storage
- Store the camera in a cool, dry place away from direct sunlight and extreme temperatures.
- Remove the battery if the camera will not be used for an extended period.
Troubleshooting
Camera Not Turning On
- Ensure the battery is fully charged.
- Check if the battery is inserted correctly.
- Try charging the camera for at least 30 minutes.
Memory Card Error
- Ensure the MicroSD card is inserted correctly and fully.
- Format the MicroSD card in the camera's settings menu (this will erase all data).
- Try a different, compatible MicroSD card.
WiFi Connection Issues
- Ensure Wi-Fi is enabled on the camera.
- Verify you are connecting to the correct Wi-Fi network (SSID) displayed on the camera.
- Restart both the camera and your smartphone/tablet.
- Ensure the camera app is up to date.
Poor Image/Video Quality
- Clean the camera lens.
- Ensure sufficient lighting in your shooting environment.
- Check camera settings for resolution and quality.
Specifications
| Brand | Generic |
| Model Number | fdhgfjg |
| Product Name | Roamix Vision+ 4K Action Camera |
| Imaging Sensor | CMOS |
| Effective Pixels | About 5MP |
| Screen Size | 2.0 inches |
| Maximum Aperture | F2.0 (2.8 millimeters) |
| Wide Angle | 170° |
| Optical Zoom | <10x (5) |
| Video Capture Resolution | 4K UHD (Display), 1080p (Capture) |
| Video Capture Format | MP4 |
| Supported Audio Format | AAC, MP3 |
| Supported Image Format | JPEG |
| Water Resistance Level | Waterproof (30m with case) |
| Connectivity Technology | HDMI, Wi-Fi |
| Special Feature | 4K Video Recording, Advanced Noise Reduction |
| Image Stabilization | Basic |
| Flash Memory Type | Internal flash memory (Supports 8-64GB MicroSD) |
Warranty Information
Warranty information for the Roamix Vision+ 4K Action Camera (Model fdhgfjg) is not explicitly provided in the product details. Please refer to the retailer or point of purchase for specific warranty terms and conditions.
Support
If you encounter any issues not covered in this manual or require further assistance, please contact the seller or manufacturer directly. Keep your purchase receipt or order number handy for faster service.
For general inquiries, you may also refer to the product listing page or the manufacturer's official website (if available) for updated information or FAQs.