
1. Product Overview
The FORGING MOUNT Heavy Duty XXL Full Motion TV Wall Mount (Model HY9458-B) is designed to securely hold extra-large televisions ranging from 65 to 100 inches, with a maximum weight capacity of 220 lbs (100 kg). This robust mount features heavy-duty dual articulating arms, allowing for extensive extension, swivel, and tilt adjustments to achieve optimal viewing angles from various positions in your room. Its durable alloy steel construction ensures stability and reliability for large displays.
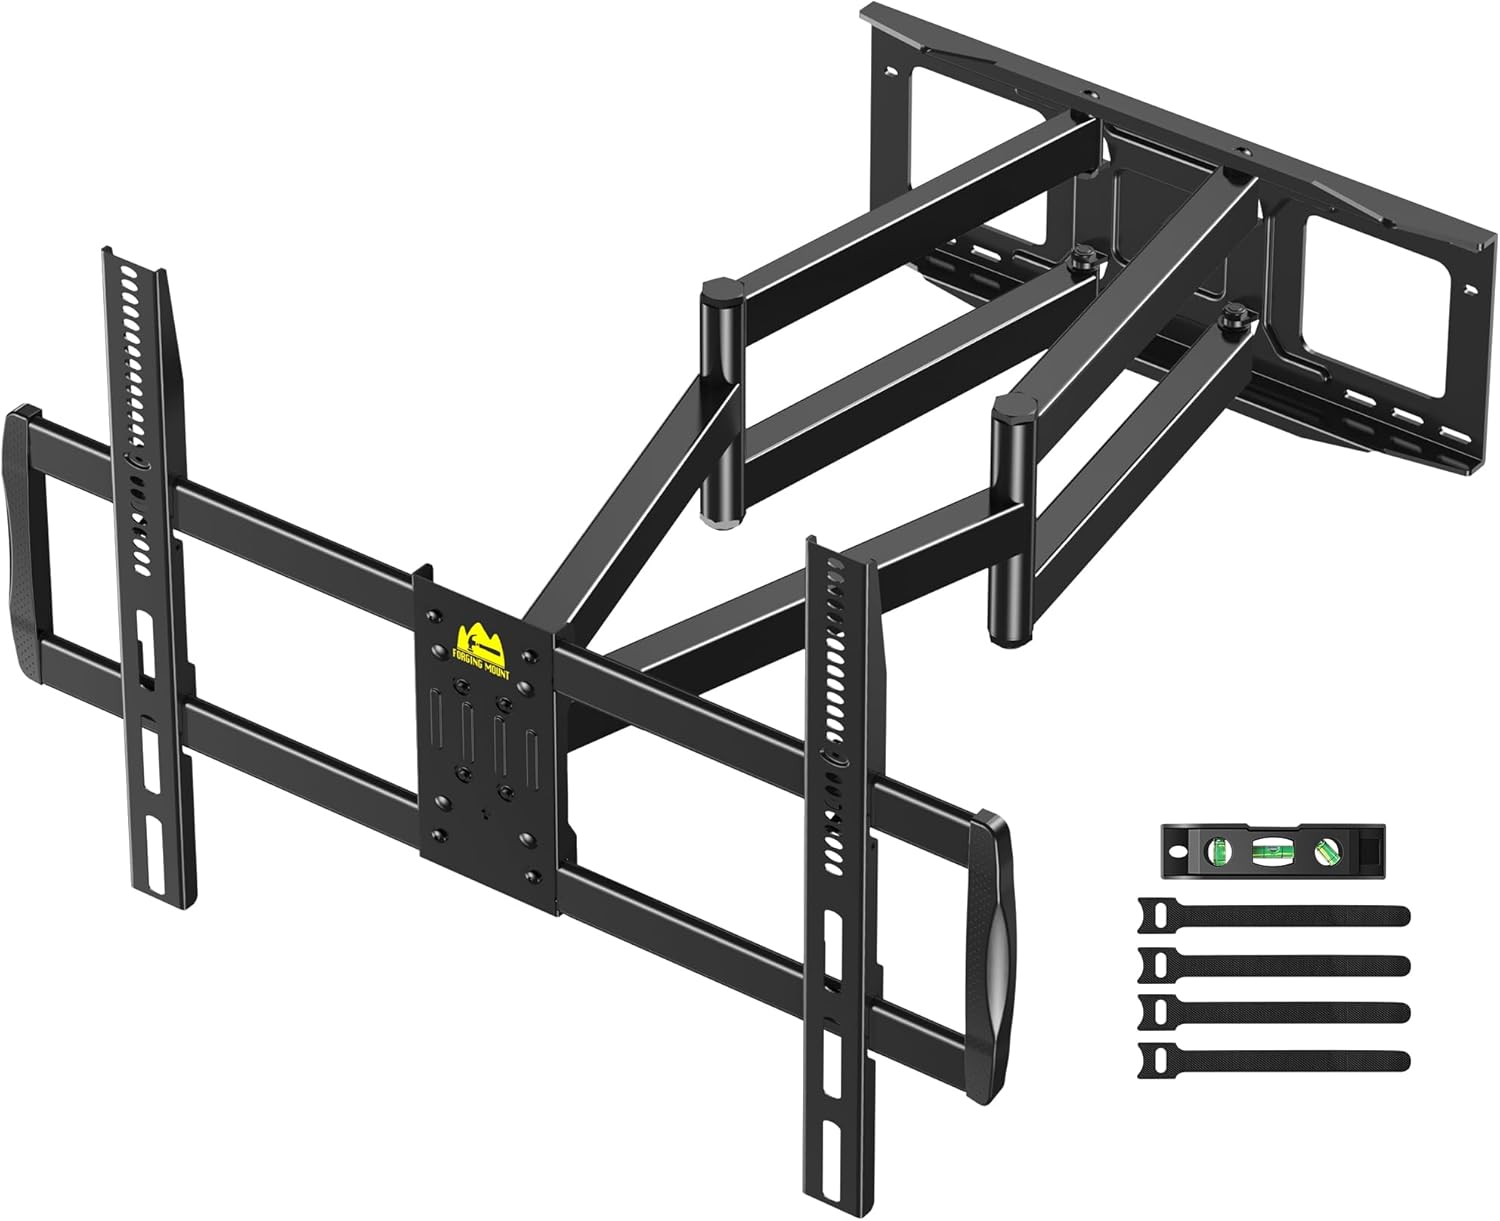
Figure 1: FORGING MOUNT Heavy Duty XXL Full Motion TV Wall Mount (Model HY9458-B)
2. Safety Information
Please read all instructions carefully before installation and use. Improper installation or use can result in serious injury or damage. Keep this manual for future reference.
- Weight Capacity: Do not exceed the maximum load capacity of 220 lbs (100 kg). This mount is designed for TVs between 60 and 100 inches.
- Wall Type: This mount is designed for installation on 12", 16", or 24" wood studs, solid concrete walls, and brick walls. DO NOT MOUNT ON DRYWALL ALONE.
- VESA Compatibility: Ensure your TV's VESA mounting pattern is within the range of Min 200x100mm to Max 900x600mm.
- Professional Installation: If you are unsure about the installation process or the suitability of your wall, consult a qualified professional.
- Cable Management: Ensure all cables are properly routed and secured to prevent pinching or damage when adjusting the TV.
- Regular Checks: Periodically check all connections and fasteners to ensure they remain secure.

Figure 2: Wall compatibility for installation. Do not mount on drywall alone.
3. Package Contents
Verify that all components are present and undamaged before beginning installation. If any parts are missing or defective, contact customer support.

Figure 3: Illustration of included components.
The package typically includes:
- Arm Assembly / Wall Plate
- TV Brackets (x2)
- Various mounting hardware (screws, washers, spacers) for TV and wall
- Concrete anchors (if applicable)
- Level tool
- Cable ties
- Wrench
- Instruction Manual
4. Specifications
| Specification | Value |
|---|---|
| Brand | FORGING MOUNT |
| Model Number | HY9458-B |
| Material | Alloy Steel |
| Item Weight | 32.6 pounds |
| Product Dimensions | 25 x 40 x 43 inches |
| Color | Black |
| Mounting Type | Wall Mount |
| Movement Type | Articulating (Full Motion) |
| Maximum Compatible TV Size | 100 Inches (Supports 60-100 inches) |
| Minimum Compatible TV Size | 60 Inches |
| Maximum Load Capacity | 220 lbs (100 kg) |
| VESA Compatibility | Min 200x100mm, Max 900x600mm |
| Extension from Wall | 2.76" (7cm) to 43" (109cm) |
| Tilt Angle | +5° / -12° |
| Swivel Angle | 180° (depending on TV size) |
| Level Adjustment | ±3° |
5. Setup and Installation
The installation process is designed to be straightforward, typically completed within 30 minutes with the provided tools and template. Always ensure you have the correct wall type and VESA pattern before starting.
5.1 Pre-Installation Checks
- Verify TV size (60-100 inches) and weight (up to 220 lbs).
- Check VESA mounting pattern on your TV (Min 200x100mm, Max 900x600mm).
- Identify your wall type: wood studs (12", 16", 24" spacing), solid concrete, or brick.
- Ensure no electrical wires or plumbing are in the drilling path.

Figure 4: Confirming your TV's VESA pattern.

Figure 5: Verify cable outlet position to avoid blockage by the mount.
5.2 Installation Steps
Follow these general steps for installation. Refer to the detailed instruction manual included in your package for precise measurements and hardware selection.
- Attach Brackets to TV Back: Secure the TV brackets to the back of your television using the appropriate screws, washers, and spacers from the hardware kit. Ensure they are firmly attached and aligned with the VESA holes.
- Install the Wall Plate: Locate the desired mounting position on your wall. Use the provided mounting template and a level to mark the drilling points for the wall plate. Drill pilot holes according to the instructions for your specific wall type (wood stud, concrete, or brick). Secure the wall plate firmly to the wall using the appropriate lag bolts and anchors.
- Hang TV onto Wall Plate: Carefully lift the TV with the attached brackets and hook them onto the wall plate. Ensure the TV is securely seated on the mount. Fasten any safety screws or locking mechanisms as per the manual to prevent accidental dislodgement.

Figure 6: Step 1 - Attaching TV brackets to the television.
Video 1: Product Display and Installation Overview. This video demonstrates the mount's features and general installation steps.
6. Operating Instructions (Adjustments)
The FORGING MOUNT TV wall mount offers full motion capabilities for flexible viewing.
6.1 Extension and Retraction
Gently pull or push the TV to extend it up to 43 inches (109 cm) from the wall or retract it to a slim 2.76 inches (7 cm) profile. This allows for optimal viewing from various distances and saves space when not in use.
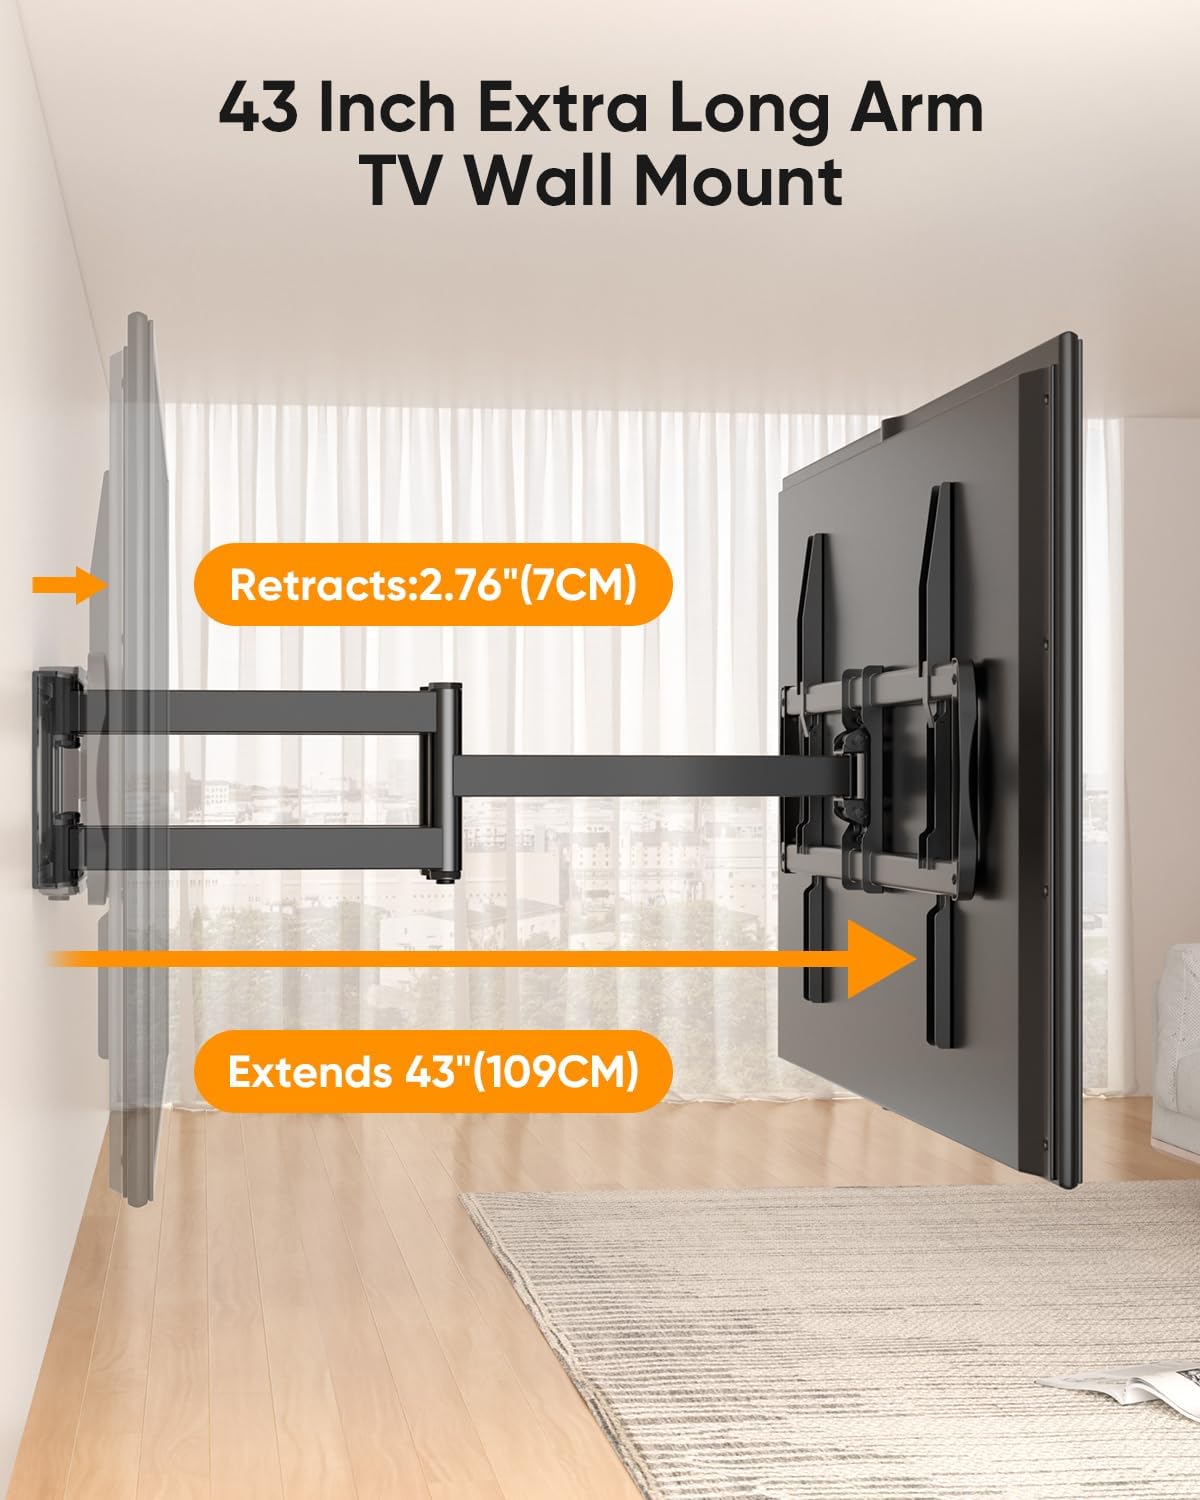
Figure 7: Demonstrates the mount's extension and retraction capabilities.
6.2 Swivel Adjustment
The mount allows for a 180° swivel range, enabling you to turn your TV left or right to suit your viewing position. The actual swivel angle may vary slightly depending on the size of your television.

Figure 8: Illustrates the 180° swivel range for flexible viewing.
6.3 Tilt Adjustment
Adjust the tilt angle of your TV from +5° (upwards) to -12° (downwards). This feature is useful for reducing glare from lights or windows and optimizing viewing from different heights.
6.4 Level Adjustment
After installation, you can make fine-tune adjustments to level your TV by ±3°. This ensures your screen is perfectly horizontal, even if the wall plate was not installed perfectly level.
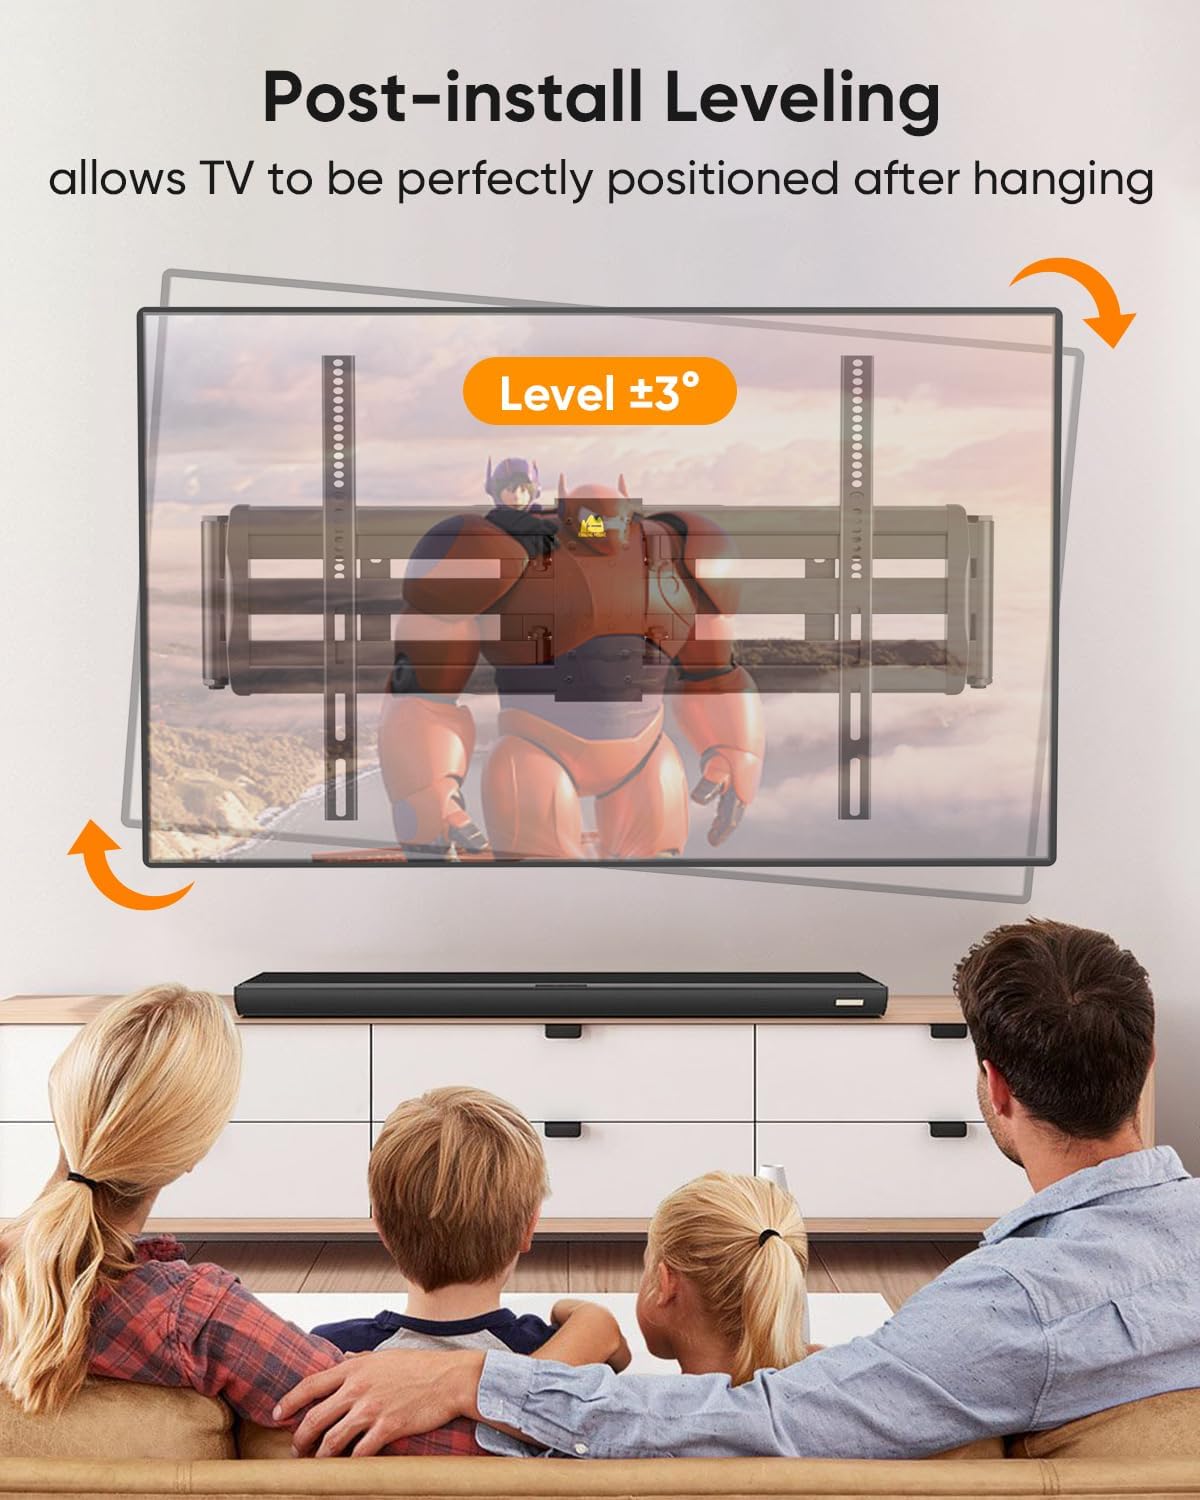
Figure 9: Post-installation level adjustment for perfect alignment.
7. Maintenance
To ensure the longevity and safe operation of your TV wall mount, follow these maintenance guidelines:
- Regular Inspection: Periodically (e.g., every 6 months) inspect all mounting hardware, bolts, and connections to ensure they are tight and secure.
- Cleaning: Wipe the mount with a soft, dry cloth to remove dust. For stubborn marks, a slightly damp cloth can be used, followed by drying. Avoid abrasive cleaners or solvents.
- Lubrication: The articulating joints are designed for smooth movement. If you notice any stiffness over time, a small amount of silicone-based lubricant can be applied to the pivot points.
- Weight Limit: Never attempt to mount a TV heavier than the specified 220 lbs (100 kg) limit.
8. Troubleshooting
If you encounter any issues with your FORGING MOUNT TV wall mount, refer to the following common solutions:
- TV Not Level After Installation: Use the ±3° post-installation level adjustment feature. Loosen the leveling screws slightly, adjust the TV to the desired level using a spirit level, and then re-tighten the screws.
- Mount Feels Loose or Sags:
- Ensure all lag bolts securing the wall plate to the wall are fully tightened.
- Verify that the TV brackets are securely fastened to the TV and the mount.
- Confirm that the wall type is appropriate and the installation was done correctly (e.g., not on drywall alone).
- Check that the TV weight does not exceed the 220 lbs capacity.
- Difficulty Moving/Adjusting the Mount:
- Check for any obstructions behind the TV or mount.
- Ensure no cables are caught in the articulating arms.
- The joints may be stiff initially; gentle force should allow movement. If persistent, apply a small amount of silicone lubricant to the pivot points.
- Stud Alignment Issues (for wood stud installation): If your wall studs are not perfectly centered or spaced, you may need to install a wooden ledger board across multiple studs first, and then attach the wall mount to the ledger board. This provides a wider, more flexible mounting surface.
9. Warranty and Support
FORGING MOUNT is committed to providing high-quality products. This product is backed by a standard return policy, typically allowing returns within 30 days for refund or replacement.
For specific warranty details, technical assistance, or to report missing/damaged parts, please contact FORGING MOUNT customer support directly. Refer to the contact information provided on the product packaging or the official FORGING MOUNT website.
Additional protection plans may be available for purchase, offering extended coverage beyond the standard policy. Please check with your retailer for details on 2-Year or 3-Year Protection Plans.