
MiBOXER B2
MiBOXER B2 4-Zone Panel Remote User Manual
Model: B2
1. Introduction
The MiBOXER B2 4-Zone Panel Remote is a versatile and elegant controller designed for precise management of lighting across multiple zones. It offers intuitive control over color temperature and brightness, making it ideal for various environments requiring flexible lighting solutions. Its magnetic installation feature ensures ease of setup and removal.

Figure 1.1: Front view of the MiBOXER B2 4-Zone Panel Remote, showing the touch interface for color temperature, brightness, and four zone controls.
2. Product Features
- High-Precision Capacitive Touch IC: Ensures responsive and accurate touch control.
- Magnetic Installation: Allows for simple and hassle-free mounting and removal.
- 2.4G RF Wireless Transmission Technology: Provides reliable long-range control up to 30 meters.
- MiBoxer/Mi-Light 2.4G Series Support: Compatible with existing MiBoxer/Mi-Light 2.4G lighting systems.
- Brightness and Color Temperature Adjustable: Fine-tune lighting from warm to cool white and adjust intensity.
- 4-Zone Control: Independently manage up to four distinct lighting zones.
- 60S Delay OFF Function: Allows for a timed delay before lights turn off.
- High-End Tempered Glass Panel: Offers durability, scratch, and crushing resistance.

Figure 2.1: The B2 remote seamlessly integrated into a modern living space, demonstrating its aesthetic appeal.

Figure 2.2: Illustration of the 60-second delay off feature and the ability to control four zones individually.
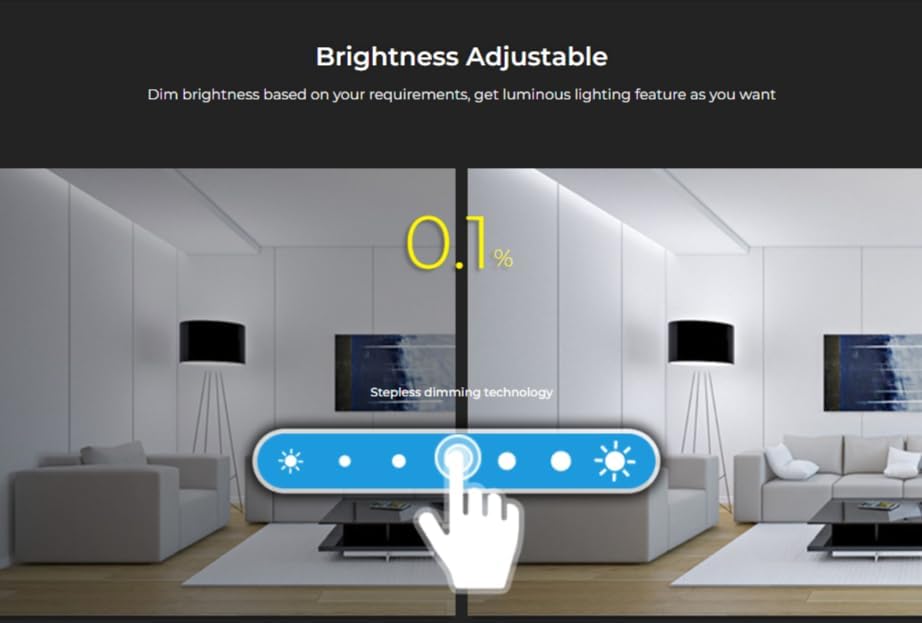
Figure 2.3: Visual representation of the stepless dimming technology, allowing brightness adjustment from 0.1%.
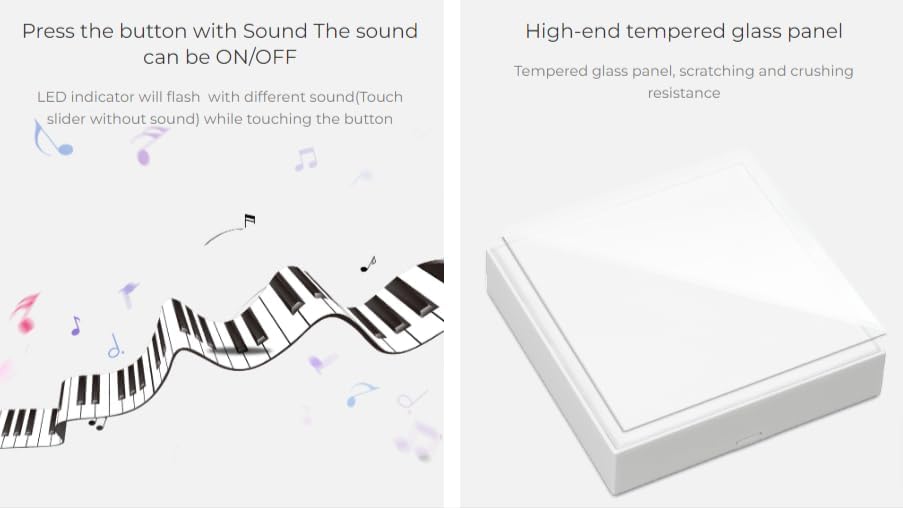
Figure 2.4: Details on the audible feedback for button presses and the durable tempered glass panel construction.
3. Package Contents
The MiBOXER B2 4-Zone Panel Remote package typically includes:
- 1 x MiBOXER B2 4-Zone Panel Remote
- Magnetic Holder/Backplate
- User Manual (this document)
- Note: 2*AAA batteries are required for operation and may not be included.

Figure 3.1: Product dimensions (86mm x 86mm x 16mm) and packaging details.
4. Specifications
| Feature | Detail |
|---|---|
| Model Number | B2 |
| Brand | MiBOXER |
| Connectivity Technology | 2.4G RF Wireless |
| Control Distance | 30m |
| Compatible Devices | MiBoxer/Mi-Light 2.4G series lights |
| Max Number of Supported Devices | 1 (per zone, controlling countless lamps/controllers) |
| Power Supply | 2*AAA Battery |
| Item Weight | 4.8 ounces |
| Package Dimensions | 4 x 4 x 1 inches |
5. Setup and Installation
The MiBOXER B2 remote features a magnetic installation for easy setup. Follow these steps:
- Prepare the Surface: Ensure the desired installation surface is clean, dry, and smooth.
- Attach the Backplate: Tear off the protective film from the adhesive on the back of the magnetic holder/backplate. Stick the holder firmly onto the chosen position on the wall.
- Install Batteries: Open the battery compartment on the back of the B2 remote. Insert 2*AAA batteries, ensuring correct polarity.
- Mount the Remote: Align the B2 remote with the magnetic holder on the wall. The magnets will securely hold the remote in place.
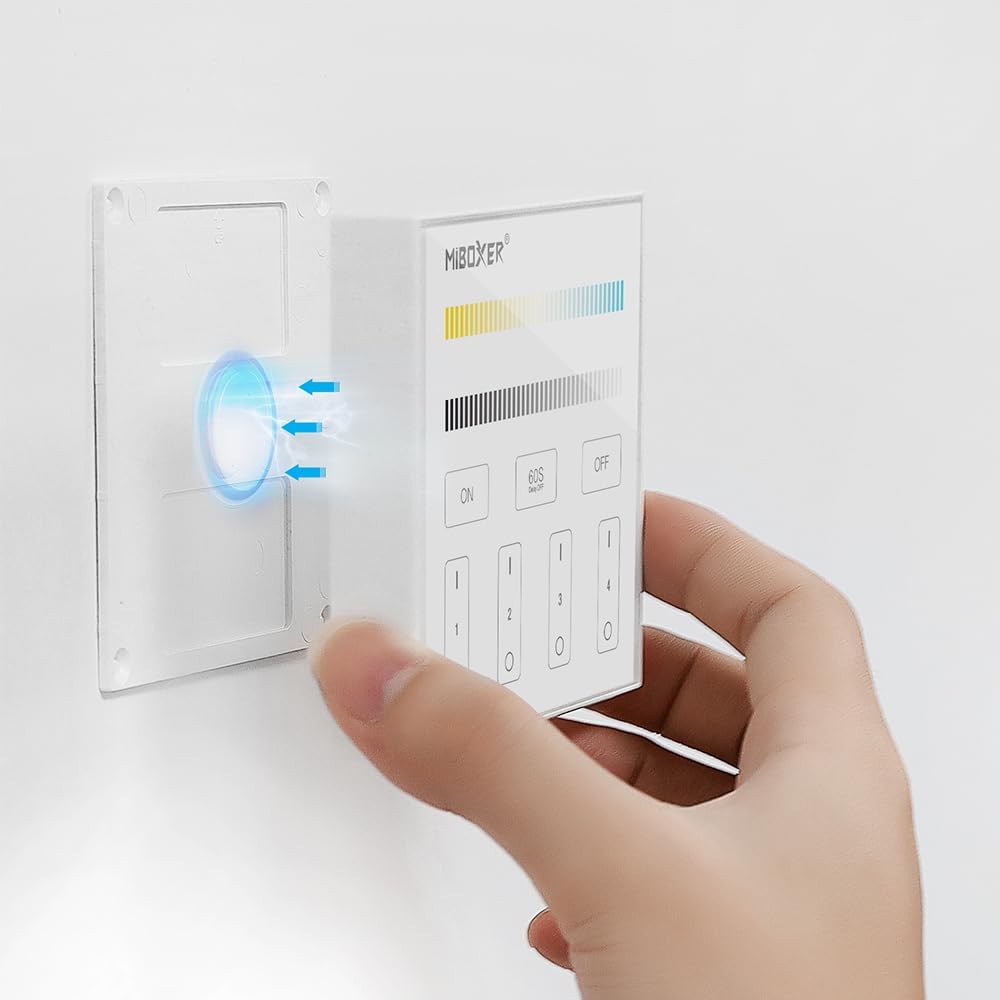
Figure 5.1: The magnetic installation process, showing the remote being attached to its wall-mounted holder.
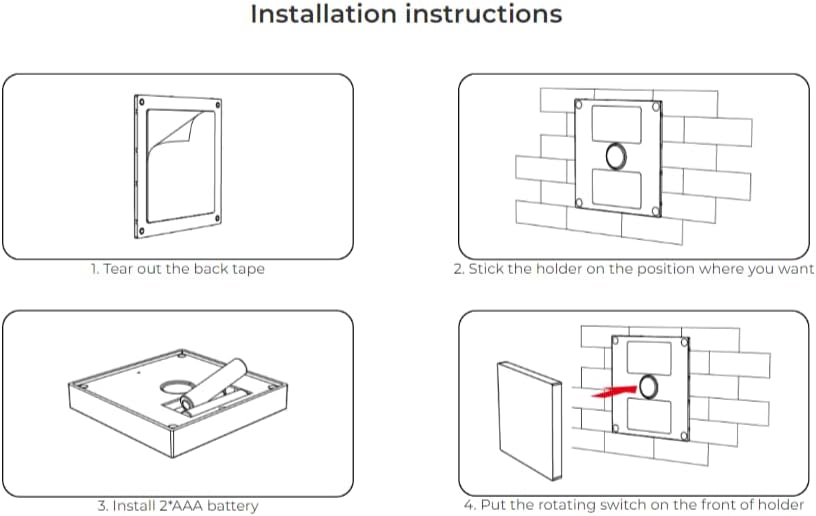
Figure 5.2: Detailed diagram illustrating the four steps for installation: peeling tape, sticking holder, installing batteries, and attaching the remote.
6. Operation
The MiBOXER B2 remote provides intuitive touch controls for managing your lighting.
6.1. Power On/Off
- ON Button: Press to turn on the connected lights.
- OFF Button: Press to turn off the connected lights.
- 60S Delay OFF Button: Press this button to activate a 60-second delay before the lights automatically turn off.
6.2. Zone Control
The remote features four independent zone buttons (1, 2, 3, 4). Each zone can control countless lamps or controllers linked to it.
- Select Zone: Briefly touch one of the zone numbers (1-4) to select that zone for control.
- All Zones: To control all paired lights simultaneously, ensure no specific zone is selected, or some systems may respond to commands when no zone is active. Refer to your specific light fixture's pairing instructions.
6.3. Color Temperature Adjustment
Use the top color temperature slider to adjust the light's warmth or coolness.
- Adjust: Slide your finger along the color temperature bar to select the desired white tone, from warm white to cool white.
6.4. Brightness Adjustment
Use the lower brightness slider to adjust the light's intensity.
- Adjust: Slide your finger along the brightness bar to increase or decrease the light output. The remote supports stepless dimming from 0.1% to 100%.
7. Maintenance
- Cleaning: Wipe the panel with a soft, dry cloth. Do not use abrasive cleaners or solvents.
- Battery Replacement: When the remote's response becomes sluggish or the LED indicator dims, replace the 2*AAA batteries. Ensure correct polarity.
- Storage: Store the remote in a cool, dry place away from direct sunlight and extreme temperatures.
8. Troubleshooting
- Remote Not Responding:
- Check if batteries are installed correctly and have sufficient charge. Replace if necessary.
- Ensure the remote is within the 30m control distance of the receiver/lights.
- Verify that the lights are properly paired with the remote. Refer to your light fixture's pairing instructions.
- Lights Flicker or Respond Inconsistently:
- This could indicate low battery in the remote. Replace batteries.
- Check for strong interference from other 2.4GHz devices. Try moving the remote or receiver.
- Cannot Adjust Color Temperature/Brightness:
- Ensure the correct zone is selected.
- Verify that the connected light fixture supports color temperature and brightness adjustment.
9. Warranty and Support
For warranty information and technical support, please refer to the official MiBOXER website or contact your point of purchase. Specific warranty terms may vary by region and retailer.
No official product videos were provided for this manual.
Related documentsB2


Ask a question about this manual
Ask about setup, troubleshooting, compatibility, parts, safety, or missing instructions. Manuals+ will review the question and use this page’s manual context to help answer it.