
1. Introduction
Thank you for choosing the WOLTU Connected Bedside Table. This manual provides detailed instructions for the assembly, operation, and maintenance of your new bedside table. Designed for modern living, this table combines practical storage with integrated charging capabilities and adjustable LED lighting to enhance your bedroom environment.
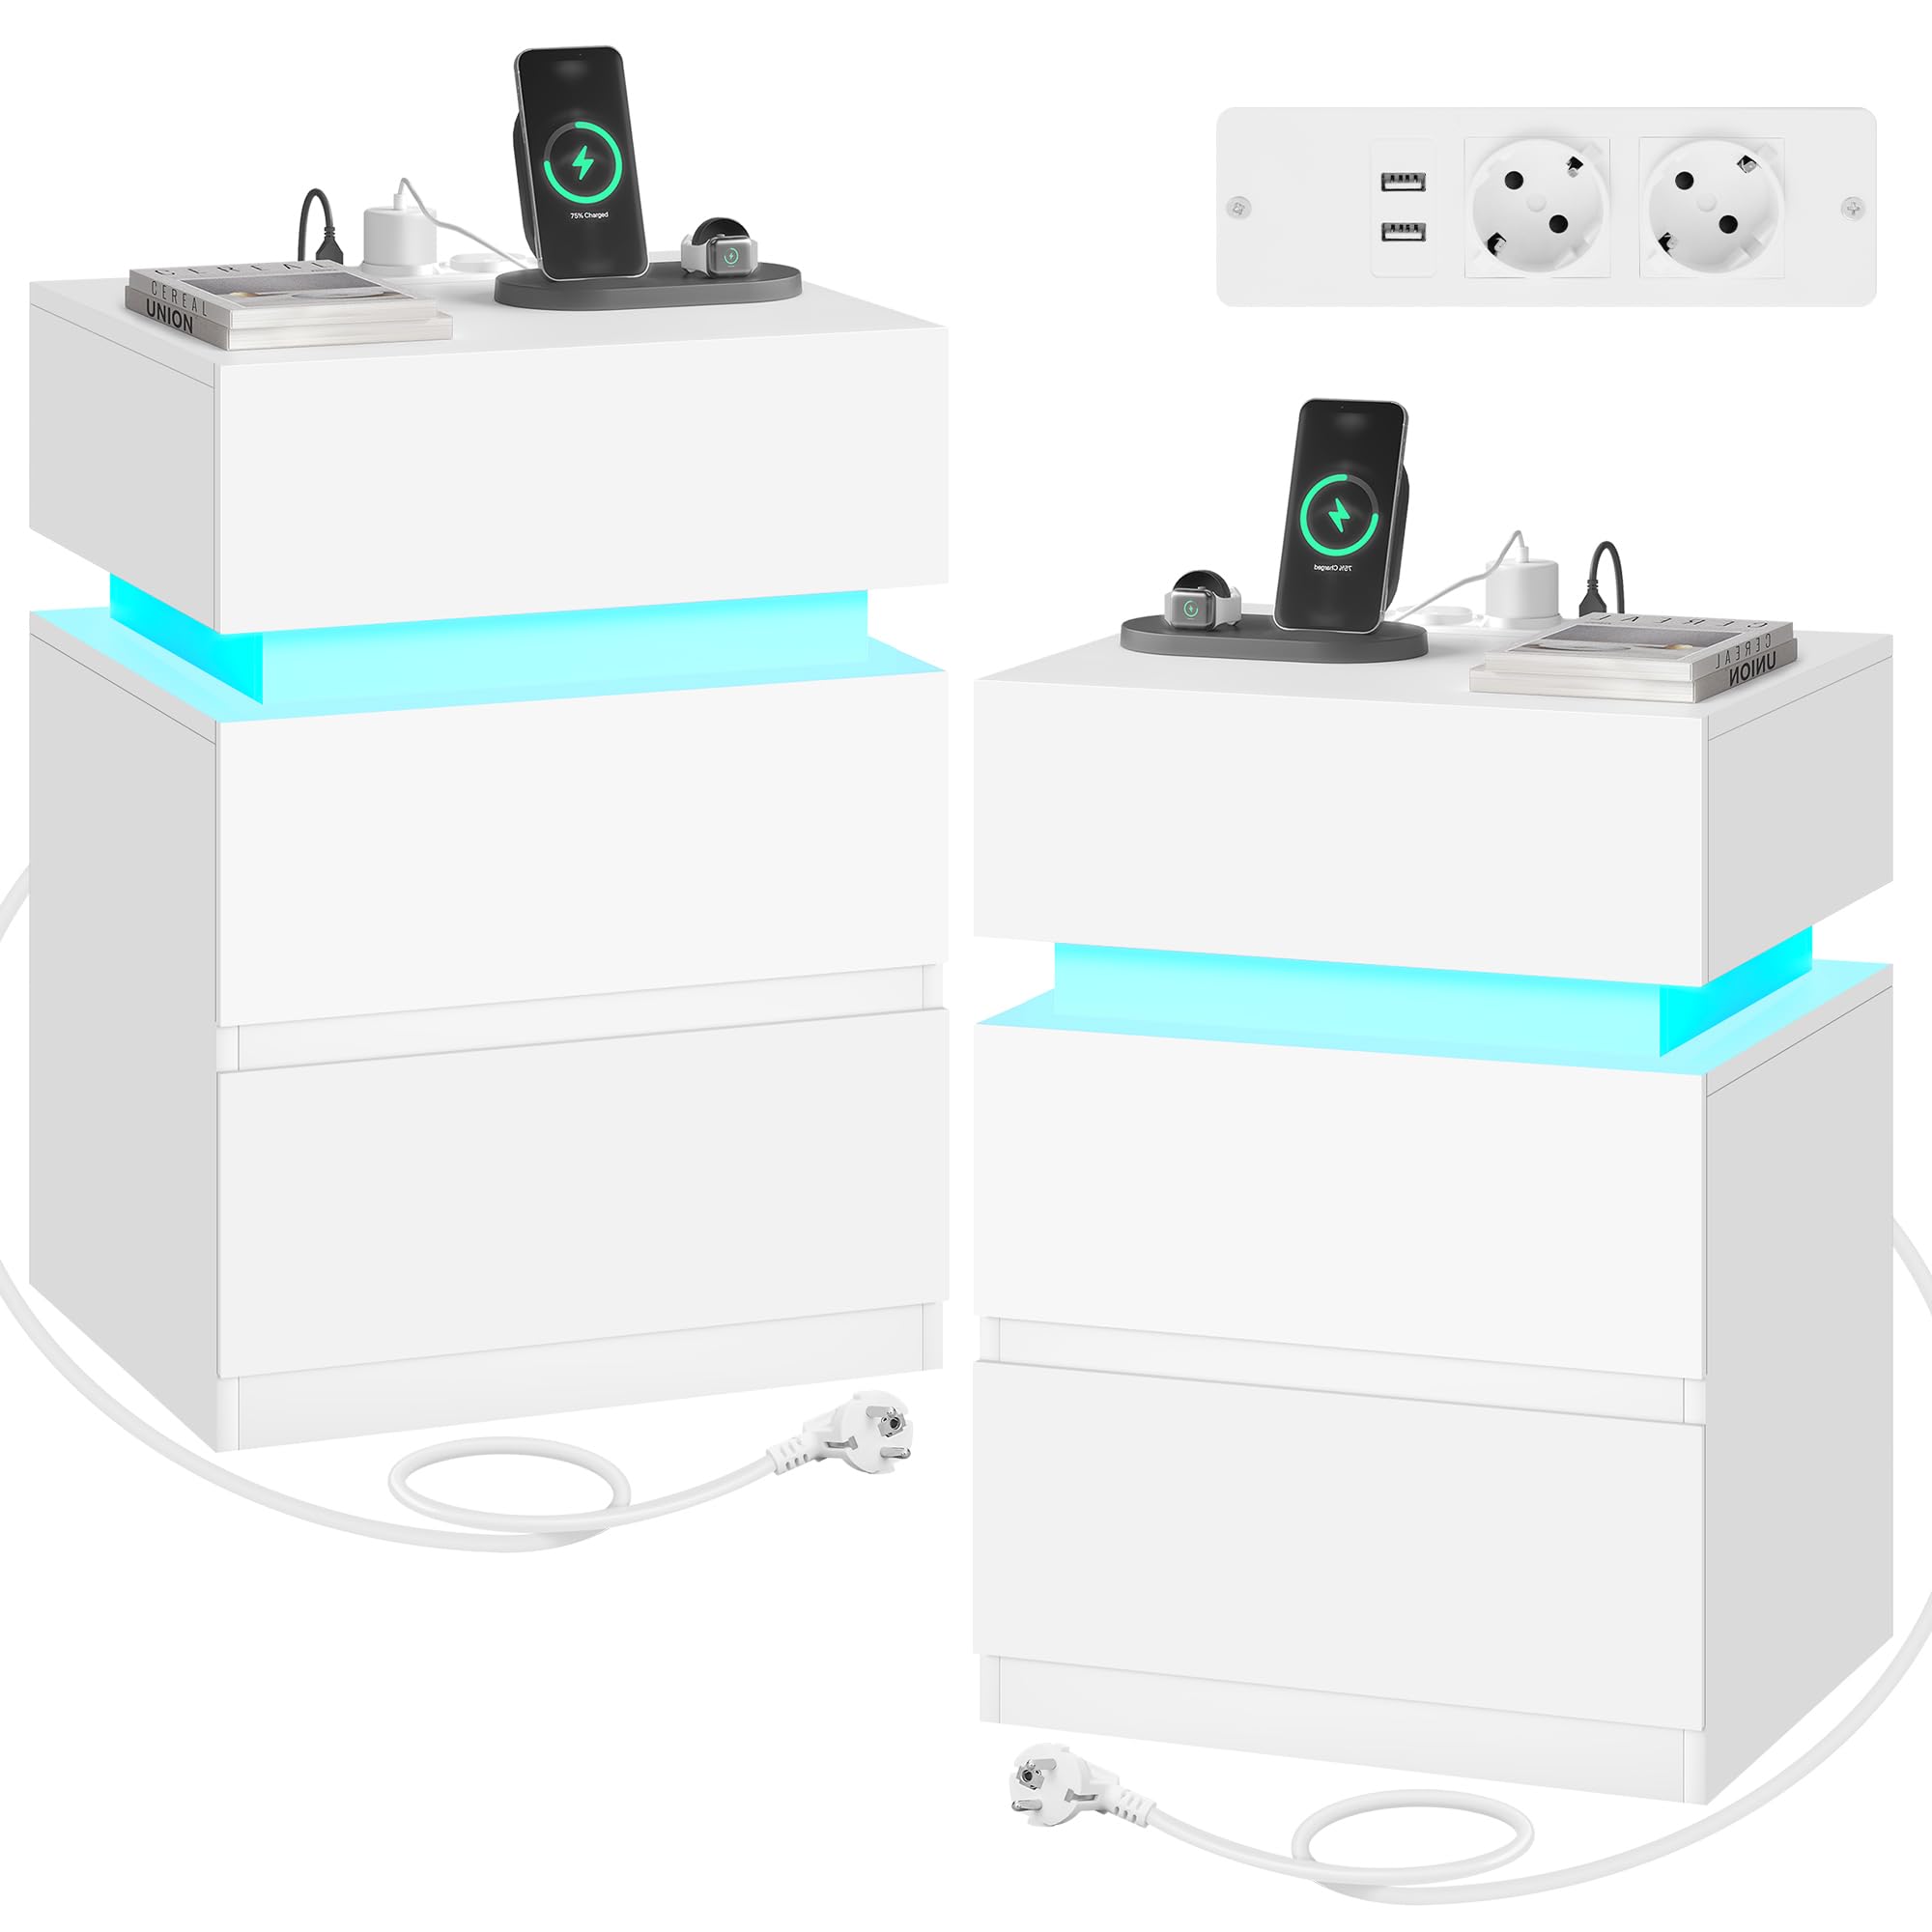
Image 1.1: The WOLTU Connected Bedside Table with its integrated LED lighting and charging station.
2. Safety Instructions
Please read and understand all safety instructions before assembly and use. Failure to follow these instructions may result in injury or damage to the product.
- Anti-Tip Device: Always install the provided anti-tip device to prevent the table from tipping over, especially in households with children or pets.
- Weight Capacity: Do not exceed the maximum weight recommendation of 30 kg for the tabletop and 5 kg per drawer.
- Electrical Safety: Ensure the power cable is not pinched or damaged. Do not overload the integrated power outlets and USB ports. Use only in dry indoor environments.
- Assembly: Assemble the product on a soft, clean surface to prevent scratches. Ensure all screws and fasteners are securely tightened before use.
- Placement: Place the table on a flat, stable surface. Avoid direct sunlight or extreme temperatures.

Image 2.1: Product dimensions and weight capacity details. The tabletop supports up to 30 kg, and each drawer supports up to 5 kg.
3. Package Contents
Verify that all components are present before beginning assembly. If any parts are missing or damaged, please contact customer support.
- 2x Bedside Table units
- 2x LED Strips
- 2x Power Strips (with 2 outlets and 2 USB ports each)
- 2x Remote Controls for LED Strips
- 2x Instruction Manuals
- 2x Accessory Kits (screws, fasteners, anti-tip device)
4. Setup and Assembly
Assembly is required for this product. Detailed and illustrated instructions, along with all necessary accessories, are provided to facilitate the process. A screwdriver is recommended for assembly.
4.1. General Assembly Steps
- Unpack all components and verify against the package contents list.
- Follow the step-by-step diagrams in the included instruction manual. Each part is typically numbered, and hardware is sorted by letter for easy identification.
- Assemble the main frame of the bedside table.
- Install the drawers and their slides. Ensure smooth operation.
- Attach the integrated power strip to the designated area. Route the power cable through the cable management hole at the back.
- Install the LED strip in its designated groove.
- Secure the anti-tip device to the back of the table and to the wall as per instructions.

Image 4.1: Detail of the smooth hinges and metal drawer slides, ensuring durability and ease of use.
5. Operating Instructions
5.1. Integrated Charging Station
The bedside table is equipped with a convenient power strip for charging your electronic devices.
- Outlets: Two 220-250V/15A power outlets are available for standard plugs.
- USB Ports: Two 5V/2.1A USB ports are provided for charging smartphones, tablets, and other USB-powered devices.
- Cable Management: A 1.5m power cable is included. Use the round hole at the back of the table to neatly route and conceal cables.

Image 5.1: The integrated power strip allows simultaneous charging of up to four devices.
5.2. Adjustable LED Lighting
The LED strip offers customizable lighting options to create various atmospheres.
- Color Options: Choose from 25 different light colors.
- Static Colors: 9 static colors are available for quick selection.
- Control Methods: Control the LED light using the provided remote control or via Bluetooth connection with a compatible device.
- Adjustments: Adjust color, brightness, and flashing mode.
- Music Mode: The dynamic light mode can synchronize with music rhythms to create an immersive experience.

Image 5.2: The LED strip offers 25 colors, 9 static options, and two remote control methods (remote and Bluetooth).

Image 5.3: The remote control allows access to music mode, timer, dynamic speed, and brightness adjustment for the LED light.
6. Storage Features
The WOLTU Connected Bedside Table offers ample storage solutions to keep your essentials organized.
- Two Drawers: Two spacious drawers provide private and dust-free storage for personal items.
- Flap Compartment: One compartment with a flap offers easy access for daily items.
- Tabletop: The 40x35 cm tabletop is suitable for holding mobile phones, alarm clocks, photo frames, and other bedside necessities.

Image 6.1: The bedside table features two drawers and a convenient flap compartment for organized storage.
7. Maintenance
To ensure the longevity and appearance of your WOLTU Connected Bedside Table, follow these simple maintenance guidelines:
- Cleaning: Wipe surfaces with a soft, damp cloth. Avoid abrasive cleaners or harsh chemicals that may damage the finish.
- Spills: Clean up spills immediately to prevent staining, especially on the water-repellent surfaces.
- Inspection: Periodically check all screws and fasteners to ensure they remain tight. Re-tighten if necessary.
- Electrical Components: Keep the power strip and LED components dry. Do not attempt to repair electrical parts yourself.
8. Troubleshooting
If you encounter any issues with your bedside table, refer to the following common problems and solutions:
- LED Light Not Working:
- Ensure the LED strip is properly connected to its power source.
- Check if the remote control batteries need replacement.
- Verify that the remote control is aimed at the receiver.
- Charging Ports Not Functioning:
- Ensure the main power cable of the bedside table is securely plugged into a wall outlet.
- Check if the devices being charged are properly connected to the outlets/USB ports.
- Avoid overloading the power strip.
- Drawers Sticking or Not Closing Smoothly:
- Check for any obstructions in the drawer slides.
- Ensure the drawer slides are correctly installed and aligned.
- Verify that all assembly screws for the drawers and slides are tight.
- Table Wobbles:
- Ensure the table is placed on a level surface.
- Check and tighten all assembly screws.
- Confirm the anti-tip device is securely installed.
If these steps do not resolve the issue, please contact WOLTU customer support for further assistance.
9. Specifications
| Brand | WOLTU |
| Model Number | NTS23ws-2 |
| Dimensions (L x W x H) | 40 x 35 x 55 cm |
| Item Weight | 25 Kilograms |
| Max Weight Recommendation (Tabletop) | 30 Kilograms |
| Material | E1 Particle Board, Metal (frame), Wood (base/handle) |
| Color | White |
| Number of Drawers | 2 (plus 1 flap compartment) |
| Power Outlets | 2 (220-250V/15A) |
| USB Ports | 2 (5V/2.1A) |
| LED Features | 25 colors, 9 static colors, Remote & Bluetooth control, Music sync |
| Assembly Required | Yes (Screwdriver recommended) |
10. Warranty and Support
This WOLTU product comes with a limited warranty. For specific warranty details and duration, please refer to the warranty card included in your package or contact WOLTU customer support.
For technical assistance, missing parts, or any other inquiries, please visit the official WOLTU website or contact their customer service department through the contact information provided with your purchase.