
Introduction
Thank you for choosing the VIANIS Outdoor Post Lights with Outlet. This manual provides essential information for the safe installation, operation, and maintenance of your new lighting fixture. Please read these instructions thoroughly before installation and retain them for future reference.
Safety Information
WARNING: To avoid electric shock, ensure power is turned off at the circuit breaker before installation or servicing. All wiring connections must be in accordance with local and national electrical codes (NEC). If you are unfamiliar with proper electrical wiring connections, consult a qualified electrician.
- Do not install this fixture on surfaces that are not structurally sound.
- Use only bulbs of the specified type and wattage (Max 60 watts, E26 base).
- Ensure all connections are secure and properly insulated.
- Do not modify the fixture in any way.
- Keep flammable materials away from the light fixture.
- The integrated outlet is rated for a maximum load of 1080W. Do not exceed this rating.
- The outlet is splash-proof and designed with protection against electric shock and an isolation compartment. However, avoid direct water exposure or submersion.
Package Contents
Verify that all components are present before beginning installation. If any parts are missing or damaged, contact customer support.
- VIANIS Outdoor Post Light Fixture (1 unit)
- Mounting Hardware Kit (screws, wire nuts, etc.)
- Installation Template Card
- Instruction Manual
Note: Bulbs are not included. This fixture requires 3x Max 60 watt E26 bulbs.
Specifications
| Feature | Specification |
|---|---|
| Brand | VIANIS |
| Model Number | V86133DE.KG-V8113D1.KG |
| Color | Black |
| Power Source | Corded Electric (Hardwired) |
| Input Voltage | 120V AC |
| Bulb Base | E26 |
| Max Wattage per Bulb | 60 watts |
| Number of Light Sources | 3 |
| Control Method | Automatic (Dusk to Dawn Sensor) |
| Water Resistance Level | Waterproof |
| Material | Die-cast Aluminum Frame, Tempered Water Ripple Glass |
| Integrated Outlet Max Load | 1080W (14AWG Input Wire) |
| Dimensions (Approx.) | Height: 78 in (6.5 ft), Width: 24.4 in, Base Diameter: 9 in |
Setup and Installation
Before you begin: Ensure the power is OFF at the circuit breaker. This fixture is designed for hardwired installation.
Tools Required (Not Included):
- Screwdriver (Phillips and Flathead)
- Wire Strippers
- Pliers
- Electrical Tape
- Drill (if installing on new concrete or surface)
- Level
Installation Steps:
- Prepare the Installation Area:
Turn off the power at the main circuit breaker. Ensure the mounting surface is clean, dry, and structurally sound. If replacing an existing fixture, carefully remove it and disconnect the wiring.
- Mount the Fixture Base:
Use the provided template card to mark the drilling points for the fixture base. Drill pilot holes if necessary. Secure the fixture base to the mounting surface using the provided screws and anchors. Ensure the base is level and securely fastened.

Image: Detailed information including dimensions (78 inches height, 24.4 inches width) and components like the E26 socket and advanced dusk to dawn sensor.
- Wire Connections:
Carefully pull the electrical wires from the junction box through the center hole of the fixture base. Connect the wires according to standard electrical codes:
- Connect the black wire (Live/Hot) from the fixture to the black wire from the power supply.
- Connect the white wire (Neutral) from the fixture to the white wire from the power supply.
- Connect the green or bare copper wire (Ground) from the fixture to the green or bare copper wire from the power supply.
Secure all connections with wire nuts and wrap with electrical tape for added safety. Tuck the wires neatly into the junction box.
- Assemble the Light Fixture:
Attach the main body of the post light to the secured base. Ensure all components are aligned and tightened properly. The fixture features a die-cast aluminum frame and tempered water ripple glass panels.

Image: Product details highlighting the tempered water ripple glass, die-cast aluminum frame, and the integrated dusk to dawn sensor.
- Install Bulbs:
Screw three E26 base bulbs (not included, max 60 watts each) into the sockets. Do not overtighten.

Image: Diagram illustrating the E26 base and compatible bulb types for the fixture.
- Restore Power:
Once installation is complete and all connections are secure, restore power at the circuit breaker.
Operating Instructions
Dusk to Dawn Sensor:
This outdoor post light is equipped with a high-sensitivity photocell sensor. The light will automatically turn on at dusk when ambient light levels fall below a certain threshold and turn off at dawn when sufficient natural light is detected.
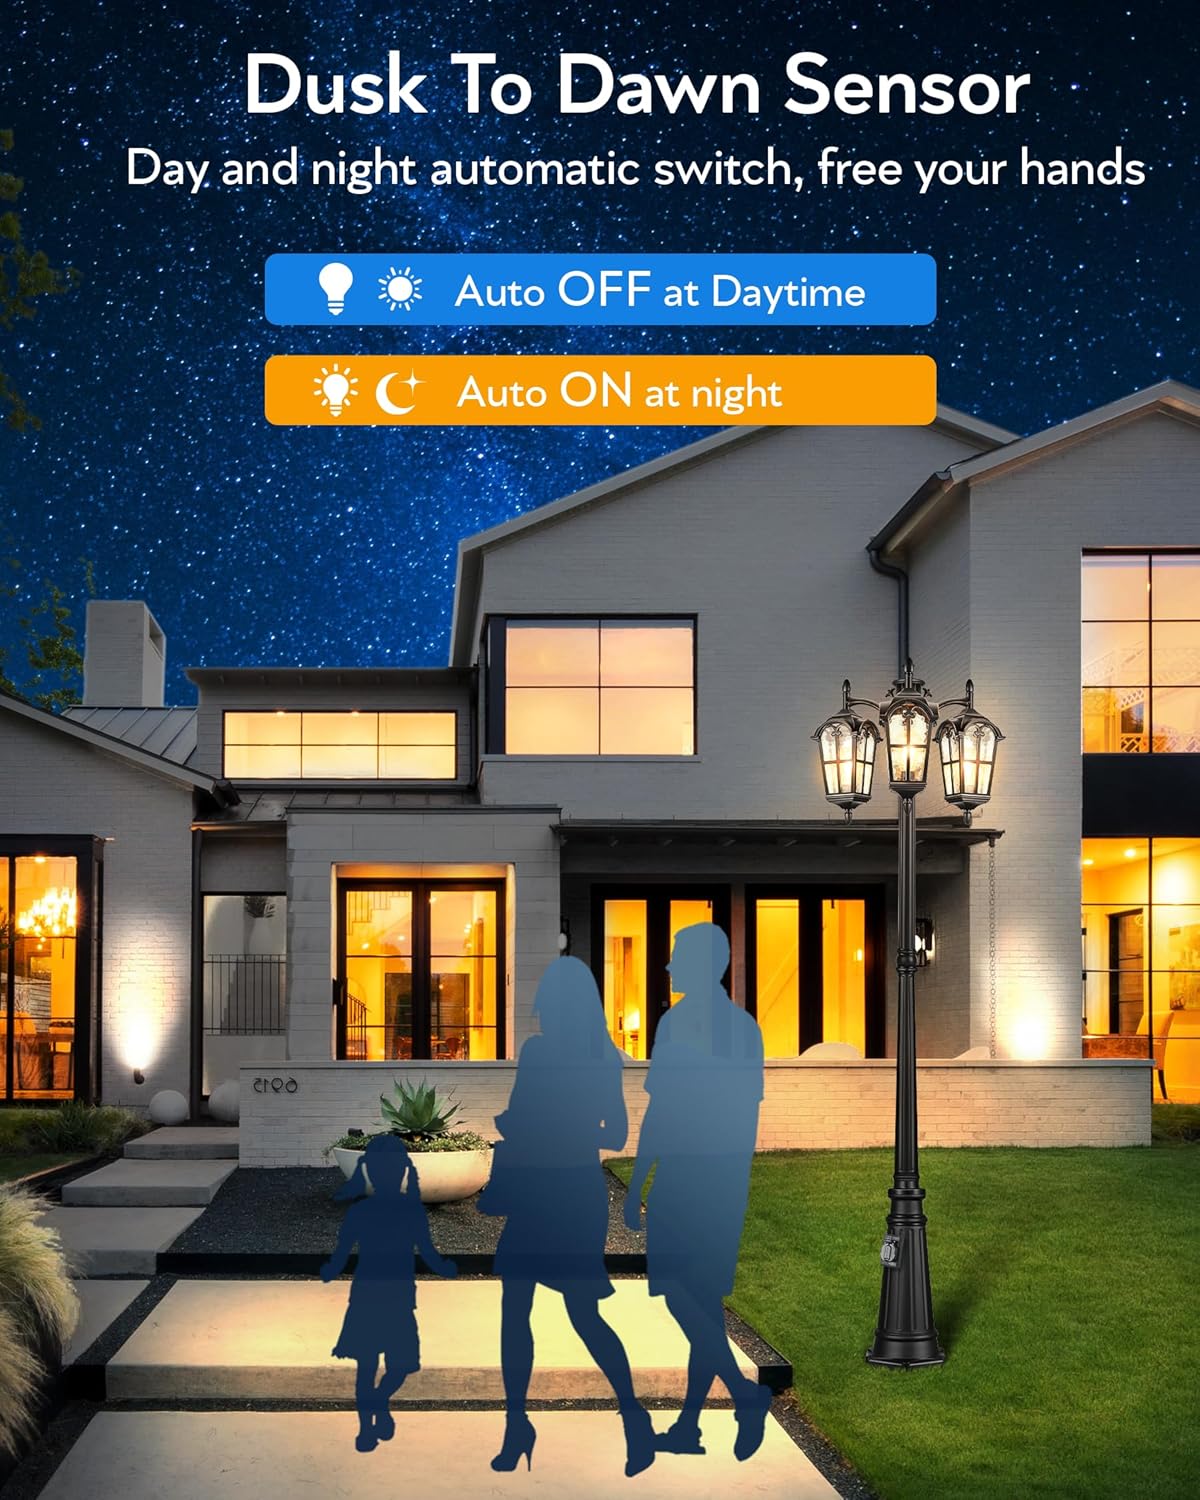
Image: Visual representation of the dusk to dawn sensor, indicating automatic operation (OFF at daytime, ON at night).
Ensure the sensor is not obstructed by objects, foliage, or other light sources (e.g., streetlights, other outdoor lights) as this may interfere with its proper operation.
Integrated Electrical Outlet:
The post light includes a built-in 14AWG input wire electrical outlet, providing convenient power access for outdoor devices. The maximum load for this outlet is 1080 watts.

Image: Close-up of the integrated outlet, detailing its safety features including protection against electric shock, splash-proof design, and an isolation compartment.
To use the outlet, simply plug in your outdoor electrical device. Always ensure the device's power requirements do not exceed the outlet's maximum load of 1080W. While the outlet is splash-proof, it is not designed for submersion or direct high-pressure water exposure.

Image: The post light providing accessible power via its integrated outlet for outdoor tasks like lawn mowing.
Maintenance
Regular maintenance will help prolong the life and appearance of your VIANIS Outdoor Post Light.
- Cleaning: Periodically clean the fixture with a soft, damp cloth. Do not use abrasive cleaners, solvents, or polishes as these can damage the finish or glass. Ensure the power is off before cleaning.
- Bulb Replacement: Turn off power at the circuit breaker before replacing bulbs. Allow bulbs to cool completely before handling. Replace with E26 base bulbs, maximum 60 watts.
- Inspection: Periodically inspect the wiring and connections for any signs of wear, damage, or corrosion. Ensure the fixture is securely mounted.
- Weather Resistance: The fixture is constructed from 100% die-cast aluminum, making it waterproof, anti-rust, and corrosion-resistant, suitable for various weather conditions including sun, snow, and storms.

Image: The post light demonstrating its weather resistance in snowy conditions, highlighting its waterproof, sunproof, snowproof, and stormproof capabilities due to its die-cast aluminum, anti-rust construction.
Troubleshooting
If you encounter issues with your VIANIS Outdoor Post Light, refer to the following common problems and solutions:
| Problem | Possible Cause | Solution |
|---|---|---|
| Light does not turn on at dusk. |
|
|
| Light stays on during the day. |
|
|
| Integrated outlet is not working. |
|
|
| Flickering light. |
|
|
Warranty and Support
This VIANIS product comes with a 3-year warranty, guaranteeing against defects in materials and workmanship under normal use. Please retain your proof of purchase for warranty claims.
Image: Warranty information indicating a 3-year guarantee.
For technical support, warranty service, or to report missing/damaged parts, please contact VIANIS customer service through the retailer's platform or the official VIANIS website.