1. Introduction
This manual provides comprehensive instructions for the installation, setup, programming, and maintenance of your Zuomeng HY-005 2-Circuit 30Amp Astronomic Electronic Time Switch. This device is designed to automate the control of electrical loads based on astronomical events (sunrise/sunset) and user-defined schedules, offering enhanced energy management and convenience.
Key features include independent control of two circuits, minute-level programming, a built-in rechargeable lithium battery for settings retention, multi-voltage support (120-277 VAC), and IP65 waterproofing for outdoor use.
2. Safety Information
WARNING: Disconnect power at the circuit breaker(s) or main panel before installing or servicing this control. All wiring must be performed in accordance with national and local electrical code requirements. Only qualified personnel should perform installation. Replace this insulator after wiring.
Ensure all connections are secure to prevent electrical hazards. Use 8 AWG - 10 AWG wires, rated at least 75°C, under the terminal plate on the time switch connector. Minimum screw torque is 14 lb-in.
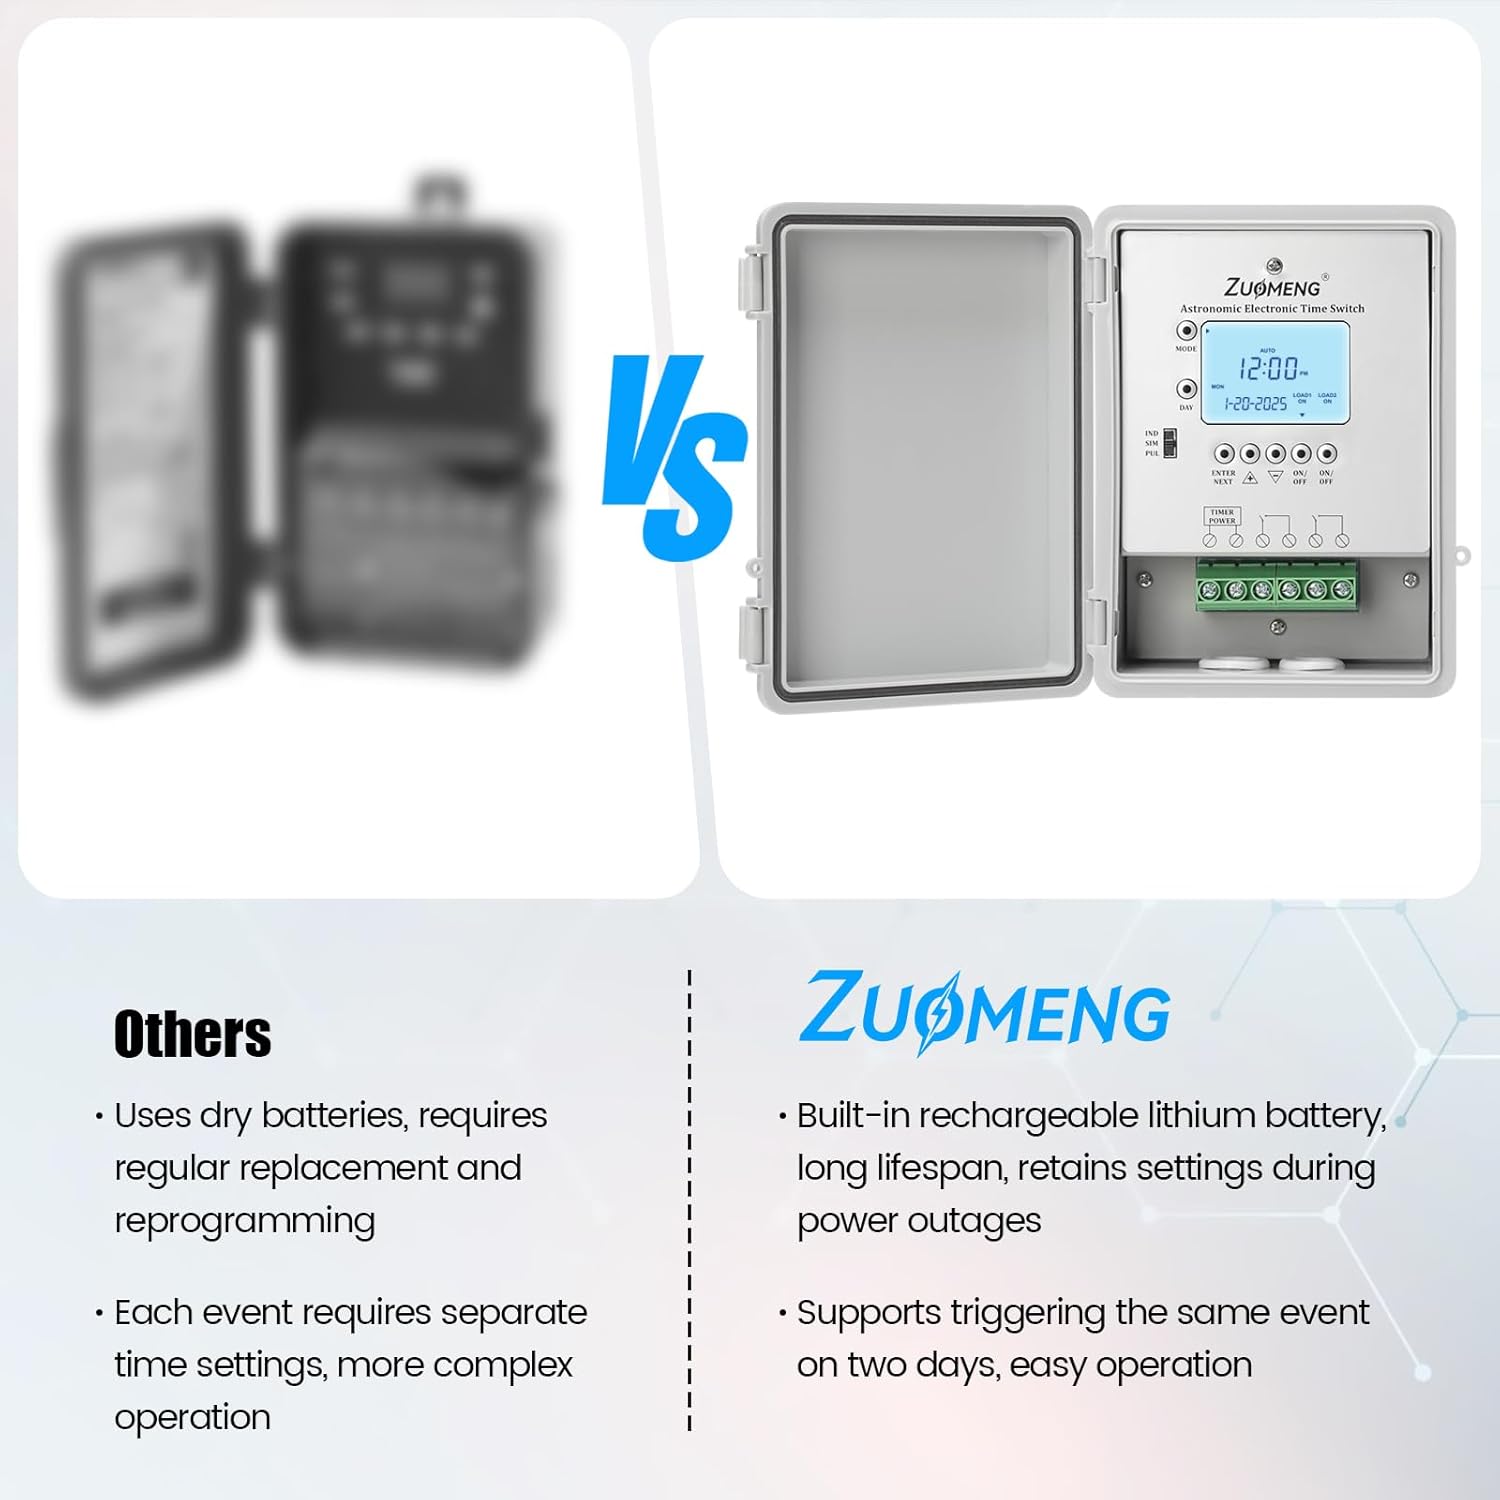
Image: Back view of the timer switch with a visible warning label regarding electrical safety and wiring requirements.
3. Product Overview
3.1. Components

Image: Front view of the Zuomeng HY-005 time switch with the protective cover open, revealing the LCD display and control buttons.
- LCD Display: Shows current time, date, mode, and programming details.
- Mode Button: Cycles through setup and programming modes.
- Enter/Next Button: Confirms selections and moves to the next setting.
- Plus (+) / Minus (-) Buttons: Adjust values (time, date, settings).
- ON/OFF Buttons (Load 1, Load 2): Manually control circuits or select loads for programming.
- Reset Button: Clears memory or resets the device.
- Terminal Block: For electrical wiring connections.
3.2. Dimensions and Accessories

Image: Diagram showing the dimensions of the timer switch (7.5 in x 5.7 in x 2.8 in) and the included installation accessories (screws, wall anchors, mounting brackets).
- Product Dimensions: 7.5 x 5.7 x 2.8 inches
- Item Weight: 1.74 pounds
- Included Accessories: Installation screws, wall anchors, mounting brackets.
4. Installation
The Zuomeng HY-005 time switch is designed for easy installation and comes with all necessary accessories. Ensure power is disconnected at the main circuit breaker before beginning any wiring.
4.1. Mounting
- Select a suitable location for mounting, ensuring it is accessible for programming and wiring.
- Use the provided mounting brackets, screws, and wall anchors to securely attach the timer switch to a wall or electrical box.
4.2. Wiring
The device supports multi-voltage inputs (120V, 208V, 240V, 277V at 60Hz). Follow the wiring diagrams provided on the device's internal panel or in the included guide. Ensure all connections are tight and secure.

Image: The Zuomeng HY-005 timer switch mounted on an outdoor brick wall, connected via conduit, highlighting its IP65 waterproof rating.
4.3. Wiring Example (General Electronic Timer)
Video: This video demonstrates the setup and programming of a similar electronic control, providing a visual guide for wiring and initial configuration steps. (Source: Intermatic, Creator Type: Vendor)
Video: This video provides basic programming instructions for an astronomic digital lighting timer, including setting time, date, daylight savings, and basic time programming. (Source: Merchant Video)
5. Setup
After successful wiring and power restoration, the device requires initial setup for time, date, and daylight saving settings.
5.1. Setting Current Time and Date
- Press the MODE button until 'SET' and 'DATE' appear on the display.
- Use the + or - buttons to select the current month, then press ENTER/NEXT.
- Use the + or - buttons to set the current day, then press ENTER/NEXT.
- Use the + or - buttons to set the current year. Do not press ENTER/NEXT yet.
- Press the MODE button to switch to time setting. 'SET' and 'CLOCK' will appear.
- Use the + or - buttons to set the current time (hours and minutes), paying attention to AM/PM. Holding the buttons will fast-forward.
- Once the correct time is set, press MODE to exit setup.
5.2. Daylight Saving Time (DST)
The timer supports automatic daylight saving time adjustments. This feature is typically enabled by default.
- To check or change DST settings, navigate through the MODE options until 'DST' is displayed.
- Use the + or - buttons to toggle DST on or off.
- Press MODE to save and exit.
6. Operating Instructions
The Zuomeng HY-005 offers various operating modes and programming options for flexible control of your electrical loads.

Image: The timer's display indicating Automatic mode, Manual mode, Timing mode, and Daylight Saving Time mode.
6.1. Operating Modes
- AUTO Mode: The timer operates according to the programmed schedules (astronomic and fixed time events).
- MANUAL Mode: Allows direct ON/OFF control of the connected loads, overriding any programmed events. Use the dedicated ON/OFF buttons for Load 1 and Load 2.
- TIMING Mode: For setting specific countdown or count-up timer functions (if available).
6.2. Programming Events (ON/OFF Schedules)
The timer supports up to 28 ON/OFF events total, with independent weekly schedules for each of the two loads.

Image: The timer's display illustrating how multiple ON/OFF events can be programmed across different days and loads.
- Press the MODE button until 'SET' and 'ON/OFF EVENTS' appear, along with 'EVENT #'.
- Use the + or - buttons to select the desired event number (e.g., 01 for the first ON event).
- Set the ON time using the + or - buttons.
- Select the days of the week for this event using the DAY button. You can choose individual days, weekdays, weekends, or all days.
- Use the ON/OFF buttons for Load 1 and Load 2 to specify which loads are affected by this ON event.
- Press ENTER/NEXT to save the ON event and proceed to set the corresponding OFF event.
- Repeat the steps to set the OFF time, days, and affected loads.
- Press ENTER/NEXT to save the OFF event and move to the next event number, or press MODE to exit programming.
6.3. Astronomic Programming
The astronomic feature automatically adjusts ON/OFF times based on local sunrise and sunset, which is determined by your geographical location.

Image: The timer's display showing independent 7-day programmable options, allowing daily switching plans for each load, including astronomic settings.
- Press the MODE button until 'ASTRO' appears on the display.
- Set your geographical latitude (if required) using the + or - buttons. This ensures accurate sunrise/sunset calculations.
- You can set an offset time (e.g., 15 minutes before/after sunrise/sunset) if desired.
- Program ON/OFF events using sunrise/sunset as triggers, similar to fixed time events, selecting the days and loads.
7. Maintenance
7.1. Battery Backup
The Zuomeng HY-005 features a built-in rechargeable lithium battery. This battery ensures that all programmed settings are retained during power outages, eliminating the need for frequent reprogramming.
- No user maintenance or replacement is typically required for the built-in battery.
- If the display is blank or dim after a power outage, allow the unit to be powered for a few minutes to recharge the internal battery.
7.2. Cleaning
- Wipe the exterior of the device with a soft, damp cloth.
- Do not use abrasive cleaners or solvents.
8. Troubleshooting
If you encounter issues with your Zuomeng HY-005 time switch, please refer to the following common troubleshooting steps:
- Display is blank: Check the main power supply. Ensure the circuit breaker is ON. If recently powered on after an outage, allow a few minutes for the internal battery to charge.
- Loads not turning ON/OFF as programmed:
- Verify the device is in AUTO mode.
- Check that the programmed ON/OFF times and days are correct.
- Ensure the correct loads (Load 1, Load 2) are selected for each event.
- Confirm that the current time and date are accurately set.
- Incorrect sunrise/sunset times: Verify that the geographical latitude is correctly set in the astronomic programming.
- Device not responding: Try pressing the RESET button (if available) with a pointed object (e.g., a toothpick) to perform a soft reset. This may clear temporary glitches without erasing programmed events.
If problems persist, please contact customer support for further assistance.
9. Specifications
| Model Number | HY-005 |
| Input Voltage | 120-277 VAC, 60Hz |
| Current Rating | 30 Amp |
| Number of Circuits | 2 |
| Programming | Astronomic, Weekly, Minute-level |
| Battery Backup | Built-in Rechargeable Lithium Battery |
| Waterproof Rating | IP65 |
| Material | Plastic |
| Product Dimensions | 7.5 x 5.7 x 2.8 inches |
| Item Weight | 1.74 pounds |
10. Warranty and Support
For warranty information or technical support regarding your Zuomeng HY-005 time switch, please contact the manufacturer directly or refer to the product's packaging for contact details.


