
REEDTOCK HD1080P
REEDTOCK HD1080P Smart Glasses User Manual
Model: HD1080P | Brand: REEDTOCK
1. Introduction
The REEDTOCK HD1080P Smart Glasses integrate a high-definition camera, open-ear Bluetooth speakers, and AI translation capabilities into a wearable design. These glasses are designed for users who wish to capture moments, enjoy audio, and overcome language barriers while engaging in outdoor activities or daily life. This manual provides detailed instructions for the proper use and care of your smart glasses.
2. What's in the Box
Please verify that all items listed below are included in your package:
- REEDTOCK HD1080P Smart Glasses
- Charging Cable (USB-C)
- User Manual
- 32GB Micro SD Card (pre-installed or included separately)
- Interchangeable Lenses (Polarized and Clear)
3. Product Overview
Familiarize yourself with the components of your REEDTOCK Smart Glasses:
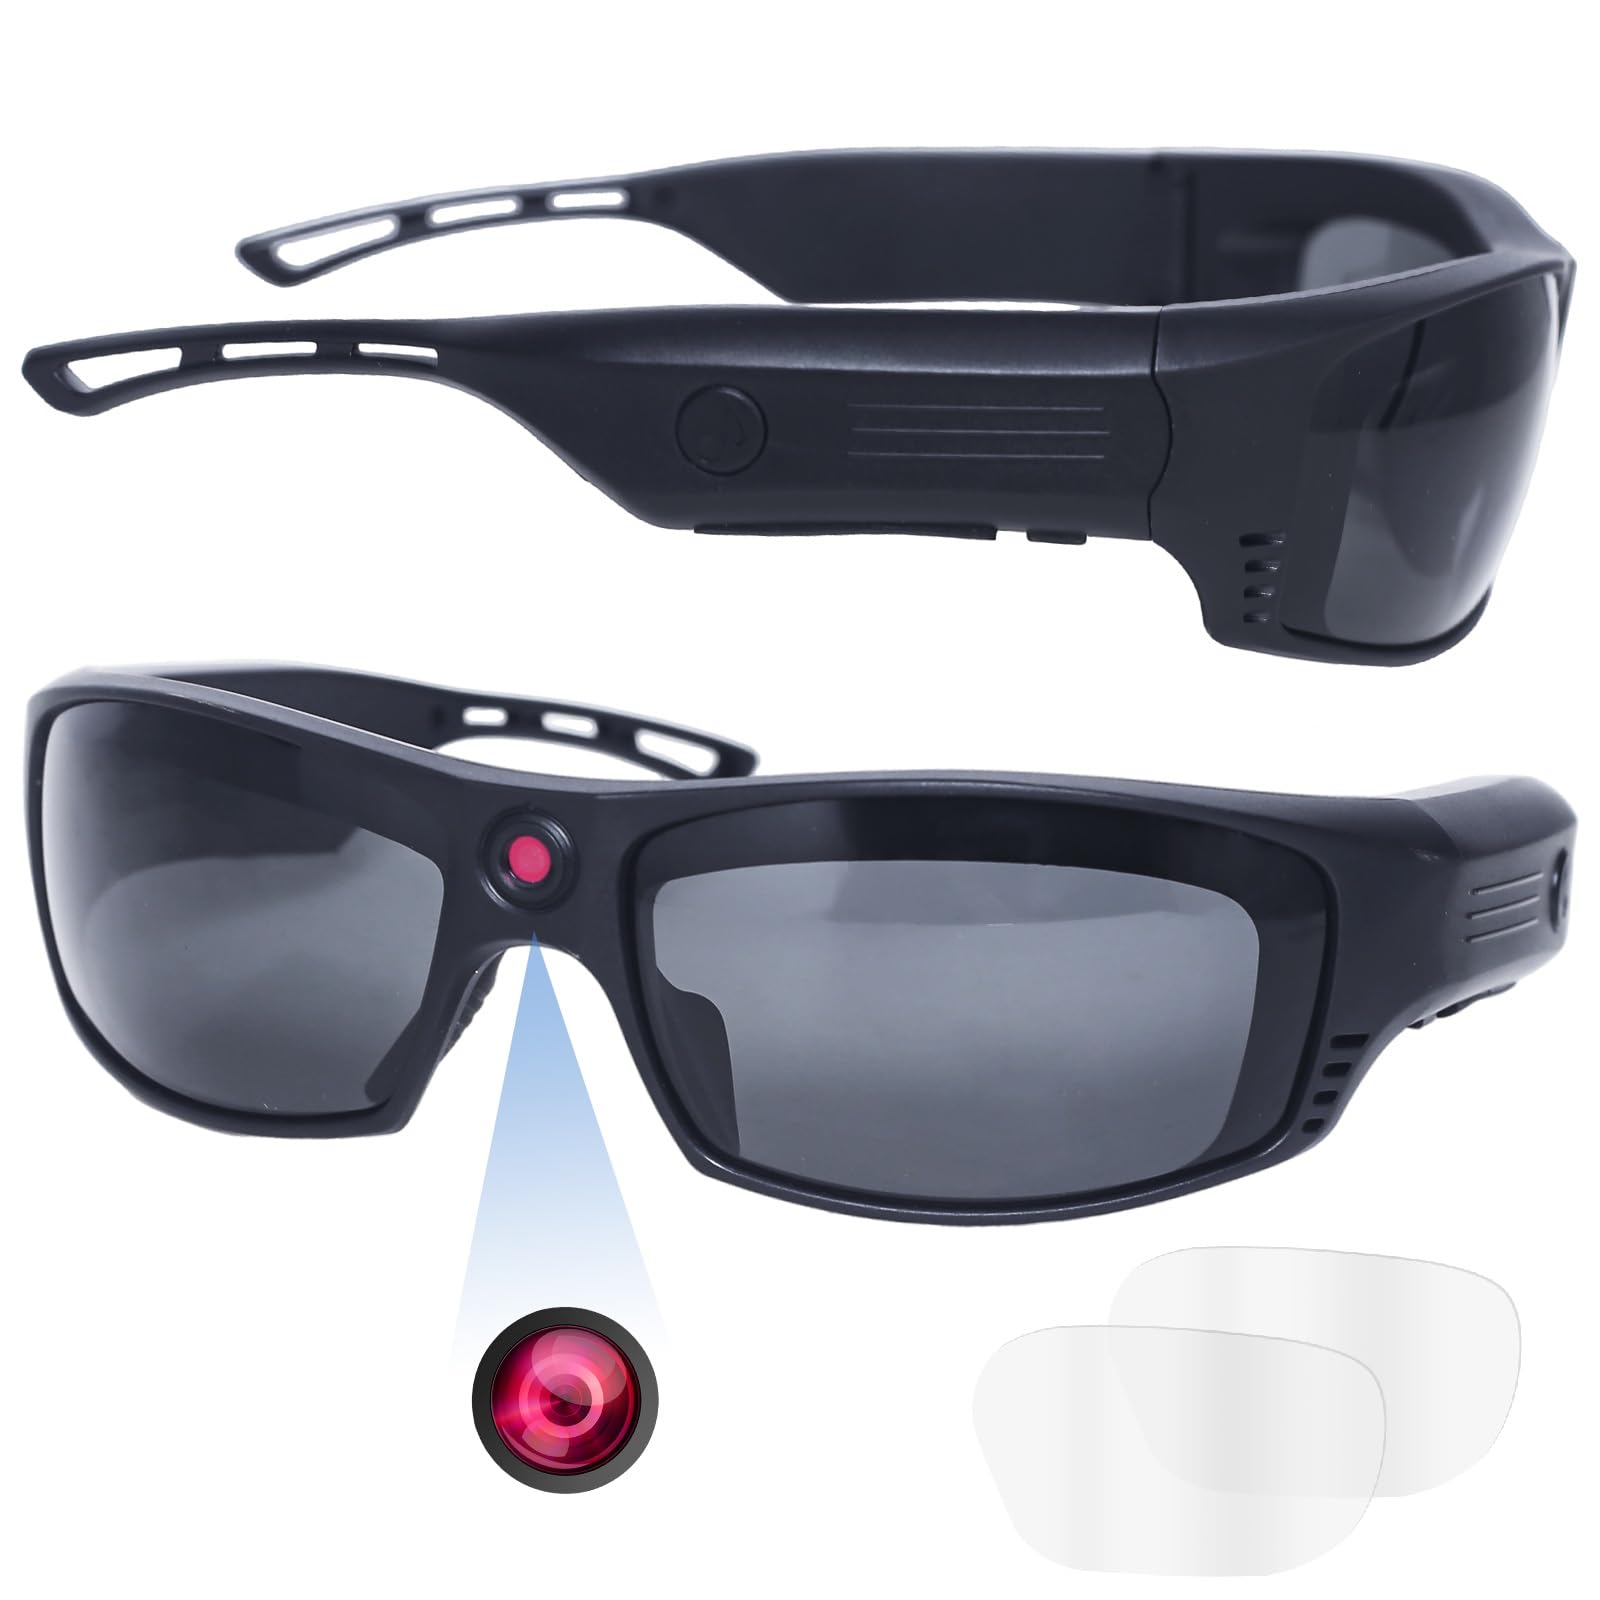
Figure 3.1: Front view of the REEDTOCK Smart Glasses.

Figure 3.2: Detailed view of the smart glasses, indicating the camera, Type-C USB port, Micro SD card slot, and touch control area for volume/earphones.
- Camera Lens: Located at the center of the frame, captures 1080P HD video and photos.
- Power/Camera Button: Controls camera power, recording, and photo capture.
- Bluetooth Speaker Power Button: Activates and deactivates the open-ear Bluetooth speakers.
- Volume Touch Control Area: Located on the temple arms, allows for volume adjustment.
- Open-Ear Speakers: Integrated into the temple arms for audio playback without blocking ambient sounds.
- USB-C Port: For charging and data transfer.
- Micro SD Card Slot: For inserting the memory card to store recordings.
- Interchangeable Lenses: Allows switching between polarized sunglasses and clear lenses.
4. Setup
4.1. Charging the Glasses
Before first use, fully charge your smart glasses. Connect the provided USB-C charging cable to the USB-C port on the glasses and to a compatible USB power source. The indicator light will show charging status and turn off when fully charged. A full charge provides approximately 2.5 hours of recording or 15 hours of music playback.
4.2. Inserting the Micro SD Card
The smart glasses require a Micro SD card for storing video and photo files. A 32GB card is typically included.
- Locate the Micro SD card slot on the temple arm, usually protected by a small cover.
- Gently open the cover.
- Insert the Micro SD card into the slot with the gold contacts facing down, until it clicks into place.
- Close the cover securely.
Video 4.2.1: Demonstration of inserting the TF card into the REEDTOCK Smart Glasses. This video also covers basic camera power on/off and photo capture.
4.3. Bluetooth Pairing
To use the open-ear speakers for music or calls, pair the glasses with your smartphone via Bluetooth.
- Long press the Bluetooth speaker power button on the glasses for 3 seconds to turn on the speaker. You will hear an audio prompt "Pairing ready".
- On your smartphone, go to Bluetooth settings and ensure Bluetooth is enabled.
- Search for available devices. The glasses will appear as "DVR Glasses".
- Select "DVR Glasses" to pair. You will hear an audio prompt "Connected" upon successful pairing.
Video 4.3.1: This video demonstrates the process of turning on the Bluetooth speaker and pairing the smart glasses with a mobile phone.
4.4. AI Translation App Installation
For AI translation functionality, download and install the companion app on your smartphone. The app is named "NebulaBuds Translation APP".
- Scan the QR code provided in the package or search for "NebulaBuds Translation APP" in your phone's app store (available for both iOS and Android).
- Install the app and grant necessary permissions (e.g., Bluetooth, microphone, location).
- Open the NebulaBuds app, go to settings, and click 'Bind New Device'.
- Enter or scan the activation code to bind the glasses.
Note: The app is solely for translation services and does not support camera functions or video playback. Videos and photos need to be viewed on a computer by connecting the glasses via USB-C.

Figure 4.4.1: Visual guide for downloading and binding the AI translation app to the smart glasses.
5. Operating Instructions
5.1. Camera Operation
The integrated 1080P HD camera allows for hands-free video recording and photo capture.
- Turn On Camera: Long press the camera power button for 3 seconds. The camera will automatically begin recording once powered on.
- Pause Recording: Short press the camera power button once while recording to pause.
- Take a Photo: In standby mode (camera on but not recording), double-click the camera power button to take a photo.
- Turn Off Camera: Long press the camera power button for 3 seconds to turn off the camera.
Video 5.1.1: This video demonstrates how to turn on the camera, initiate recording, pause recording, and take a photo with the smart glasses (also covers TF card insertion and Bluetooth pairing).
To access recorded videos and photos, connect the glasses to a computer using the USB-C cable. The glasses will appear as a removable drive, allowing you to transfer files.

Figure 5.1.2: Close-up view of the built-in HD camera lens.

Figure 5.1.3: Example of hands-free recording from a first-person perspective while wearing the smart glasses.
5.2. Bluetooth Speaker Operation
Enjoy audio playback and hands-free calls through the open-ear speakers.
- Turn On Speaker: Long press the Bluetooth speaker power button for 3 seconds.
- Adjust Volume: Use the touch control area on the temple arm.
- Short press to increase volume.
- Long press to decrease volume.
- Important: After connecting to your phone and playing music, first adjust the volume on your phone to the maximum level for optimal sound output from the glasses.
Video 5.2.1: This video illustrates how to adjust the music volume using the touch control area on the smart glasses.

Figure 5.2.2: The touch control area on the temple arm for adjusting volume. Short press to increase, long press to decrease.
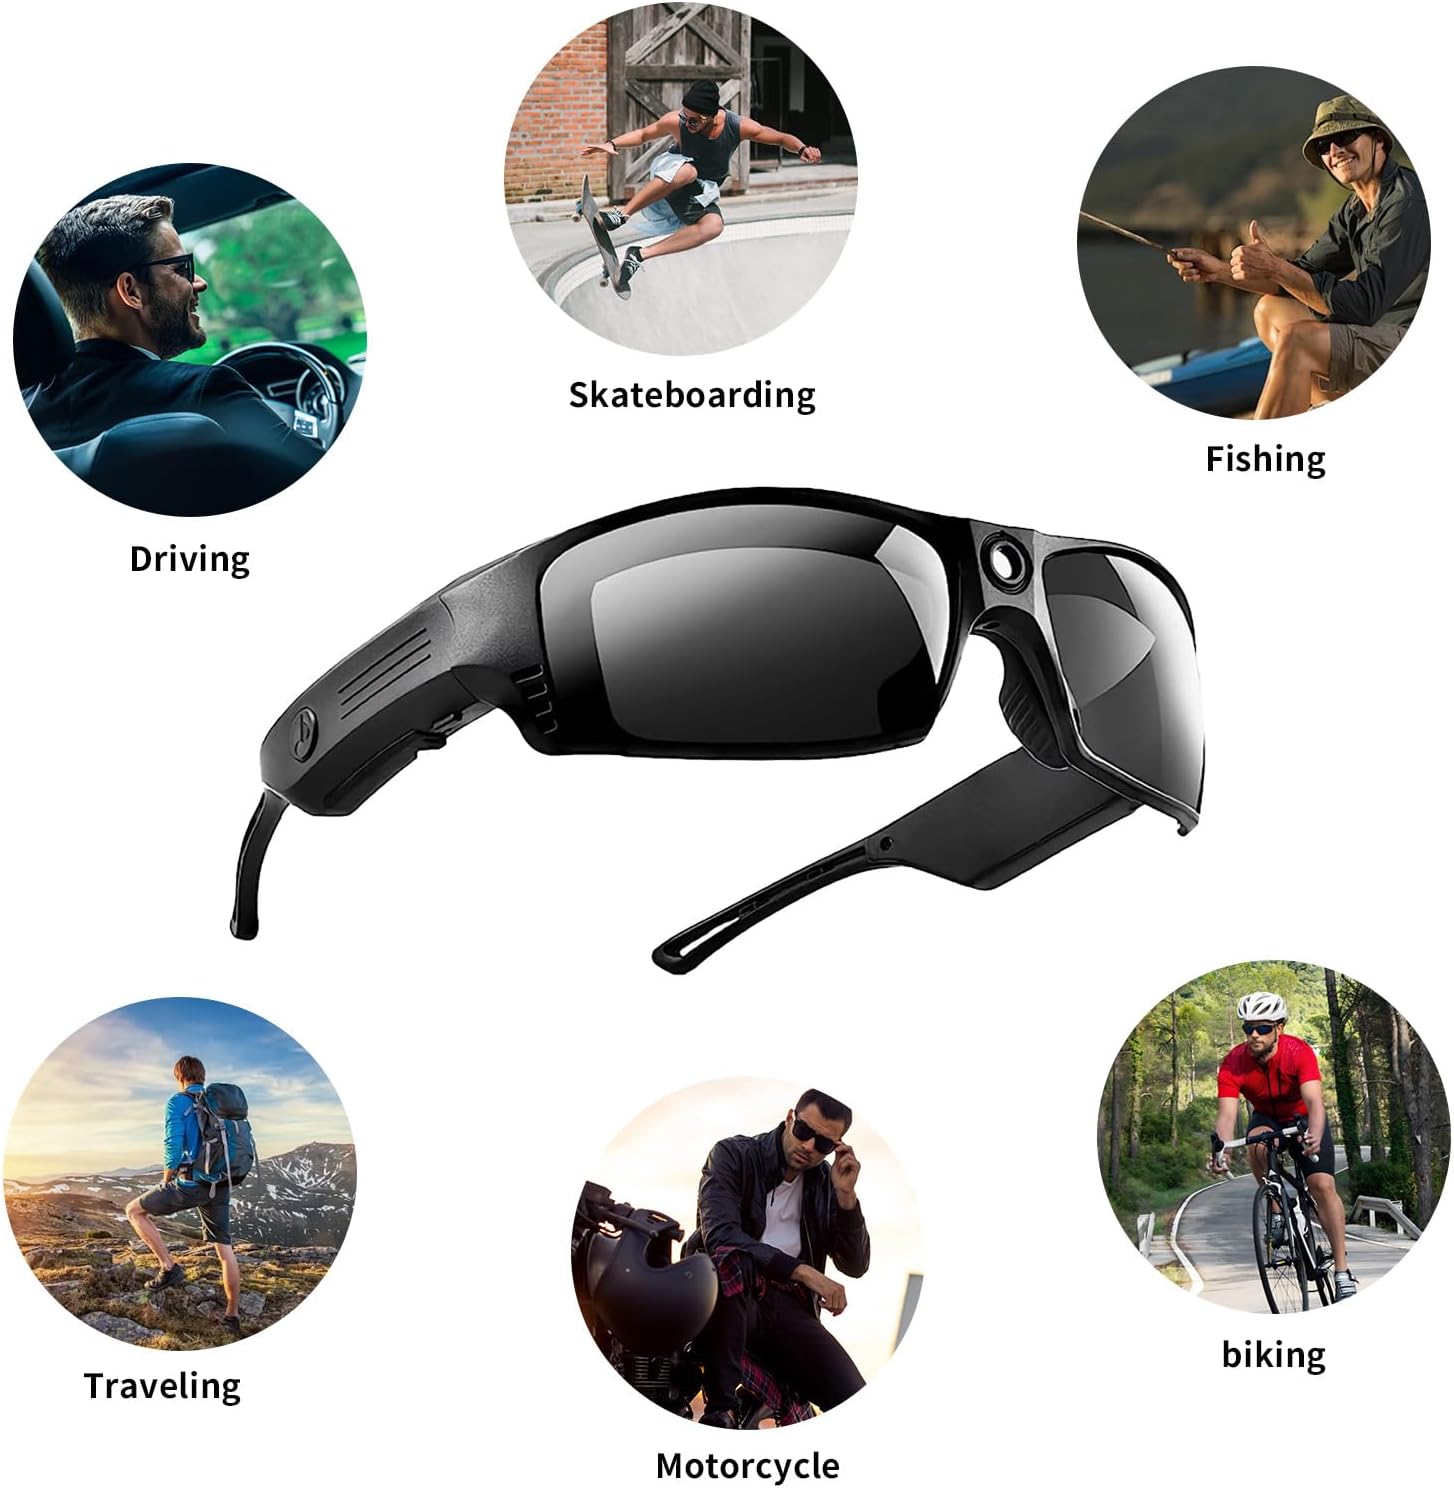
Figure 5.2.3: A cyclist enjoying music through the open-ear speakers while remaining aware of surroundings.
5.3. AI Translation Usage
With the NebulaBuds Translation APP installed and glasses bound, you can utilize the AI translation feature.
- Ensure your glasses are connected to your phone via Bluetooth and the NebulaBuds app is running.
- Select your desired languages within the app.
- The glasses will facilitate two-way translation for over 110 languages, processing translations through your paired phone.
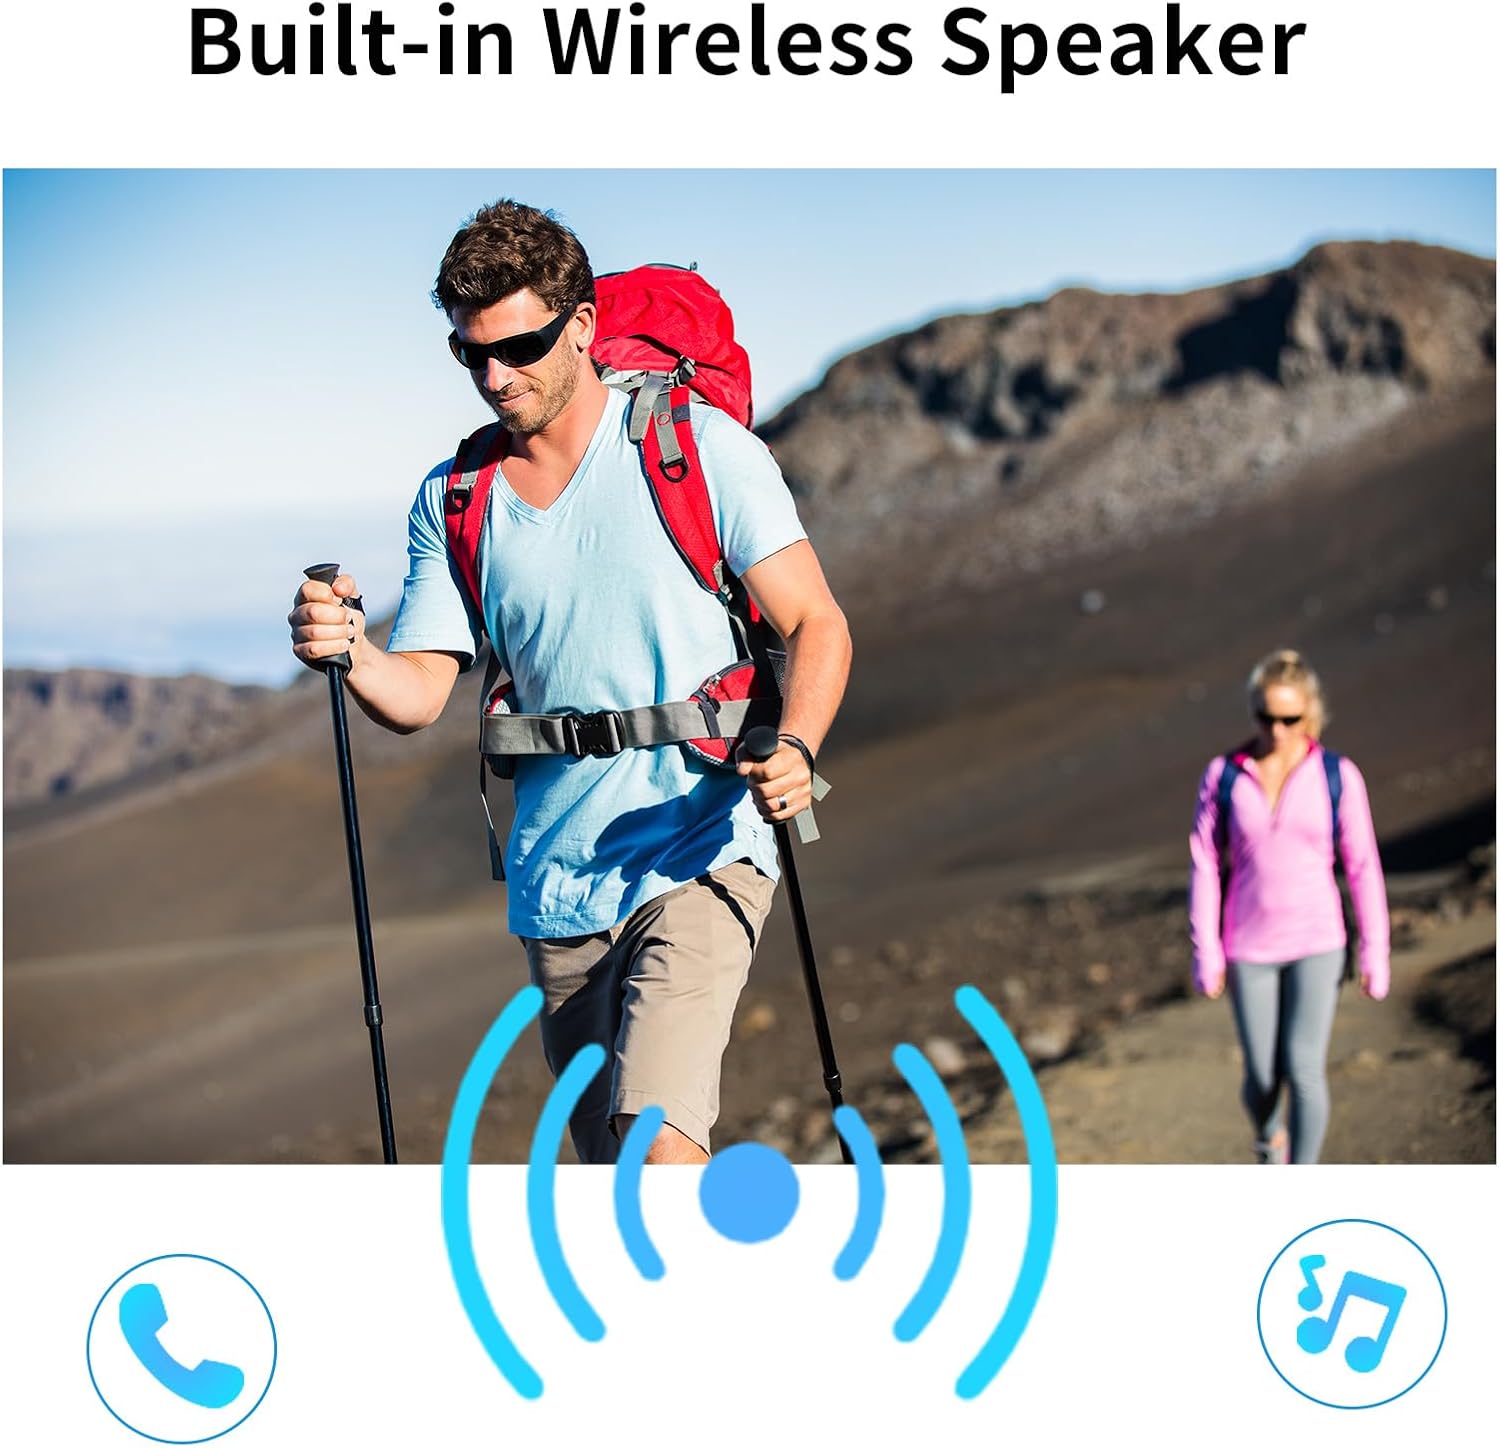
Figure 5.3.1: The AI translation feature in action, showing real-time language translation support.
5.4. Lens Replacement
The lenses of your REEDTOCK Smart Glasses are interchangeable, allowing you to switch between polarized sunglasses and clear lenses.
- To remove a lens, gently pull down on the bottom of the frame under each lens to flex the frame slightly and pop the lens out.
- To install a new lens, align it with the frame grooves and gently push until it clicks securely into place.
Video 5.4.1: A step-by-step guide on how to safely replace the lenses of your smart glasses.

Figure 5.4.2: The smart glasses equipped with polarized lenses, demonstrating their function in reducing glare.
6. Maintenance
6.1. Cleaning
- Use a soft, clean microfiber cloth to wipe the lenses and frame.
- For stubborn smudges, use a lens cleaning solution specifically designed for eyewear.
- Avoid using abrasive cleaners, solvents, or alcohol-based solutions, as these can damage the lenses and frame.
6.2. Storage
- When not in use, store the smart glasses in their protective case to prevent scratches and damage.
- Avoid exposing the glasses to extreme temperatures (hot or cold) or direct sunlight for prolonged periods.
7. Troubleshooting
| Problem | Possible Cause | Solution |
|---|---|---|
| Camera not recording/taking photos. | No Micro SD card inserted or card is full/corrupted. Camera not powered on. | Ensure Micro SD card is correctly inserted and has free space. Format the card if necessary. Long press the camera power button to turn on. |
| Poor video quality in low light. | Camera performance is optimized for well-lit environments. | Ensure adequate lighting for optimal video quality. |
| Bluetooth speakers not connecting. | Speakers not in pairing mode. Bluetooth off on phone. Already connected to another device. | Long press the Bluetooth speaker power button to enter pairing mode. Ensure phone Bluetooth is on. Disconnect from other devices. |
| Low audio volume from speakers. | Phone volume is low. Glasses volume is low. | Increase volume on your paired smartphone to maximum. Short press the touch control area on the glasses to increase volume. |
| AI translation not working. | App not installed/running. Glasses not bound to app. Permissions not granted. | Ensure NebulaBuds app is installed, running, and glasses are bound. Check app permissions (microphone, Bluetooth). |
8. Specifications
| Feature | Detail |
|---|---|
| Model Number | HD1080P |
| Camera Resolution | 1080P HD |
| Lens Angle | 102° wide-angle |
| Battery Capacity | 450mAh Lithium Polymer |
| Battery Life (Recording) | Approx. 2.5 hours |
| Battery Life (Music Playback) | Approx. 15 hours |
| Memory Storage | 32GB Micro SD Card (included) |
| Connectivity | Bluetooth, USB-C |
| AI Translation Support | 110+ languages (via companion app) |
| Lenses | UV Protective, Interchangeable (Polarized and Clear) |
| Item Weight | 6.4 ounces (0.18 Kilograms) |
| Package Dimensions | 6.93 x 3.19 x 2.87 inches |
9. Warranty & Support
For warranty information, technical support, or customer service inquiries, please refer to the documentation included with your product or visit the official REEDTOCK website. You may also contact the seller directly through the platform where the product was purchased.
Related documentsHD1080P

Ask a question about this manual
Ask about setup, troubleshooting, compatibility, parts, safety, or missing instructions. Manuals+ will review the question and use this page’s manual context to help answer it.