
1. Introduction
This manual provides detailed instructions for the setup, operation, and maintenance of your ATTACK SHARK X98PRO Wireless Mechanical Keyboard. The X98PRO features tri-mode connectivity (Bluetooth, 2.4GHz wireless, USB-C wired), hot-swappable switches, a customizable TFT screen, and a multi-function CNC knob, designed for both gaming and productivity across various operating systems.
2. Package Contents
- ATTACK SHARK X98PRO Mechanical Keyboard
- USB-C to USB-A Braided Cable
- 2.4GHz Wireless Receiver
- Keycap Puller
- Switch Puller
- User Manual (this document)
3. Keyboard Layout and Components
The X98PRO features a compact 98-key layout, integrating a numeric keypad while maintaining a smaller footprint than a full-size keyboard. Key components include:
- 1.14-inch TFT Screen: Located above the numeric keypad, this screen displays various information and allows for customization.
- CNC Multi-Function Knob: Positioned next to the TFT screen, this knob controls volume, brightness, RGB effects, and connection modes.
- USB-C Port: For wired connection and charging.
- 2.4GHz Wireless Receiver Storage: Typically located in a dedicated slot on the keyboard for safekeeping.


4. Setup
4.1. Charging the Keyboard
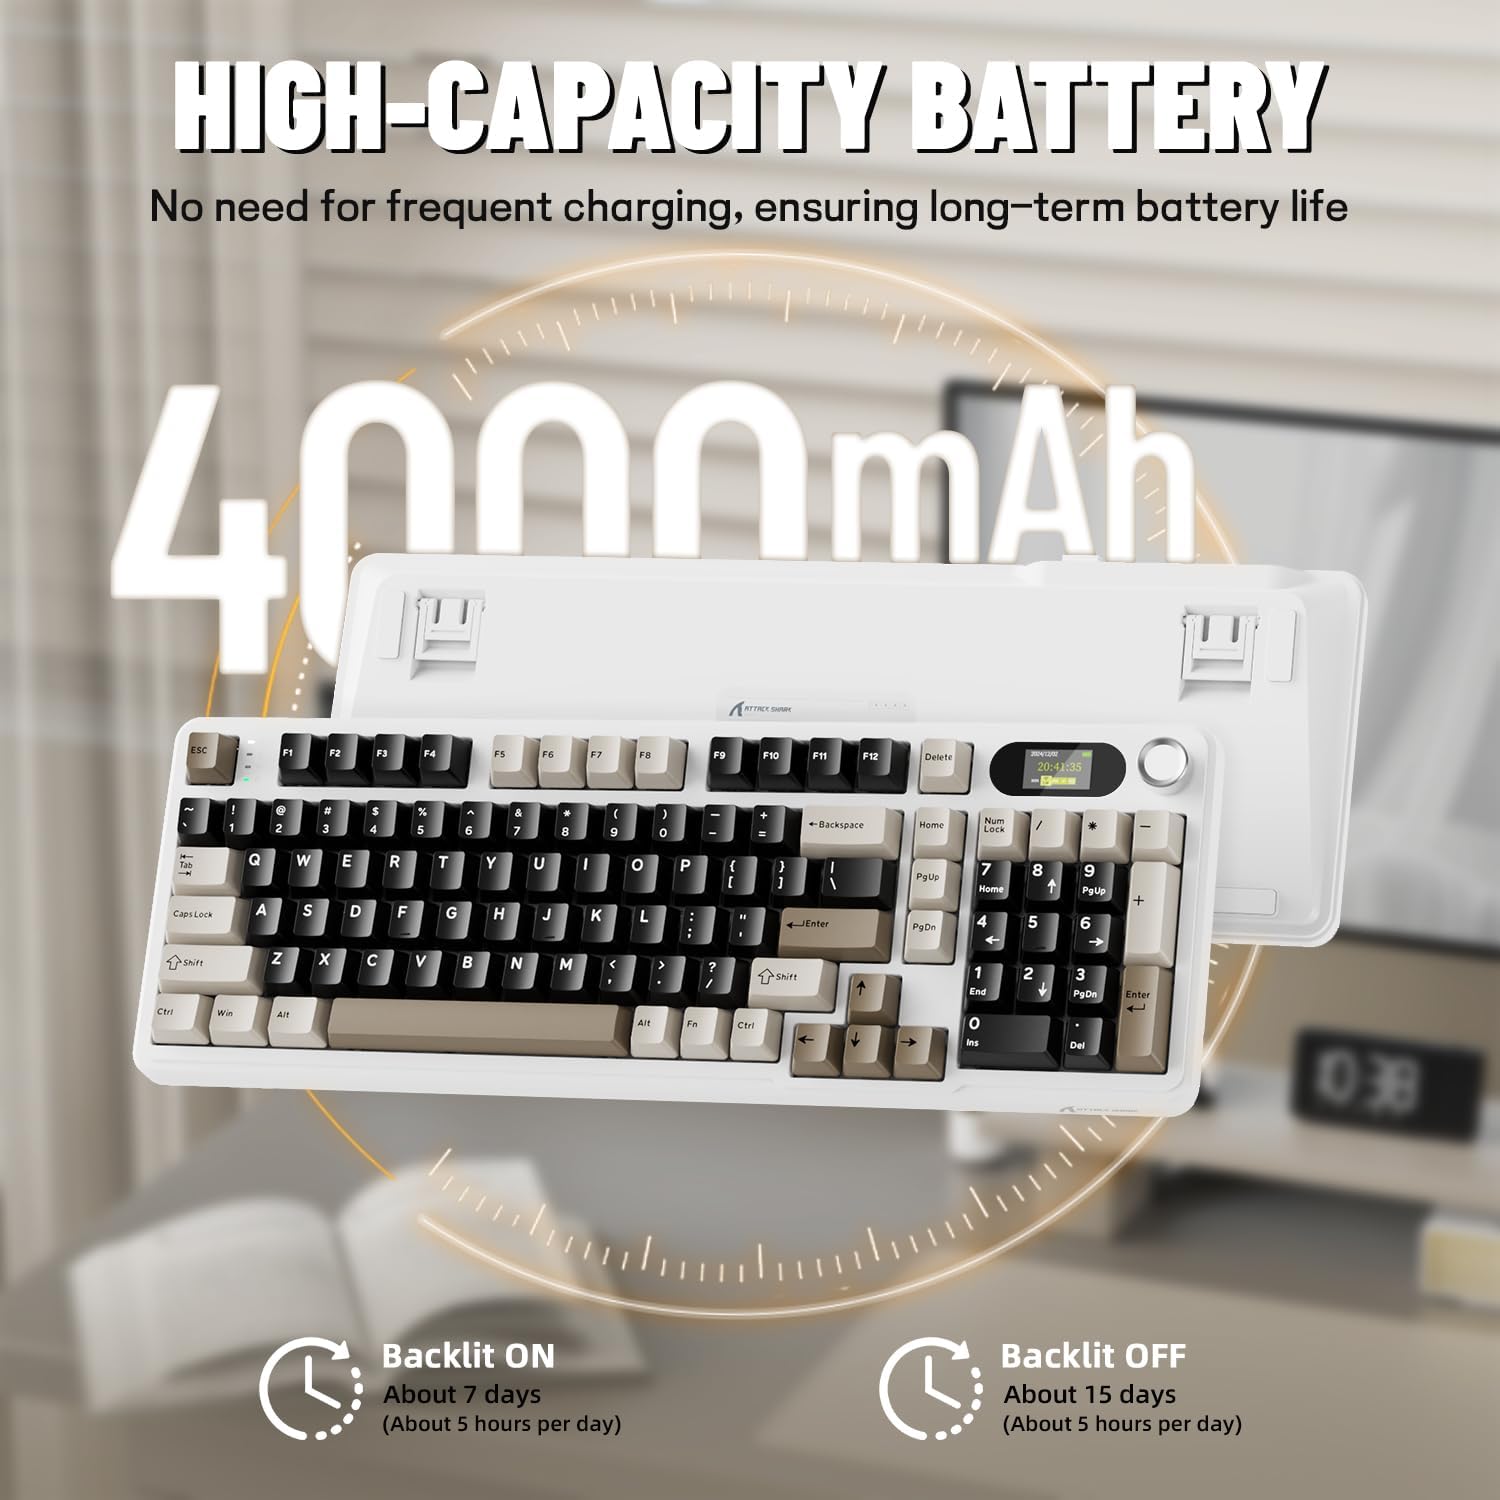
Before first use, it is recommended to fully charge the keyboard. Connect the provided USB-C cable to the keyboard's USB-C port and the other end to a USB-A power source (e.g., computer, wall adapter). The TFT screen will indicate charging status. The keyboard features a 4000mAh battery for extended wireless use.
4.2. Connectivity Modes
The X98PRO supports three connection modes:
- USB-C Wired Mode: Connect the keyboard directly to your device using the USB-C cable. This mode also charges the keyboard.
- 2.4GHz Wireless Mode:
- Insert the 2.4GHz wireless receiver into an available USB port on your computer.
- Switch the keyboard's mode selector to 2.4G. The keyboard should automatically connect.
- Bluetooth 5.0 Mode: The keyboard can pair with up to three Bluetooth devices.
- Switch the keyboard's mode selector to Bluetooth.
- Press and hold Fn + 1, Fn + 2, or Fn + 3 for 3-5 seconds until the indicator light flashes, indicating pairing mode.
- On your device (PC, Mac, Tablet), search for Bluetooth devices and select "ATTACK SHARK X98PRO" to pair.
- To switch between paired Bluetooth devices, press Fn + 1, Fn + 2, or Fn + 3 briefly.

4.3. Initial Configuration (Web-based Driver)
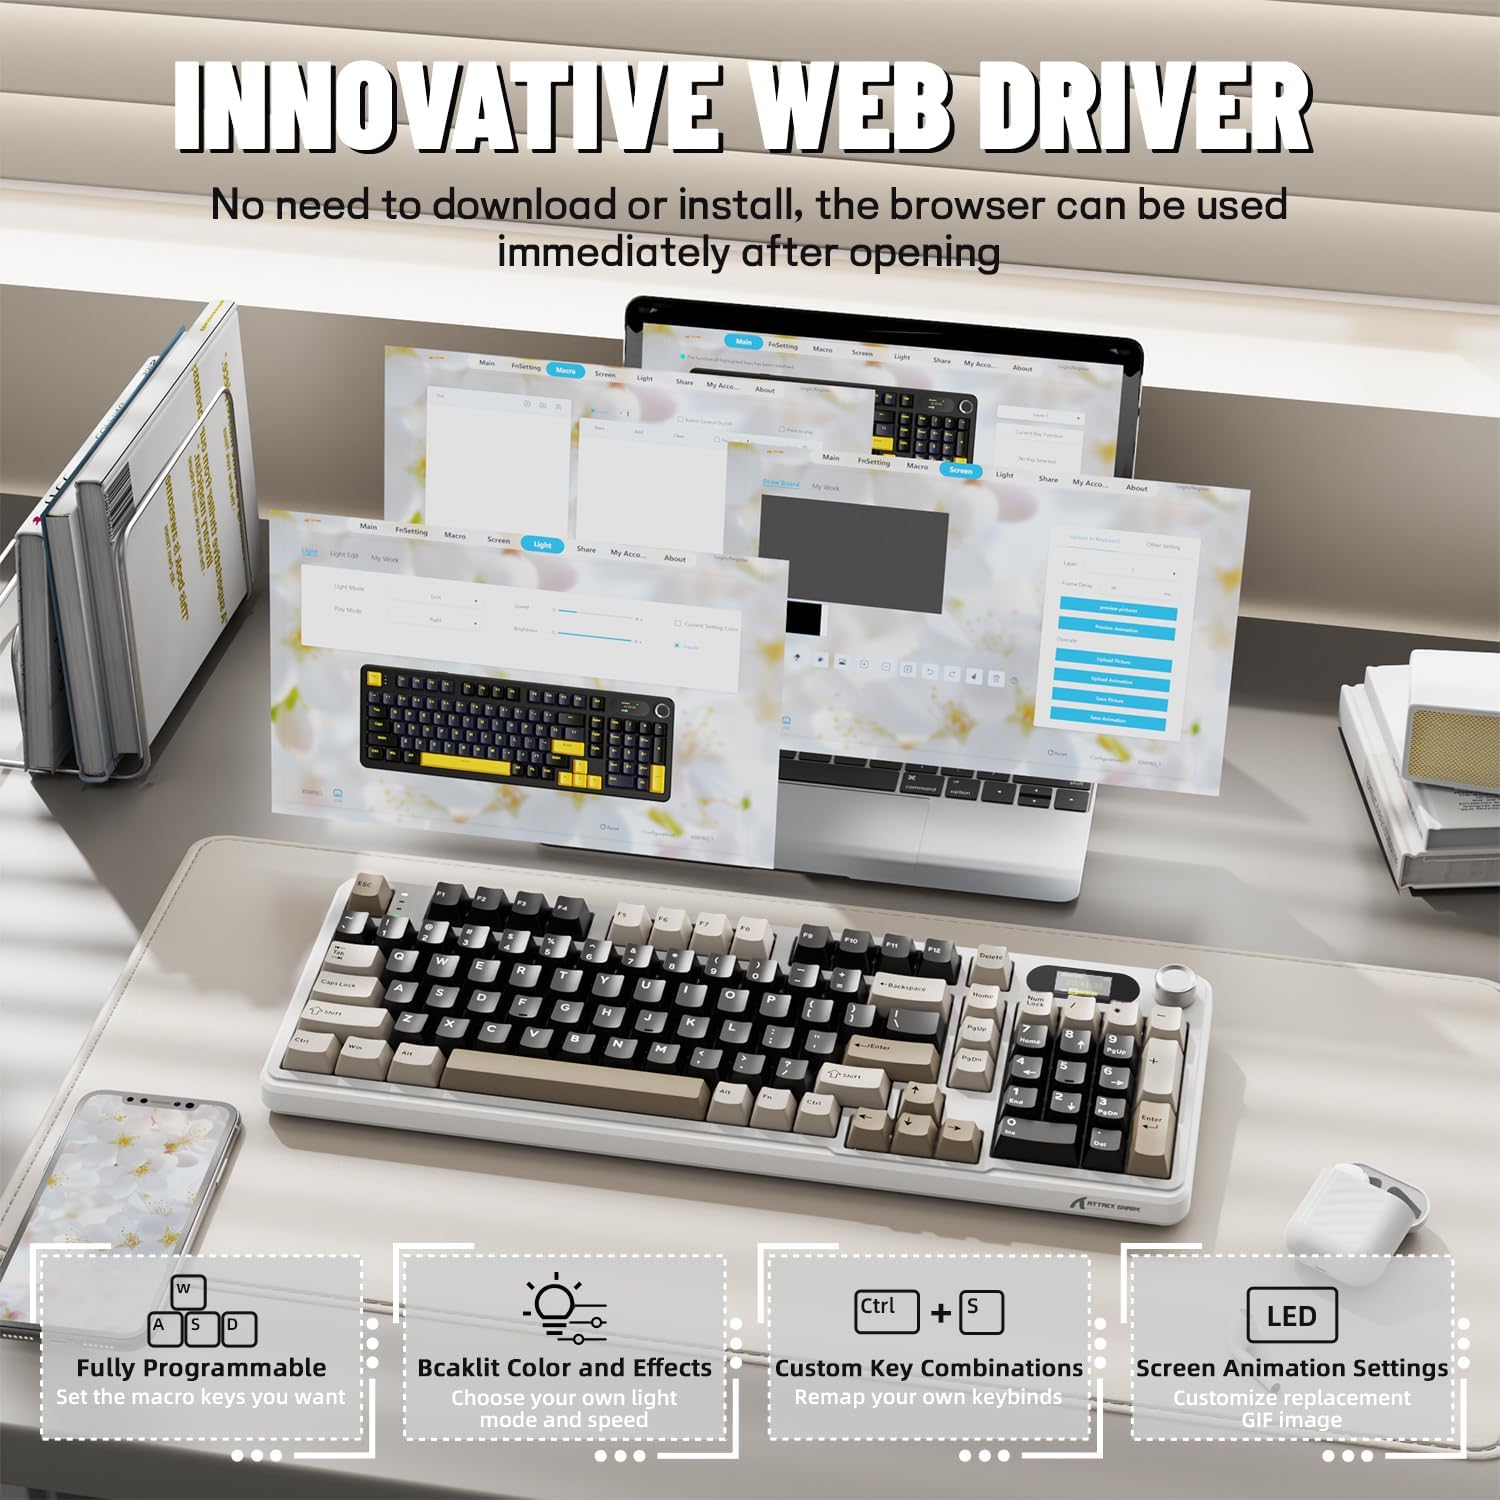
The X98PRO utilizes an intuitive web-based driver for advanced customization. This allows you to edit, upload, and switch display content for the TFT screen, customize RGB lighting, remap keys, and set macros without installing dedicated software. Access the official ATTACK SHARK website for the web driver interface.
5. Operating Instructions
5.1. TFT Screen Functions
The 1.14-inch TFT screen can display various information:
- System Status: Connection mode (wired, 2.4G, BT1/2/3), operating system (Win/Mac).
- Battery Life: Real-time battery level.
- Time: Current time.
- Custom GIFs: Upload personalized animations via the web driver.
To navigate the TFT screen menu, rotate the CNC knob to scroll through options and press the knob to confirm a selection.
5.2. CNC Multi-Function Knob
The CNC knob provides intuitive control over several keyboard features:
- Volume Control: By default or after switching, rotate to adjust system volume.
- Brightness Control: Adjust backlight brightness.
- RGB Effects: Cycle through different RGB lighting effects.
- Connection Modes: Switch between wired, 2.4GHz, and Bluetooth modes.
To switch the knob's function (e.g., between volume and RGB control), press Fn + Knob (press the knob down).
5.3. RGB Backlighting
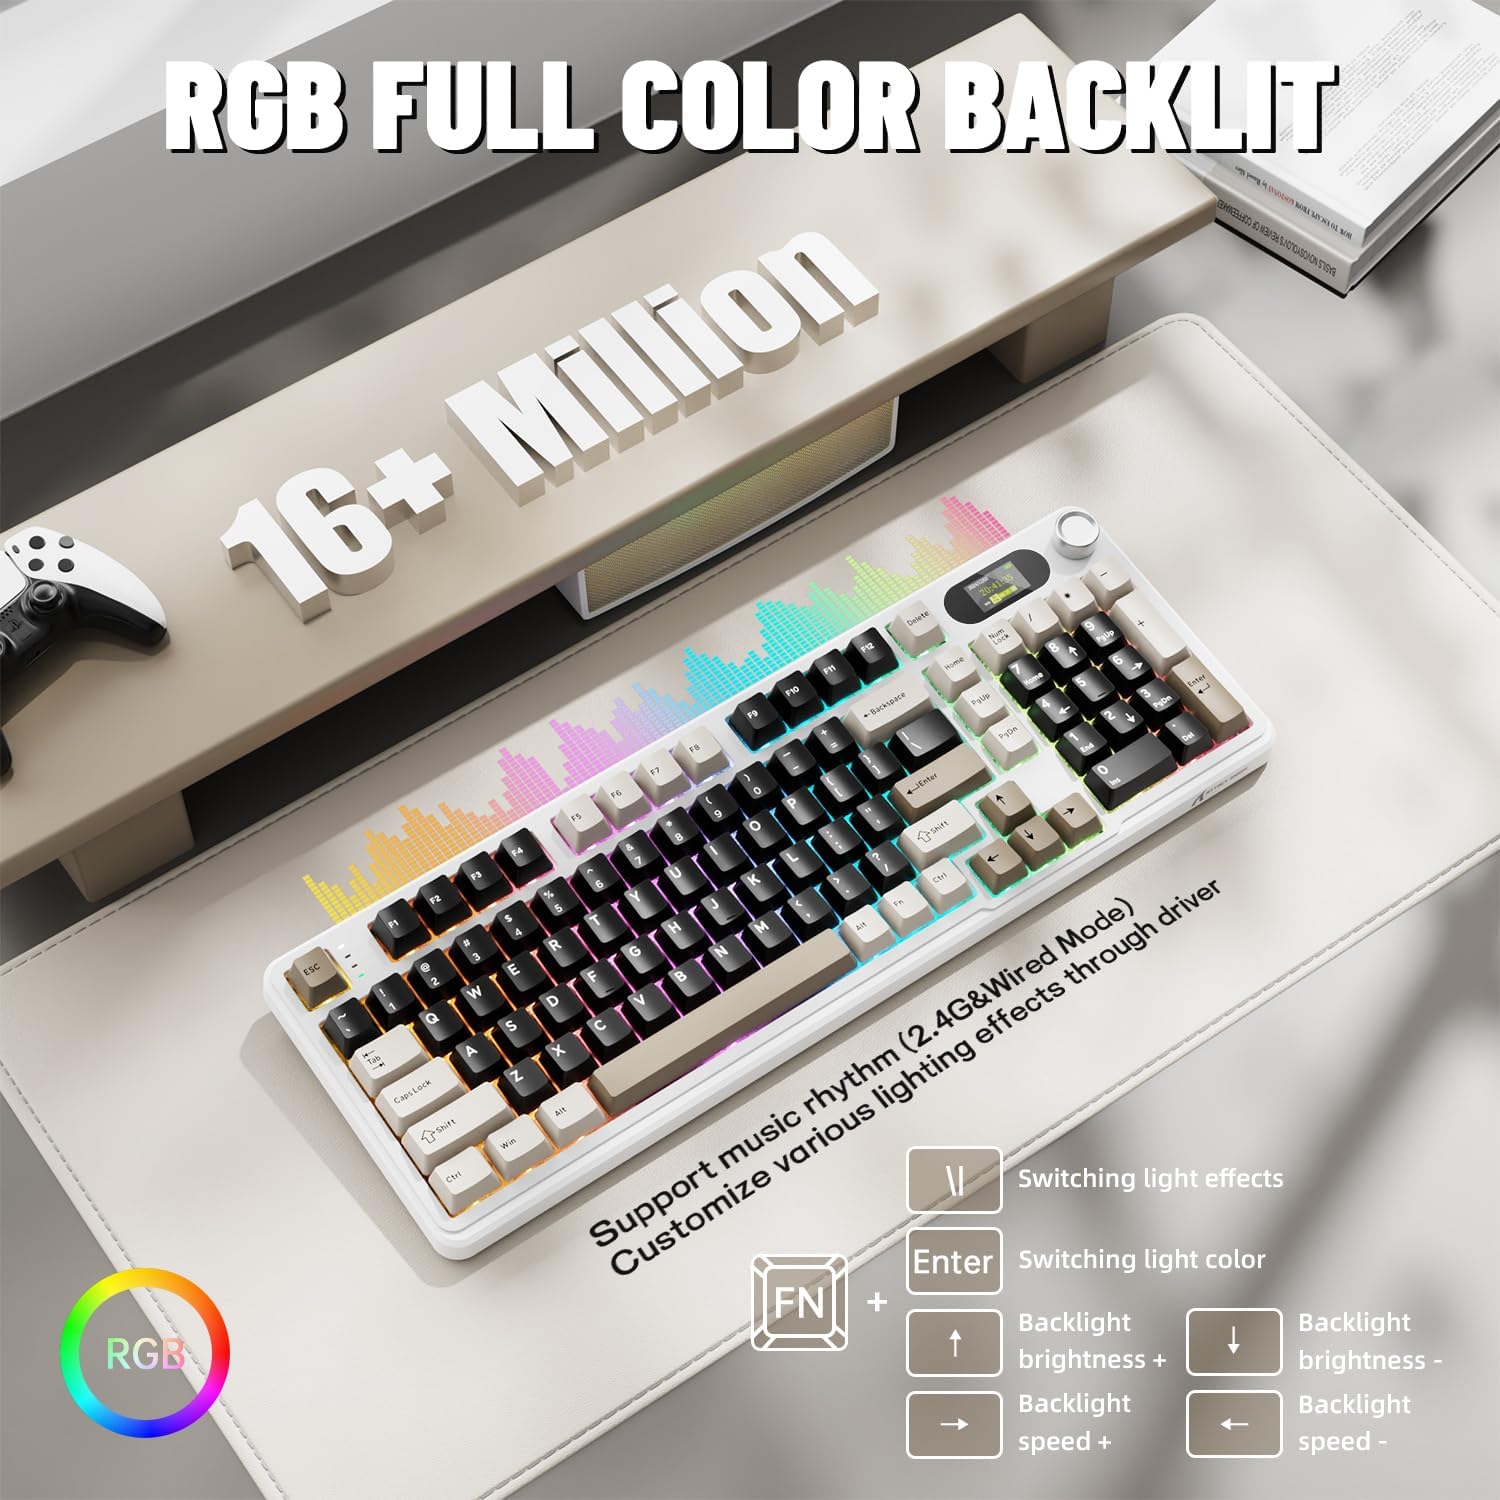
The X98PRO features full RGB backlighting with multiple effects. Control options include:
- Switching Light Effects: Press Fn + Enter.
- Switching Light Color: Press Fn + \|.
- Backlight Brightness: Press Fn + Up Arrow (increase) or Fn + Down Arrow (decrease).
- Backlight Speed: Press Fn + Left Arrow (decrease) or Fn + Right Arrow (increase).
Further customization of RGB lighting, including per-key lighting and custom profiles, is available through the web-based driver.
5.4. Hot-Swappable Switches
The X98PRO features a hot-swappable PCB, allowing you to easily change mechanical switches without soldering. It is compatible with most 3-pin and 5-pin mechanical switches.
- Using the provided switch puller, carefully grip the switch and pull it straight up to remove it.
- Align the pins of the new switch with the holes on the PCB. Ensure the pins are straight.
- Gently press the new switch into place until it clicks. Do not force it.

6. Maintenance
6.1. Cleaning
- Disconnect the keyboard from all power sources before cleaning.
- Use a keycap puller to remove keycaps for thorough cleaning.
- Wipe the keyboard surface with a soft, damp cloth. Avoid harsh chemicals.
- Use compressed air to remove dust and debris from between keys.
6.2. Switch and Keycap Replacement
Refer to Section 5.4 for instructions on replacing switches. Keycaps can be removed using the provided keycap puller and replaced with compatible sets.
7. Troubleshooting
- Keyboard not responding: Ensure the keyboard is charged. Check the connection mode (wired, 2.4G, BT) and ensure it matches your device. For 2.4GHz, ensure the receiver is properly inserted. For Bluetooth, re-pair if necessary.
- TFT screen not updating/syncing: Ensure the keyboard is connected to a device. For time synchronization or custom GIFs, use the web-based driver.
- Short battery life: Ensure the keyboard is fully charged. Reduce backlight brightness or disable RGB effects to conserve battery.
- Keys not registering: If a specific key is not working, try removing and re-inserting its switch. If the issue persists, consider replacing the switch.
- Customization issues: Ensure you are using the official web-based driver. Clear browser cache or try a different browser if experiencing issues.
8. Specifications
| Brand | ATTACK SHARK |
| Model | X98PRO |
| Connectivity Technology | 2.4GHz, Bluetooth 5.0, USB-C Wired |
| Keyboard Description | Mechanical |
| Switch Type | Linear (Blueberry switches) |
| Hot-Swappable | Yes (3-pin and 5-pin compatible) |
| Battery Capacity | 4000mAh |
| Special Features | Customizable TFT Display, Multi-Function CNC Knob, RGB Backlit, Gasket Mount |
| Compatible Devices | Laptop, PC, Tablet (Windows, Mac, Linux) |
| Dimensions | 16.4 x 5.8 x 1.8 inches (approximate) |
| Item Weight | 2.9 pounds |
9. Warranty and Support
For warranty information and technical support, please refer to the official ATTACK SHARK website or contact their customer service. Keep your purchase receipt for warranty claims.


