
origimagic N2 Pro
origimagic N2 Pro Mini PC Ryzen 7 6800H User Manual
Model: N2 Pro | Brand: origimagic
1. Introduction
This manual provides essential information for setting up, operating, maintaining, and troubleshooting your origimagic N2 Pro Mini PC. The N2 Pro is a high-performance mini desktop computer equipped with an AMD Ryzen 7 6800H processor, 32GB DDR5 RAM, and a 1TB NVMe SSD, designed for various tasks from professional work to entertainment.
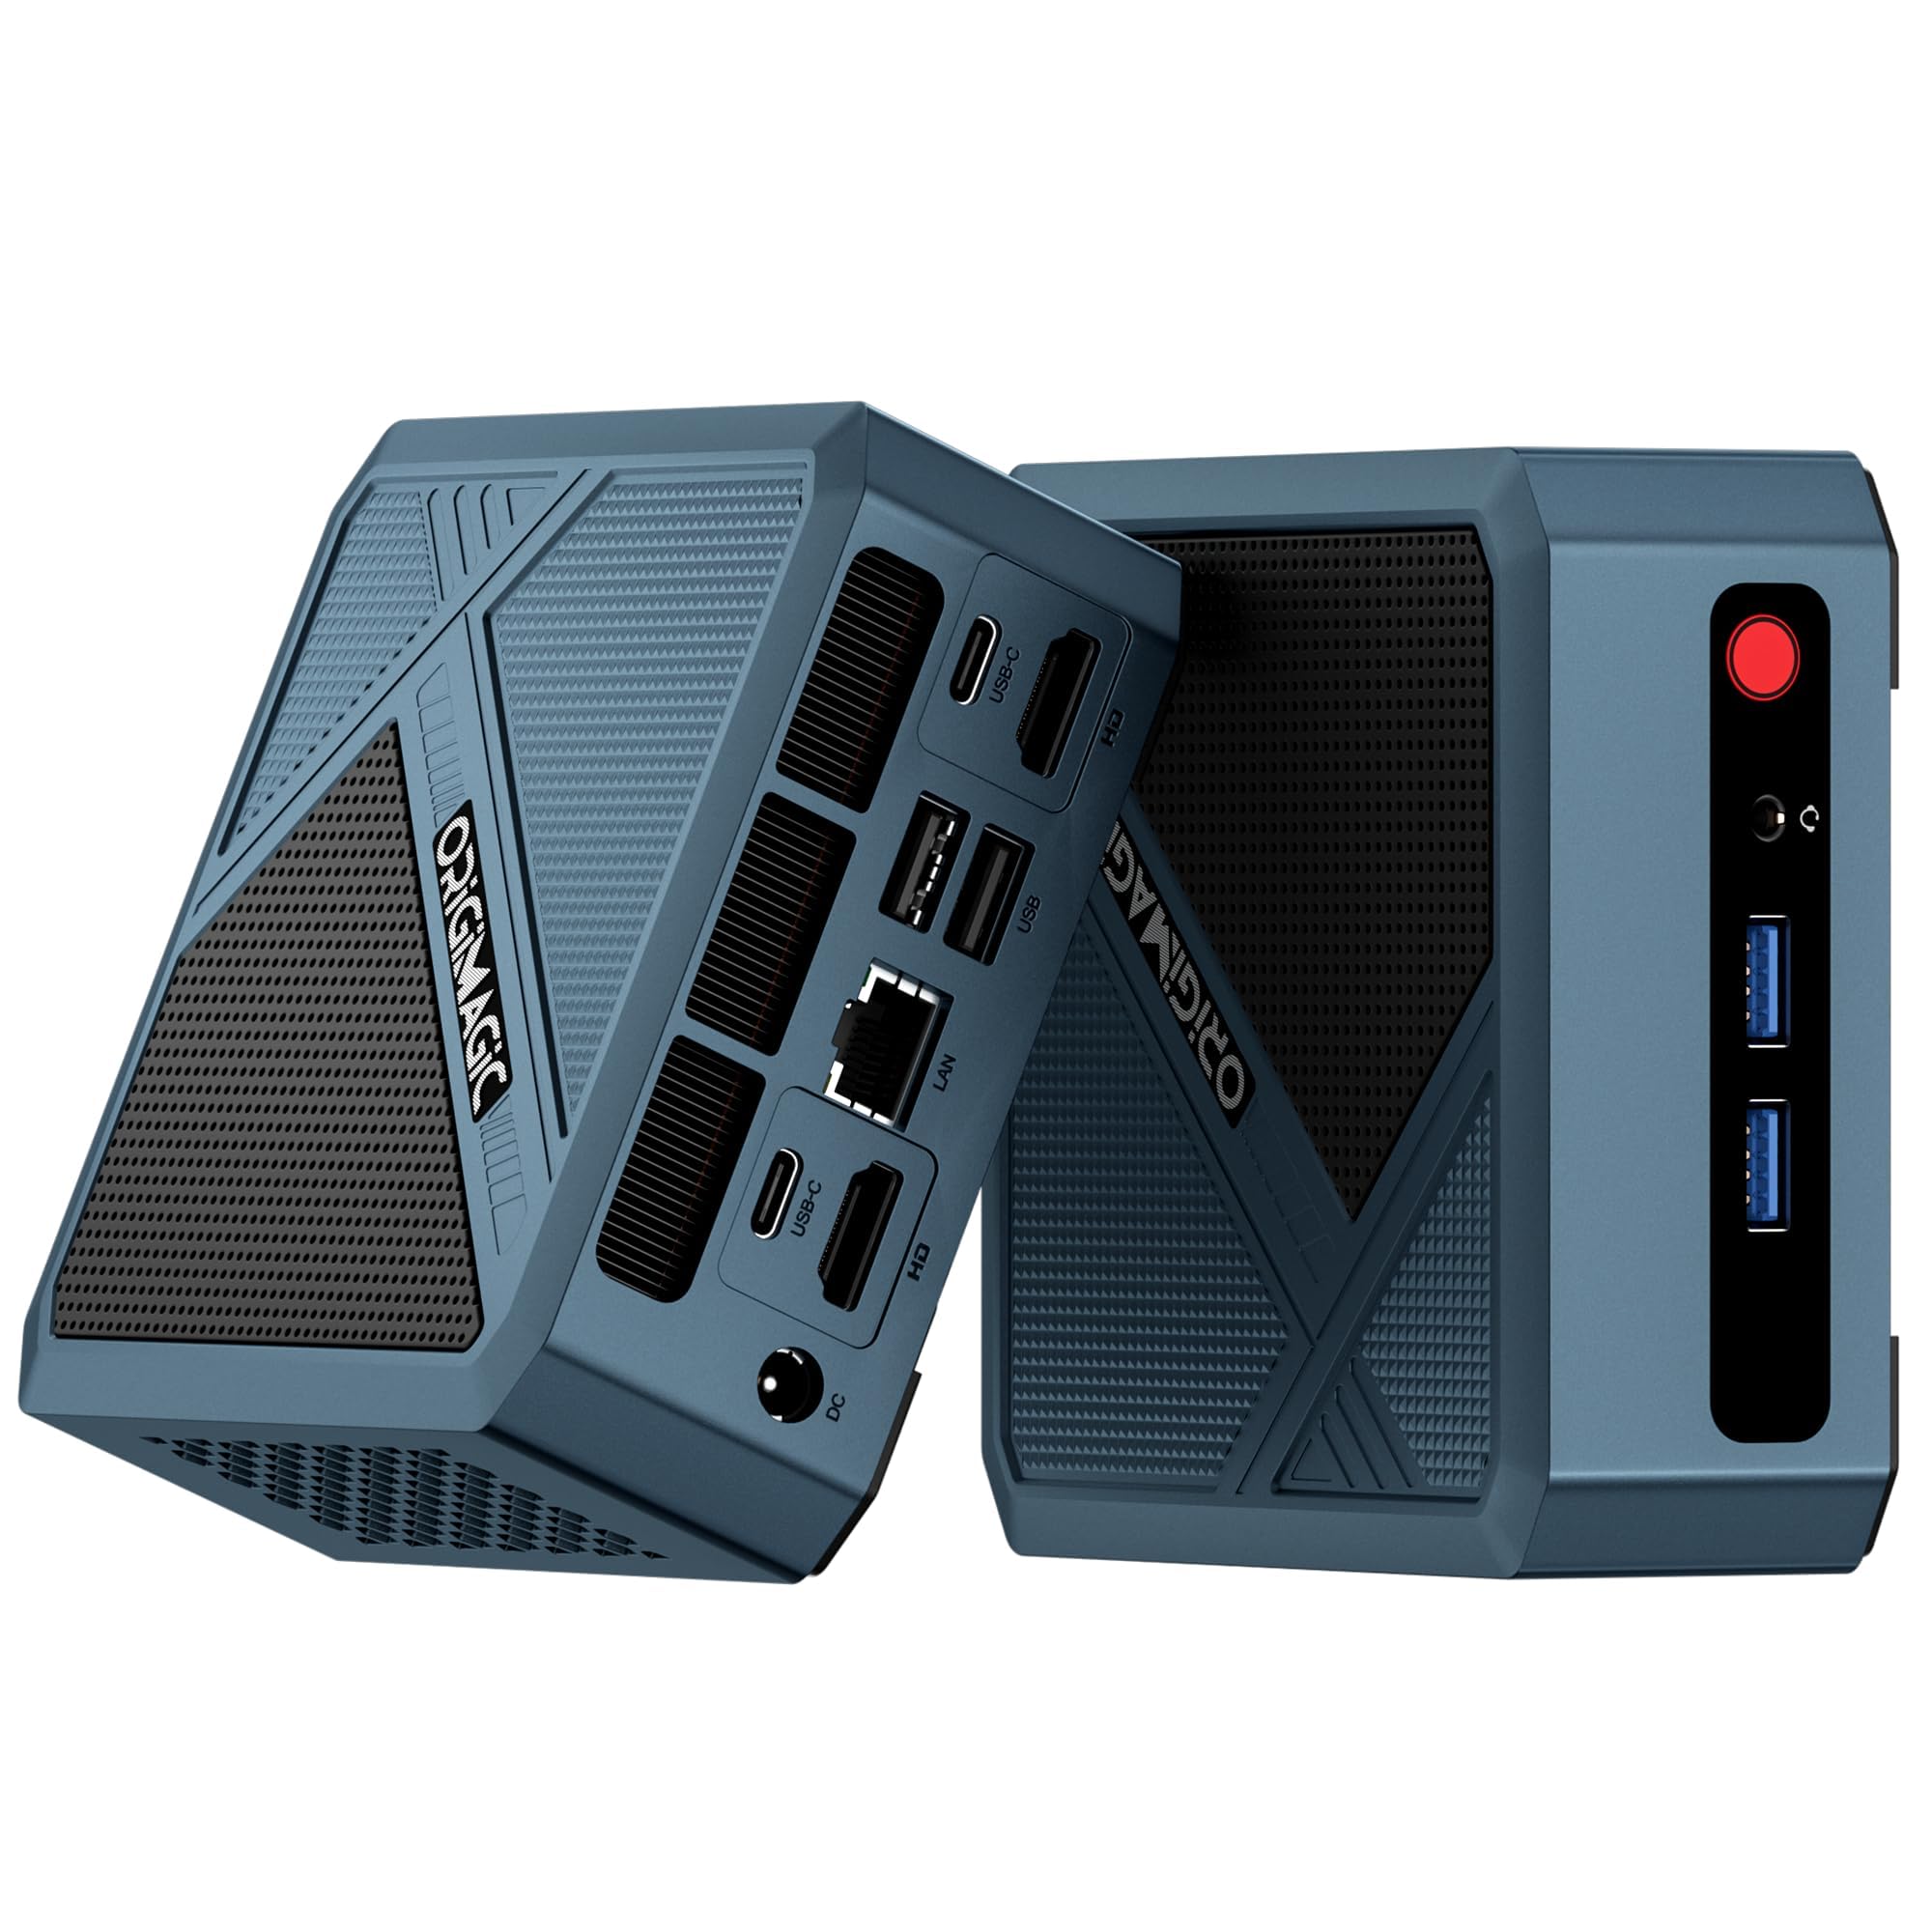
Image: Front view of the origimagic N2 Pro Mini PC.
Key Features:
- Powerful Processor: AMD Ryzen 7 6800H (8 Cores/16 Threads, up to 4.7 GHz) with Zen 3+ architecture and 45W TDP.
- High-Speed Memory: 32GB DDR5 4800MHz SODIMM (dual channel), expandable up to 64GB.
- Ample Storage: 1TB M.2 NVMe PCIe 3.0 x4 2280 SSD, with support for M.2 NVMe PCIe 4.0 x4 2242 SSD expansion.
- Integrated Graphics: Radeon 680M with a maximum dynamic frequency of 2.2 GHz for smooth graphics processing and 4K video playback.
- Advanced Connectivity: WiFi 6E, Bluetooth 5.2, 2.5G RJ45 Ethernet, Dual USB4 (40Gbps, Thunderbolt 3.0, PD, DP1.4), USB 3.2 Gen2 Type-A, HDMI 2.0.
- Quad Display Support: Connect up to four displays for enhanced productivity.
2. Package Contents
Verify that all items listed below are included in your product package. If any items are missing or damaged, please contact customer support.

Image: Contents of the N2 Pro Mini PC package, including the PC, VESA mount, HDMI cable, user manual, power adapter, and power cable.
- 1 x origimagic N2 Pro Mini PC
- 1 x Power Adapter (19V DC, 6.3A)
- 1 x Power Cable (EU plug type C/EF)
- 1 x HDMI Cable (1 meter)
- 1 x VESA Mount with Screws
- 1 x User Manual (multi-language)
3. Product Overview
The origimagic N2 Pro Mini PC is designed for compact efficiency. Familiarize yourself with its physical layout and available ports.
Dimensions and Design:

Image: Top, front, side, and rear views of the N2 Pro Mini PC with dimensions (approximately 4.37 x 4.37 x 1.57 inches).
The N2 Pro measures approximately 11 x 4 x 11 cm (4.37 x 1.57 x 4.37 inches) and weighs 1.1 kg, making it highly portable and space-saving. Its compact design allows for easy integration into any workspace.
Ports and Connectivity:

Image: Diagram highlighting key features like AMD Ryzen 7 6800H, Dual DDR5, M.2 NVMe SSD, Wi-Fi 6E, Bluetooth 5.2, RJ45 2.5G LAN, USB4.0, and Quad display support.
- Front Panel:
- 2 x USB 3.2 Gen2 Type-A ports (10 Gbps)
- 1 x USB Type-C port (USB4 compatible, 40Gbps, Thunderbolt 3.0, PD, DP1.4)
- 1 x Power Button
- Rear Panel:
- 1 x DC Power Input
- 2 x HDMI 2.0 ports (4K 60Hz)
- 1 x 2.5G RJ45 Ethernet port
- 1 x USB Type-C port (USB4 compatible, 40Gbps, Thunderbolt 3.0, PD, DP1.4)
- 2 x USB 3.2 Gen2 Type-A ports (10 Gbps)
- Wireless: Wi-Fi 6E, Bluetooth 5.2
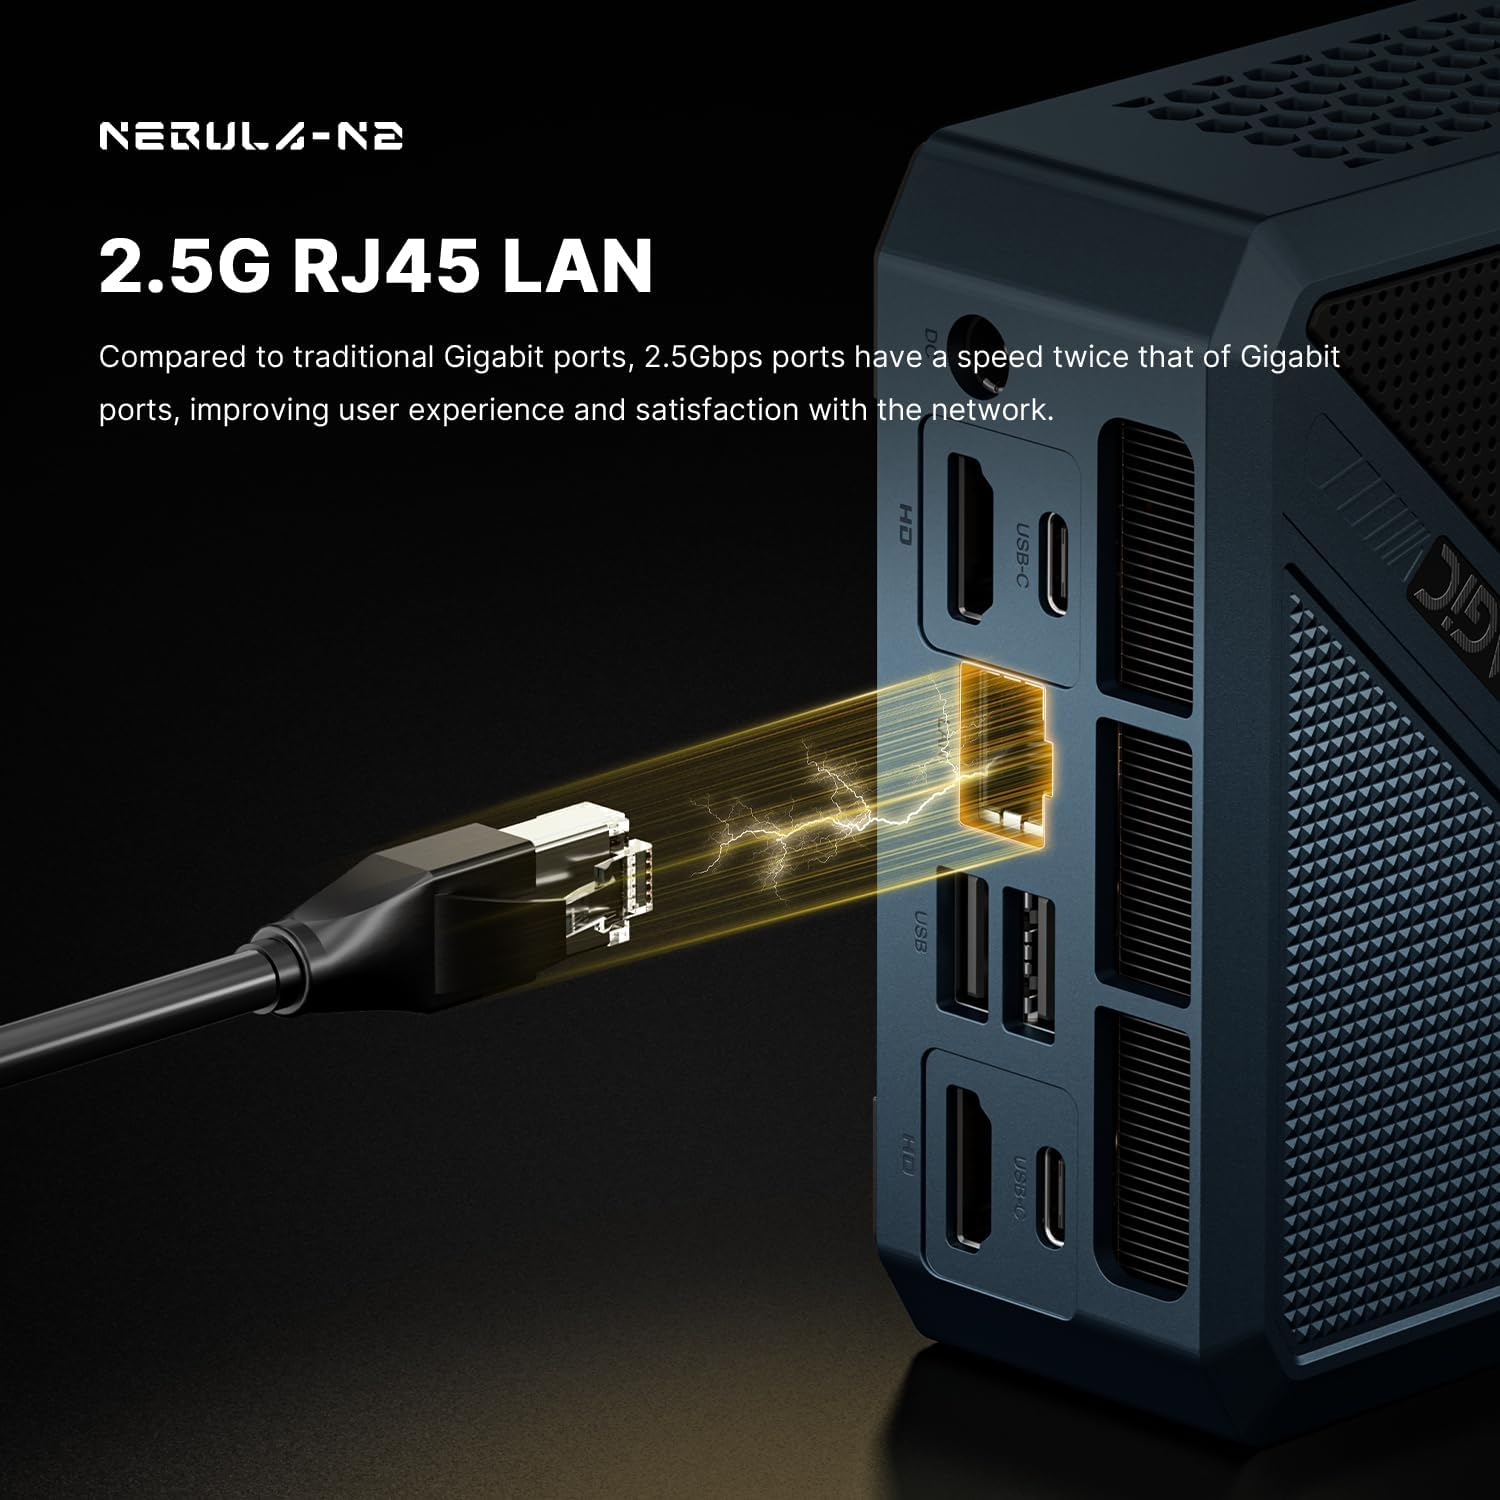
Image: Close-up of the 2.5G RJ45 LAN port, illustrating its high-speed network capability.

Image: The dual USB 4.0 interface connected to a tablet, demonstrating PD 3.0 power supply, 40Gbps data transmission, and 8K video output support.
4. Setup Guide
Initial Setup Warning:
Important: When first starting your device, do not connect to the internet or log in with a Microsoft account. Disable automatic operating system updates after initial setup. If issues arise after system updates, please contact the seller directly for technical assistance.
Connecting Your Mini PC:
- Connect to Power: Plug the power adapter into the DC input port on the rear of the Mini PC, then connect the power cable to a wall outlet.
- Connect to Display: Use the provided HDMI cable to connect the Mini PC to your monitor or TV. You can use either of the two HDMI 2.0 ports or a USB-C port with DisplayPort Alt Mode for video output.
- Connect Peripherals: Connect your keyboard, mouse, and any other USB devices to the available USB ports.
- Power On: Press the power button located on the front panel of the Mini PC.
- Operating System Setup: Follow the on-screen instructions to complete the initial setup of Windows 11 Pro. Remember the important warning regarding internet connection and Microsoft account during this phase.
VESA Mount Installation:
The N2 Pro Mini PC comes with a VESA mount for convenient installation behind a monitor or on a wall.

Image: Illustration showing how to attach the VESA mount to the Mini PC and then to the back of a display using screws.
- Attach the VESA bracket to the Mini PC using the provided screws.
- Fix the bracket (with the Mini PC attached) to the back of your display or desired surface using the appropriate screws.
5. Operating Instructions
Power On/Off:
- Power On: Press the power button on the front panel.
- Power Off: Click the Start button in Windows, then select Power > Shut down. Alternatively, press and hold the power button for 5 seconds to force a shutdown (use only when necessary).
Connecting to Network:
- Wired Connection: Connect an Ethernet cable from your router/modem to the 2.5G RJ45 Ethernet port on the Mini PC.
- Wireless Connection: Once Windows is set up, click the Wi-Fi icon in the taskbar, select your network, and enter the password.
Multi-Display Setup:
The N2 Pro supports up to four displays simultaneously. Connect your monitors using the available HDMI 2.0 ports and USB-C (DisplayPort Alt Mode) ports. Once connected, right-click on the desktop, select "Display settings," and configure your displays (extend, duplicate, etc.).

Image: The N2 Pro Mini PC connected to multiple monitors, demonstrating its quad-display capability for an extended workspace.
6. Maintenance
General Care:
- Keep the Mini PC in a clean, dry environment, away from direct sunlight and extreme temperatures.
- Ensure proper ventilation by not blocking the air vents. The device features a highly efficient heat dissipation system for quiet and stable operation.
- Clean the exterior with a soft, dry cloth. Avoid liquid cleaners.
Image: Exploded view of the N2 Pro Mini PC, showing its internal components and efficient heat dissipation design.
Storage Expansion:
The N2 Pro supports storage expansion. You can add an M.2 NVMe PCIe 4.0 x4 2242 SSD to increase your storage capacity. Refer to the detailed instructions in the full user manual or contact support for guidance on opening the chassis and installing components.
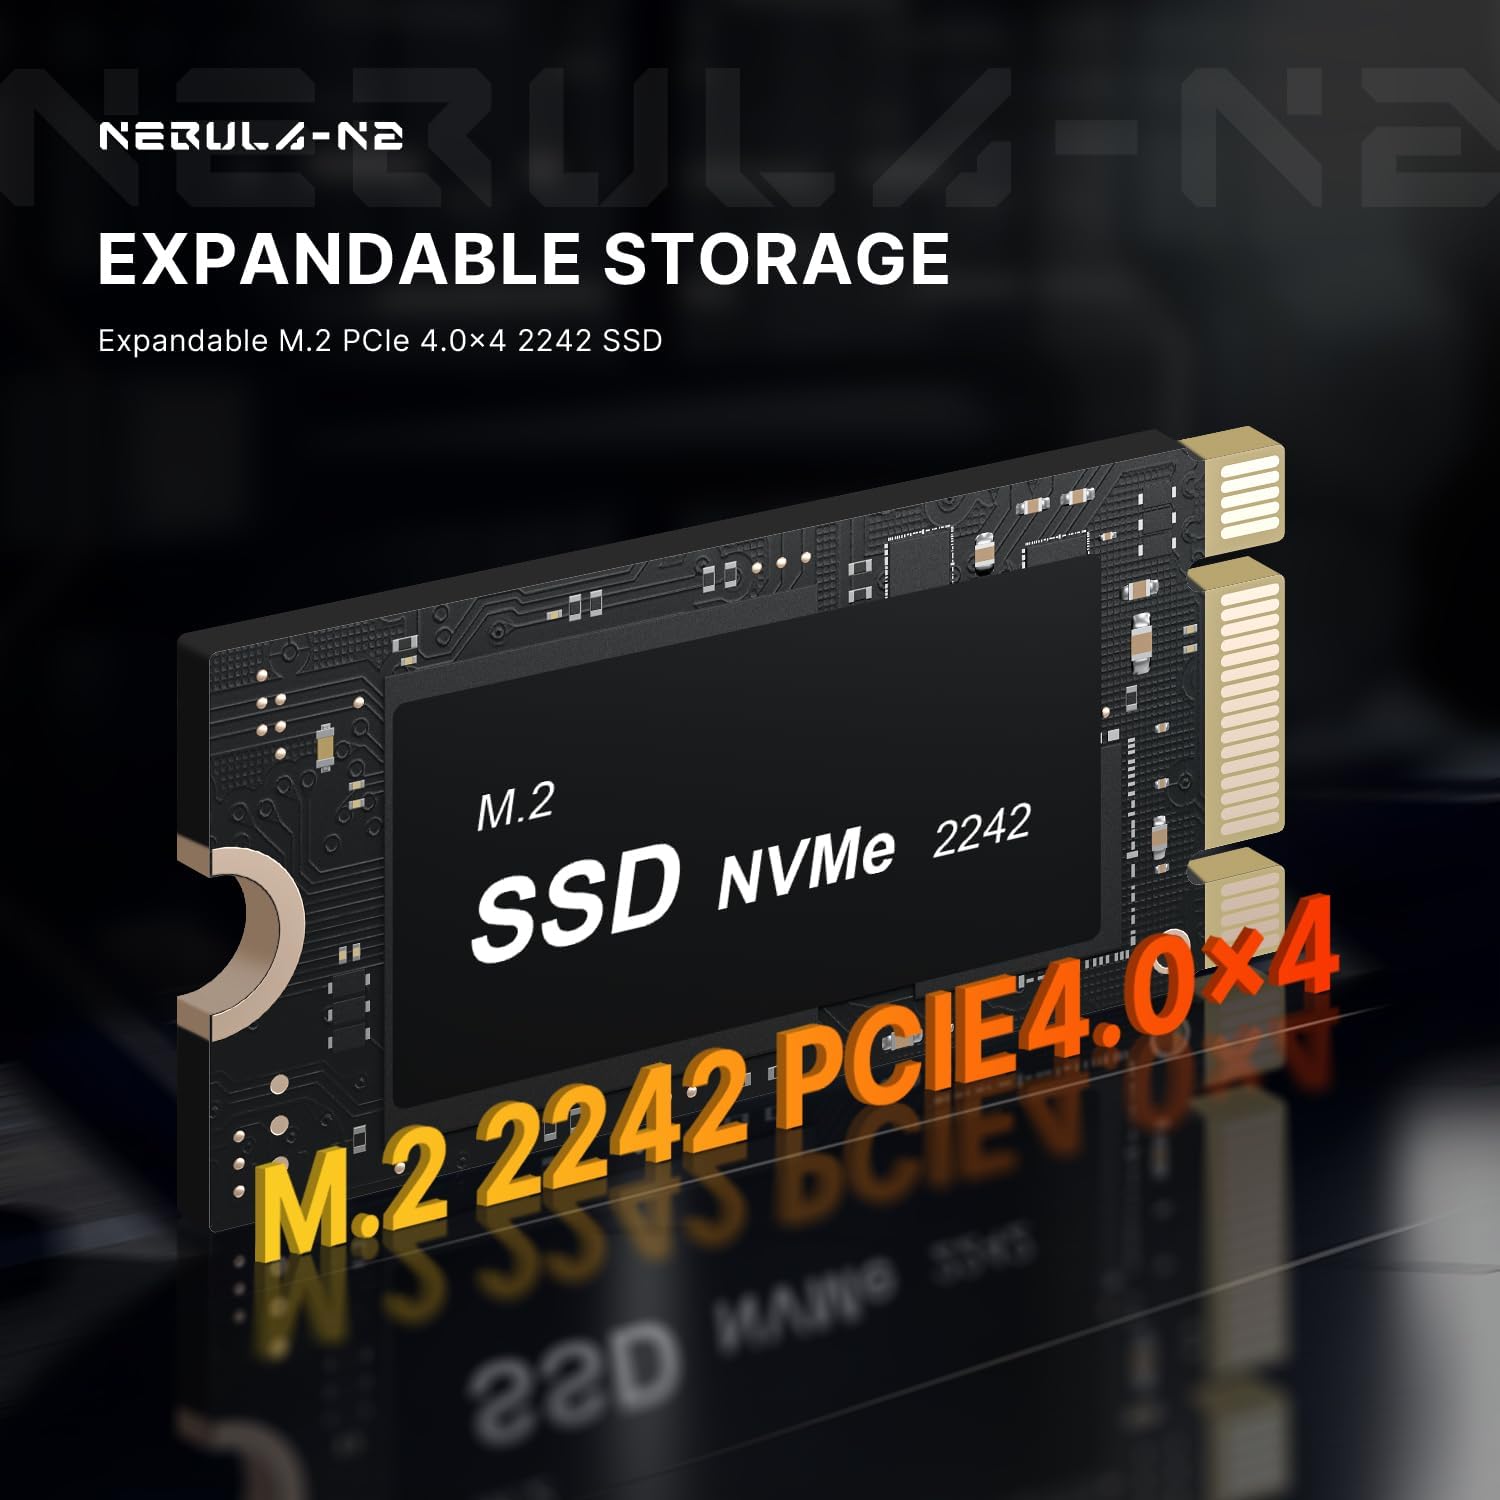
Image: Diagram illustrating the expandable M.2 PCIe 4.0x4 2242 SSD slot for additional storage.
7. Troubleshooting
If you encounter issues with your N2 Pro Mini PC, refer to the common problems and solutions below.
| Problem | Possible Cause / Solution |
|---|---|
| No Power / Does not turn on |
|
| No Display Output |
|
| No Internet Connection (Wired) |
|
| No Internet Connection (Wireless) |
|
| System Slowdown / Performance Issues |
|
For more complex issues or if the above solutions do not resolve the problem, please refer to the Warranty and Support section for contact information.
8. Specifications
| Feature | Detail |
|---|---|
| Model Name | N2 Pro |
| Brand | origimagic |
| Processor | AMD Ryzen 7 6800H (8 Cores, 16 Threads, up to 4.7 GHz) |
| Graphics | AMD Radeon 680M (Integrated, up to 2.2 GHz) |
| RAM | 32GB DDR5 4800MHz (SODIMM, Dual Channel, expandable to 64GB) |
| Storage | 1TB M.2 NVMe PCIe 3.0 x4 2280 SSD (supports PCIe 4.0 x4 2242 expansion) |
| Operating System | Windows 11 Pro 23H2 (compatible with Ubuntu) |
| Connectivity | Wi-Fi 6E, Bluetooth 5.2, 2.5G RJ45 Ethernet |
| Video Output | 2 x HDMI 2.0 (4K@60Hz), 2 x USB-C (DisplayPort 1.4, 8K support) |
| USB Ports | 2 x USB4 Type-C (40Gbps, Thunderbolt 3.0, PD), 4 x USB 3.2 Gen2 Type-A (10Gbps) |
| Dimensions (L x W x H) | 11 x 4 x 11 cm (4.37 x 1.57 x 4.37 inches) |
| Weight | 1.1 Kilograms |
| Cooling Method | Passive (Efficient heat dissipation system) |
| Power Adapter | 19V DC, 6.3A |
| Certifications | CE |
| UPC | 810161582082 |
9. Warranty and Support
Warranty Information:
The origimagic N2 Pro Mini PC comes with a one-year warranty from the date of purchase. This warranty covers manufacturing defects and malfunctions under normal use. It does not cover damage caused by misuse, accidents, unauthorized modifications, or natural disasters. Please retain your proof of purchase for warranty claims.
Customer Support:
For technical assistance, warranty claims, or any questions regarding your origimagic N2 Pro Mini PC, please contact our customer support team. We offer 24-hour online service to address your concerns promptly.
- Contact Method: Please contact the seller directly via the Amazon messaging system.
- Before Contacting: Have your product model (N2 Pro) and purchase details ready. Describe the issue clearly to help our team provide efficient support.
Related documentsN2 Pro


Ask a question about this manual
Ask about setup, troubleshooting, compatibility, parts, safety, or missing instructions. Manuals+ will review the question and use this page’s manual context to help answer it.