1. Introduction
This manual provides detailed instructions for the installation, operation, and maintenance of your Real HD 4K 8MP 8-Channel PoE IP Security Camera System. Please read this manual thoroughly before installation and retain it for future reference.

Figure 1: Real HD 4K 8MP 8-Channel PoE IP Security Camera System, including the NVR and six dome cameras.
2. What's in the Box
Verify that all components are present in the package:

Figure 2: All components included in the product package.
- 1x 8-Channel PoE NVR with 2TB HDD
- 6x 8MP IP PoE Outdoor Vandal Proof Dome Cameras
- 6x Ethernet Cables
- 1x Quick Start Guide (Manual)
- 1x Waterproof Lid
- 1x Mounting Template
- Screws and other mounting hardware
3. Product Overview and Features
The Real HD 4K 8MP 8-Channel PoE IP Security Camera System offers advanced surveillance capabilities for outdoor environments. Key features include:
- 4K 8MP Resolution: Stunning ultra-high quality 4K (8-Megapixel / 3840*2160) resolution at 20fps.
- 8-Channel PoE NVR: Comes with a pre-installed 2TB surveillance hard drive, supporting 8-channel recording and the latest H.265 video compression.
- Full Color PoE Outdoor IP Cameras: Six wired 8MP IP PoE outdoor vandal-proof dome cameras with enhanced low-light capability.
- Human Detection: Advanced human detection features to minimize false alarms.
- Audio Recording: Each camera is equipped with a built-in microphone for audio recording.
- Wide Viewing Angle: Super-wide 102° viewing angle to cover more area.
- Advanced H.265 Compression: Saves hard drive space for longer recording times without sacrificing video quality.
- Weather Proof: Designed for outdoor usage with weather-proof features.
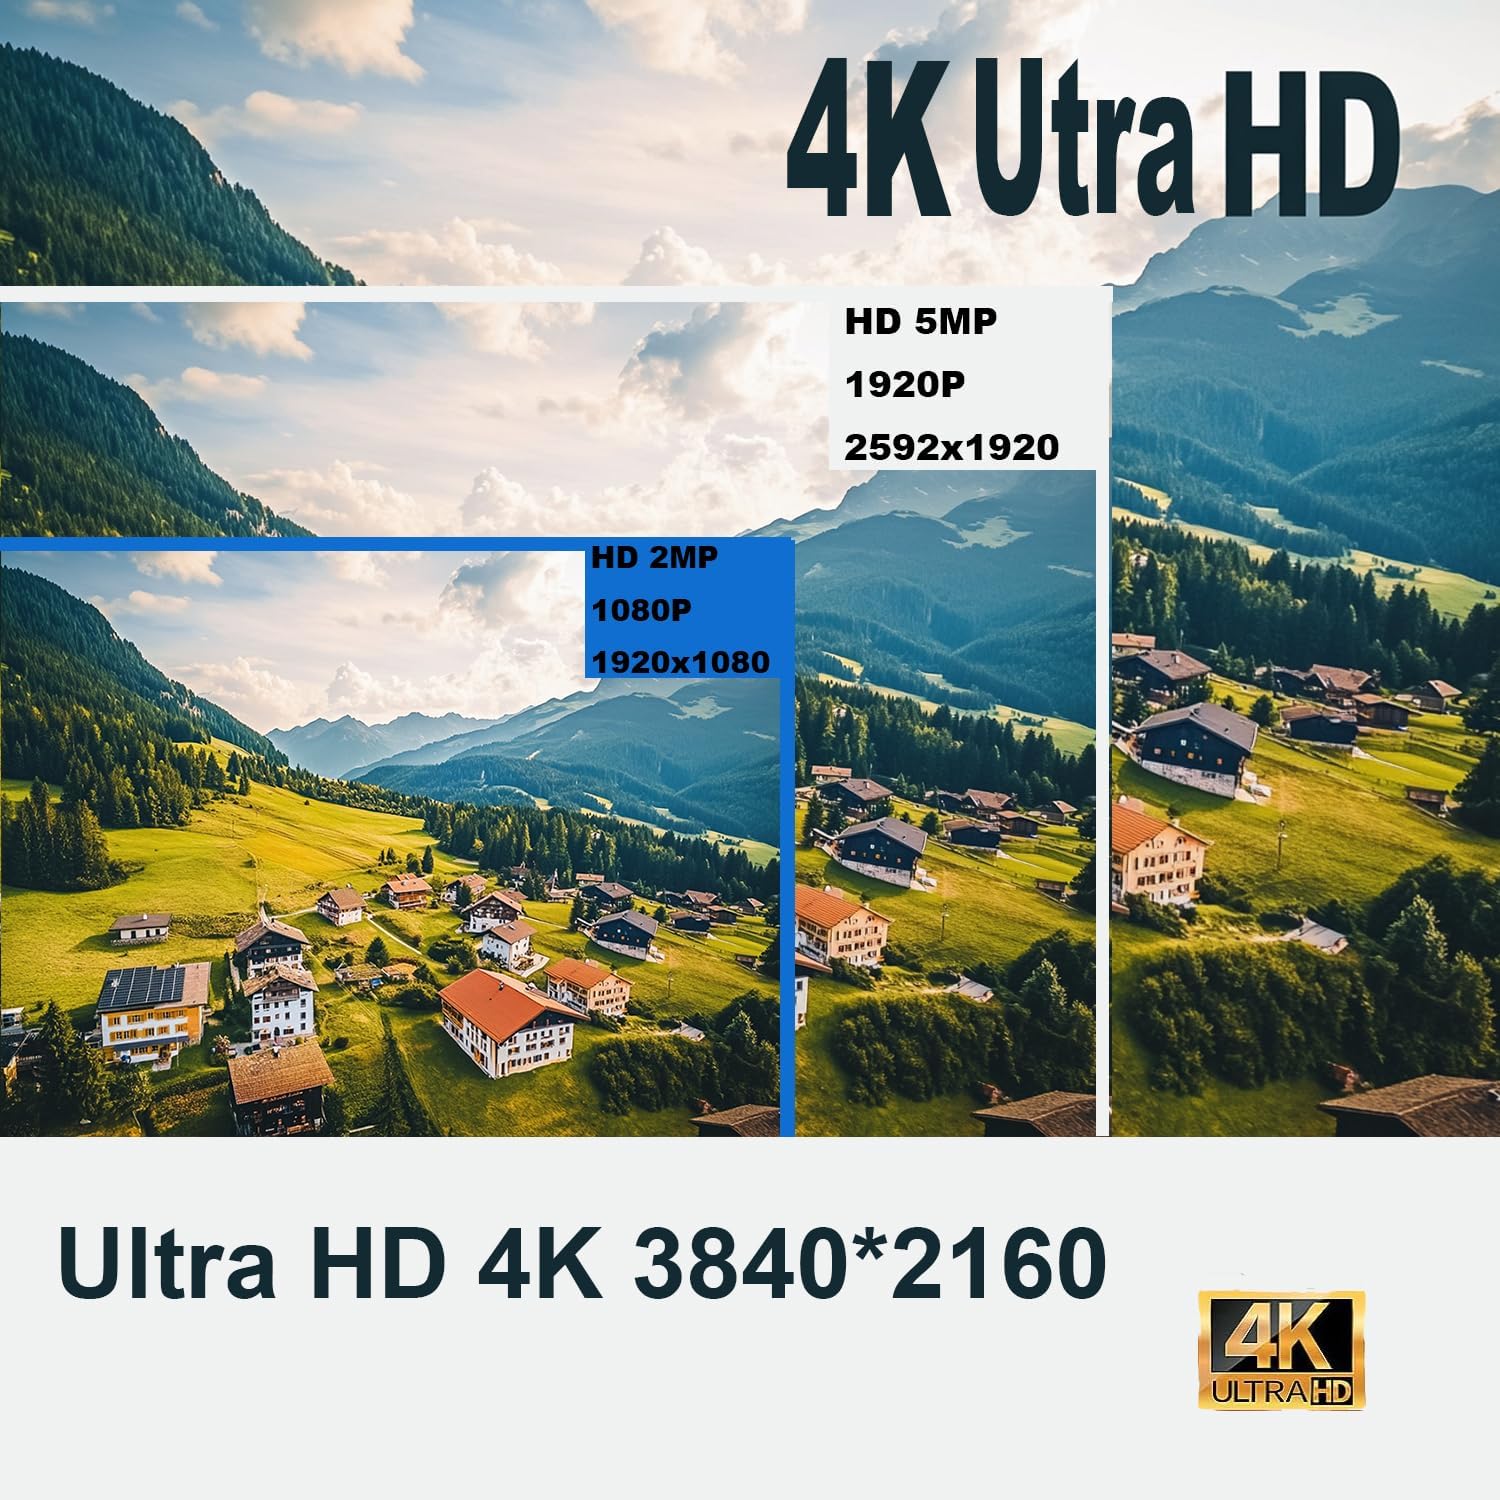
Figure 3: Visual comparison of 4K Ultra HD resolution versus lower resolutions.
4. Setup
4.1 NVR and Camera Connection
- Connect the PoE IP cameras to the NVR using the provided Ethernet cables. The NVR's PoE ports will supply both power and data to the cameras.
- Connect the NVR to a monitor or TV via HDMI or VGA for local viewing.
- Connect the NVR to your router using an Ethernet cable for remote access.
- Plug the NVR into a power outlet.
4.2 Mobile App Setup (Guard Viewer)
For remote viewing and control, download the "Guard Viewer" app on your smartphone or tablet.
- Download the "Guard Viewer" app from your device's app store (App Store for iOS, Google Play for Android).
- Open the app and register an account if you don't have one.
- Scan the QR Code displayed on the NVR's monitor or on the NVR unit itself to add your device to the app.
- Follow the on-screen prompts to complete the setup, including setting a secure password for your NVR.

Figure 4: Remote access to your security system via the Guard Viewer mobile application.
5. Operating Instructions
5.1 Live View and Playback
- Access live camera feeds through the connected monitor or the Guard Viewer app.
- Use the playback function on the NVR or app to review recorded footage stored on the 2TB HDD.
5.2 Recording Modes
- 24/7 Continuous Recording: The NVR is pre-configured for continuous recording.
- Motion-Triggered Recording: Configure motion detection settings to record only when motion is detected, saving storage space.

Figure 5: The NVR supports 24/7 recording with its built-in 2TB HDD, expandable up to 10TB.
5.3 Motion Detection and Alerts
- Enable human detection in the NVR settings or through the app to receive alerts only for human activity.
- Customize motion detection zones and sensitivity to reduce false alarms.
- Receive instant push notifications on your mobile device when motion is detected.
5.4 Night Vision
The cameras feature enhanced low-light capability and night color technology for clear surveillance in various lighting conditions.
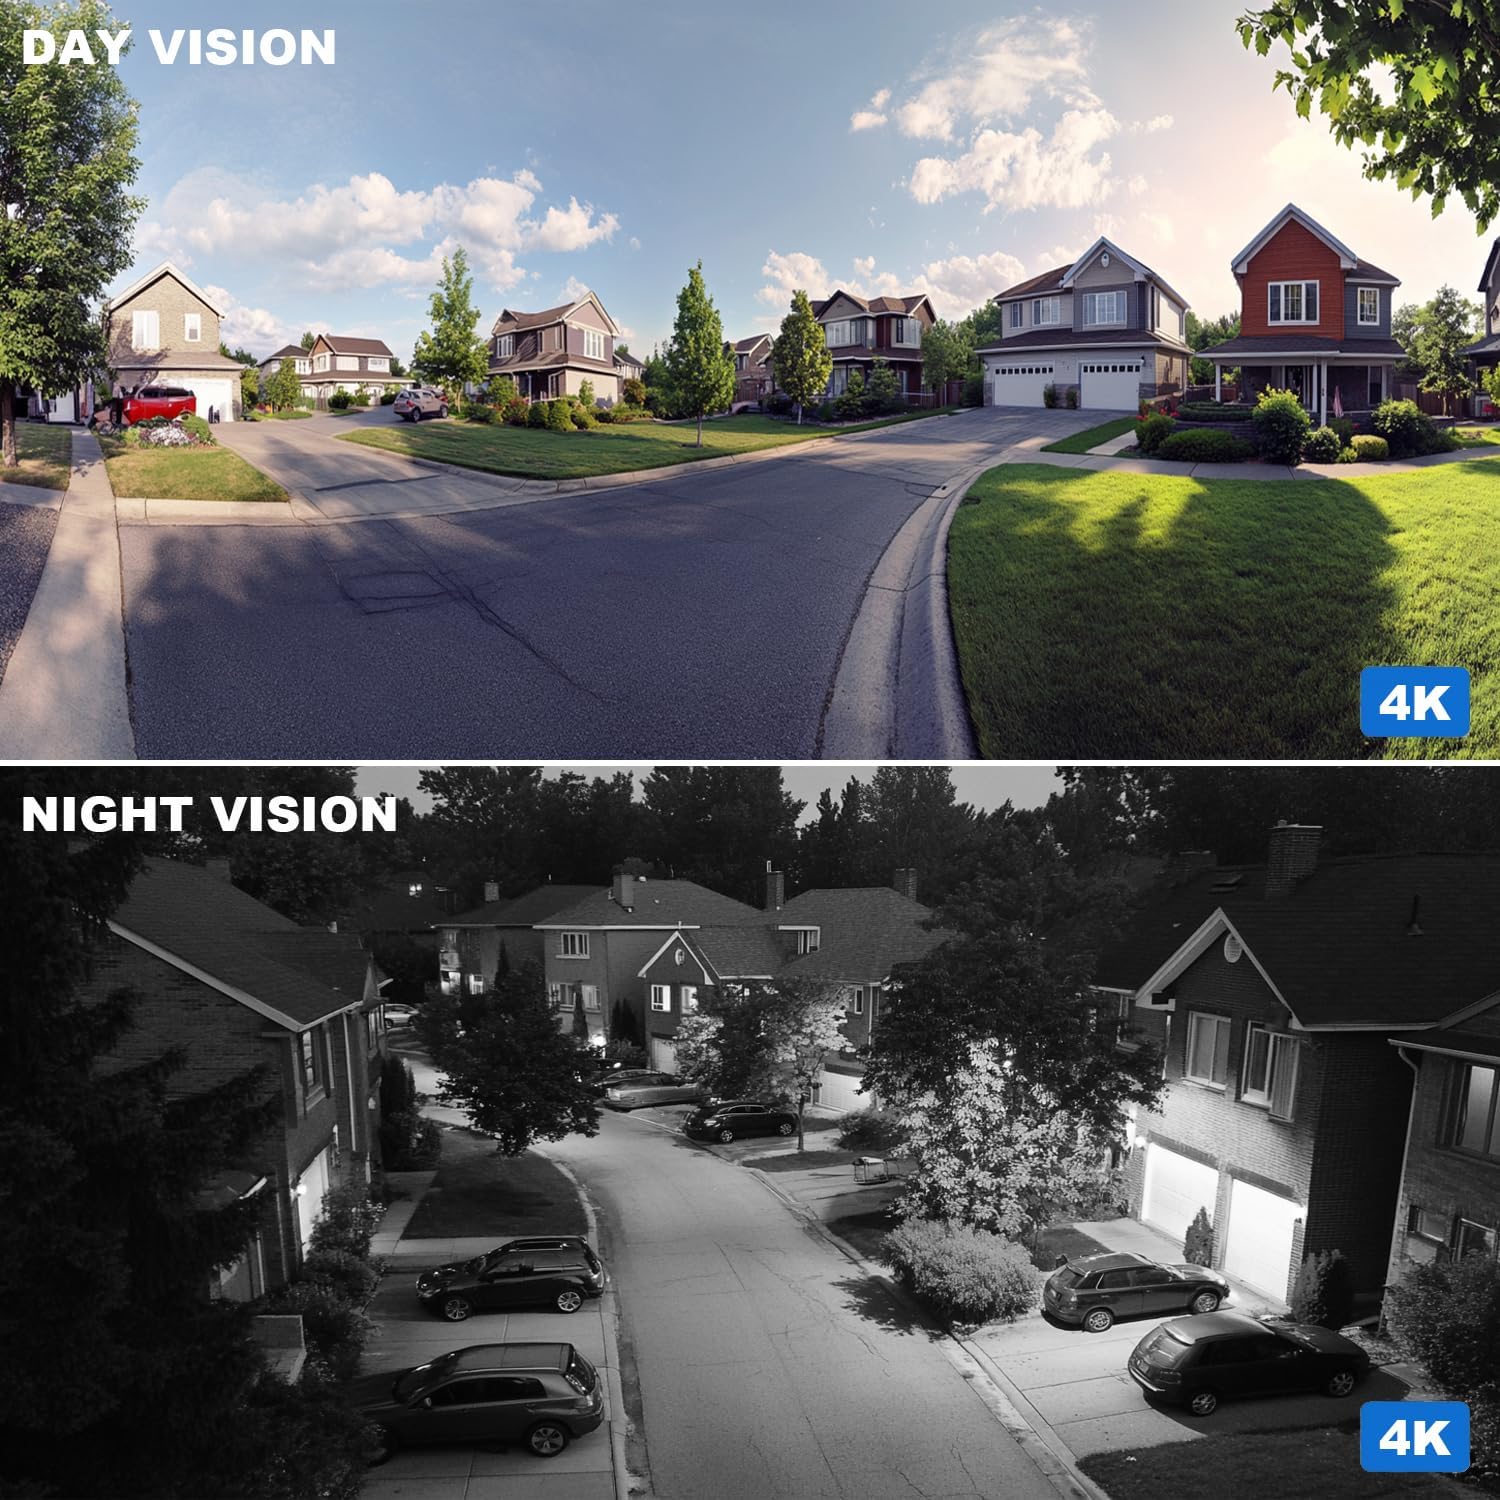
Figure 6: Comparison of day and night vision capabilities of the 4K security camera.
6. Specifications
| Feature | Detail |
|---|---|
| Indoor/Outdoor Usage | Outdoor |
| Video Capture Resolution | 4K (3840*2160) |
| Number of Channels | 8 |
| Frame Rate | 20fps |
| Viewing Angle | 102 Degrees |
| Low Light Technology | Night Color |
| Audio Visual Recording Capabilities | Video (with built-in microphone) |
| Connectivity Technology | Wired (PoE) |
| Special Feature | Weather Proof |
| NVR Storage | 2TB HDD (Pre-installed) |
| Video Compression | H.265 |

Figure 7: H.265+ compression technology reduces storage requirements while maintaining video quality.
7. Maintenance
- Regularly clean camera lenses with a soft, damp cloth to ensure clear image quality.
- Check cable connections periodically to ensure they are secure and free from damage.
- Ensure the NVR is in a well-ventilated area to prevent overheating.
- Keep the NVR firmware updated to benefit from the latest features and security enhancements.
8. Troubleshooting
- No Video Feed: Check power connections to the NVR and cameras. Verify Ethernet cables are securely connected. Ensure the monitor/TV input is correctly selected.
- Poor Image Quality: Clean camera lenses. Check for obstructions in the camera's field of view. Adjust camera settings (brightness, contrast, resolution) via the NVR or app.
- False Motion Alarms: Adjust motion detection sensitivity and detection zones in the NVR settings or app.
- Remote Access Issues: Ensure the NVR is connected to the internet. Verify network settings (IP address, DNS). Check your router's firewall settings.
9. Warranty & Support
For technical support, please contact the seller directly. Support hours are typically 9 am-5 pm CST. Refer to your purchase documentation for specific warranty details.


