
1. Introduction
This manual provides essential information for the safe and effective use of your Longer 30W Laser Engraver Module. Please read it thoroughly before installation and operation to ensure optimal performance and safety.
2. Safety Information
Laser engraving involves high-power lasers that can cause serious injury if not handled properly. Adhere to all safety guidelines.
- Eye Protection: Always wear appropriate laser safety goggles when operating the laser module. The module is equipped with a panoramic filter glass protective cover designed to filter 97% of ultraviolet rays, but additional eye protection is recommended.
- Ventilation: Operate the laser engraver in a well-ventilated area to avoid inhaling fumes and particles produced during engraving and cutting.
- Fire Hazard: Laser engraving can ignite flammable materials. Never leave the machine unattended during operation. Keep a fire extinguisher nearby.
- Material Compatibility: Only engrave or cut materials specified as safe. Avoid reflective, transparent, or unknown materials that can scatter or transmit the laser beam unpredictably.
- Children and Pets: Keep children and pets away from the operating area.
- Power Supply: Use only the provided power adapter. Ensure proper grounding.

3. Package Contents
Verify that all items listed below are present in your package:
- Longer 30W Laser Engraver Module
- Power Adapter
- Connection Cables
- Mounting Hardware (screws, wrenches)
- Mounting Plate
- Air Assist Nozzle (if included)

4. Setup
4.1 Installation on Compatible Engravers (e.g., RAY5)
- Power Off: Ensure your laser engraver is powered off and unplugged from the power source.
- Remove Existing Module: Carefully detach and remove the existing laser module from your engraver according to its specific instructions.
- Attach Mounting Plate: Secure the provided mounting plate to the new 30W laser module using the appropriate screws.
- Mount New Module: Attach the 30W laser module with the mounting plate to the engraver's gantry. Ensure it is firmly secured and aligned.
- Connect Cables: Connect the power cable and data cable from the 30W module to the corresponding ports on your engraver's control board. Refer to your engraver's manual for specific port locations.
- Power On: Plug in and power on your engraver.
4.2 Initial Focus Adjustment
The laser module requires proper focusing for optimal performance. Consult your engraver's software or control panel for focus adjustment procedures. Typically, this involves lowering the laser head until the laser spot is at its smallest point on the material surface.
5. Operating Instructions
5.1 Material Preparation
- Place the material to be engraved or cut securely on the working surface.
- Ensure the material is flat and properly aligned.
- Verify that the laser focus is correctly set for the material thickness.
5.2 Software Operation
Use compatible laser control software (e.g., LightBurn, LaserGRBL) to prepare your design and set engraving/cutting parameters. The 30W module offers significant power, allowing for faster processing and deeper cuts.
- Power Settings: Adjust laser power according to the material and desired effect. Start with lower power settings and gradually increase as needed.
- Speed Settings: Adjust engraving/cutting speed. Slower speeds generally result in deeper cuts or darker engravings.
- Passes: For thicker materials, multiple passes may be required.
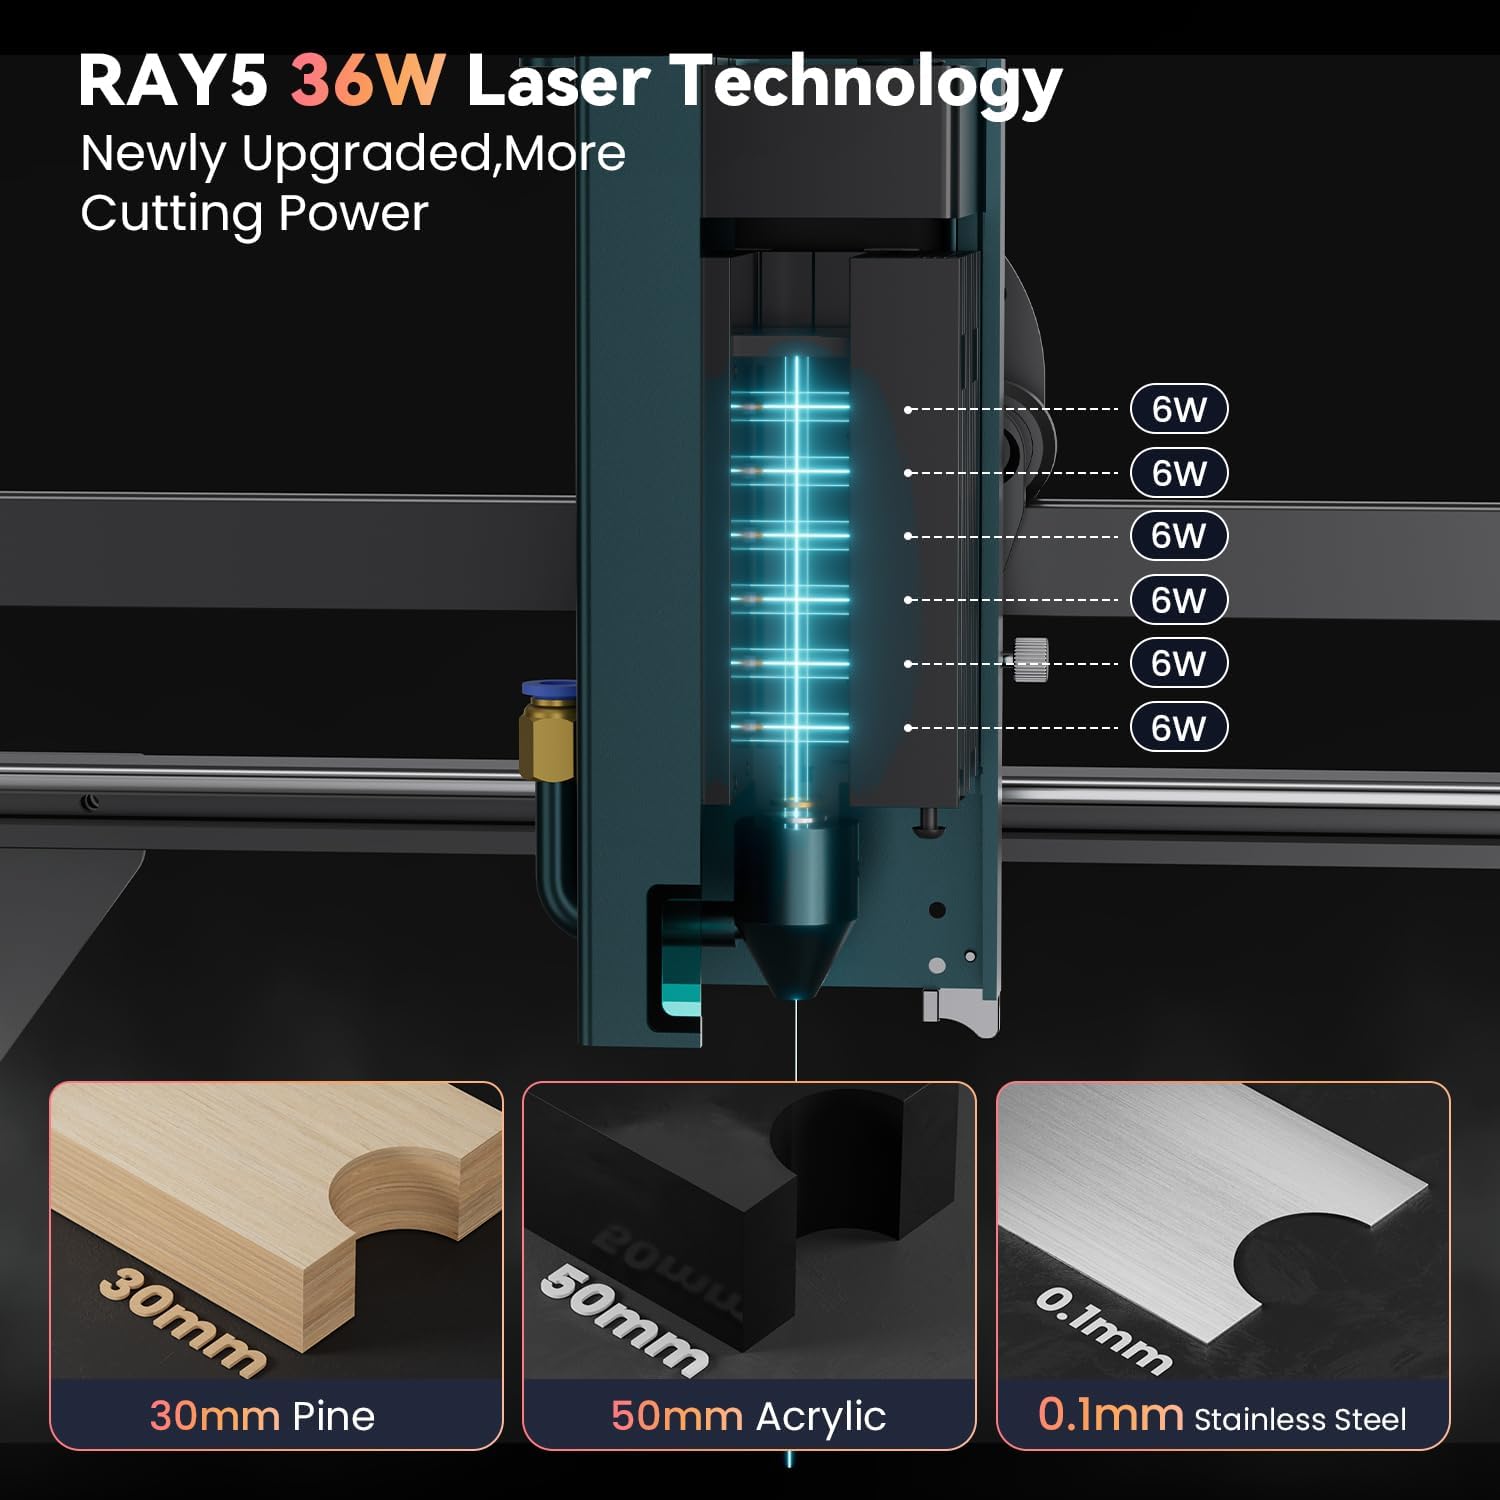


5.3 Applicable Materials
The Longer 30W Laser Engraver Module supports a wide range of materials:
- Engraving Materials: All wood types, paper, plastic, leather, PCB board, aluminum oxide, non-reflective plating, lacquered metal.
- Cutting Materials: Cardboard, non-woven fabric, light wood, acrylic material, thin plastic board.
- Materials Unable to Engrave: Blue, purple, white, transparent materials, aluminum without an oxide layer.

6. Maintenance
Regular maintenance ensures the longevity and performance of your laser module.
- Lens Cleaning: Periodically clean the laser lens with a soft, lint-free cloth and lens cleaning solution to prevent residue buildup, which can affect laser performance.
- Dust Removal: Keep the module and surrounding area free of dust and debris. Use compressed air to clean cooling fins and fan blades.
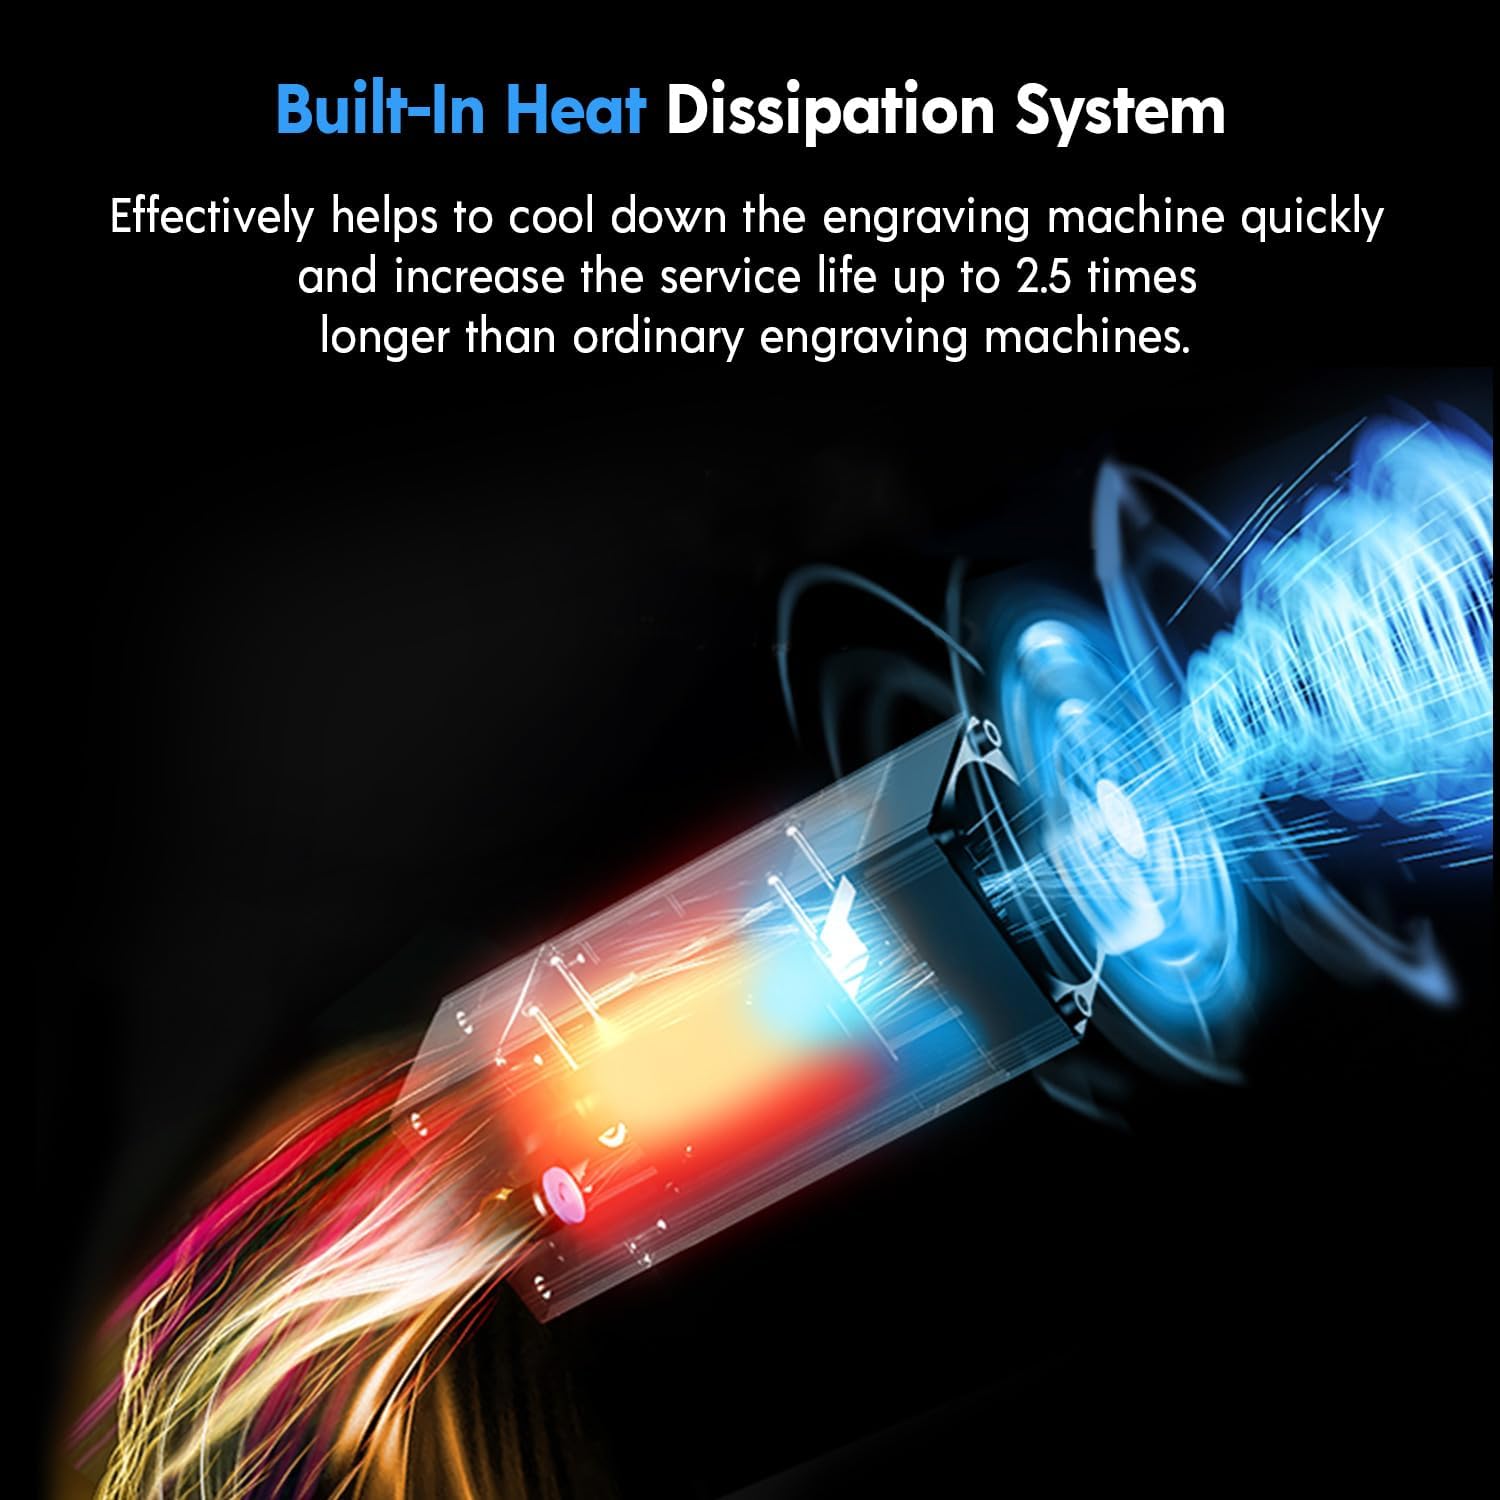
- Heat Dissipation: The module features a built-in heat dissipation system. Ensure airflow is not obstructed to maintain optimal operating temperature and extend service life.
7. Troubleshooting
If you encounter issues, refer to the following common problems and solutions:
| Problem | Possible Cause | Solution |
|---|---|---|
| Laser not firing or weak output | Incorrect focus, dirty lens, low power setting, loose cable connection. | Adjust focus, clean lens, increase power setting in software, check all cable connections. |
| Uneven engraving/cutting | Material not flat, gantry not level, inconsistent focus, material defects. | Ensure material is flat, check engraver's gantry for levelness, verify focus across the work area. |
| Module overheating | Obstructed airflow, prolonged high-power operation. | Clear any obstructions from cooling vents, reduce power or allow cool-down periods. |
For further assistance, contact Longer customer support.
8. Specifications
| Feature | Detail |
|---|---|
| Model | 30W Laser Engraver Module |
| Output Power | Up to 36W |
| Engraving Accuracy | 0.01mm |
| Laser Wavelength | 450-460 nm |
| Eye Protection | Panoramic filter glass protective cover (filters 97% UV) |
| Service Life | Approximately 20,000 hours |
| Package Dimensions | 10.91 x 10.16 x 5.55 inches |
| Item Weight | 4.11 pounds |
| Manufacturer | LONGER |
9. Warranty Information
Longer products typically come with a manufacturer's warranty. Specific warranty terms and duration may vary. Please retain your proof of purchase for warranty claims. For detailed warranty information, refer to the official Longer website or contact customer support.
Note: Misuse, unauthorized modifications, or failure to follow safety guidelines may void your warranty.
10. Customer Support
For technical assistance, troubleshooting, or warranty inquiries, please contact Longer customer support through the following channels:
- Email: Refer to the official Longer website for the most current email address.
- Live Chat: Available on the official Longer website.
- Phone: Consult the official Longer website for contact numbers.
- Online Community: Join the official Longer Facebook group for peer support and updates.

