
1. Introduction and Overview
This manual provides detailed instructions for the assembly, operation, and maintenance of your AECOJOY 12' x 14' Metal Outdoor Storage Shed. Designed for durability and functionality, this shed offers a secure and weather-resistant solution for your outdoor storage needs.
Key features include heavy-duty galvanized steel construction, a sloped roof for effective water and snow shedding, and a built-in ventilation system to prevent moisture buildup. The shed is equipped with wide double doors for easy access and ample space for various outdoor equipment.
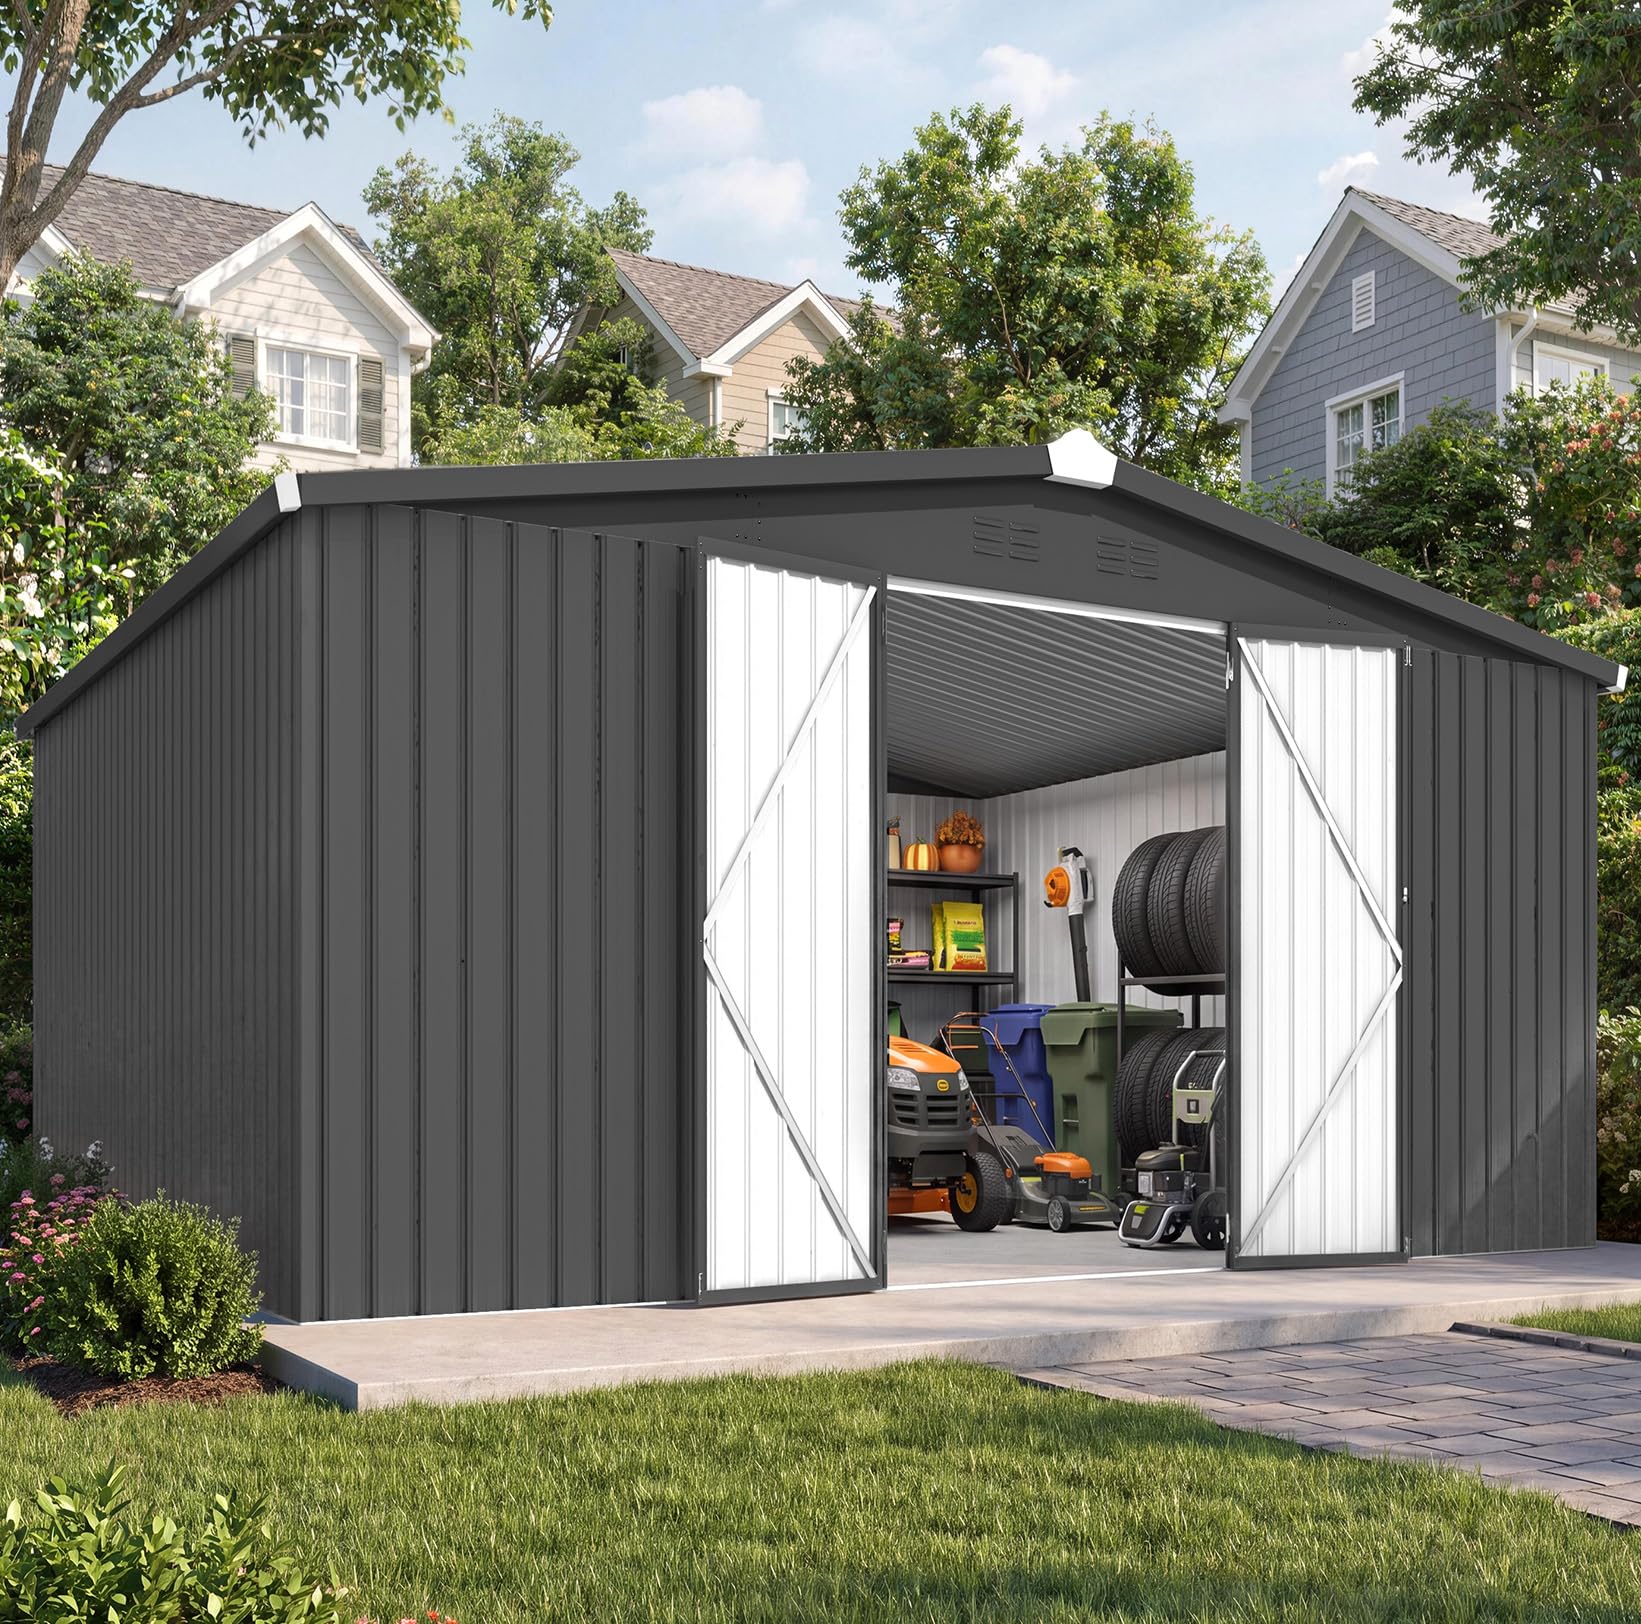
Image: The AECOJOY 12' x 14' Metal Outdoor Storage Shed, showcasing its dark grey finish and double doors in an outdoor environment.
2. Safety Information
Please read and understand all safety warnings included with the product packaging before beginning assembly or use. Failure to follow these instructions may result in injury or damage to the product.
- Always wear appropriate personal protective equipment, such as gloves and safety glasses, during assembly to prevent cuts from sharp metal edges.
- Ensure the assembly area is clear of obstructions and children.
- Do not attempt to assemble the shed alone. Two or more people are recommended for safe and efficient assembly.
- Anchor the shed securely to a level and stable foundation to prevent wind damage. The shed is designed to withstand 70 mph winds and 20 inches of snow load when properly anchored.
- Avoid placing heavy items on the roof or leaning against the walls, as this may compromise structural integrity.
3. Setup and Assembly
The AECOJOY storage shed is designed for straightforward assembly, typically taking approximately 2 hours with two people. No specialized tools or drilling are required, as panels are pre-drilled and labeled.
3.1 Preparation
- Unpack and Inspect: Carefully unbox all components. Verify that all parts are present and undamaged against the parts list provided in the separate assembly manual.
- Remove Protective Film: Many panels come with a protective plastic film. It is recommended to remove this film from all large tapered pieces before assembly. Be cautious of sharp edges during this process.
- Pre-assemble Washers: Attach plastic washers to all screws as indicated in the assembly manual prior to starting construction.
- Foundation: Install the shed on a perfectly level surface, such as a concrete pad, compacted gravel, or a raised wood floor. A level foundation is crucial for proper alignment of panels and doors.
- Anchoring: Plan for anchoring the shed to your chosen foundation. While the kit includes some corner brackets, additional anchoring points may be desired for increased stability, especially in windy conditions.
3.2 Recommended Tools
- Two Phillips head screwdrivers (magnetic tip recommended)
- Step ladder
- Drill with 1/16" or 5/64" metal bits (for optional additional holes or minor adjustments)
- Ratchet wrench with 11/32" bit
- Measuring tape and level
- Magnetic tray for holding screws
- Screws and anchors suitable for your foundation (not included)
3.3 Assembly Steps
Refer to the separate, detailed assembly manual provided with your product for step-by-step instructions. Follow the diagrams and part labels carefully. It is often helpful to have one person prepare parts while another assembles.

Image: Visual representation of the shed assembly process, highlighting "Assembly in Hours, Not Days" with no drilling required.
4. Operating Instructions
4.1 Door Operation
The shed features wide double hinged doors designed for easy access. These doors swing open to accommodate bulky items such as lawnmowers, bikes, and trash bins without requiring disassembly or excessive maneuvering.
- To open, unlatch the locking mechanism and pull the doors outwards.
- To close, push the doors firmly together and engage the locking mechanism. Ensure both doors are fully closed and latched for security and weather protection.
4.2 Ventilation System
The shed incorporates a built-in ventilation system to promote air circulation. This design helps prevent moisture from settling, reducing the risk of mold and mildew formation and keeping stored items dry and fresh.
- Ensure that the ventilation openings on the shed are not obstructed by debris or stored items to maintain optimal airflow.

Image: The shed's interior, illustrating the built-in ventilation system and ample space for garden tools and equipment.
5. Maintenance
Regular maintenance will extend the life and appearance of your storage shed.
- Cleaning: Periodically clean the exterior of the shed with mild soap and water. Avoid abrasive cleaners or harsh chemicals that could damage the finish.
- Rust Prevention: Although the shed is made from rust-resistant galvanized steel, inspect for any scratches or chips in the coating that could expose the metal to moisture. Touch-up paint can be used to cover minor imperfections.
- Fastener Check: Annually inspect all screws and fasteners to ensure they are tight. Re-tighten as necessary to maintain structural integrity.
- Sealing: To enhance water resistance, especially around the base, consider applying an exterior silicone sealant along the bottom edges of the panels where they meet the foundation.
- Ventilation: Keep the ventilation openings clear of leaves, dirt, and other debris to ensure proper air circulation.
6. Troubleshooting
This section addresses common issues you might encounter with your storage shed.
6.1 Door Alignment Issues
If doors do not close smoothly or bind:
- Check Foundation Level: Ensure the shed's foundation is perfectly level and square. An uneven base can cause the entire structure to twist, affecting door alignment.
- Adjust Hinges/Braces: Inspect the door hinges and internal braces. Minor adjustments or slight bending of braces may be necessary to achieve proper fit.
- Base Rail Clearance: If a door drags on the base rail, check if the base rail is properly installed and level. In some cases, slight lifting of the door during closing might be required if the design has minimal clearance.
6.2 Water Leakage
If water enters the shed during rain:
- Seal Base: Apply an exterior-grade silicone sealant around the entire perimeter of the shed's base, both inside and out, where the panels meet the foundation.
- Check Roof Seams: Ensure all roof panels and the ridge cap are securely fastened and properly overlapped according to the assembly manual. Consider adding additional screws with rubber seals to the ridge cap, especially in windy areas, to prevent lifting.
- Door Gaps: Install foam weather stripping along the gaps between the doors and the door jambs to create a tighter seal.
6.3 Wind Damage
To prevent the shed from being displaced by strong winds:
- Secure Anchoring: Ensure the shed is firmly anchored to its foundation using appropriate hardware for your specific base material. This is critical for wind resistance.
- Ridge Cap Reinforcement: In areas prone to high winds, consider reinforcing the roof ridge cap with additional self-tapping roofing screws that include rubber seals. Install these screws at regular intervals along the ridge cap, not just at the ends.
6.4 Missing or Damaged Parts
If you discover missing or damaged parts upon unpacking, please contact AECOJOY customer support immediately for assistance.
7. Specifications
| Feature | Detail |
|---|---|
| Brand | AECOJOY |
| Model Number | 16333DG-1 |
| Color | Dark Grey |
| Material | Galvanized Steel, Alloy Steel Frame |
| Product Dimensions (D x W x H) | 138.2"D x 163"W x 77.6"H |
| Item Weight | 200 Pounds |
| Floor Area | 168 Square Feet |
| Door Style | Hinged, Lockable Double Doors |
| Water Resistance Level | Waterproof |
| Wind Resistance | Yes (Withstands 70 mph winds when properly anchored) |
| Snow Load Capacity | Up to 20 inches |
| Assembly Required | Yes |
8. Warranty Information
Specific warranty details for your AECOJOY storage shed are typically provided with the product packaging or can be found on the official AECOJOY website. Please retain your proof of purchase for any warranty claims.
9. Customer Support
For further assistance, questions regarding assembly, parts, or troubleshooting, please contact AECOJOY customer support. Contact information can usually be found in your product packaging or on the AECOJOY official website.
AECOJOY is committed to providing responsive customer support before and after your purchase.


