
1. Introduction
The GEEKVAPE Z Nano MTL Tank is designed for Mouth-to-Lung (MTL) vaping, offering a pure and satisfying experience. It features a 4ml e-liquid capacity, a convenient top-fill system, and innovative top airflow technology for leak-proof assurance. This tank is compatible with GEEKVAPE B MTL Coils and various 510 connector mods.
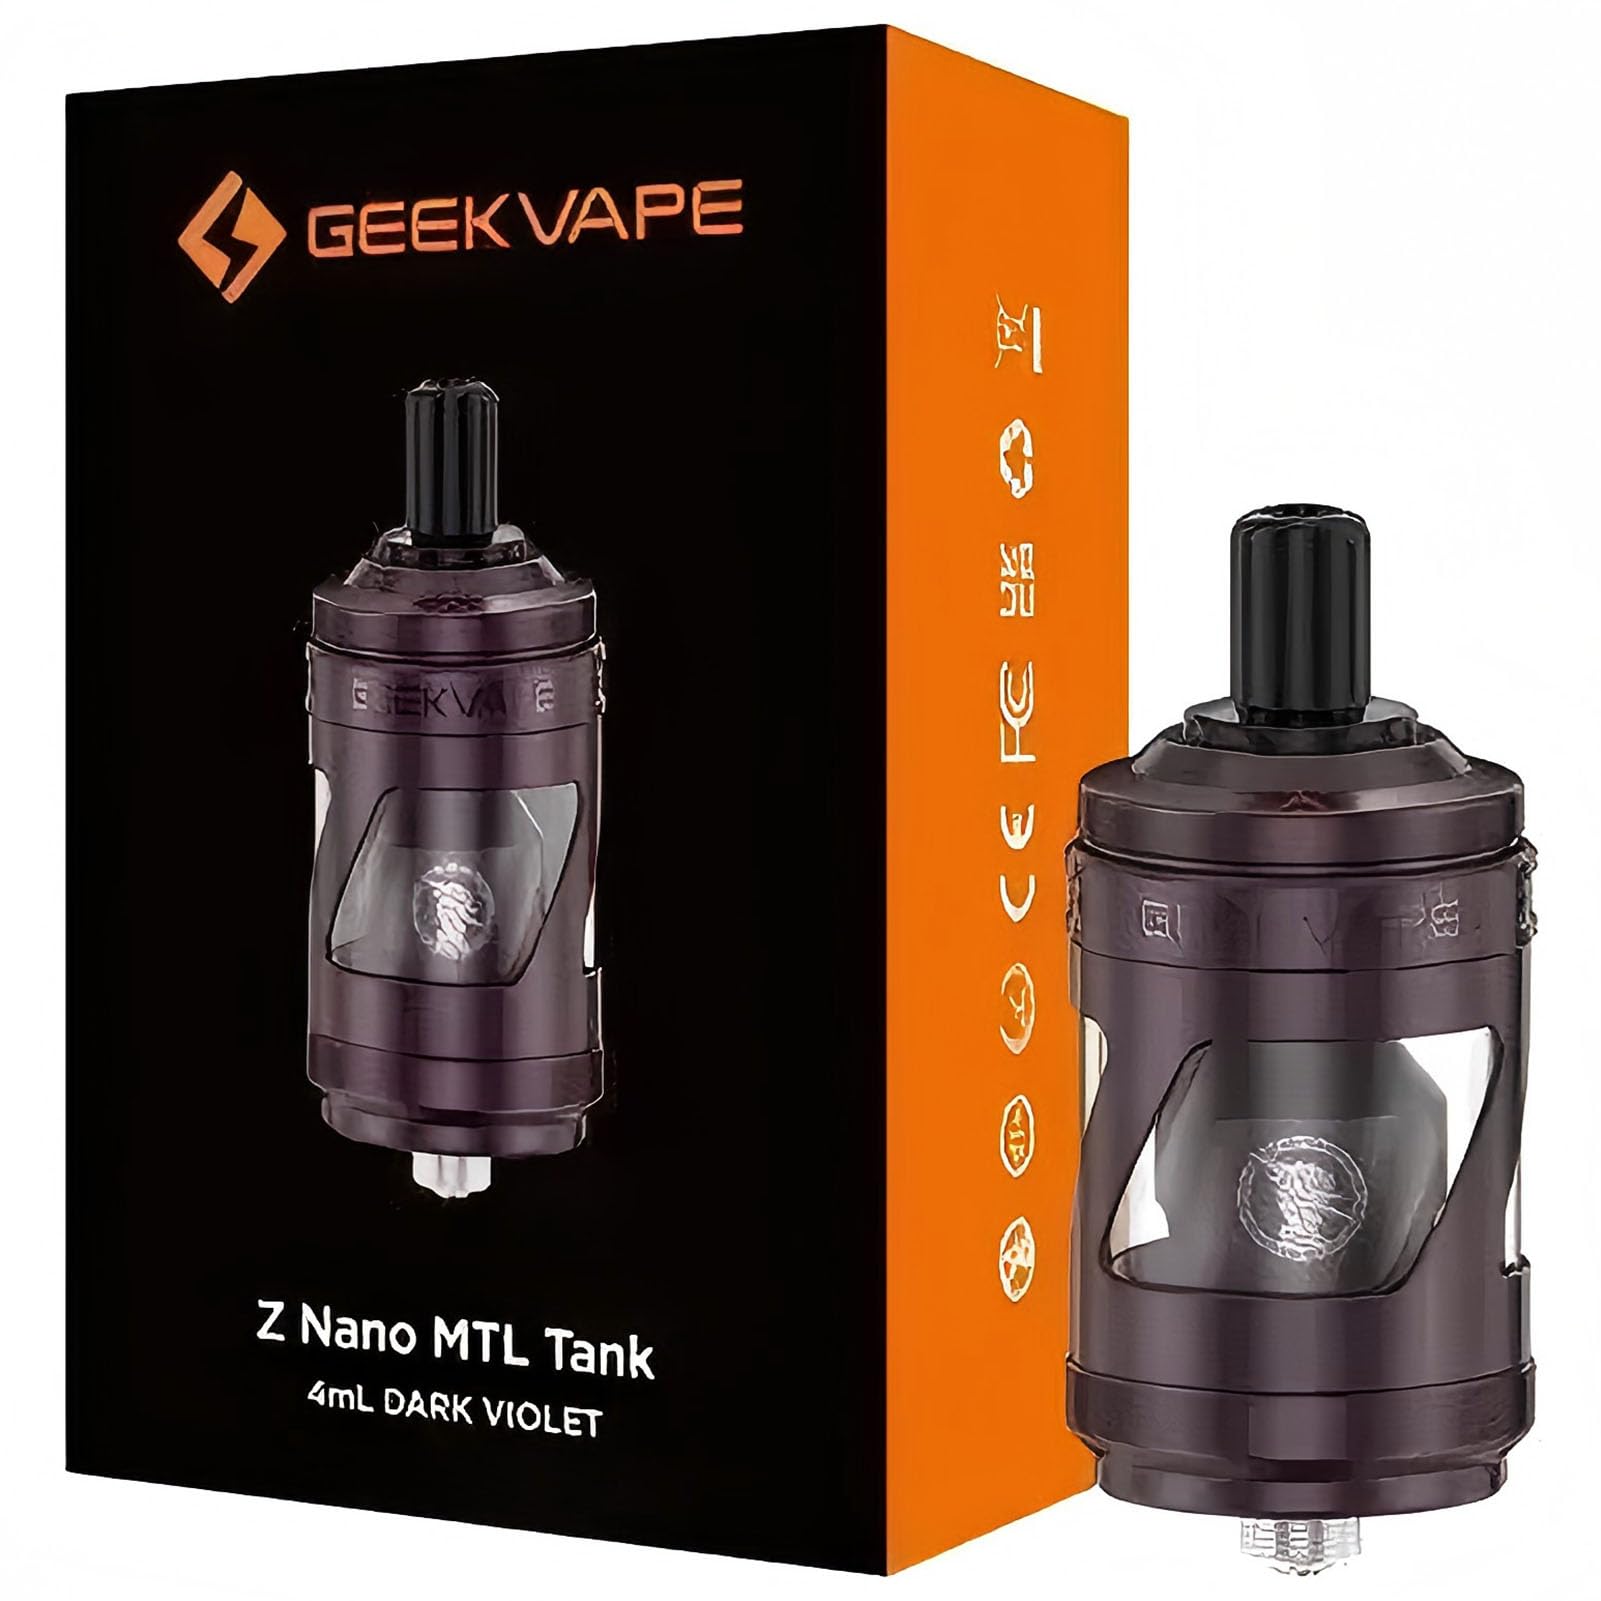
Image 1.1: GEEKVAPE Z Nano MTL Tank overview.
2. What's in the Box
Please check the contents of your package. If any items are missing or damaged, contact your retailer.
- 1 x GEEKVAPE Z Nano MTL Tank
- 1 x GEEKVAPE B MTL Coil 0.8Ω (Pre-installed or spare)
- 1 x GEEKVAPE B MTL Coil 1.2Ω (Spare)
- 1 x Spare Drip Tip
- 1 x Spare Glass Tube
- 1 x Coil Tool
- 1 x User Manual

Image 2.1: Diagram showing the tank's features and included items.
3. Setup
3.1. Tank Assembly and Coil Installation
Familiarize yourself with the tank's components before assembly.

Image 3.1: Exploded view of the tank components including drip tip, adjustable airflow control, B MTL coil, chamber, glass tube, outer cover, sealed base, and 510 connector.
- Unscrew the base of the tank.
- Insert a GEEKVAPE B MTL Coil into the designated slot in the base. Ensure it is firmly seated.
- Reattach the base to the tank, ensuring it is securely tightened.
- Choose your preferred drip tip (slim or classic) and insert it into the top cap.
3.2. E-liquid Filling
The Z Nano MTL Tank features an effortless top-fill system.

Image 3.2: Illustration of the top-fill mechanism, showing e-liquid being poured into the tank. Note the minimum refill line.
- Push the top cap to slide it open, revealing the fill port.
- Carefully fill the tank with your desired e-liquid through the fill port. Do not overfill; ensure the e-liquid level is above the minimum refill line for optimal flavor.
- Slide the top cap back into place until it clicks securely.
Important: After filling, allow the tank to stand for at least 5-10 minutes to ensure the coil is fully saturated with e-liquid. This prevents dry hits and extends coil life.
3.3. Mod Compatibility and Connection
The GEEKVAPE Z Nano MTL Tank uses a standard 510 connector, making it compatible with a wide range of mods.

Image 3.3: Examples of compatible 510 connector mods including GEEKVAPE T200, L200, S100, Z200, Solo 3, Legend 3, M100, and L200 Classic.
- Compatible with GEEKVAPE T200, GEEKVAPE L200, GEEKVAPE S100, GEEKVAPE Z200, GEEKVAPE SOLO 3, GEEKVAPE LEGEND 3, GEEKVAPE M100, GEEKVAPE L200 Classic, and other 510 connector mods.
- Screw the Z Nano MTL Tank onto your mod's 510 connector until snug. Do not overtighten.
- When using this tank with a 510 mod, adjust the output power according to the coil's resistance and recommended wattage range to avoid burning the coil.
4. Operating Instructions
4.1. Power Settings for B MTL Coils
The GEEKVAPE Z Nano MTL Tank is designed exclusively for GEEKVAPE B MTL Coils. Using other coil types may result in poor performance or damage.

Image 4.1: GEEKVAPE Z Nano MTL Tank shown with compatible B MTL Coils (0.8Ω and 1.2Ω) and their recommended wattage ranges.
- B MTL Coil 0.8Ω: Recommended wattage range is 12-16W.
- B MTL Coil 1.2Ω: Recommended wattage range is 8-12W.
Set your mod's wattage within the recommended range for the installed coil to ensure optimal flavor and coil longevity.
4.2. Airflow Adjustment
The Z Nano MTL Tank features adjustable top airflow. Rotate the airflow control ring located at the top of the tank to increase or decrease the airflow to your preference. A tighter airflow provides a more restricted Mouth-to-Lung draw, while a more open setting allows for a slightly looser draw.
4.3. Drip Tips for Customized Comfort
The tank comes with two drip tip options to customize your MTL experience.

Image 4.2: Two drip tip options: a spare slim MTL drip tip and a pre-installed classic MTL drip tip, offering customized comfort.
- Pre-Installed Classic MTL Drip Tip: Offers a standard MTL draw.
- Spare Slim MTL Drip Tip: Provides a tighter, more focused draw.
Simply pull out the installed drip tip and push in the alternative to switch between them.
5. Maintenance
5.1. Coil Replacement
Coils are consumable parts and need to be replaced regularly, typically every 1-2 weeks depending on usage and e-liquid type. Replace the coil if you notice a burnt taste, reduced vapor production, or diminished flavor.
- Ensure the tank is empty or has minimal e-liquid.
- Unscrew the base of the tank.
- Pull out the old coil from the base.
- Insert a new GEEKVAPE B MTL Coil, ensuring it is fully seated.
- Reassemble the tank and refill with e-liquid, remembering to prime the new coil as described in Section 3.2.
5.2. Cleaning the Tank
Regular cleaning helps maintain optimal performance and flavor. It is recommended to clean the tank when changing e-liquid flavors or when residue builds up.
- Disassemble the tank completely (remove drip tip, top cap, glass tube, coil, and base).
- Rinse all components (except the coil) under warm running water.
- For stubborn residue, use a mild dish soap and a soft brush.
- Thoroughly dry all components with a clean cloth or allow them to air dry completely before reassembly. Ensure no water remains in any crevices.
5.3. Replacing the Glass Tube
If the glass tube is cracked or broken, replace it immediately to prevent leaks and ensure safe operation.
- Disassemble the tank as if for cleaning.
- Carefully remove the broken glass tube. Dispose of broken glass safely.
- Install the spare glass tube, ensuring the O-rings are properly seated on both ends of the glass.
- Reassemble the tank.
6. Troubleshooting
-
Leaking:
- Ensure all components are securely tightened.
- Check that O-rings are intact and properly seated. Replace if damaged.
- Avoid overfilling the tank.
- Ensure the coil is correctly installed.
- Using e-liquids with a VG (Vegetable Glycerin) content higher than 50% may lead to wicking issues and potential leaks or difficult draws.

Image 6.1: Diagram illustrating the top airflow design for leak prevention.
-
Burnt Taste:
- Ensure the coil is properly primed before first use (allow 5-10 minutes for saturation).
- Check your mod's wattage setting. It should be within the recommended range for your coil (see Section 4.1).
- The coil may need replacement if it's old or heavily used.
- Ensure there is sufficient e-liquid in the tank.
-
No Vapor Production:
- Ensure the tank is securely connected to the mod.
- Check if the coil is correctly installed and making proper contact.
- Verify your mod is powered on and has sufficient battery charge.
- The coil may be faulty or need replacement.
-
Difficult Draw:
- Adjust the top airflow control ring to a more open setting.
- Ensure your e-liquid's VG content is not excessively high (e.g., above 50% VG for MTL coils). High VG e-liquids can be too thick for MTL coils, leading to restricted airflow and wicking issues.
7. Specifications
| Dimensions (L x W x H) | 26.8mm x 26.8mm x 60.99mm |
| E-liquid Capacity | 4ml |
| Filling Method | Top Fill |
| Coil Compatibility | GEEKVAPE B MTL Coils only |
| Coil Resistance (Included) | 0.8Ω (12-16W), 1.2Ω (8-12W) |
| Connector Type | 510 |
| Special Features | Adjustable Top Airflow, 2 Drip Tips (Slim & Classic), Push Top Fill |
8. Warranty and Support
For warranty information and customer support, please refer to the warranty card included in your product packaging or visit the official GEEKVAPE website. If you purchased this product from a retailer, please contact them directly for assistance with returns or defects.
This product does not contain nicotine or any tobacco-related liquids or refills. It is intended for use with nicotine-free e-liquids only.


