
1. Product Overview
The ELAMOR M19 Keyless Entry Door Lock provides secure and convenient access to your property. This system features a keypad for code entry, traditional backup keys, and an automatic locking function. It is designed for easy installation and is suitable for various door types.

Image: Overview of the ELAMOR M19 Keyless Entry Door Lock highlighting its main features.
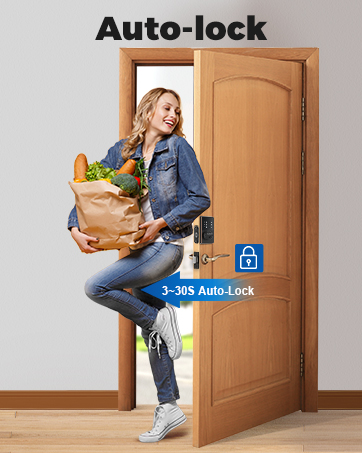
Image: Detailed view of the ELAMOR M19 Keypad Deadbolt and handle assembly.
2. Package Contents
Verify that all components are present before beginning installation.

Image: Visual representation of all included components in the ELAMOR M19 package.
- Keypad Assembly x1
- Interior Assembly x1
- Deadbolt Latch x1
- Deadbolt Strike Plate x1
- Exterior Lever x1
- Interior Lever x1
- Buckle Box x2
- Mechanical Keys x2
- Mounting Plate x1
- Washer x1
- 3/4'' (19mm) Strike/Latch Screws x4
- 1-5/32'' (33mm) Mounting Plate Screws x2
- 3/4'' (19mm) Interior Assembly Screws x2
- Square column transmission rod x1
- Wood Screws x4
- Plastic shell x1
- Machine screw x1
3. Setup and Installation
The ELAMOR M19 lock is designed for straightforward installation without needing to determine door swing direction. A single screwdriver is typically sufficient for the process.

Image: A person installing the ELAMOR M19 lock using a screwdriver, demonstrating ease of installation.
3.1 Door Compatibility
Ensure your door meets the following specifications for proper installation:
- Backset: 2-3/8" or 2-3/4" (60-70mm)
- Hole in door edge: 1" (25mm)
- Door thickness: 1-3/8" to 2" (35mm to 50mm)
- Hole diameters in door: 2-1/8" (54mm)

Image: Diagram illustrating the required door dimensions for ELAMOR M19 installation.
3.2 Initial Programming (Master Code)
It is recommended to program the master code and any initial user codes before fully installing the lock on the door. This allows for easier access to the battery compartment and programming button.
- Install batteries into the interior assembly.
- Locate the programming button (often labeled "SET" or "PROG") on the interior assembly.
- Follow the specific instructions in the included printed manual for setting the Master Code. The Master Code is essential for managing all other user codes and lock settings.
4. Operating Instructions
4.1 Keyless Entry with User Codes
The ELAMOR M19 supports up to 50 user codes for convenient keyless access.
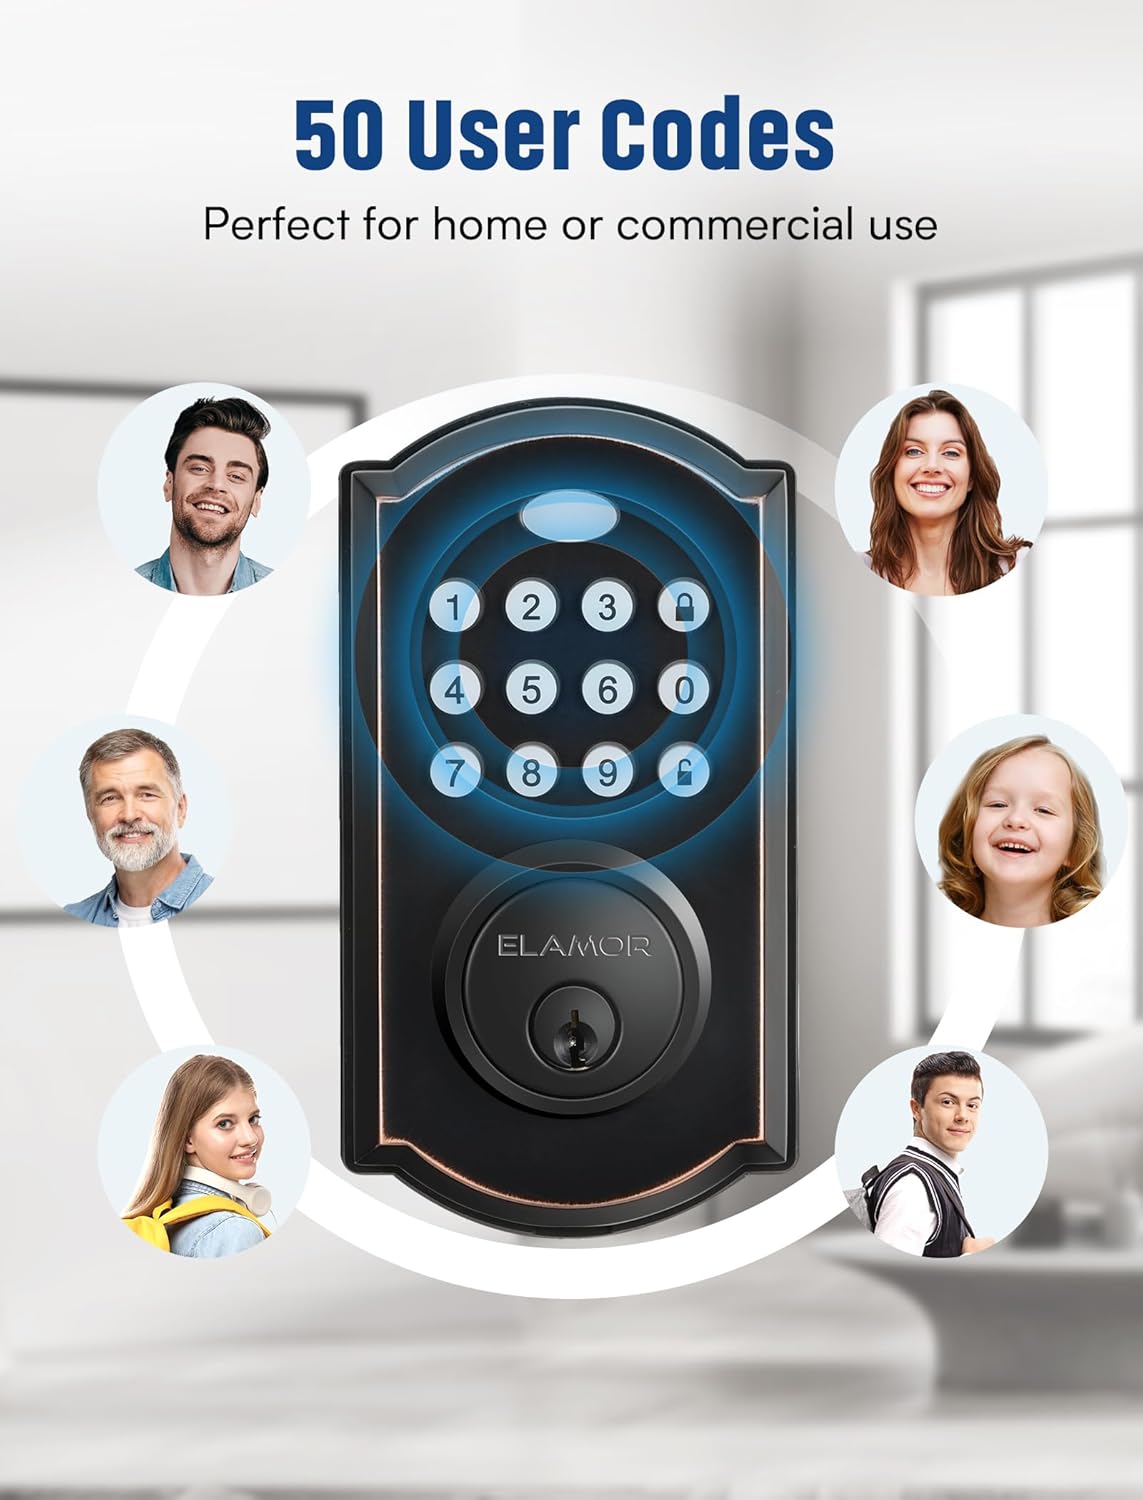
Image: The ELAMOR M19 keypad illustrating its multi-user code capability.
- Enter your programmed user code (4 to 9 digits).
- Press the Lock button (or equivalent symbol, usually a padlock icon).
- The lock will unlock, allowing you to open the door.
4.2 Automatic Locking Function
The lock can be configured to automatically re-lock after a set period (3-30 seconds) once the door is closed. This feature enhances security and convenience.
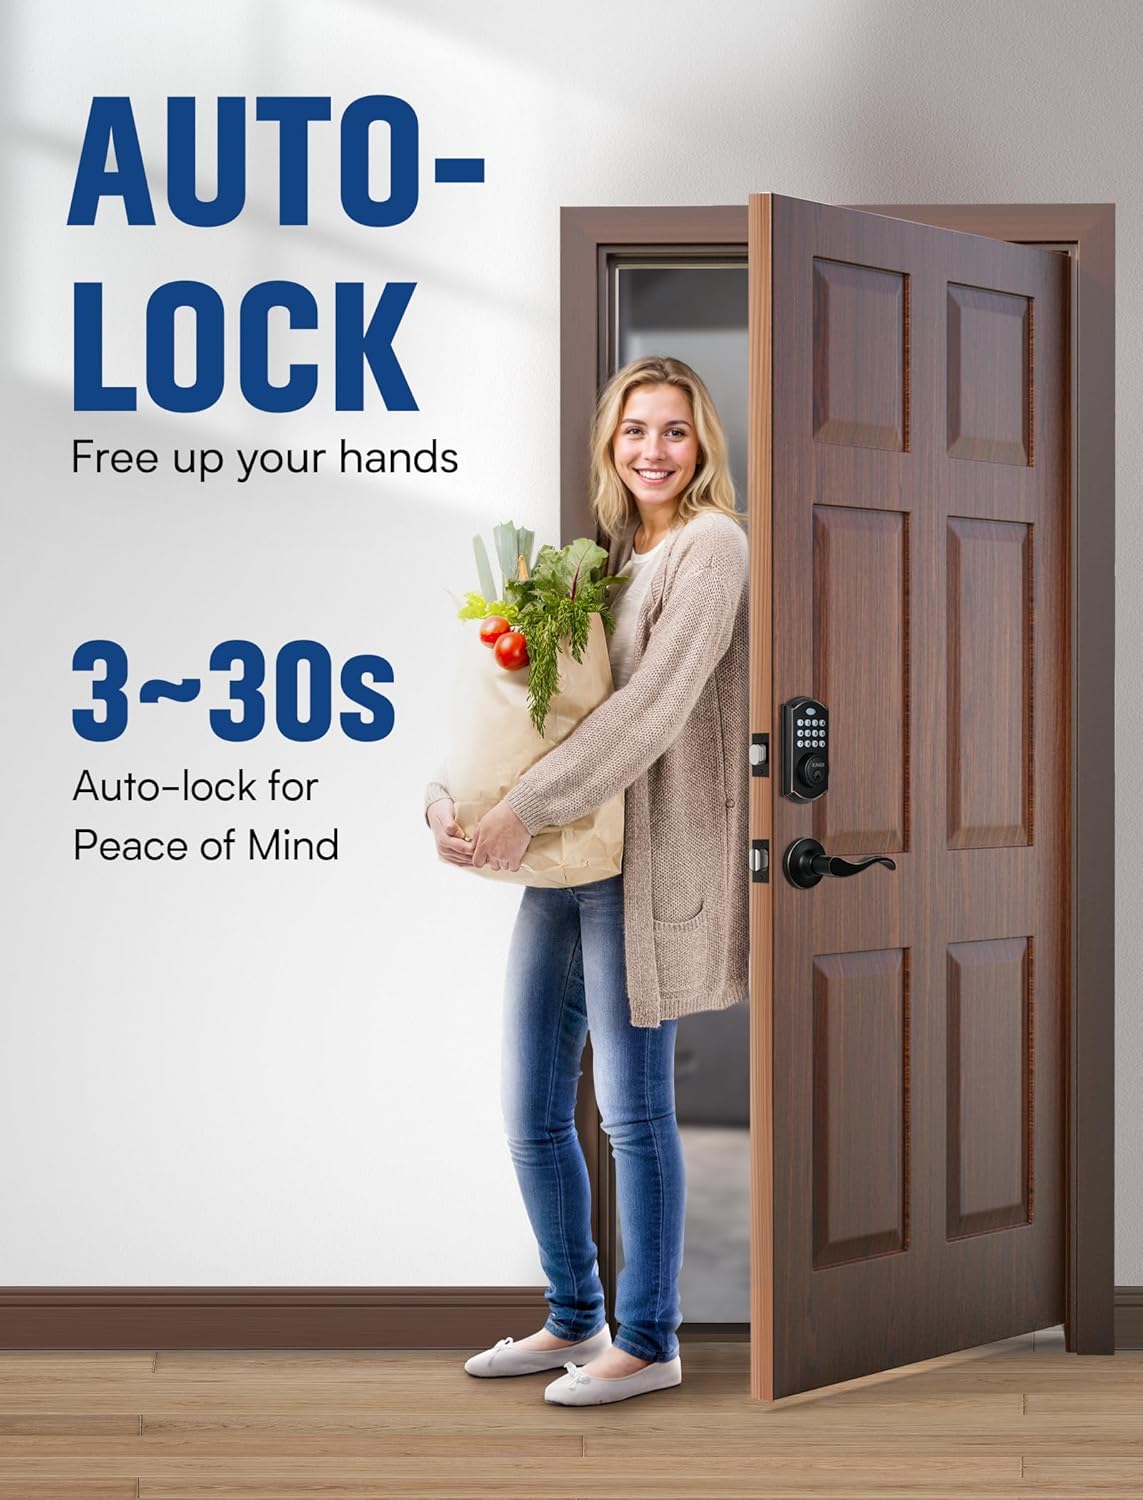
Image: A woman entering her home with groceries, demonstrating the convenience of the auto-lock feature.
4.3 Backup Key Usage
Two physical backup keys are provided for manual unlocking in case of battery depletion or forgotten codes.
Video: Demonstration of using the backup key to unlock the ELAMOR M19 Keyless Entry Door Lock.
4.4 Illuminated Keypad
The keypad features illumination for easy visibility and operation in low-light conditions.

Image: The ELAMOR M19 keypad with its illuminated numbers, visible in a dark environment.
4.5 Adding and Deleting User Codes
Refer to the detailed programming instructions in your printed manual for adding new user codes or deleting existing ones. This process typically involves using the Master Code and the programming button.
Video: Tutorial on how to operate the ELAMOR Keyless Entry Door Lock, including code management.
5. Maintenance
5.1 Battery Replacement
The lock is powered by batteries. When the battery level is low, the lock will provide an alert. Replace batteries promptly to ensure continuous operation. Avoid using rechargeable batteries as they may have lower voltage and shorter lifespan in this device.
Video: Solutions for battery-related issues with the ELAMOR M19 Smart Lock, including replacement guidance.
5.2 Durability and Environmental Conditions
The ELAMOR M19 lock features IP54 waterproofing, making it resistant to dust and splashes of water. It is designed to operate reliably in extreme temperatures ranging from -22°F to 131°F.

Image: Features of the ELAMOR M19 lock emphasizing its high durability, including IP54 waterproofing and wide temperature operating range.
6. Troubleshooting
If you encounter issues with your ELAMOR M19 lock, refer to the following common solutions:
- Keypad not responding or indicator not lighting up: This often indicates low or depleted batteries. Replace all batteries with new, non-rechargeable alkaline batteries.
- Auto-lock not engaging: Ensure the deadbolt is perfectly aligned with the strike plate. Misalignment can prevent the lock from extending fully. Adjust the strike plate if necessary.
- Lockout after multiple incorrect code attempts: The lock will automatically secure for 90 seconds after 5 failed code entries. Wait for the lockout period to expire before attempting to enter a code again.
- Forgotten user code: Use the Master Code to add or delete user codes. If the Master Code is forgotten, you may need to perform a factory reset (refer to the detailed manual for specific steps, as this will erase all programmed codes).
Video: Troubleshooting guide for battery-related issues and general lock functionality.
7. Specifications
| Feature | Detail |
|---|---|
| Brand | ELAMOR |
| Model Number | M19 SET |
| Material | Zinc |
| Color | Oil Rubbed Bronze |
| Style | Digital Lock with Handle |
| Exterior Finish | Bronze |
| Lock Type | Keypad Lock |
| User Codes | Up to 50 |
| Auto-Lock | Adjustable 3-30 seconds |
| Waterproofing | IP54 |
| Temperature Range | -22°F to 131°F |
| Hand Orientation | Ambidextrous |
8. Warranty and Support
ELAMOR is committed to providing reliable products and customer service.
- Replacement: Available within 12 months of purchase.
- Service & Support: Lifetime service and technical support are provided.
- Response Time: Customer inquiries are typically replied to within 24 hours.
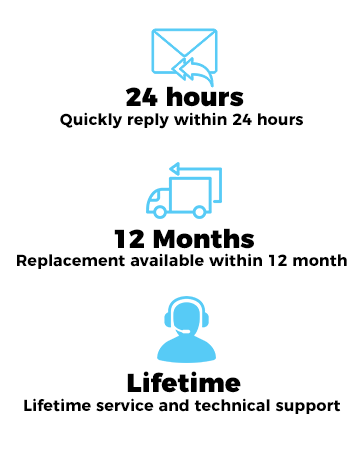
Image: ELAMOR customer support details, including response time, replacement policy, and technical support availability.
For further assistance, please visit the official ELAMOR store or contact customer support through your purchase platform.
ELAMOR Store: ELAMOR Official Store


