Introduction
The Magicshine EVO 1100 is a high-power LED bicycle headlight designed for optimal visibility and safety. It features a cut-off line beam to prevent glare for oncoming traffic, USB-C recharging, and a memory function for convenience. This manual provides detailed instructions for its use and maintenance.
Key Features
- High-power LED with a maximum output of 1100 lumens.
- Cut-off line beam, designed to be glare-free for oncoming road users.
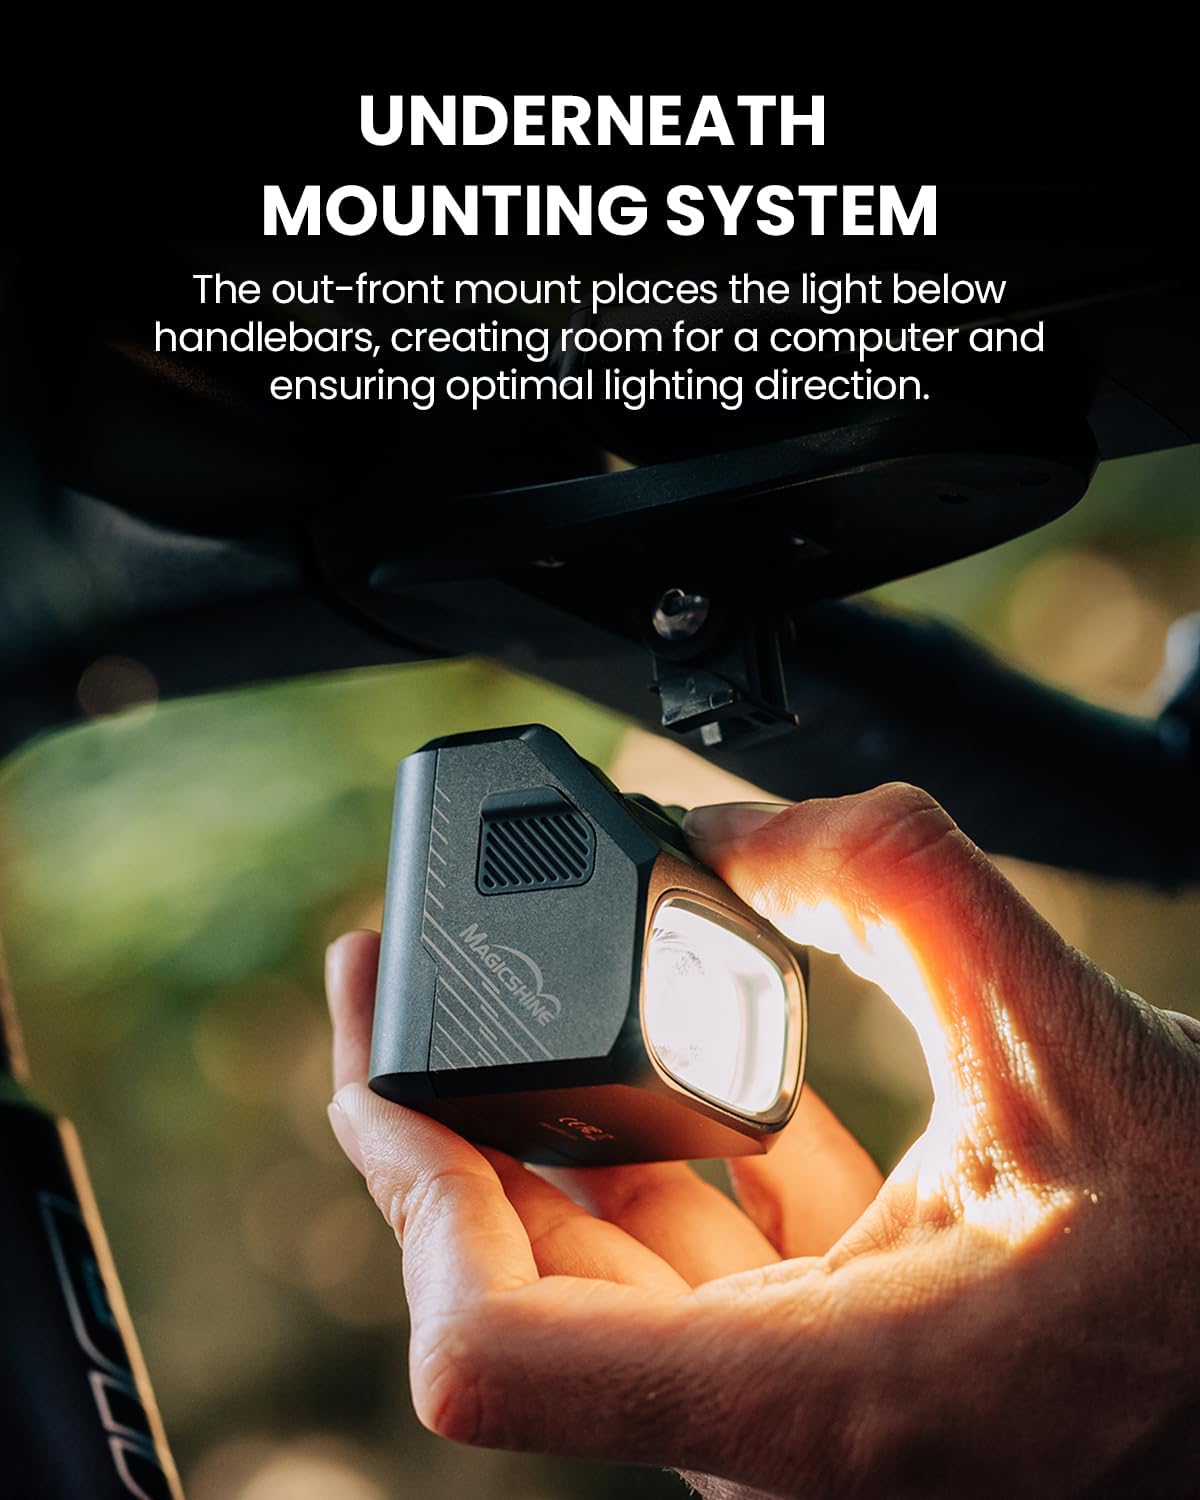
- Lightweight out-front mount for underneath handlebar installation.
- Customizable lighting settings via the Magicshine App.
- Wireless remote control for easy mode changes and maximum output activation.
- Robust aluminum housing for efficient heat management and durability.
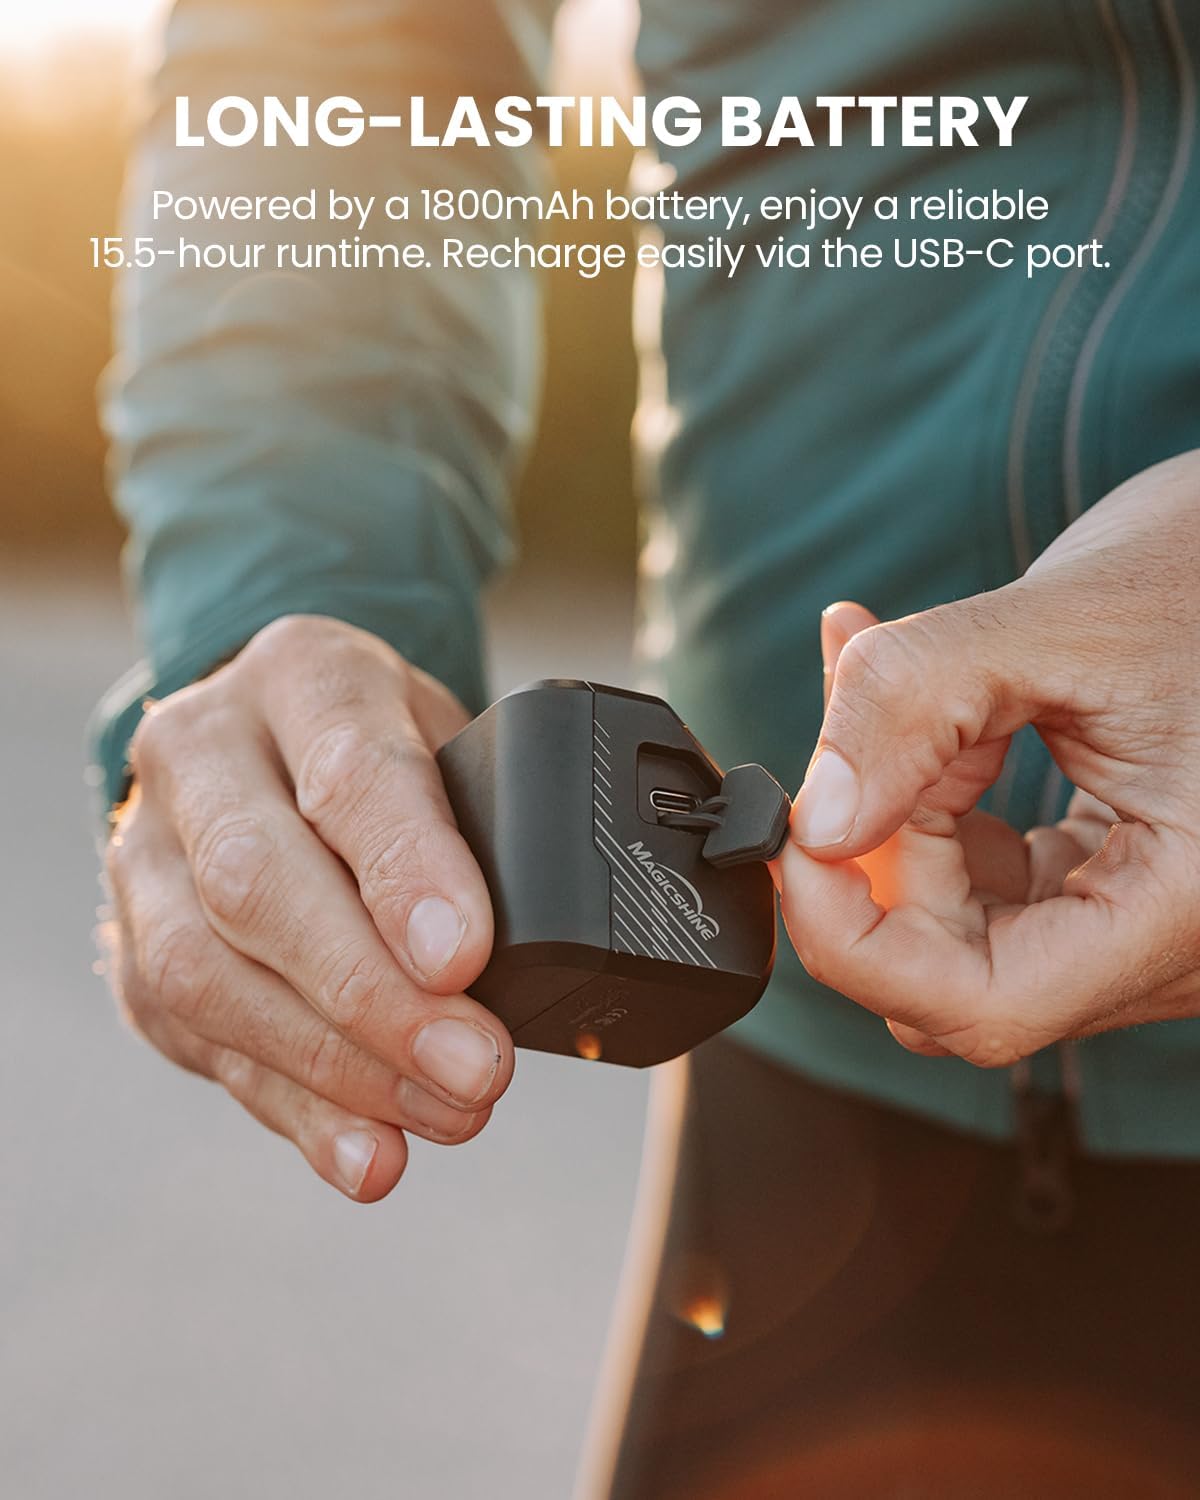
- Powered by an 1800mAh battery for extended runtime.
- Lock function to prevent accidental operation.
- Memory function to save the last selected mode.
- IPX6 waterproof rating for adverse weather conditions.
What's in the Box
Please verify all components are present upon unboxing.
- EVO 1100 Light Unit
- Handlebar Out-Front Mount
- MJ-6508 Wireless Remote Control (incl. strap)
- Nylon Shims (28mm/32mm/35mm) x 3
- Screw x 1
- 2mm/3mm Hex Keys x 2
- Wahoo Mount
- USB-C Charging Cable
- Tether
- User Manual

Setup
Initial Charging
Before first use, fully charge the EVO 1100 light using the provided USB-C charging cable. The standard charging time is approximately 3 hours.
During charging, the indicator light will flash red. Once fully charged, the indicator will turn to a constant green.
Light Installation
The EVO 1100 features an underneath mounting system.
- Select the appropriate nylon shim (28mm, 32mm, or 35mm) that fits your handlebar size.
- Place the selected nylon shim into the out-front mount.
- Open the out-front mount's fixing arm to bypass the handlebar.
- Position the mount on your handlebar and tighten the screw using the 3mm hex key.
- Install the GoPro adapter onto the out-front mount and secure it with the provided screw.
- Align the EVO 1100 light with the GoPro adapter's track position and push it forward until it clicks securely into place.
- To adjust the lighting angle, loosen the fixing screws on the GoPro adapter and the out-front mount, adjust, and re-tighten.
- To remove the light, press the quick release button and slide the light backward.
Remote Control Installation
The MJ-6508 wireless remote control allows for convenient operation.
- Before first use, open the remote's battery compartment, remove the insulating spacer, reinsert the battery, and then cover the compartment. The indicator on the remote will flash blue.
- Turn on the EVO 1100 light.
- To pair the remote, press and hold both the "circle" and "square" buttons on the remote for approximately 10 seconds until the indicator alternately flashes blue.
- Place the remote close to the light's power button. The indicators on both the remote and the light unit will turn constantly blue for 2 seconds, confirming successful pairing.
- To install the remote on your handlebars, place the back of the remote against the handlebars.
- Use the provided strap to fix the remote control, wrapping the strap around the handlebars and securing it on the other side.

Operating Instructions
Light Switch Operation
The main power button on the light unit controls basic functions.
- Power On/Off: Press and hold the power button for 1 second to turn the light on or off.
- Brightness Adjustment (Constant Mode): When the light is in constant mode, click the power button to cycle through brightness levels: Low (250 lumens), Medium (550 lumens), High (1100 lumens).
Wireless Remote Control Operation
Once paired, the remote control offers convenient access to light functions.
- Power On/Off: Press and hold the "circle" or "square" button for 1 second to turn the light on or off.
- Brightness Adjustment: Click the "circle" button to adjust the brightness level in constant mode.
- Flash Mode: Double-click the "square" button to switch to flash mode.
- Full Output Mode: Click the "square" button to activate full output mode. Click the "circle" or "square" button again to return to the previous mode.
App Customization
The Magicshine App allows for advanced customization of your light settings.
- Open the Magicshine App on your smartphone.
- Choose your EVO 1100 light and click "Add" to connect.
- Enter the customized interface.
- Click "Add" to create new lighting modes. You can choose from "Always On", "SOS", "Blinking", and "Warning" modes.
- Adjust the brightness level for each mode from 1% to 100%.
- Up to 20 customized modes are supported.
- Deleting all customized modes in the app will reset the light to its factory default mode.

Battery Level Indicator
To check the battery level when the light is off, click the power button. The indicator will display the remaining battery level for three seconds.
- Green: 100% - 21%
- Red: 20% - 11%
- Flashing Red: 10% - 1%

Lock and Unlock Function
The lock function prevents accidental activation of the light.
- To Lock: When the light is off, press and hold the power button for 3 seconds to enter lockout mode. The indicator will flash red.
- To Unlock: To unlock the light, press and hold the power button again for 3 seconds. The light will turn on, indicating it is unlocked. Alternatively, connecting the light to a charger will also unlock it.
Specifications
| Feature | Detail |
|---|---|
| Color | Black |
| Brand | Magicshine |
| Material | Aluminum |
| Power Source | Battery Powered |
| Water Resistance Level | IPX6 Waterproof |
| Item Weight | 0.27 Kilograms |
| Mounting Type | Handlebar Mount |
| Number of Settings | 1 (Customizable via App) |
| Light Output Maximum | 1100 Lumens |
| Auto Part Position | Front Lower |
| Manufacturer | MagicShine |
Maintenance
General Care
- Keep the light clean and free from dirt and debris. Use a soft, damp cloth to wipe the exterior.
- Avoid exposing the light to extreme temperatures for prolonged periods.
- Store the light in a cool, dry place when not in use.
- Regularly check the mounting screws for tightness to ensure secure attachment.
Battery Care
- For optimal battery life, charge the light regularly, even if not used frequently.
- Avoid completely draining the battery before recharging.
- If storing for an extended period, charge the battery to approximately 50-70% and recharge every few months.
Troubleshooting
Light Not Turning On
- Ensure the battery is charged. Connect to a USB-C charger and check the indicator light.
- Check if the light is in lockout mode. Press and hold the power button for 3 seconds to unlock.
- If using the remote, ensure it is paired correctly. Follow the remote pairing instructions.
Remote Control Not Working
- Check the remote control's battery. Ensure the insulating spacer has been removed and the battery is correctly inserted.
- Re-pair the remote control with the light unit as per the "Remote Control Installation" section.
- Ensure the remote is within effective range of the light.
Light Not Holding Charge
- Verify the USB-C cable and charging adapter are functioning correctly. Try a different cable or adapter.
- Ensure the USB-C port on the light is clean and free of debris.
- If the issue persists, the battery may need servicing. Refer to the Warranty and Support section.
Condensation Inside Lens
- While the light is IPX6 waterproof, extreme temperature changes can sometimes cause minor condensation. Allow the light to dry naturally in a warm, dry environment.
- If significant water ingress or persistent condensation occurs, contact customer support.
Warranty
The Magicshine EVO 1100 comes with a 24-month warranty. Please retain your proof of purchase for warranty claims.
Support
For further assistance, technical support, or warranty inquiries, please contact Magicshine customer service.
Email: amazon@magicshine.com
You can also download the Magicshine App for additional features and settings: