
1. Introduction
Thank you for purchasing the NORTHCLAN Dual-Size Countertop Ice Maker. This appliance is designed to produce bullet-shaped ice quickly and efficiently for your home, kitchen, office, or party needs. Please read this manual thoroughly before operating your new ice maker to ensure safe and optimal performance. Keep this manual for future reference.
2. Important Safety Instructions
WARNING: To reduce the risk of fire, electric shock, or injury, follow these basic precautions:
- Read all instructions before using the appliance.
- Do not touch the evaporator when the unit is in use or during the ice-making process.
- Do not immerse the power cord, plug, or any part of the appliance in water or other liquids.
- Close supervision is necessary when any appliance is used by or near children.
- Unplug the appliance from the outlet when not in use, before cleaning, and before servicing.
- Do not operate any appliance with a damaged cord or plug, or after the appliance malfunctions or has been damaged in any manner. Contact customer service for examination, repair, or adjustment.
- Do not use outdoors.
- Do not place on or near a hot gas or electric burner, or in a heated oven.
- Do not use the appliance for other than its intended use.
- Ensure the appliance is placed on a stable, level surface.
- Allow at least 4 inches of clearance around the appliance for proper ventilation.
- Only fill with potable water.
3. Package Contents
Upon unpacking, please ensure all items listed below are present and in good condition:
- NORTHCLAN Dual-Size Countertop Ice Maker
- Ice basket
- Ice scoop
- User manual (this document)
4. Product Overview
The NORTHCLAN Ice Maker is designed for convenience and efficiency, featuring a stainless steel exterior and user-friendly controls.

Figure 4.1: Main Unit and Accessories. This image displays the NORTHCLAN Dual-Size Countertop Ice Maker in its entirety, showcasing its sleek stainless steel finish, transparent lid, and control panel. An ice scoop and a basket filled with bullet ice are positioned next to the machine, illustrating the included accessories and the type of ice produced.
Key Features:
- One-Touch Control Panel: Simplifies operation with intuitive buttons.
- Transparent Lid: Allows monitoring of the ice-making process without opening the lid.
- Built-In Infrared Sensor: Automatically stops ice production when the ice basket is full or when the water level is low, preventing overflow or damage.
- Indicator Light: Provides visual notifications for full ice basket or low water conditions.
- Removable Ice Basket & Scoop: Facilitates convenient transfer and serving of ice.
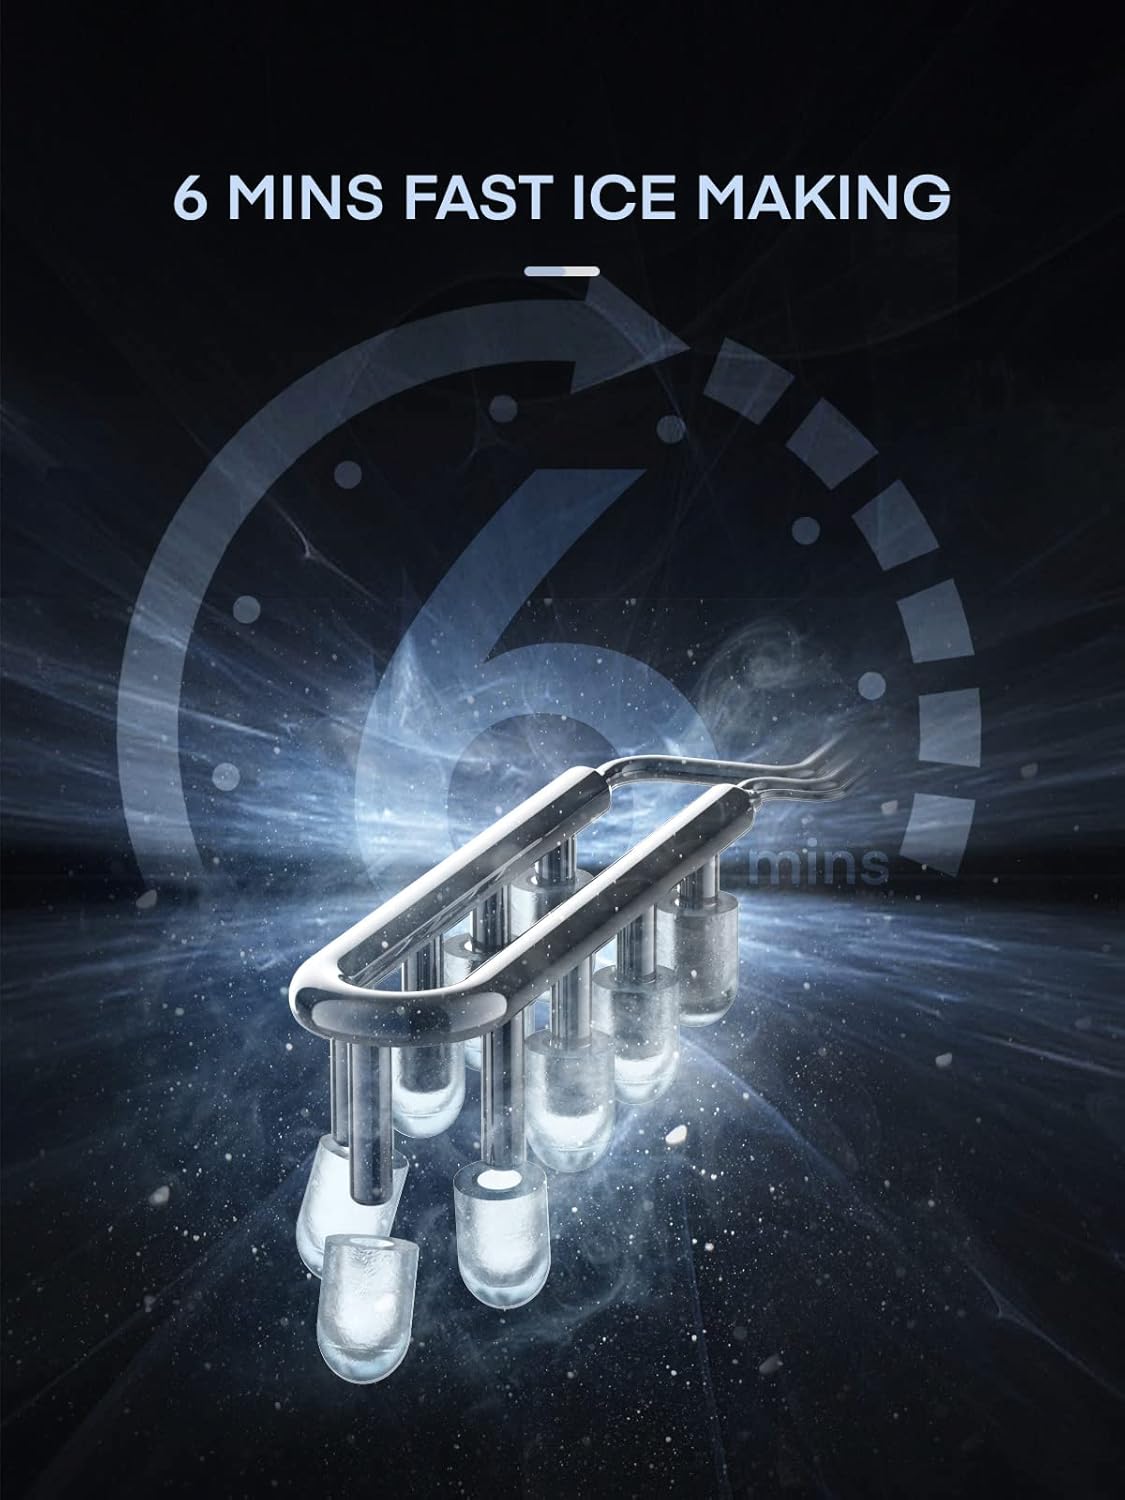
Figure 4.2: Fast Ice Production. This graphic illustrates the ice maker's capability to produce its first batch of ice in approximately 6 minutes. The image shows a stylized representation of ice being formed rapidly, emphasizing the speed of the ice-making cycle.

Figure 4.3: Dual Ice Size Options. This image highlights the ice maker's ability to produce two different sizes of bullet ice. It visually compares a smaller 'S' size (0.8 inch / 2.03 cm) suitable for juice or soda, and a larger 'L' size (1.3 inch / 3.3 cm) ideal for whisky or seafood, demonstrating versatility for various uses.

Figure 4.4: Quiet Operation. This graphic emphasizes the low noise level of the ice maker, rated at approximately 35dB. It visually compares this sound level to common household noises like a dishwasher (50dB) or other ice makers (45dB), and even whispers (20-30dB), indicating a quiet user experience.

Figure 4.5: Internal Construction. This exploded view diagram illustrates the layered construction of the ice maker. It highlights the exterior made of premium stainless steel, a middle high-density ternary foaming layer for insulation, and an interior made of food-grade PP material, emphasizing durability and safety.

Figure 4.6: Compact Dimensions. This image provides a visual representation of the ice maker's dimensions, showing its compact size suitable for countertops. Measurements are indicated as approximately 22cm (8.66in) in width, 29cm (11.41in) in depth, and 30cm (11.81in) in height, with an A4 paper for scale reference.
5. Setup
- Unpack the Appliance: Carefully remove the ice maker from its packaging. Remove all packing materials, tape, and any protective film.
- Placement: Place the ice maker on a flat, stable, and level surface away from direct sunlight and other heat sources (e.g., stove, furnace, radiator). Ensure there is at least 4 inches (10 cm) of space around the unit for proper ventilation.
- Initial Cleaning: Before first use, clean the interior of the ice maker. Refer to the "Cleaning and Maintenance" section for detailed instructions.
- Power Connection: Plug the power cord into a grounded electrical outlet. Ensure the voltage matches the specifications of the appliance (110 Volts).
- First Use Recommendation: For optimal performance, it is recommended to let the unit stand upright for at least 2 hours before plugging it in, especially if it was transported horizontally. Discard the first 2-3 batches of ice to ensure cleanliness.
6. Operating Instructions
- Add Water: Open the transparent lid and fill the water reservoir with potable water up to the "MAX" fill line. Do not overfill.
- Select Ice Size: Press the "SELECT" button on the control panel to choose between small (S) or large (L) bullet ice. The corresponding indicator light will illuminate.
- Start Ice Making: Press the "POWER" button to start the ice-making cycle. The "ICE" indicator light will turn on. The first batch of ice will be ready in approximately 6-10 minutes, depending on the selected size and ambient temperature.
- Monitor Ice Production: The transparent lid allows you to observe the ice-making process. The infrared sensor will detect when the ice basket is full, and the "ICE FULL" indicator will light up, pausing production.
- Low Water Indicator: If the water level in the reservoir is too low, the "ADD WATER" indicator will light up, and the ice maker will pause operation. Add more water and press "POWER" to resume.
- Collect Ice: Once ice is produced, use the provided ice scoop to transfer ice from the basket. For best results, transfer ice to a freezer for storage as the ice maker is not a freezer and will not keep ice frozen for extended periods.
- Stop Operation: To stop the ice maker at any time, press the "POWER" button.
7. Cleaning and Maintenance
Regular cleaning and maintenance will ensure the longevity and optimal performance of your ice maker.
7.1 Self-Cleaning Function
The NORTHCLAN Ice Maker features a self-cleaning function:
- Ensure the ice maker is empty of ice and water.
- Fill the water reservoir with clean water up to the MAX line. You may add a small amount of white vinegar or a mild cleaning solution suitable for food appliances (follow product instructions).
- Press and hold the "CLEAN" button (or indicated self-clean button) for a few seconds to activate the self-cleaning cycle. The unit will circulate water and clean its internal components.
- Once the cycle is complete (usually indicated by a light or automatic shut-off), drain the water by removing the drain plug located at the bottom or back of the unit.
- Rinse the reservoir with fresh water and drain again to remove any cleaning solution residue.
7.2 Manual Cleaning
- Exterior: Wipe the exterior with a soft, damp cloth. Do not use abrasive cleaners or solvents.
- Interior: For a more thorough clean, unplug the unit. Remove the ice basket. Clean the water reservoir and ice-making components with a soft cloth and a mild detergent solution. Rinse thoroughly with clean water.
- Drainage: Regularly drain any remaining water from the reservoir when the unit is not in use for an extended period.
- Air Filter (if applicable): Some models may have an air filter. Refer to specific model instructions for cleaning or replacement.
8. Troubleshooting
If you encounter issues with your ice maker, please refer to the following common problems and solutions:
| Problem | Possible Cause | Solution |
|---|---|---|
| Ice maker not working | No power; unit not plugged in; power outage. | Check power cord connection; ensure outlet is functional; check circuit breaker. |
| "ADD WATER" indicator is on | Water reservoir is empty or water level is too low. | Fill the water reservoir with potable water up to the MAX line. Press POWER to resume. |
| "ICE FULL" indicator is on | Ice basket is full; ice is blocking the sensor. | Remove ice from the basket. Ensure ice is not piled up, blocking the infrared sensor. |
| Ice production is slow or ice is small/soft | High ambient temperature; water temperature too warm; insufficient ventilation. | Place the unit in a cooler environment; use colder water; ensure adequate clearance around the unit for ventilation. |
| Unusual noise during operation | Normal compressor noise; unit not level; internal component issue. | Ensure the unit is on a level surface. If noise is excessive or unusual, contact customer support. |
If the problem persists after trying these solutions, please contact customer support.
9. Specifications
| Feature | Detail |
|---|---|
| Brand | NORTHCLAN |
| Model Name | Ice Maker Machine |
| Product Dimensions (D x W x H) | 12.59" x 7.87" x 13.7" (32cm x 20cm x 34.8cm) |
| Capacity | 2 Liters (water reservoir) |
| Voltage | 110 Volts |
| Ice Production | Up to 30 lbs (13.6 kg) in 24 hours |
| Ice Shape | Bullet Ice (2 sizes) |
| First Ice Cycle | Approx. 6 minutes |
| Material | Stainless Steel (exterior), Food-grade PP (interior) |
10. Warranty and Customer Support
NORTHCLAN products are manufactured to the highest quality standards. For warranty information, please refer to the warranty card included with your purchase or contact NORTHCLAN customer support directly.
If you have any questions, require technical assistance, or need to report a problem, please contact our customer support team. Please have your product model name and purchase information ready when contacting support.
Contact information for customer support is typically found on the product packaging, warranty card, or the official NORTHCLAN website.