1. Introduction
This manual provides comprehensive instructions for the MiBOXER C1 Color Temperature Remote 2.4G. This device is designed for intuitive control over color temperature (CCT) and brightness of compatible MiBOXER lighting products. Please read this manual thoroughly before use to ensure proper operation and to maximize the product's lifespan.

Image 1.1: Front view of the MiBOXER C1 Color Temperature Remote.
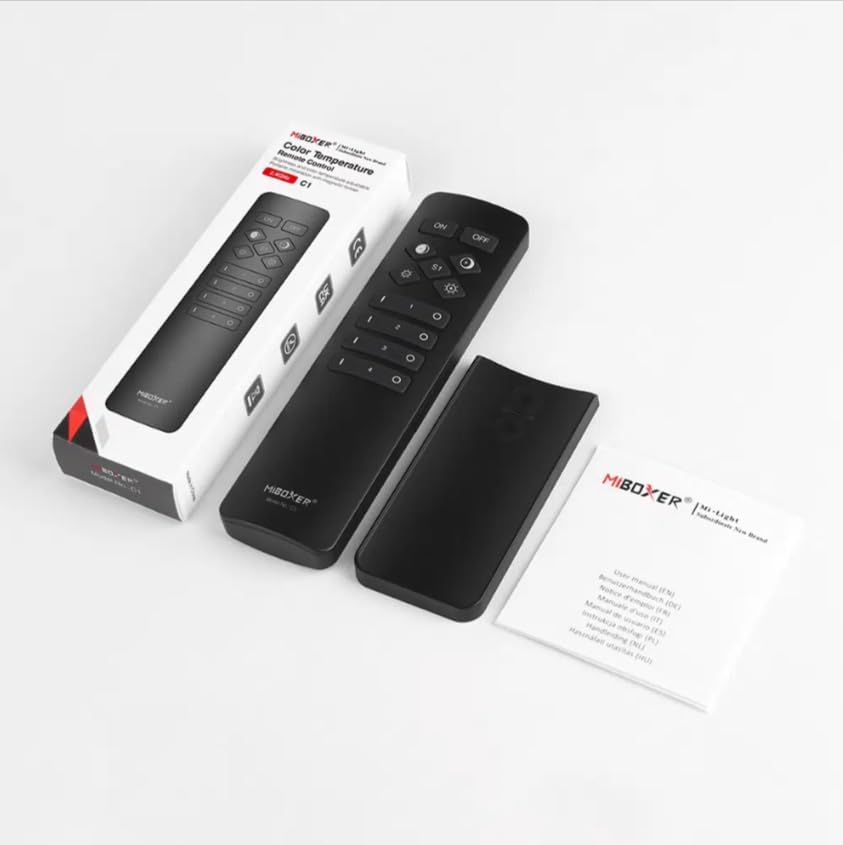
Image 1.2: MiBOXER C1 Remote, its packaging, and included user manual.
Key Features:
- Color Temperature Control: Adjust CCT for optimal lighting warmth.
- 2.4GHz Wireless Technology: Reliable, long-range connectivity.
- User-Friendly Design: Simple, intuitive interface for easy adjustments.
- Compact and Ergonomic: Comfortable and portable for daily use.
- Versatile Compatibility: Works with various MiBOXER lighting products.
2. Setup
2.1 Battery Installation
- Locate the battery compartment cover on the back of the remote control.
- Slide or gently pry open the cover.
- Insert two AAA batteries, ensuring correct polarity (+ and - terminals).
- Replace the battery compartment cover until it clicks securely into place.
2.2 Linking the Remote to Lighting Devices
The C1 remote uses 2.4GHz wireless technology to communicate with compatible MiBOXER lighting devices. Follow these steps to link the remote:
- Ensure the lighting device you wish to control is powered off.
- Power on the lighting device. Within 3 seconds of powering on, press the "ON" button for the desired zone (1-4) on the C1 remote three times.
- The lighting device should flash three times, indicating successful linking.
- If the linking fails, power off the lighting device and repeat the process.
2.3 Unlinking the Remote from Lighting Devices
To unlink a lighting device from a specific zone on the C1 remote:
- Ensure the lighting device you wish to unlink is powered off.
- Power on the lighting device. Within 3 seconds of powering on, press the "ON" button for the desired zone (1-4) on the C1 remote five times.
- The lighting device should flash ten times, indicating successful unlinking.
3. Operating Instructions
Familiarize yourself with the button layout and functions of your MiBOXER C1 remote:

Image 3.1: Detailed button description for the MiBOXER C1 Remote.
3.1 Button Functions
- ON: Turns all linked lights ON.
- OFF: Turns all linked lights OFF.
- Warmer white (left diamond button): Increases the color temperature towards warmer tones.
- Cooler white (right diamond button): Increases the color temperature towards cooler tones.
- Brightness - (left gear button): Decreases the brightness level.
- Brightness + (right gear button): Increases the brightness level.
- S1 (Scene button): Activates a pre-set scene or mode (functionality may vary with specific lighting devices).
- Zone 1-4 ON (I): Turns ON lights linked to the specific zone. Also used for linking/unlinking.
- Zone 1-4 OFF (O): Turns OFF lights linked to the specific zone.
3.2 Adjusting Color Temperature and Brightness
- Select Zone: Press the "I" button for the desired zone (1-4) to select it. To control all linked lights, ensure no specific zone is selected or press the main "ON" button.
- Adjust Color Temperature: Use the "Warmer white" (left diamond) and "Cooler white" (right diamond) buttons to fine-tune the color temperature.
- Adjust Brightness: Use the "Brightness -" (left gear) and "Brightness +" (right gear) buttons to set the desired light intensity.
4. Maintenance
4.1 Cleaning
To maintain the appearance and functionality of your remote:
- Wipe the remote with a soft, dry cloth.
- Do not use abrasive cleaners, solvents, or harsh chemicals, as these can damage the surface or internal components.
4.2 Battery Replacement
Replace batteries when the remote's response becomes sluggish or if the indicator light (if present) signals low power. Refer to Section 2.1 for battery installation instructions.
4.3 Storage
When not in use for extended periods, store the remote in a cool, dry place. If storing for several months, it is recommended to remove the batteries to prevent leakage.
5. Troubleshooting
5.1 Remote Not Responding
- Check Batteries: Ensure batteries are correctly inserted and not depleted. Replace if necessary.
- Range: Confirm the remote is within the effective operating range of the lighting device.
- Interference: Minimize potential 2.4GHz interference from other wireless devices.
5.2 Linking Issues
- Timing: Ensure the "ON" button is pressed within 3 seconds of powering on the lighting device.
- Repetition: Confirm the "ON" button is pressed exactly three times for linking or five times for unlinking.
- Compatibility: Verify that the lighting device is compatible with the MiBOXER C1 remote.
6. Specifications

Image 6.1: Dimensional diagram of the MiBOXER C1 Remote.

Image 6.2: Packaging dimensions for the MiBOXER C1 Remote.
| Feature | Detail |
|---|---|
| Brand | MiBOXER |
| Model Number | C1 |
| Color | Black |
| Special Feature | 2.4G Remote CCT & Brightness Control |
| Item Weight | 1.92 ounces (approx. 54.4 grams) |
| Package Dimensions | 5.5 x 1.8 x 1 inches (approx. 140 x 46 x 25 mm) |
| Max Number of Supported Devices | 1 (per zone, up to 4 zones) |
| Compatible Devices | Color temperature and Brightness adjustable MiBOXER lighting products |
| Power Source | 2x AAA Batteries (not included) |
7. Warranty and Support
MiBOXER products are designed for reliability and performance. For specific warranty information, please refer to the warranty card included with your product or contact your retailer. For technical support, product inquiries, or to explore other MiBOXER products, please visit the official MiBOXER store or website.
MiBOXER Store: Visit the MiBOXER Store on Amazon


