1. Introduction
This manual provides detailed instructions for the setup, operation, and maintenance of your AceGamer Aurora Generation 2.4G Wireless Bluetooth Controller. This controller is designed for multi-platform compatibility, including PC, Android, Nintendo Switch, iOS, and Steam Deck, offering an enhanced gaming experience with its advanced features.
2. Package Contents
Please verify that all items listed below are present in your package:
- 1x AceGamer Aurora Wireless Controller
- 1x USB Type-C Data Cable
- 1x 2.4G Wireless Receiver
- 1x User Manual (this document)

Image: Contents of the AceGamer Aurora controller package, showing the controller, USB-C cable, 2.4G wireless receiver, and the user manual.
3. Key Features
3.1 Hall Effect Joysticks
The controller is equipped with two Hall Effect joysticks, providing precise and reliable input detection. This technology minimizes latency, eliminates dead zones, and prevents drift, ensuring smooth and accurate in-game movement and aiming for an enhanced gaming experience.

Image: Diagram showing the Hall Effect joystick mechanism, emphasizing its benefits such as no latency and anti-drift.
3.2 Customizable Back Keys
Two additional programmable buttons (M1 and M2) are located on the back of the controller. These can be customized to perform trigger combos or other functions, enhancing convenience and gameplay. Dedicated back button switches are also provided for easy access and locking.

Image: Rear view of the controller, highlighting the M1 and M2 programmable back keys and their associated lock switches.
3.3 Adjustable Vibration
The controller features dual rotary motors for adjustable vibration feedback. Vibration intensity can be set to four different levels (0%, 50%, 80%, 100%), providing realistic tactile feedback for in-game actions such as collisions, vibrations, and shooting.

Image: Illustration of the controller's adjustable vibration feature with four intensity levels.
3.4 RGB Lighting Effects
The joysticks feature RGB lighting with 7 color combinations and 5 diverse lighting modes, including Brightness, Breathing, Colorful, Fade-OFF. This allows for personalization of the controller's aesthetic.

Image: Two controllers showcasing different RGB lighting effects around the joysticks.
3.5 Large Capacity Battery
Equipped with a 1000mAh upgraded battery, the AceGamer Aurora controller provides extended playtime on a single charge. This ensures longer gaming sessions without frequent interruptions for recharging.
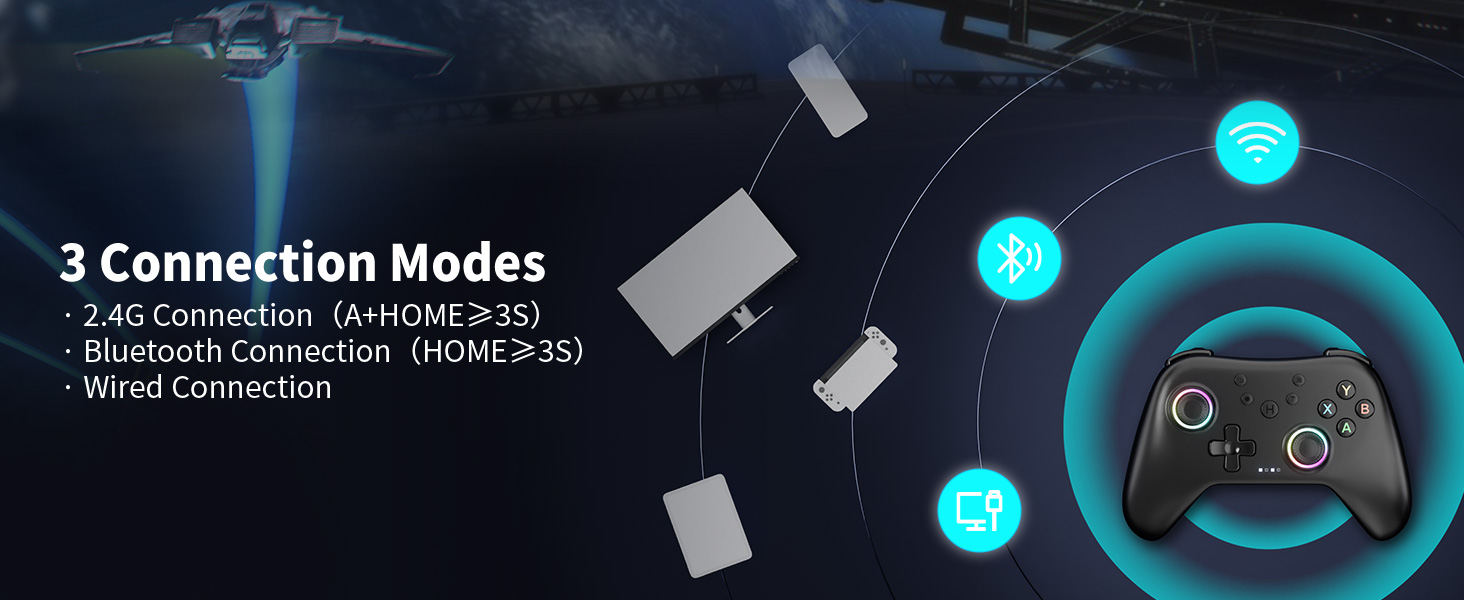
Image: Illustration of the controller's 1000mAh battery, indicating 2-3 hours charging time and 8 hours playing time.
3.6 Multi-Platform Compatibility
The controller is designed for broad compatibility across various platforms, including PC, Nintendo Switch/Switch 2, iOS, and Android devices. Please note that this controller is not compatible with Xbox systems.

Image: Visual representation of the controller's multi-platform compatibility, excluding Xbox.
4. Setup and Connection
The AceGamer Aurora controller supports three connection modes: 2.4G wireless, Bluetooth, and wired connection.

Image: Overview of the controller's three connection modes.
4.1 2.4G Wireless Connection (with Receiver)
- Ensure the 2.4G wireless receiver is plugged into a USB port on your device (PC, Steam Deck, etc.).
- On the controller, press and hold the "A" button.
- While holding "A", press and hold the "HOME" button for 3 seconds.
- The controller will enter pairing mode and connect to the receiver. Once connected, the indicator lights on the controller will stabilize.
4.2 Bluetooth Connection
- On the controller, press and hold the "HOME" button for 3 seconds to initiate Bluetooth pairing.
- On your device (PC, Android, Switch, iOS), enable Bluetooth and search for new devices.
- Select "Xbox Wireless Controller" from the list of available devices to connect.
- Once Bluetooth pairing is successful, LED2 on the controller will illuminate, indicating a stable connection.
4.3 Wired Connection
To use the controller in wired mode, simply connect the controller to your device using the provided USB Type-C data cable. The controller is plug-and-play and does not require additional drivers for basic functionality in wired mode.
5. Operating Instructions
5.1 RGB Color Adjustment
You can adjust the RGB lighting effects on the joysticks:
- One-color Mode: Press the "T" button + "Light Bulb" button to cycle through 7 static colors.
- Running Light Mode: Press the "T" button + "Menu" button to activate dynamic running light effects.

Image: Instructions for adjusting RGB lighting modes.
5.2 Game Operation Mode Adjustment (ABXY Key Swap)
The controller defaults to Xbox mode for button layout. To switch to Nintendo Switch (N-S) mode for ABXY key mapping:
- Press the "T" button + "Screenshot" button simultaneously.
- This will swap the ABXY key functions to match the N-S layout.
Note: Functions are not saved after power off. You may need to re-apply this setting upon reconnection.

Image: Visual guide for ABXY key swap between Xbox and Nintendo Switch layouts.
5.3 FPS Mode (Professional Joystick No Dead Zone)
For enhanced precision in First-Person Shooter (FPS) games, activate the professional joystick no dead zone mode:
- Press and hold the "T" button + "L3/R3" buttons (press down on both joysticks) for 3 seconds.
- This mode optimizes joystick responsiveness by eliminating any input dead zones.
Note: Functions are not saved after power off. You may need to re-apply this setting upon reconnection.

Image: Instructions for activating FPS mode for precise joystick control.
5.4 8-Way to 4-Way Directional Lock
The D-pad can be switched between 8-way and 4-way directional input modes:
- Press the "T" button + "D-pad Up" button simultaneously to toggle between the two modes.
Note: Functions are not saved after power off. You may need to re-apply this setting upon reconnection.

Image: Guide for switching D-pad directional input modes.
6. Maintenance
6.1 Cleaning
To clean your controller, use a soft, dry cloth. For stubborn dirt, a slightly damp cloth with mild soap can be used, ensuring no liquid enters the controller's openings. Avoid abrasive cleaners or solvents.
6.2 Charging the Battery
When the battery is low, connect the controller to a USB power source (e.g., a computer USB port or a USB wall adapter) using the provided USB Type-C cable. The indicator lights will show charging status and turn off or change color when fully charged. A full charge typically takes 2-3 hours.
6.3 Storage
Store the controller in a cool, dry place away from direct sunlight and extreme temperatures. If storing for an extended period, ensure the battery is partially charged (around 50%) to prolong its lifespan.
7. Troubleshooting
| Problem | Possible Cause | Solution |
|---|---|---|
| Controller does not connect via 2.4G. | Incorrect pairing procedure; receiver not properly inserted; interference. | Ensure receiver is fully inserted. Re-attempt pairing by holding "A" then "HOME" for 3 seconds. Try a different USB port. Reduce distance to receiver. |
| Controller does not connect via Bluetooth. | Incorrect pairing procedure; Bluetooth not enabled on device; device not discoverable. | Ensure Bluetooth is enabled on your device. Re-attempt pairing by holding "HOME" for 3 seconds. Ensure your device is discoverable. Forget and re-pair the device on your system's Bluetooth settings. |
| Input delay or unresponsiveness. | Low battery; wireless interference; outdated drivers (PC). | Charge the controller fully. Move closer to the receiver/device. Ensure no other wireless devices are causing interference. For PC, check for updated controller drivers. Try wired connection to diagnose. |
| Joystick drift or erratic movement. | Software calibration issue; minor debris. | While Hall Effect joysticks are designed to prevent drift, if encountered, try recalibrating the controller through your device's settings. Ensure joysticks are clean. |
| Controller does not turn on. | Battery is completely drained. | Connect the controller to a power source using the USB-C cable and allow it to charge for at least 30 minutes before attempting to turn it on. |
8. Specifications
| Feature | Detail |
|---|---|
| Model Number | PC controller |
| Connectivity | 2.4G Wireless, Bluetooth, Wired (USB Type-C) |
| Compatibility | PC, Nintendo Switch/Switch 2, iOS, Android (Not compatible with Xbox) |
| Joysticks | Hall Effect Sensors (No Latency, Long Life, No Dead Zone, Anti-Drift) |
| Vibration | Dual Rotary Motors, 4 Adjustable Levels |
| Battery Capacity | 1000mAh Lithium Ion (included) |
| Charging Time | Approx. 2-3 hours |
| Playtime | Approx. 8 hours |
| Weight | 9.9 ounces (280g) |
| Dimensions | 6.3 x 5.04 x 3.11 inches (16 x 12.8 x 7.9 cm) |
9. Warranty and Support
Specific warranty details for the AceGamer Aurora Generation 2.4G Wireless Bluetooth Controller are not provided within this manual. For information regarding warranty coverage, technical support, or service inquiries, please refer to the official AceGamer website or contact their customer support directly.
You may also visit the AceGamer Store on Amazon for additional product information and support resources.


