
1. Introduction
The BRESSER WiFi Eyepiece Camera Model 15068 is designed to capture high-quality photos and videos through various optical devices such as telescopes, binoculars, and microscopes. Featuring a 1.47-inch integrated display and WiFi connectivity for mobile app control, this camera allows you to record your observations in 2K video and 1920x1080px photo resolution. It is compatible with eyepieces ranging from 30mm to 65mm in diameter, offering versatility for different observation scenarios.
2. Safety Information
- Do not expose the device to extreme temperatures, direct sunlight, or high humidity.
- Keep the device away from water and other liquids.
- Do not attempt to disassemble or modify the camera. This may void the warranty and cause damage.
- Use only the provided or recommended charging cable.
- Keep out of reach of children.
3. Package Contents
Verify that all items are present in your package:
- BRESSER WiFi Eyepiece Camera (Model 15068)
- USB-C Charging Cable
- Instruction Manual (this document)
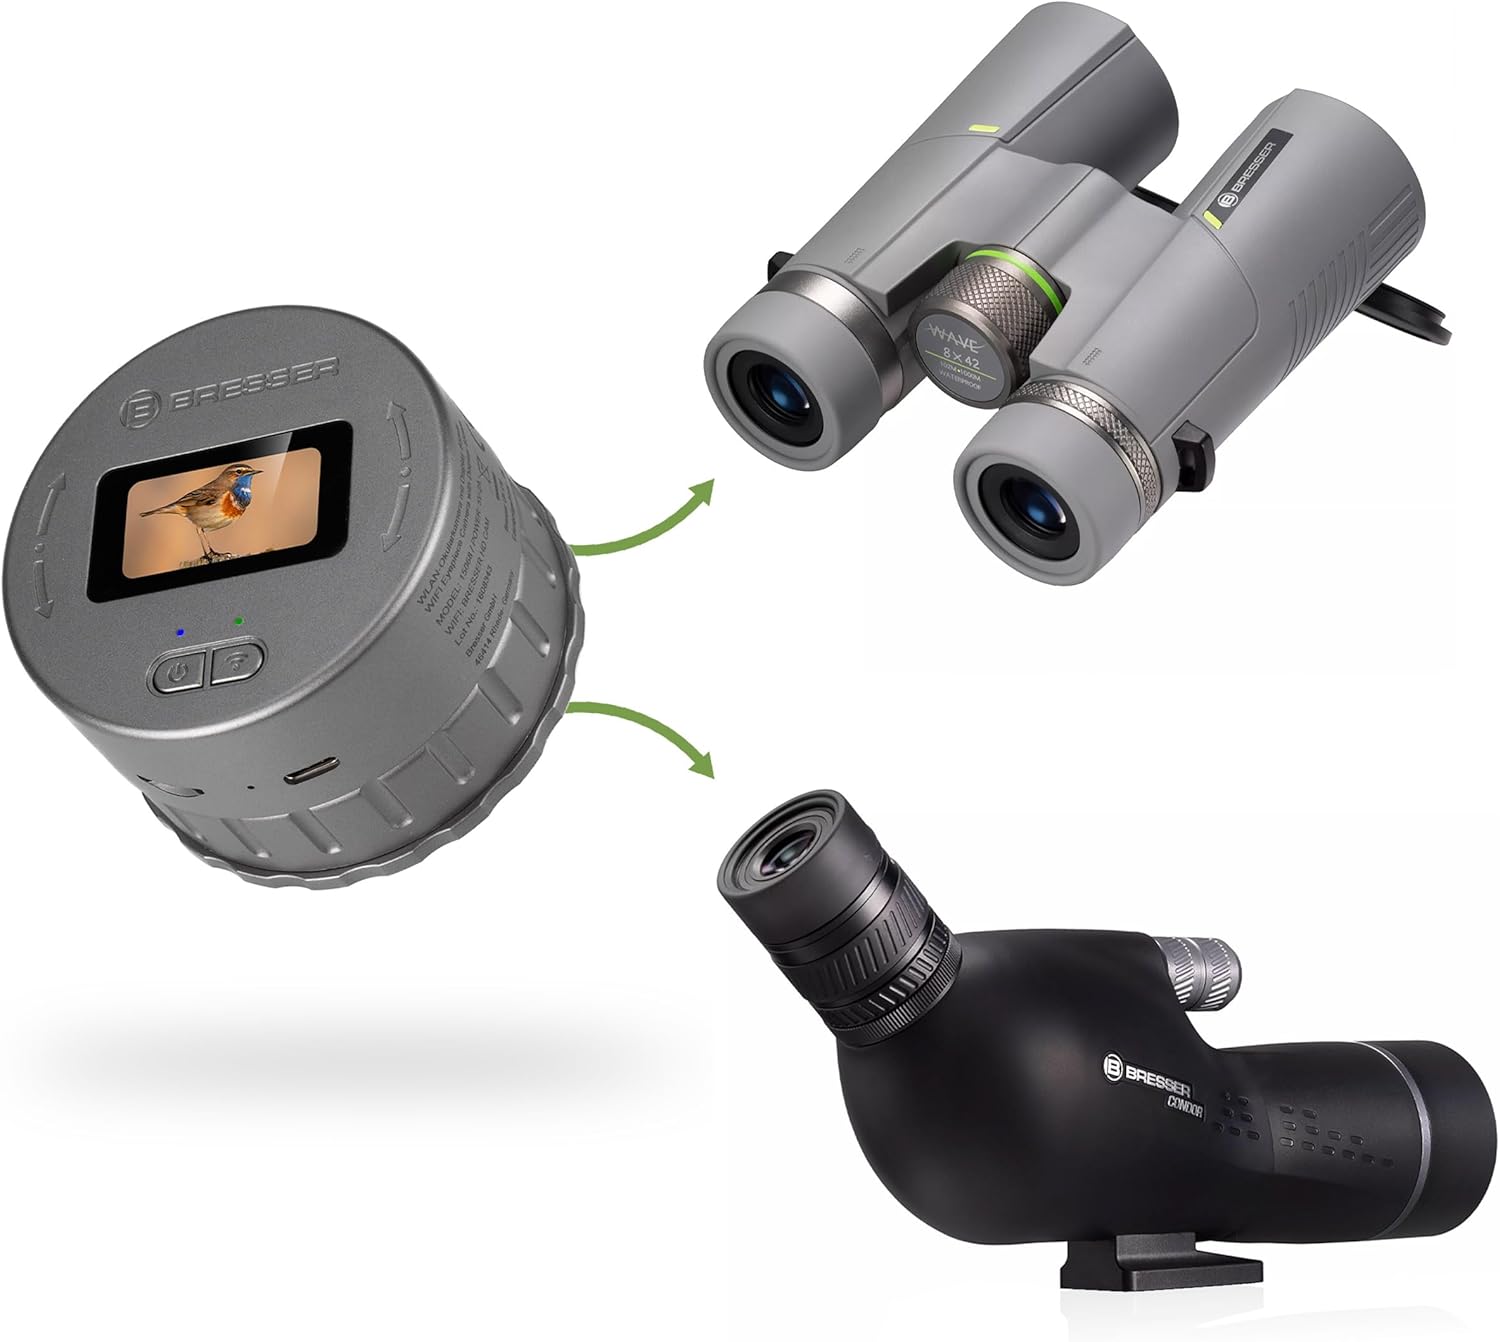
Image: The BRESSER WiFi Eyepiece Camera shown with its included USB-C charging cable.
4. Product Overview
Familiarize yourself with the camera's components and controls.
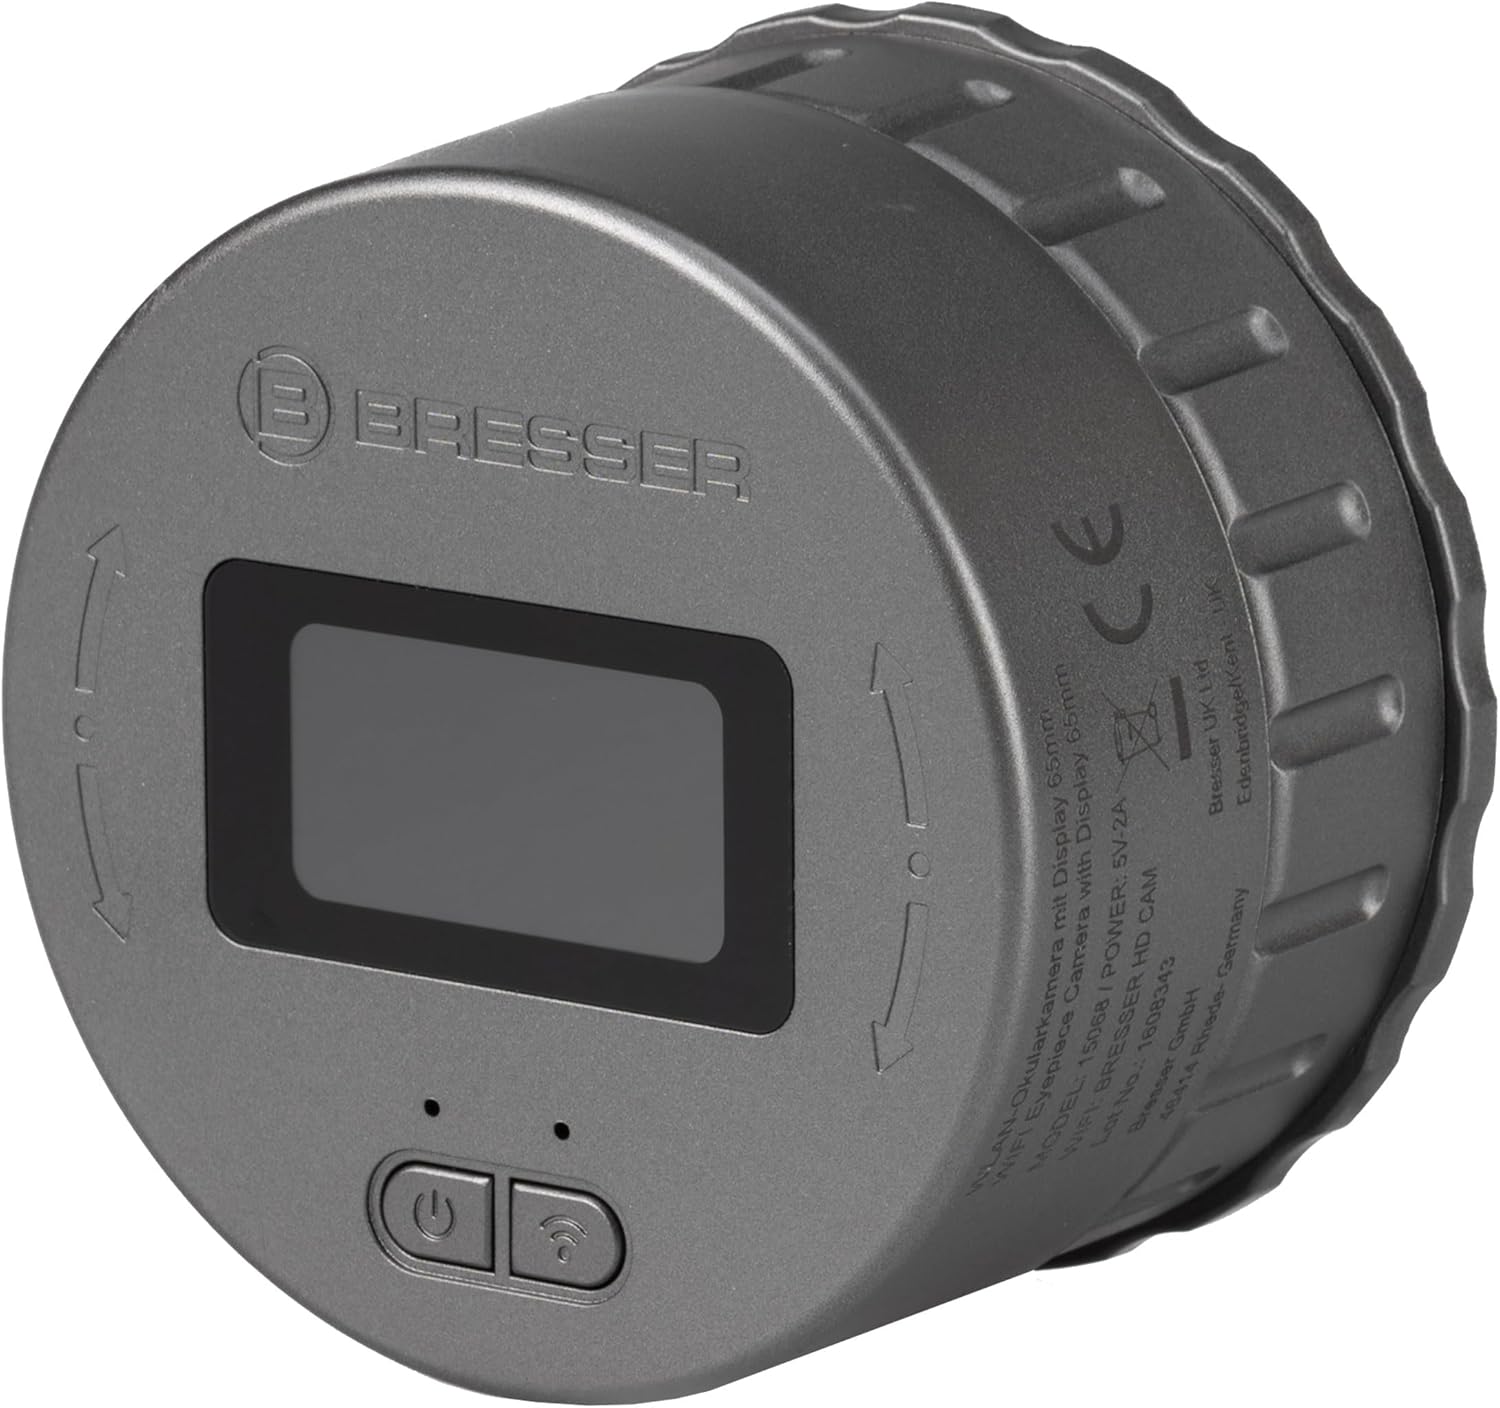
Image: Top view of the camera, highlighting the 1.47-inch display, power button, and WiFi button.
- 1.47-inch Display: Provides a real-time view and access to camera settings.
- Power Button: Used to turn the camera on/off and navigate menus.
- WiFi Button: Activates/deactivates the WiFi function for app connection.

Image: Side view of the camera, showing the USB-C charging port and the MicroSD card slot.
- USB-C Port: For charging the internal battery.
- MicroSD Card Slot: For inserting a MicroSD card (up to 128GB, not included) to store recordings.

Image: Bottom view of the camera, illustrating the adjustable clamp mechanism for attaching to optical devices.
- Adjustable Clamp: Secures the camera to eyepieces with diameters between 30mm and 65mm.
5. Setup
5.1 Charging the Camera
Before first use, fully charge the camera. Connect the USB-C cable to the camera's USB-C port and the other end to a USB power adapter (not included) or a computer's USB port. The charging indicator will show the charging status.
5.2 Inserting a MicroSD Card
The camera requires a MicroSD card (up to 128GB, Class 10 or higher recommended) for storing photos and videos. Gently insert the MicroSD card into the card slot until it clicks into place. Ensure the card is inserted in the correct orientation. To remove, press the card in again until it springs out.
5.3 Attaching to an Optical Device
The camera's adjustable clamp allows it to be mounted on various optical devices.
- Ensure your telescope, binocular, or microscope eyepiece has a diameter between 30mm and 65mm.
- Loosen the clamp on the camera's base by rotating it counter-clockwise.
- Carefully place the camera over the eyepiece of your optical device.
- Tighten the clamp by rotating it clockwise until the camera is securely attached. Do not overtighten.
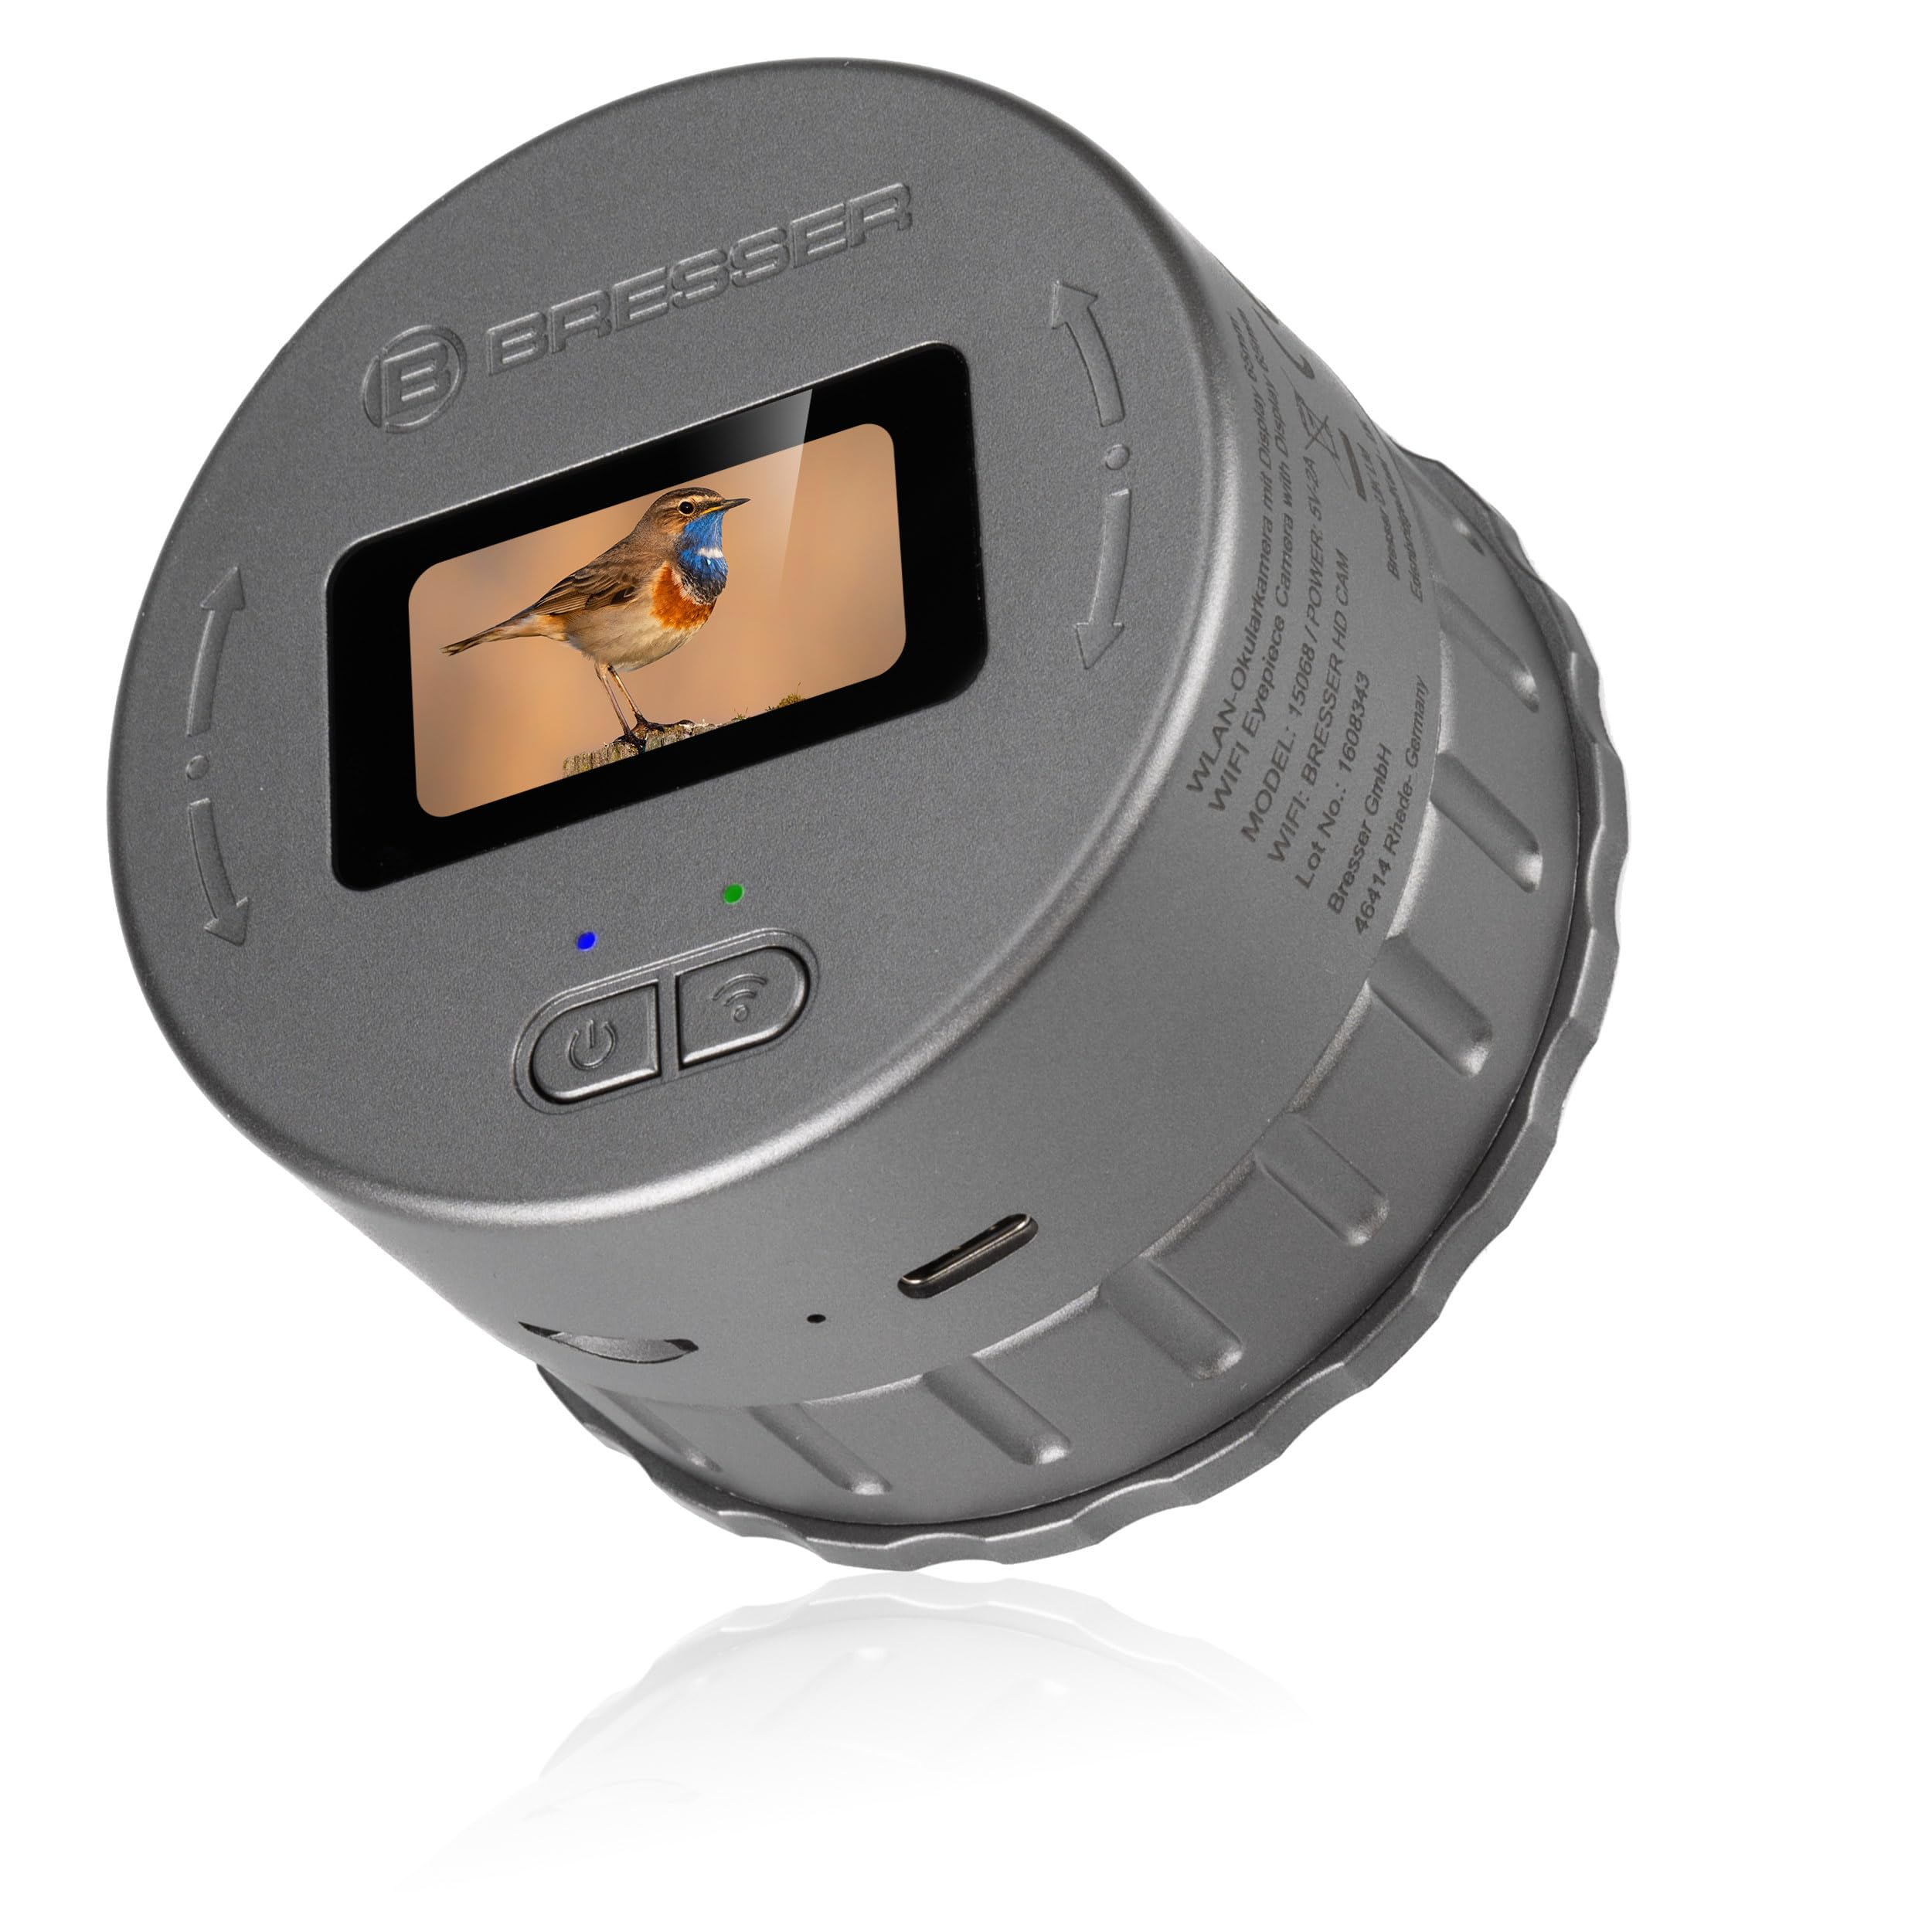
Image: The camera shown mounted on both a pair of binoculars and a spotting scope/telescope, demonstrating its versatility.
5.4 Mobile App Installation and Connection
The BRESSER WiFi Eyepiece Camera can be controlled via a dedicated mobile application available for Android and iOS devices.
- Download the official BRESSER app from your device's app store (e.g., Google Play Store or Apple App Store).
- Turn on the camera by pressing and holding the Power button.
- Press the WiFi button on the camera to activate its WiFi hotspot. The WiFi indicator will illuminate.
- On your mobile device, go to WiFi settings and connect to the camera's WiFi network (e.g., "BRESSER HD CAM").
- Open the BRESSER app. The app should automatically detect and connect to the camera, providing a live view.
6. Operating Instructions
6.1 Power On/Off
- To Power On: Press and hold the Power button for a few seconds until the display illuminates.
- To Power Off: Press and hold the Power button until the display turns off.
6.2 Using the Integrated Display
The 1.47-inch display provides a live view from the camera and allows basic control without the app.
- The display shows the live image, battery status, recording mode, and MicroSD card status.
- Use the Power button to cycle through different modes or confirm selections (short press).
6.3 Capturing Photos and Videos
You can capture images and videos directly from the camera or via the mobile app.
- Via Camera Buttons: While in live view, a short press of the Power button typically initiates photo capture or starts/stops video recording, depending on the selected mode.
- Via Mobile App: Once connected, the app provides dedicated buttons for photo capture and video recording. You can also adjust settings like resolution and loop recording duration.
- Photos are saved in JPG format (1920x1080px).
- Videos are saved in MP4 format (2K resolution).
6.4 Loop Recording Function
The camera supports loop recording, allowing continuous recording in segments.
- This feature can be configured via the mobile app.
- Available recording durations are 1, 3, or 5 minutes per segment.
- When the MicroSD card is full, the oldest recordings will be overwritten by new ones.
6.5 Playback and File Management
Recorded files are stored on the MicroSD card. You can access them through the mobile app or by connecting the camera to a computer.
- Via Mobile App: The app's album section allows you to view, download, and share your photos and videos.
- Via Computer: Connect the camera to your computer using the USB-C cable. The camera will appear as a removable storage device, allowing you to transfer files directly.
7. Maintenance
7.1 Cleaning
- Use a soft, dry cloth to clean the camera body.
- For the lens and display, use a specialized lens cleaning cloth and solution to avoid scratches.
- Do not use abrasive cleaners or solvents.
7.2 Storage
- Store the camera in a cool, dry place, away from direct sunlight and extreme temperatures.
- If storing for extended periods, ensure the battery is partially charged (around 50%) to prolong its lifespan.
8. Troubleshooting
| Problem | Possible Cause | Solution |
|---|---|---|
| Camera does not power on. | Low battery. | Charge the camera using the USB-C cable. |
| Cannot connect to WiFi. | WiFi not activated on camera; incorrect network selected; app issue. | Ensure WiFi is enabled on the camera. Select the correct "BRESSER HD CAM" network. Restart the app and camera. |
| MicroSD card not recognized or recording fails. | Card not inserted correctly; incompatible card; card full or corrupted. | Reinsert the card. Try a different MicroSD card (up to 128GB, Class 10). Format the card (via app or computer). |
| Poor image quality. | Eyepiece not clean; camera not securely attached; focus issue on optical device. | Clean the camera lens and optical device eyepiece. Ensure the camera is firmly attached. Adjust the focus of your telescope/binoculars. |
9. Specifications
| Feature | Detail |
|---|---|
| Model Number | 15068 |
| Video Resolution | 2K |
| Photo Resolution | 1920 x 1080px (4 MP CMOS sensor) |
| Display Size | 1.47 inches |
| Eyepiece Diameter Compatibility | 30 - 65 mm |
| Storage | MicroSD card, up to 128 GB (not included) |
| Connectivity | WiFi (for mobile app control) |
| Compatible Devices | Telescopes, Binoculars, Microscopes, Android/iOS devices |
| Video Format | MP4 |
| Photo Format | JPG |
| Power Input | 5V-2A (via USB-C) |
| Special Features | WiFi control, live view via app, loop recording (1, 3, 5 min) |
10. Warranty and Support
BRESSER products are designed for quality and reliability. For warranty information and technical support, please refer to the official BRESSER website or contact your local BRESSER distributor. Keep your proof of purchase for warranty claims.
For further assistance, visit the BRESSER website: www.bresser.de


