
1. Introduction
This manual provides detailed instructions for the setup, operation, and maintenance of your JOVELL DVD-802 Compact System. Please read this manual thoroughly before using the device to ensure proper functionality and to prevent damage. Keep this manual for future reference.
The JOVELL DVD-802 is a versatile compact audio system featuring a CD/DVD player, Bluetooth connectivity, FM radio, AUX input, USB playback, and microphone input, delivering 30W of stereo sound through two 15W speakers.
2. What's in the Box
Carefully unpack all items and ensure you have received the following components:
- 1 x JOVELL DVD-802 Compact System (Main Unit)
- 2 x Speakers
- 1 x Remote Control
- 1 x 1m RCA Cable
- 1 x User Manual (this document)
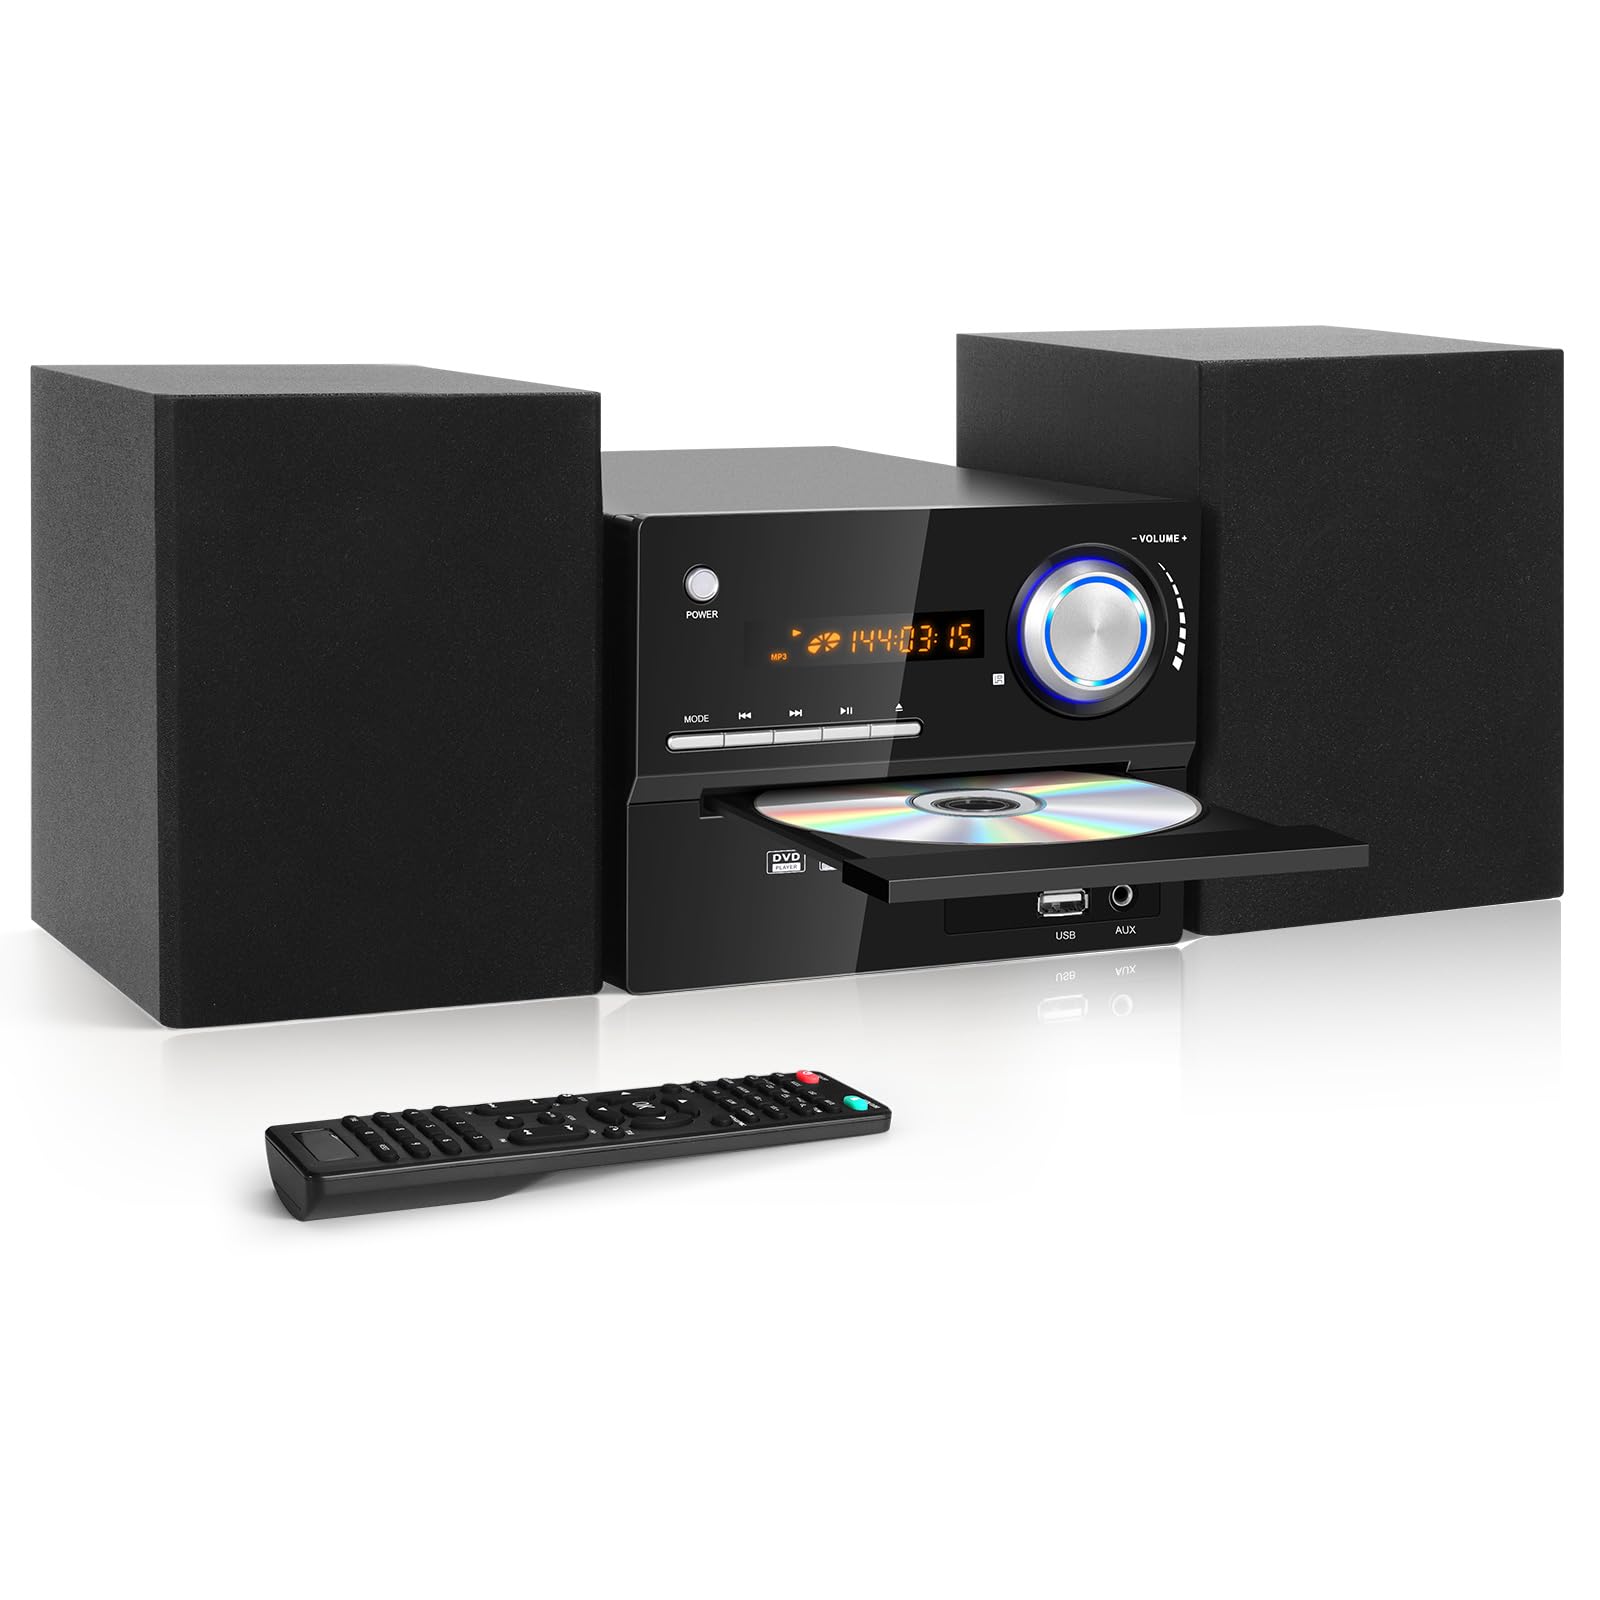
Image 2.1: Contents of the JOVELL DVD-802 package.
3. Product Overview
3.1 Front Panel Controls
The front panel provides access to primary functions and controls:
- POWER Button: Turns the unit on or off.
- MODE Button: Switches between input sources (CD/DVD, Bluetooth, FM, AUX, USB).
- VOLUME Knob: Adjusts the master volume level.
- CD/DVD Tray: For inserting discs.
- USB Port: For connecting USB storage devices (up to 32GB).
- AUX Input: 3.5mm jack for external audio devices.
- Display Screen: Shows current mode, track information, and radio frequency.
- Playback Controls: Play/Pause, Stop, Skip/Search (forward/backward).
3.2 Rear Panel Connections
The rear panel houses all necessary input and output ports:
- Speaker Outputs: Connects to the left and right speakers.
- FM Antenna Input: For connecting the FM antenna.
- RCA Audio Output (L/R): Connects to external amplifiers or audio systems.
- RCA Video Output: Connects to a TV or display for DVD video.
- MIC Input: For connecting a microphone.
- Power Input: Connects to the AC power cable.

Image 3.1: Rear panel connections of the JOVELL DVD-802.
4. Setup
Follow these steps to set up your compact system:
- Placement: Place the main unit and speakers on a stable, flat surface. Ensure adequate ventilation around the unit.
- Connect Speakers: Connect the speaker wires from the left and right speakers to the corresponding speaker output terminals on the rear of the main unit. Ensure correct polarity (+ to + and - to -).
- Connect FM Antenna: Connect the included FM antenna to the FM antenna input on the rear panel for optimal radio reception. Extend the antenna fully.
- Connect to TV (Optional): If you wish to view DVDs on a television, connect the RCA video output from the DVD-802 to the video input on your TV using the supplied RCA cable. Connect the RCA audio outputs (L/R) to your TV's audio inputs if you want the TV to play the sound, or to an external amplifier for enhanced audio. Note: This system uses RCA outputs, not HDMI. If your TV only has HDMI inputs, an AV to HDMI converter (not included) is required.
- Power Connection: Connect the AC power cable to the power input on the rear of the main unit, then plug the other end into a standard wall outlet.
5. Operating Instructions
5.1 Power On/Off
Press the POWER button on the front panel or the remote control to turn the unit on or off.
5.2 Mode Selection
Press the MODE button on the front panel or remote control repeatedly to cycle through available input sources: CD/DVD, Bluetooth, FM, AUX, and USB.
5.3 CD/DVD Playback
- Select CD/DVD mode using the MODE button.
- Press the Eject button (usually indicated by an arrow or 'OPEN/CLOSE') to open the disc tray.
- Place a CD or DVD disc gently into the tray with the label side facing up.
- Press the Eject button again to close the tray. The unit will begin playing automatically.
- Use the Play/Pause, Stop, and Skip/Search buttons for playback control.

Image 5.1: The DVD-802 supports various disc formats.
5.4 Bluetooth Mode
- Select Bluetooth mode using the MODE button. The display will show "BT" or a similar indicator, and the unit will enter pairing mode.
- On your Bluetooth-enabled device (smartphone, tablet, laptop), enable Bluetooth and search for available devices.
- Select "JOVELL D802" (or similar name) from the list of devices.
- Once paired, you can play audio from your device through the compact system.
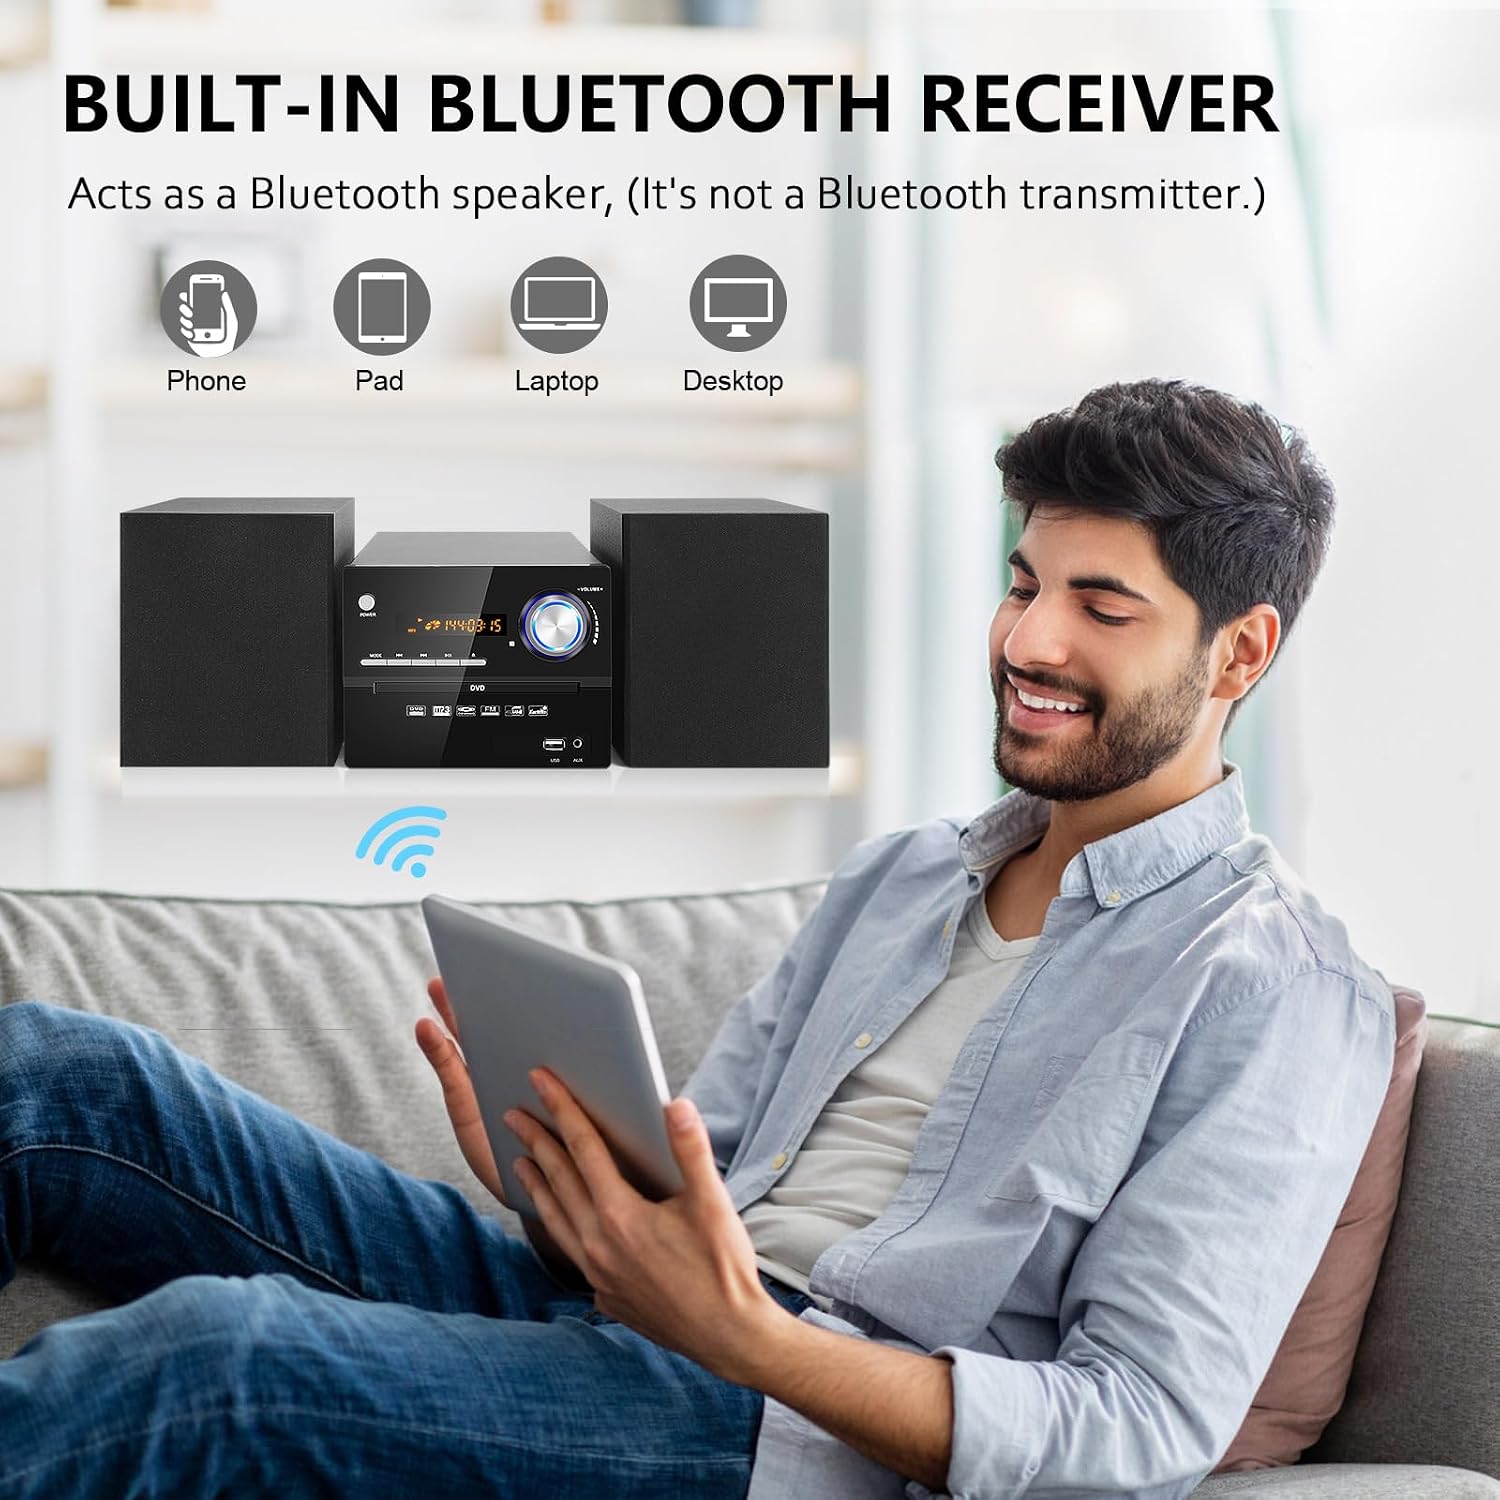
Image 5.2: Connecting devices via Bluetooth.
5.5 FM Radio
- Select FM mode using the MODE button.
- Press the Skip/Search buttons to automatically scan for and tune to available radio stations.
- Adjust the FM antenna position for optimal reception.

Image 5.3: Digital FM Stereo Radio functionality.
5.6 AUX Input
Connect an external audio device (e.g., smartphone, MP3 player) to the 3.5mm AUX input jack on the front panel using a 3.5mm audio cable (not included). Select AUX mode using the MODE button to play audio from the connected device.
5.7 USB Playback
Insert a USB flash drive (up to 32GB) containing MP3, WMA, or JPEG files into the USB port on the front panel. Select USB mode using the MODE button. The unit will automatically detect and play compatible files. Use playback controls to navigate.
5.8 Microphone Input
Connect a microphone (not included) to the MIC input jack on the rear panel. Adjust the main volume to control the microphone level for karaoke or announcements.
6. Maintenance
- Cleaning: Use a soft, dry cloth to clean the exterior of the unit. Do not use abrasive cleaners, waxes, or solvents.
- Disc Care: Handle discs by their edges. Keep them clean and free of scratches. Store discs in their cases when not in use.
- Ventilation: Ensure the ventilation openings are not blocked to prevent overheating.
- Storage: If the unit will not be used for an extended period, unplug it from the power outlet and store it in a cool, dry place.
7. Troubleshooting
| Problem | Possible Cause | Solution |
|---|---|---|
| No power | Power cable not connected; Power outlet not active. | Ensure power cable is securely connected. Check power outlet with another device. |
| No sound | Volume too low; Incorrect input mode; Speakers not connected. | Increase volume. Select correct input mode. Check speaker connections. |
| Disc not playing | Disc inserted incorrectly; Disc is dirty or scratched; Unsupported disc format. | Reinsert disc correctly. Clean or replace disc. Refer to specifications for supported formats. |
| Bluetooth not connecting | Bluetooth not in pairing mode; Device too far; Incorrect device selected. | Ensure unit is in Bluetooth pairing mode. Move device closer. Select "JOVELL D802" from your device's Bluetooth list. |
| Poor FM reception | Antenna not extended or positioned correctly. | Extend and adjust the position of the FM antenna. |
| USB not playing | USB drive not formatted correctly; Unsupported file type; USB capacity exceeds 32GB. | Ensure USB is FAT32 formatted. Check file types (MP3, WMA, JPEG). Use a USB drive 32GB or smaller. |
8. Specifications
| Feature | Detail |
|---|---|
| Model Number | D802 |
| Brand | JOVELL |
| Connectivity Technology | AV, Auxiliary, Bluetooth, USB |
| Color | Classic Black |
| Speaker Type | Surround (2 speakers included) |
| Power Source | Electric Cable |
| Compatible Devices | Smartphone, Television |
| Supported Standards | MP3, WMA, JPEG, Bluetooth, USB, AUX |
| Bluetooth Compatible | Yes |
| Supported Audio Formats | MP3, WMA |
| Number of Audio Channels | 2.0 |
| Total Output Power | 30W (2 x 15W RMS) |
| FM Radio Frequency | 87.5-108 MHz |
| USB Storage Capacity | Up to 32GB |
| Disc Formats Supported | DVD, DVD+R, DVD+RW, DVD-R, DVD-RW, VCD, CD, HDCD, MP3/WMA/JPEG on CD-R/RW |
9. Warranty and Support
The JOVELL DVD-802 Compact System comes with an 18-month warranty from the date of purchase. This warranty covers manufacturing defects and ensures the product functions as intended under normal use.
For technical support, troubleshooting assistance, or warranty claims, please refer to the contact information provided with your purchase or visit the official JOVELL website. Please have your model number (D802) and proof of purchase ready when contacting support.