
1. Introduction
Thank you for choosing the AIKE 1801 Automatic Spray Dispenser. This device is designed to provide consistent fragrance in various environments such as offices, restaurants, and shops. Please read this manual carefully before installation and operation to ensure proper use and optimal performance.
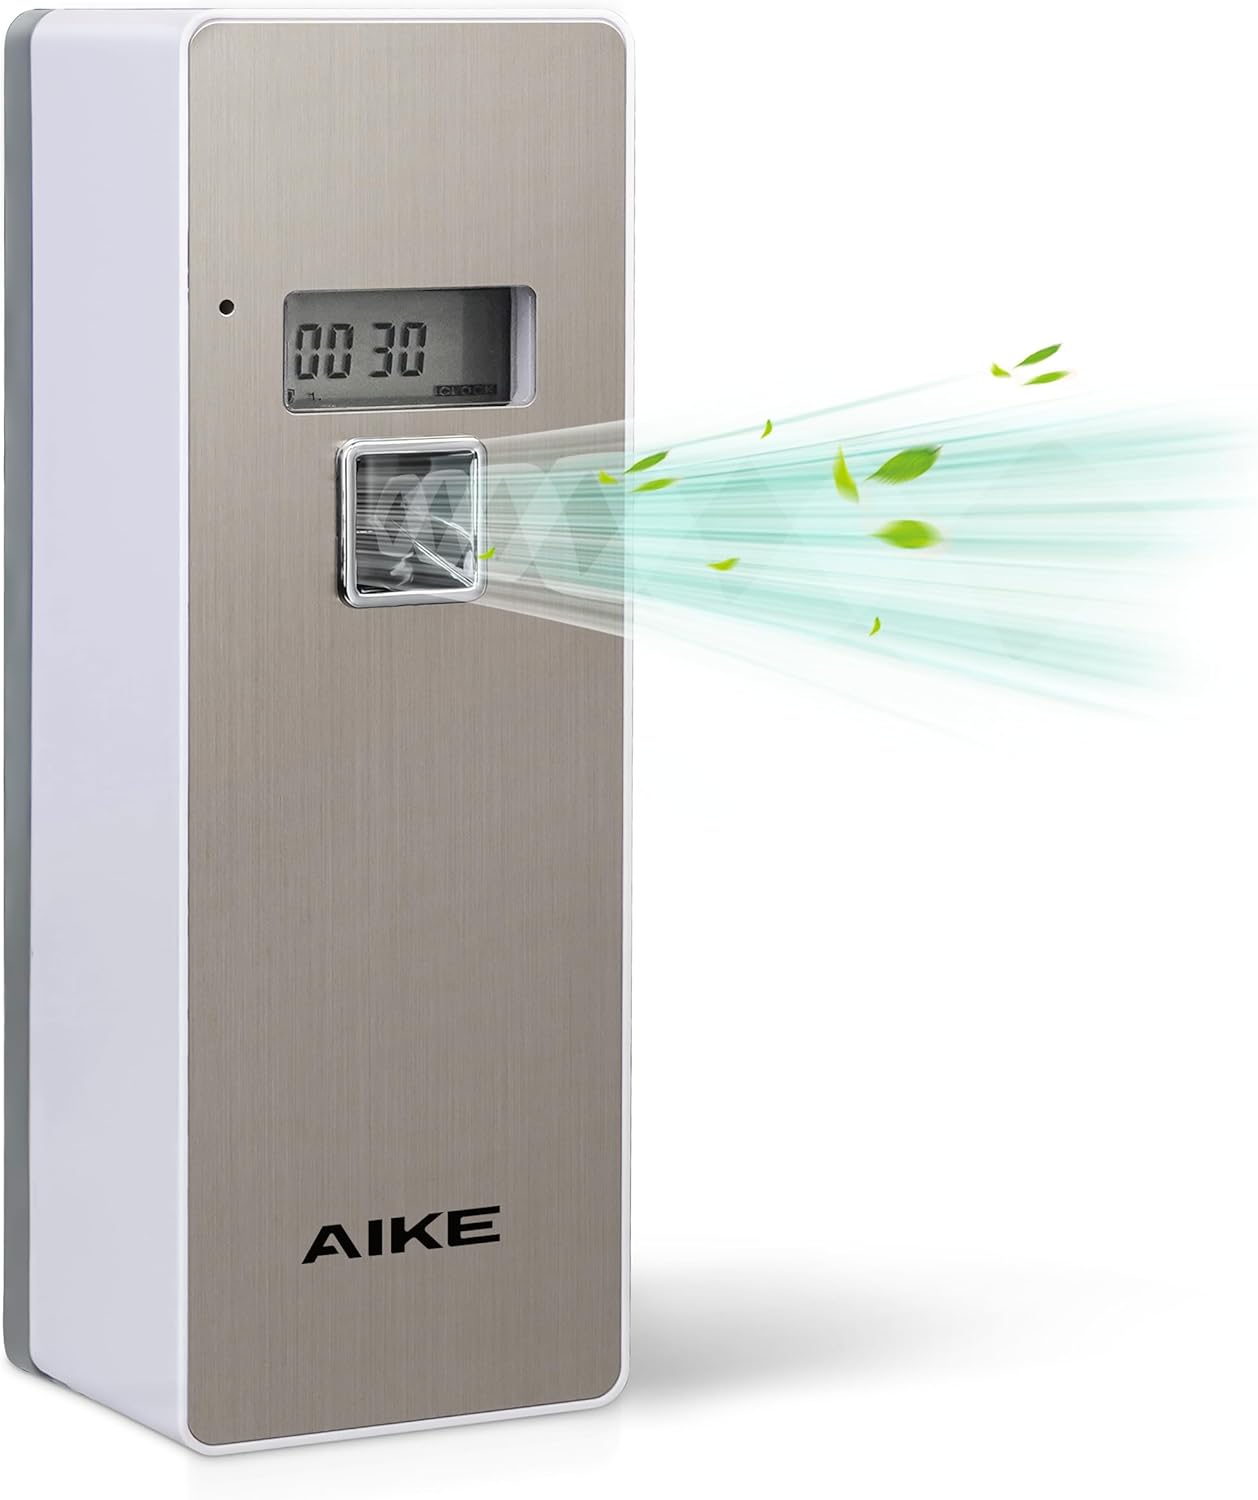
Image 1.1: The AIKE 1801 Automatic Spray Dispenser in brushed finish, showing fragrance being emitted.
2. Important Safety Information & Notices
Please observe the following safety guidelines to prevent accidents and ensure safe operation:
- Read the manual carefully before use.
- Do not install the spray can during programming to avoid accidental spraying.
- Reset the red nozzle before inserting the spray can.
- Keep out of reach of children and pets.
- Do not spray directly into eyes or face.
- Use only recommended battery types and dispose of them properly.

Image 2.1: Graphic summarizing important notices for safe use and support contact.
3. Package Contents
Verify that all items are present in the package:
- 1 x AIKE 1801 Automatic Spray Dispenser
- 1 x Lock
- 1 x Key
- 2 x Wall Anchors
- 2 x Screws
Note: Refill cans and batteries are not included.

Image 3.1: Visual representation of the dispenser's dimensions and the accessories included in the package.
4. Specifications
| Feature | Detail |
|---|---|
| Model Number | NEW AK1801 |
| Brand | AIKE |
| Dimensions (L x W x H) | 8.5 x 8 x 24 cm (3.35" x 3.15" x 9.45") |
| Weight | 522 grams |
| Power Source | 2 x 1.5V D-size alkaline batteries (not included) |
| Material | ABS Plastic (Brushed finish) |
| Recommended Use | Offices, restaurants, shops |
5. Setup
5.1. Battery Installation
- Open the dispenser cover using the provided key.
- Insert two (2) 1.5V D-size alkaline batteries into the battery compartment, ensuring correct polarity (+/-).
- Close the dispenser cover.

Image 5.1: The dispenser shown with two D-size batteries, highlighting the battery requirement.
5.2. Refill Can Installation
- Ensure the dispenser is turned OFF or in programming mode to prevent accidental sprays.
- Open the dispenser cover.
- Reset the red nozzle mechanism inside the dispenser by pushing it down.
- Insert a compatible refill can (see Section 6 for compatibility) into the dispenser, ensuring the nozzle aligns with the spray mechanism.
- Close and lock the dispenser cover.
5.3. Wall Mounting
- Choose a suitable location for mounting, ensuring it is at an appropriate height and away from direct airflow or heat sources.
- Mark the positions for the two mounting screws using the dispenser as a template.
- Drill two holes at the marked positions.
- Insert the wall anchors into the drilled holes.
- Align the dispenser with the holes and secure it to the wall using the provided screws.
6. Refill Can Compatibility
The AIKE 1801 dispenser is designed for specific refill types:
- Compatible: Glade Automatic Spray Refill 269ml and other refill cans with a standard nozzle.
- Not Compatible: Air Wick refill cans, as they feature a custom nozzle that does not fit the dispenser mechanism.

Image 6.1: Visual guide for compatible and incompatible refill can types.
7. Operating Instructions
The AIKE 1801 offers flexible programming options to customize spray intervals and operating times.

Image 7.1: Detailed view of the programming interface, including the LCD screen and control buttons.
7.1. Control Panel Overview
- LCD Screen: Displays current time, spray interval, start/stop times, and active days.
- Indicator Light: Provides status feedback.
- RESET Button: Resets all settings to default.
- SPRAY Button: Manually triggers a spray.
- MODE Button: Cycles through programming modes (CLOCK, START, STOP, INTERVAL, WEEK).
- HOUR Button: Adjusts hour setting.
- MIN Button: Adjusts minute setting.
- ON/OFF Button: Turns the dispenser on or off.
- WEEK Button: Selects active days of the week.
7.2. Setting the Clock
- Press the MODE button until 'CLOCK' is displayed on the LCD screen.
- Use the HOUR and MIN buttons to set the current time.
- Press MODE again to save and exit.
7.3. Setting Spray Interval
- Press the MODE button until 'INTERVAL' is displayed.
- Use the MIN button to set the desired spray interval (e.g., 1 to 60 minutes).
- Press MODE again to save and exit.
7.4. Setting Start and Stop Times
- Press the MODE button until 'START' is displayed. Use HOUR and MIN to set the desired start time.
- Press MODE again until 'STOP' is displayed. Use HOUR and MIN to set the desired stop time.
- Press MODE again to save and exit.
7.5. Setting Active Days
- Press the MODE button until 'WEEK' is displayed.
- Use the WEEK button to cycle through options: 1.2.3.4.5 (Mon-Fri), 1.2.3.4.5.6 (Mon-Sat), or 1.2.3.4.5.6.7 (Daily).
- Press MODE again to save and exit.
7.6. Turning On/Off
Use the ON/OFF button to activate or deactivate the automatic spraying function.
8. Maintenance
- Clean the exterior of the dispenser regularly with a soft, damp cloth. Do not use abrasive cleaners.
- Replace batteries when the low battery indicator appears on the LCD screen or when spray frequency decreases.
- Ensure the spray nozzle is clear of any obstructions.
- When replacing refill cans, always reset the internal nozzle mechanism.
9. Troubleshooting
| Problem | Possible Cause | Solution |
|---|---|---|
| Dispenser not spraying | 1. Batteries are low or incorrectly installed. 2. Refill can is empty or incorrectly installed. 3. Dispenser is turned OFF. 4. Nozzle mechanism not reset. | 1. Replace batteries; check polarity. 2. Replace refill can; ensure proper alignment and reset nozzle. 3. Turn the dispenser ON using the ON/OFF button. 4. Reset the red nozzle before inserting the can. |
| Spray frequency is incorrect | 1. Interval setting is incorrect. 2. Start/Stop times are incorrect. 3. Active days are incorrectly set. | 1. Adjust the 'INTERVAL' setting. 2. Adjust 'START' and 'STOP' times. 3. Adjust 'WEEK' setting. |
| Dispenser makes noise but no spray | Refill can nozzle is blocked or misaligned. | Remove refill can, check for blockages, ensure proper alignment, and reinsert after resetting the internal nozzle. |
10. Support
If you encounter any issues not covered in this manual or require further assistance, please contact AIKE customer support through Amazon. Refer to the 'Notices & Support' image (Image 2.1) for a reminder to message us on Amazon for help.