
1. Introduction
This manual provides essential information for the installation, operation, and maintenance of the Baxnore WS7020R HMI Touch Screen. The WS7020R is a Human Machine Interface (HMI) designed for industrial control applications, featuring a 7-inch TFT LCD display with a resistive touch panel, 12 inputs, and 8 relay outputs.
2. Package Contents
Verify that all items listed below are present in the package:
- 1 x HMI Touch Screen (Model: WS7020R)
- 4 x Installation Screws
- 4 x Fixing Brackets
- 1 x Terminal
- 3 x Connecting Cables
3. Specifications
| Item Type | HMI Touch Screen |
| Model | WS7020R |
| Output Type | Relay |
| Switching Points | 12 inputs, 8 outputs |
| Display Size | 7-inch TFT LCD |
| Resolution | 800 x 480 pixels |
| Brightness | 400cd/m² |
| Processor | 240MHz ARM9 |
| Memory | 128M NAND FLASH |
| Touch Screen Type | 4-wire industrial resistive (external hardness 4H) |
| Opening Size | Approx. 190 x 136mm / 7.48 x 5.35in |
| Overall Size | Approx. 199 x 144 x 59mm / 7.83 x 5.67 x 2.32in |
| Front Panel Protection | IP65 standard |
| Rear Shell Protection | IP20 compliant |
| Power Input | DC 24V |
4. Setup and Installation
Follow these steps for proper installation of the HMI Touch Screen:
- Prepare the Mounting Panel: Ensure the mounting panel has an opening of approximately 190mm x 136mm (7.48in x 5.35in). Refer to the dimension diagram for precise measurements.

Figure 4.1: HMI Touch Screen Dimensions. This image shows the overall dimensions of the HMI unit (199mm x 144mm) and the required opening size for installation (190mm x 136mm).
- Insert the HMI: Carefully insert the HMI Touch Screen into the prepared opening from the front of the panel.
- Secure with Fixing Brackets: Use the provided fixing brackets and installation screws to secure the HMI from the rear of the panel. Tighten the screws evenly to ensure a snug fit without over-tightening.
- Connect Power and Cables: Connect the DC 24V power supply to the designated terminals on the rear of the unit. Utilize the provided connecting cables for PLC communication and other I/O as required by your application.

Figure 4.2: Rear Panel Connections. This image displays the rear of the HMI, highlighting the power input (DC 24V), various input/output terminals (X00-X13, DC+, DC-), and communication ports (e.g., DB9, USB).

Figure 4.3: I/O Terminal Details. A closer view of the green terminal blocks on the rear panel, showing labels for inputs (X00-X13) and power connections (DC+, DC-), facilitating wiring.
- Verify Connections: Double-check all power and communication connections before applying power to the unit.
The front panel is designed to meet IP65 standards for flat panel installation, offering protection against dust and water splashes. The rear shell is compliant with IP20.
5. Operating Instructions
The WS7020R HMI Touch Screen provides an intuitive interface for controlling and monitoring industrial processes. It features a 7-inch TFT LCD with 800x480 resolution and a 4-wire industrial resistive touch screen for high accuracy and responsiveness.
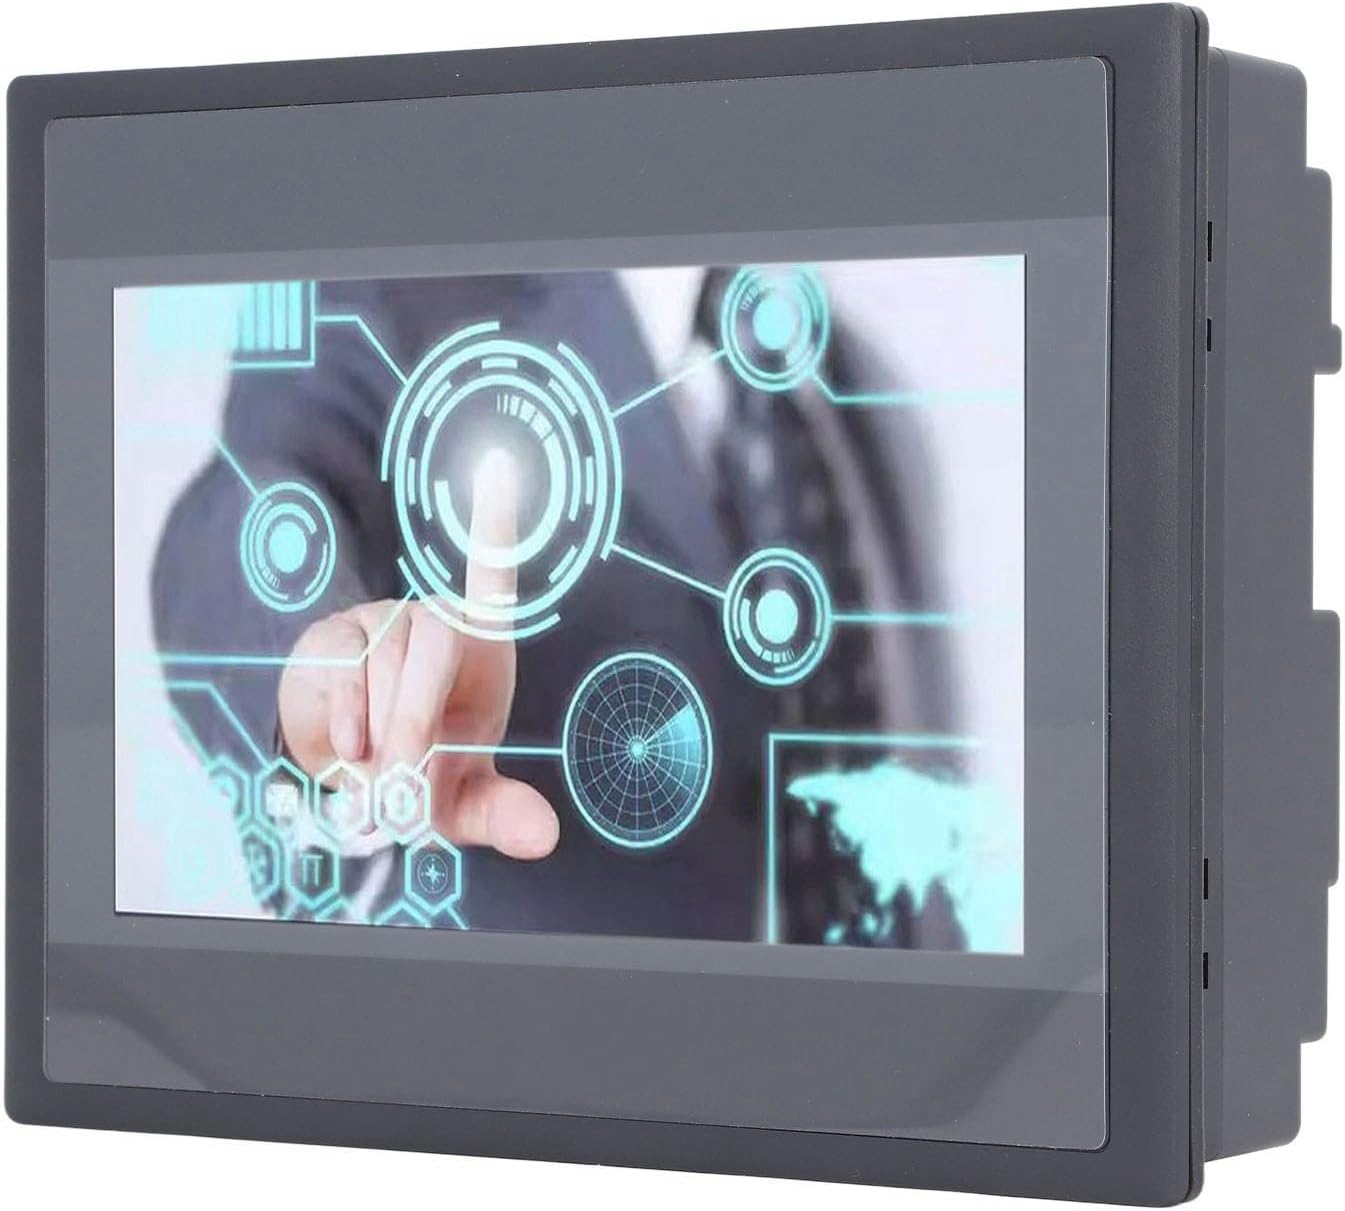
Figure 5.1: HMI Display and Touch Interaction. This image shows a close-up of the HMI screen displaying a modern graphical interface, with a hand touching a central interactive element, demonstrating its touch functionality.
5.1 Power On/Off
- Power On: Once properly wired, apply DC 24V power to the unit. The screen will illuminate, and the system will boot up.
- Power Off: To power off, disconnect the DC 24V power supply. Ensure any critical operations are safely concluded before powering down.
5.2 Touch Screen Operation
- The resistive touch screen allows for direct interaction with the displayed interface. Use a finger or a stylus for precise input.
- The screen offers a brightness of 400cd/m² and backlight display for clear visibility in various environments.
5.3 PLC Control and Communication
- The HMI is designed to integrate with various PLCs and controllers via its communication ports.
- The 12 inputs and 8 relay outputs allow for direct control and monitoring of external devices. Refer to your PLC programming software and the HMI's configuration tools for detailed communication setup.

Figure 5.2: Key Features Overview. This image presents a side view of the HMI, listing its core attributes such as low power consumption, fast performance, LED backlight, resistive touch screen, and lightning surge protection.
5.4 Applications
The WS7020R HMI is suitable for a wide range of industrial automation control scenarios due to its stable performance and low power consumption.

Figure 5.3: Wide Application Range. This diagram visually represents the diverse industrial sectors where the HMI can be applied, including printing, chemical, plastic, building materials, home furnishings, packing, textile, food, and metallurgy.
6. Maintenance
Regular maintenance ensures the longevity and optimal performance of your HMI Touch Screen.
- Cleaning: Use a soft, lint-free cloth slightly dampened with a mild, non-abrasive cleaner to wipe the screen and casing. Avoid excessive moisture and harsh chemicals.
- Environmental Conditions: Operate the HMI within its specified temperature and humidity ranges. Avoid direct exposure to sunlight, extreme temperatures, and high humidity.
- Cable Management: Ensure all connecting cables are securely fastened and free from strain or damage.
- Firmware Updates: Periodically check the manufacturer's website for any available firmware updates to improve performance or add new features.
7. Troubleshooting
This section addresses common issues you might encounter with the WS7020R HMI Touch Screen.
7.1 No Power/Screen Blank
- Check Power Supply: Ensure the DC 24V power supply is correctly connected and providing the correct voltage.
- Cable Connections: Verify that all power cables are securely connected to the HMI and the power source.
7.2 Touch Screen Unresponsive/Inaccurate
- Recalibration: If available in the HMI's system settings, perform a touch screen calibration.
- Clean Screen: Ensure the screen surface is clean and free from dirt or debris that might interfere with touch detection.
- Restart Device: Power cycle the HMI to reset its state.
7.3 Communication Issues with PLC
- Cable Integrity: Check the integrity and connection of all communication cables between the HMI and the PLC.
- Protocol Settings: Verify that the communication protocol settings (e.g., baud rate, data bits, parity) on both the HMI and the PLC match.
- PLC Status: Ensure the PLC is powered on and operating correctly.
8. Warranty and Support
For warranty information and technical support, please refer to the documentation provided with your purchase or visit the official Baxnore website. Keep your purchase receipt as proof of purchase for warranty claims.
For further assistance, contact Baxnore customer support through their official channels.