1. Introduction
Thank you for choosing the AeroCool D502A Mid Tower Case. This manual will guide you through the installation, operation, and maintenance of your new PC chassis. The D502A is designed to provide excellent airflow and component compatibility for a powerful and stylish PC build. Please read this manual carefully before beginning your assembly.
2. Key Features
- Stylish Mesh Front Panel: The front panel features a modern mesh design that not only enhances the aesthetic appeal but also provides superior air ventilation for improved cooling performance.
- Mid Tower Form Factor: Designed as a mid-tower case, it offers ample space for high-performance components, making it suitable for a wide range of PC builds.
- Extensive Cooling Support: Supports liquid coolers up to 360mm on both the top and front panels, ensuring efficient heat dissipation for demanding systems.
- High Component Clearance: Accommodates Graphics Processing Units (GPUs) up to 400mm in length (without a front radiator installed) and CPU coolers up to 171mm in height.
- Magnetic Dust Filters: Equipped with magnetic dust filters on the top and side panels, along with a removable filter on the bottom, simplifying maintenance and keeping your components clean.
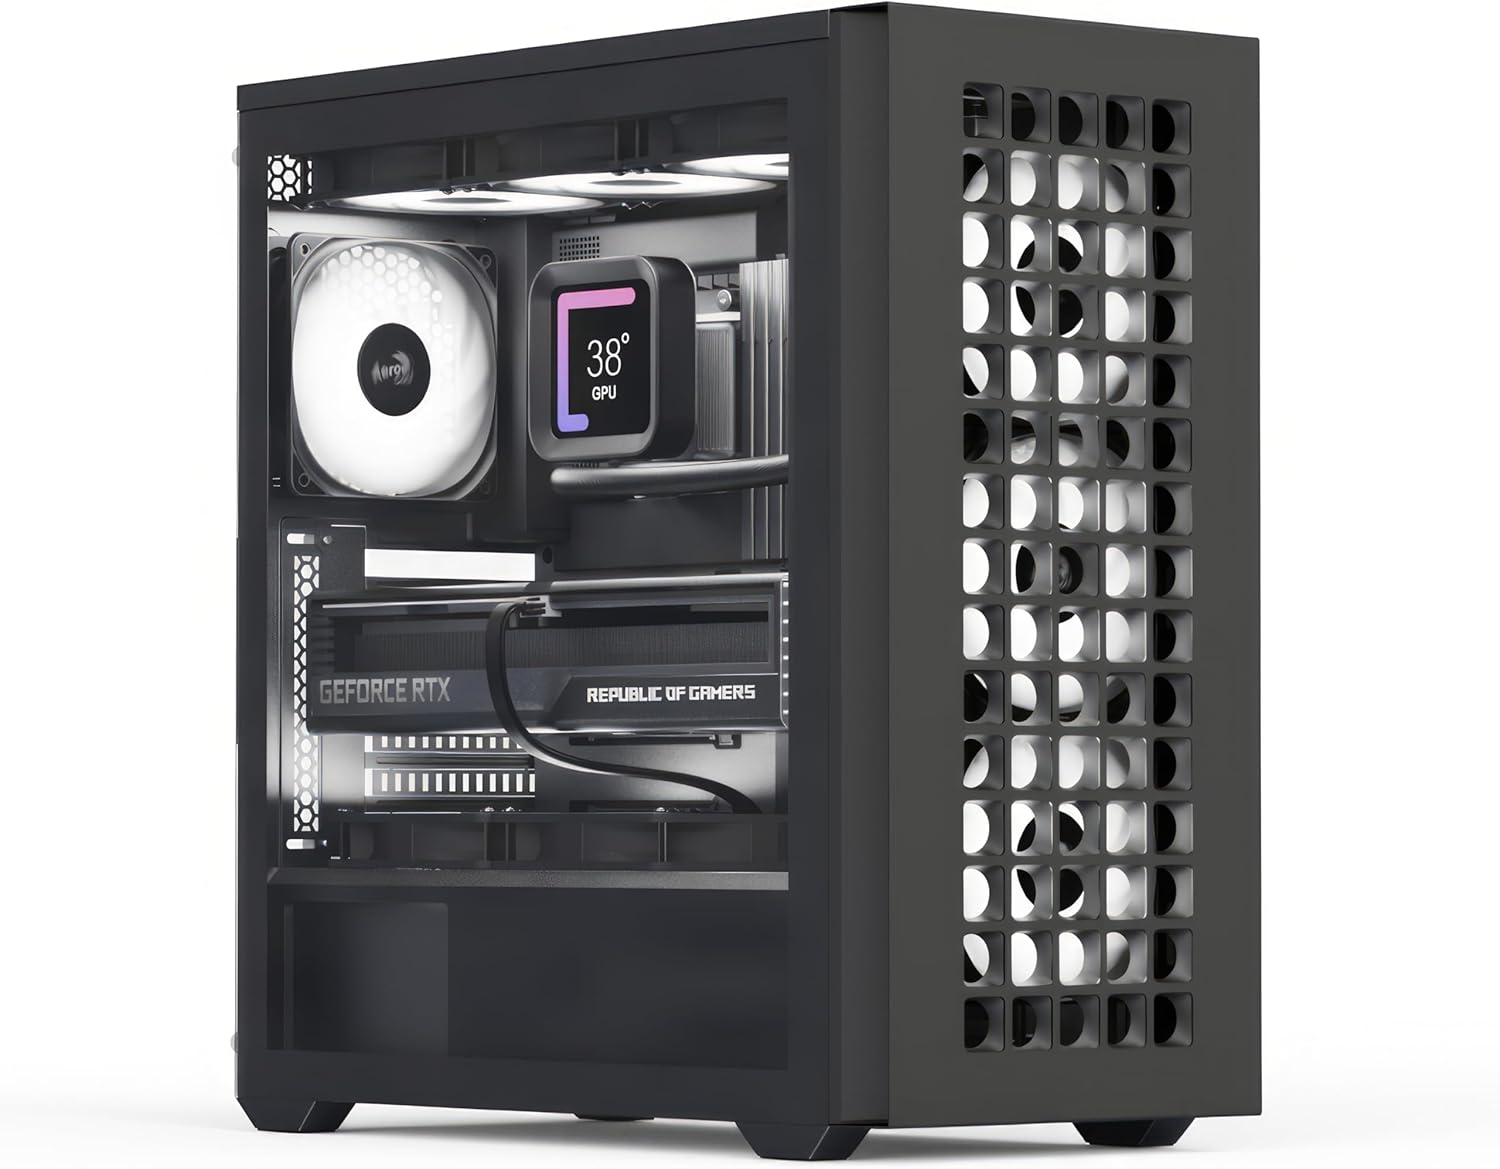
The AeroCool D502A Mid Tower Case, showcasing its spacious interior and mesh front panel.

The stylish mesh front panel design of the D502A, providing both aesthetics and optimal airflow.

Illustration of the generous clearance for high-end GPUs (400mm) and CPU coolers (171mm).

Detailed diagram illustrating the various fan mounting locations and sizes for air cooling configurations.

Detailed diagram illustrating the various radiator mounting locations and sizes for liquid cooling configurations.

The convenient magnetic dust filters on the top and side panels, designed for easy removal and cleaning.
3. Package Contents
Please verify that all components are present in the package:
- AeroCool D502A Mid Tower Case
- Accessory Box (containing screws, standoffs, cable ties, etc.)
- User Manual (this document)
If any items are missing or damaged, please contact your retailer or AeroCool customer support.
4. Setup and Installation
Follow these steps for assembling your PC within the AeroCool D502A case. Ensure your system is powered off and unplugged before beginning any installation.
4.1. Preparing the Case
- Carefully remove the side panels. The tempered glass side panel is typically secured with thumbscrews.
- Identify the motherboard standoffs. Pre-installed standoffs usually support ATX motherboards. Adjust or add standoffs as needed for Micro ATX or Mini ITX motherboards.
4.2. Motherboard Installation
- Install your motherboard's I/O shield into the rear opening of the case.
- Align your motherboard with the standoffs and gently place it into position.
- Secure the motherboard with the provided screws. Do not overtighten.
4.3. Power Supply Unit (PSU) Installation
- The D502A supports rear-mounted power supplies. Slide your PSU into the designated compartment at the bottom rear of the case.
- Secure the PSU to the case using screws from the rear.
4.4. Storage Drive Installation
- Locate the drive bays for 2.5" SSDs and 3.5" HDDs.
- Install your storage drives into the appropriate trays or mounting points and secure them.
4.5. Graphics Card (GPU) and Expansion Card Installation
- Remove the necessary PCIe slot covers from the rear of the case.
- Insert your graphics card or other expansion cards into the motherboard's PCIe slots.
- Secure the cards with screws.
4.6. Fan and Radiator Installation
- The D502A offers extensive fan and radiator support (refer to Section 2, Key Features).
- Install your chosen fans or liquid cooling radiators to the front, top, rear, or side mounting points as desired.
- Ensure proper airflow direction for optimal cooling.
4.7. Cable Management
- Utilize the cable routing cutouts and tie-down points behind the motherboard tray to manage cables.
- Connect all necessary power cables from the PSU to your components (motherboard, GPU, drives, fans).
- Connect the front panel connectors (USB, audio, power/reset buttons, LED indicators) to your motherboard according to your motherboard manual.
5. Operating Your PC Case
Once all components are installed and cables are connected, you can power on your system.
- Ensure all external peripherals (monitor, keyboard, mouse) are connected.
- Plug the power cord into the PSU and a wall outlet.
- Flip the power switch on the PSU to the 'ON' position.
- Press the power button on the front panel of the AeroCool D502A case to start your computer.
6. Maintenance
Regular maintenance helps ensure the longevity and optimal performance of your PC components.
6.1. Dust Filter Cleaning
- The AeroCool D502A features magnetic dust filters on the top and side, and a removable filter on the bottom.
- Periodically remove these filters and clean them with compressed air or by rinsing them with water (ensure they are completely dry before re-installing).
- Cleaning dust filters prevents dust buildup inside the case, which can impede airflow and cause components to overheat.
6.2. General Cleaning
- Use a soft, damp cloth to wipe down the exterior of the case. Avoid abrasive cleaners.
- For the tempered glass panel, use a glass cleaner and a microfiber cloth to avoid streaks.
- Occasionally, use compressed air to blow out any dust that accumulates inside the case, especially around fans and heatsinks.
7. Troubleshooting
This section addresses common issues you might encounter.
7.1. System Does Not Power On
- Check Power Connections: Ensure the PSU is properly plugged into the wall and the PSU's power switch is ON. Verify all internal power cables (24-pin ATX, 8-pin CPU, PCIe, SATA) are securely connected to the motherboard and components.
- Front Panel Connectors: Double-check that the front panel power button connector is correctly attached to the motherboard's F_PANEL header. Refer to your motherboard manual for the correct pinout.
- PSU Functionality: If possible, test the PSU independently or with another system to confirm it is working.
7.2. Fans Not Spinning / No RGB Lighting
- Fan Headers: Ensure all fan cables are securely connected to the appropriate fan headers on the motherboard or a fan controller.
- RGB Connections: If your fans have RGB lighting, verify that the RGB cables are connected to the correct RGB headers on the motherboard or an RGB controller.
- Software/BIOS Settings: Check your motherboard's BIOS/UEFI settings or any fan control software to ensure fans are enabled and configured correctly.
7.3. USB Ports Not Functioning
- Internal USB Headers: Confirm that the internal USB 2.0 and USB 3.0/3.1 cables from the case's front panel are correctly plugged into the corresponding headers on your motherboard.
- Driver Issues: Ensure you have installed the latest chipset drivers for your motherboard.
8. Specifications
| Specification | Detail |
|---|---|
| Brand | AeroCool |
| Model Name | D502A |
| Item Model Number | D502A-G-BK-v1 |
| Case Type | Mid Tower |
| Motherboard Compatibility | ATX, Micro ATX, Mini ITX |
| Material | SPCC Steel, Tempered Glass |
| Color | Black |
| Item Weight | 17.2 pounds |
| Product Dimensions (LxWxH) | 21.65 x 20.08 x 11.02 inches |
| GPU Clearance | Up to 400mm (without front radiator) |
| CPU Cooler Clearance | Up to 171mm |
| Liquid Cooling Support (Top) | Up to 360mm radiator |
| Liquid Cooling Support (Front) | Up to 360mm radiator |
| Fan Slots | 11 (various sizes, see cooling diagrams) |
| Dust Filters | Magnetic (Top & Side), Removable (Bottom) |
| Front I/O Ports | Number of USB 2.0 Ports: 4 (specific configuration may vary) |
9. Warranty and Support
AeroCool products are manufactured to high standards and come with a manufacturer's warranty. For specific warranty terms and conditions, please refer to the documentation included with your purchase or visit the official AeroCool website. For technical support, product inquiries, or warranty claims, please contact AeroCool customer service or your point of purchase.
You can find more information about AeroCool products and support at the official AeroCool website or through their Amazon brand page: AeroCool on Amazon.


