1. Introduction
This user manual provides comprehensive instructions for the setup, operation, maintenance, and troubleshooting of your Thomson 27-inch QHD Gaming Monitor (Model: M27QG5Y14). This monitor is designed to deliver a superior visual experience with its QHD resolution, 180Hz refresh rate, and IPS panel technology, making it ideal for gaming and multimedia applications.

Image 1.1: Front view of the Thomson 27-inch QHD Gaming Monitor, showcasing its sleek design and display area.
2. Safety Information
Please read all safety instructions carefully before using the monitor. Keep this manual for future reference.
- Power Source: Use only the power adapter supplied with the monitor. Ensure the power outlet is properly grounded.
- Ventilation: Do not block ventilation openings. Allow adequate space around the monitor for proper airflow to prevent overheating.
- Liquid and Moisture: Keep the monitor away from water, rain, or excessive moisture. Do not place objects filled with liquids on the monitor.
- Cleaning: Disconnect the power cable before cleaning. Use a soft, dry cloth. Do not use liquid cleaners or aerosol cleaners.
- Placement: Place the monitor on a stable, flat surface. Avoid placing it in direct sunlight or near heat sources.
- Handling: Handle the monitor with care. Avoid dropping or subjecting it to strong impacts.
- Servicing: Do not attempt to service the monitor yourself. Refer all servicing to qualified service personnel.
3. Package Contents
Verify that all items are present in the package. If any items are missing or damaged, contact your retailer.
- Thomson 27-inch QHD Gaming Monitor
- Monitor Stand (Base and Neck)
- Power Adapter and Power Cable
- HDMI Cable
- DisplayPort (DP) Cable (may vary by region)
- USB-B to USB-A Cable (for USB hub functionality)
- User Manual (this document)
- Screws for stand assembly
4. Setup
4.1. Assembling the Monitor Stand
- Carefully remove the monitor from its packaging and place it face down on a soft, clean surface to prevent scratches.
- Attach the stand neck to the monitor panel using the provided screws.
- Attach the stand base to the stand neck and secure it with the designated screw.
- Once assembled, carefully lift the monitor and place it on a stable desk or table.

Image 4.1: Monitor dimensions and stand assembly overview. The monitor measures approximately 61 cm wide, 54 cm high (with stand), and 24 cm deep (with stand).
4.2. Connecting the Monitor
Connect the necessary cables to the monitor's input ports. Refer to the image below for port locations.
- Power Connection: Connect the power adapter to the "DC IN" port on the monitor, then plug the power cable into a power outlet.
- Video Input:
- Connect an HDMI cable from your computer's graphics card to an "HDMI 2.1" port on the monitor.
- Alternatively, connect a DisplayPort (DP) cable from your computer's graphics card to a "DP 1.2" port on the monitor.
- USB Hub: To enable the monitor's USB 3.0 ports, connect a USB-B cable from the "USB 3.0 B" port on the monitor to a USB-A port on your computer.
- Audio Output: Connect headphones or external speakers to the "Earphone Plug" (3.5mm audio jack) for audio output.

Image 4.2: Rear panel of the monitor displaying the various input and output ports for connectivity.
4.3. Ergonomic Adjustments
The monitor stand allows for various adjustments to optimize your viewing comfort:
- Tilt: Adjust the screen's vertical angle (up or down).
- Swivel: Rotate the screen horizontally (left or right).
- Pivot: Rotate the screen 90 degrees for portrait mode viewing.
- Height Adjustment: Raise or lower the monitor to your preferred eye level.
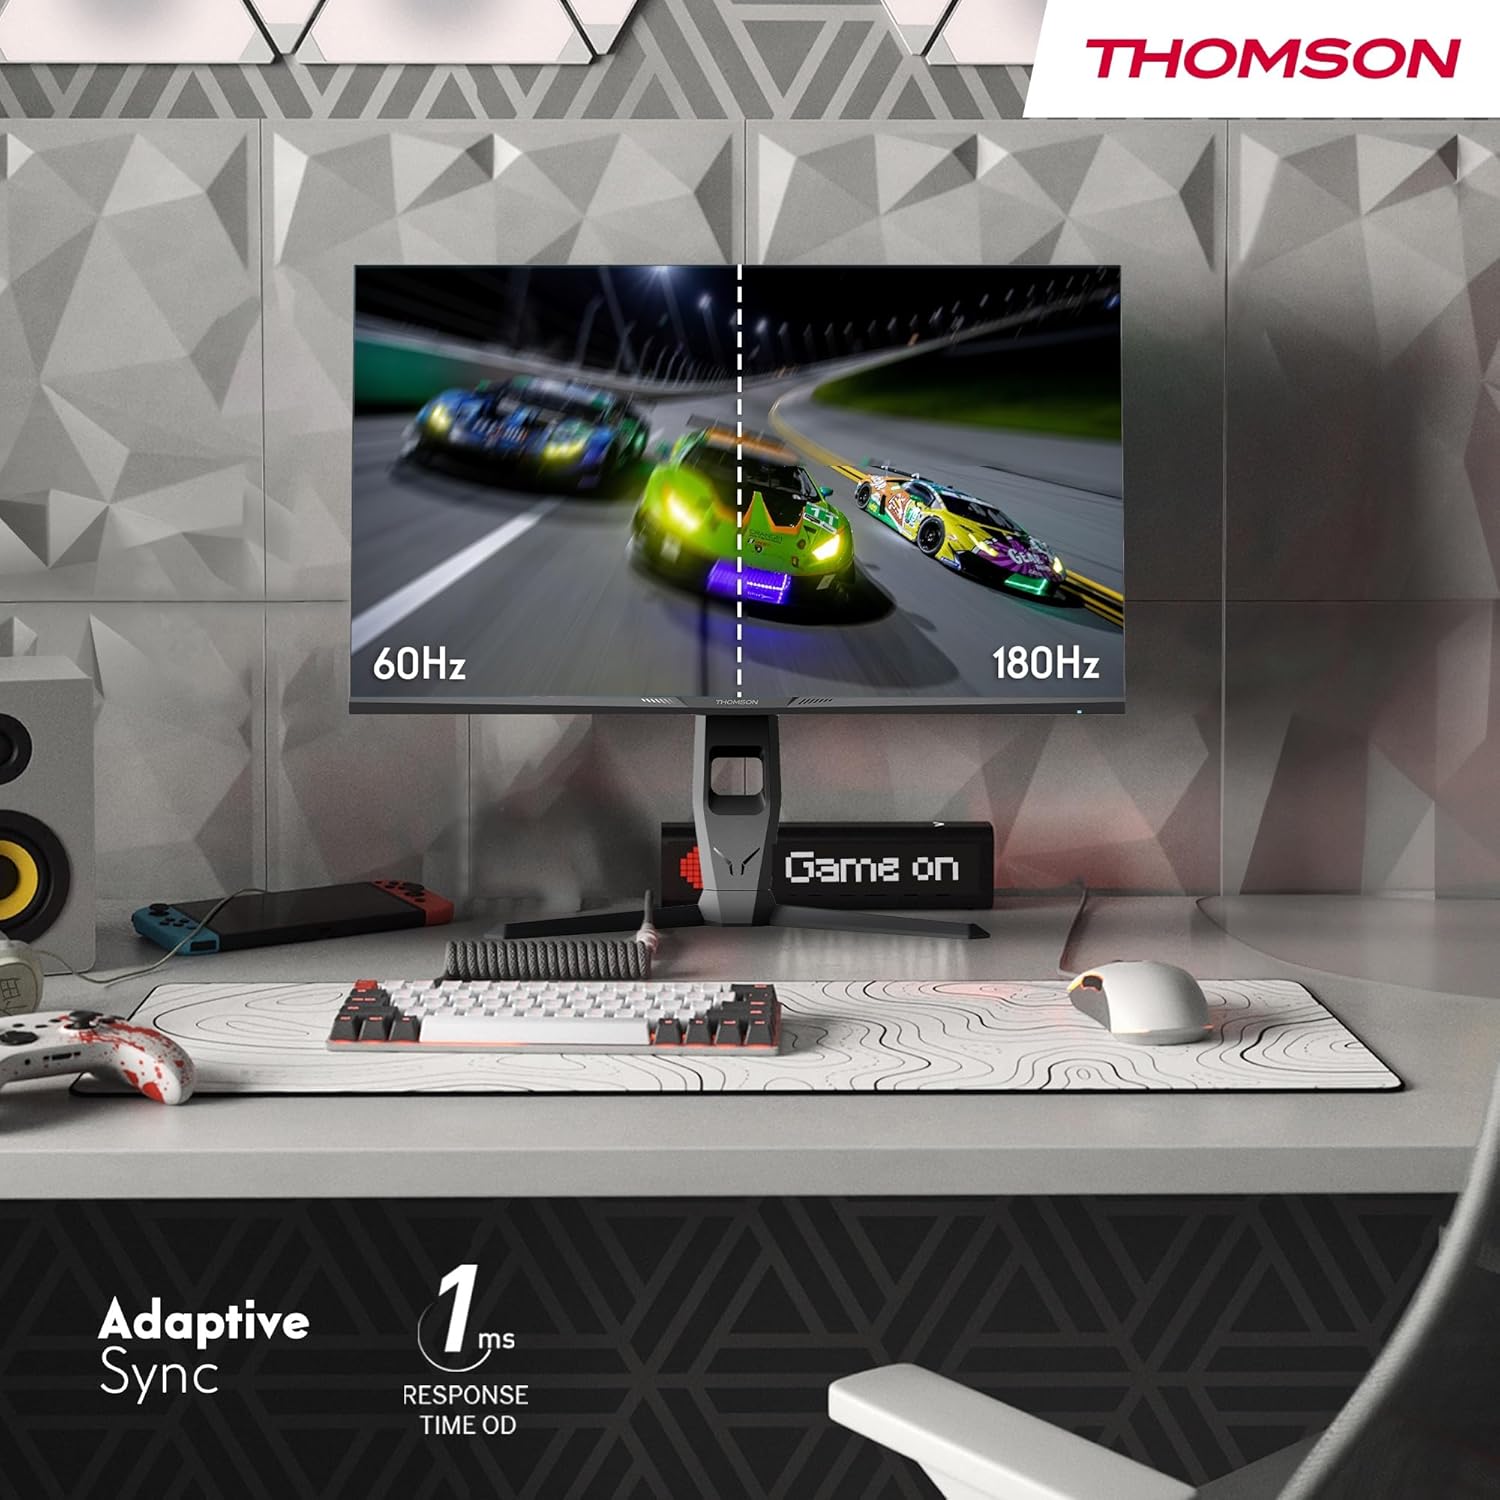
Image 4.3: Demonstrations of the monitor's ergonomic capabilities, including tilt, swivel, and pivot for optimal viewing angles.
4.4. VESA Mounting
The monitor is compatible with VESA 100x100mm mounting standards. To mount the monitor on a wall or an alternative stand, remove the original stand and attach the VESA-compatible mount (sold separately) using appropriate screws.
5. Operating Instructions
5.1. Power On/Off
Press the power button, usually located on the back or bottom of the monitor, to turn it on or off. The power indicator light will illuminate when the monitor is on.
5.2. On-Screen Display (OSD) Menu
The OSD menu allows you to adjust various monitor settings. Use the joystick or buttons (location may vary) on the monitor to navigate the menu.
- Picture Settings: Adjust brightness, contrast, sharpness, color temperature, and gamma.
- Color Settings: Fine-tune RGB levels, saturation, and hue.
- Input Select: Manually switch between HDMI and DisplayPort inputs.
- Audio: Adjust volume for built-in speakers or headphone output.
- OSD Settings: Change OSD language, transparency, and timeout.
- Gaming Settings: Access features like Adaptive Sync, response time (OD), and crosshair overlays.
5.3. Gaming Features
- 180Hz Refresh Rate: Provides smoother motion and reduced input lag, especially beneficial for fast-paced games. Ensure your graphics card and cable support this refresh rate.
- 1ms Response Time (OD): Minimizes motion blur and ghosting for clear, crisp images during rapid movements.
- Adaptive Sync: Synchronizes the monitor's refresh rate with your graphics card's frame rate, eliminating screen tearing and stuttering. Enable this feature in the OSD menu and your graphics card control panel.

Image 5.1: Visual comparison illustrating the difference between 60Hz and 180Hz refresh rates, highlighting the smoother motion provided by the higher refresh rate, alongside the Adaptive Sync feature.
5.4. Eye Care Features
- Anti-Flicker Technology: Reduces screen flickering, which can cause eye strain during prolonged use.
- Low Blue Light Mode: Filters out harmful blue light emissions to protect your eyes and reduce fatigue. This mode can be activated through the OSD menu.
- Anti-Glare Screen: The matte screen surface minimizes reflections from ambient light, providing clear visuals without distraction.

Image 5.2: Depiction of the monitor's eye comfort features, including an anti-glare screen and technologies like Anti-Flicker and Low Blue Light for reduced eye strain.
5.5. RGB Ambient Lighting
The monitor features integrated RGB ambient lighting on the rear. This lighting can be customized via the OSD menu to enhance your gaming environment or match your setup's aesthetics.
6. Maintenance
6.1. Cleaning the Monitor
- Screen: Gently wipe the screen with a soft, lint-free cloth. For stubborn marks, lightly dampen the cloth with water or a specialized screen cleaner (ensure it's safe for LCD/IPS panels) and wipe gently. Never spray liquid directly onto the screen.
- Casing: Use a soft, dry cloth to wipe the monitor casing. Avoid using abrasive cleaners or solvents.
- Always disconnect the power cable before cleaning.
6.2. Storage
If storing the monitor for an extended period, disconnect all cables, pack it in its original packaging (if available), and store it in a cool, dry place away from direct sunlight and extreme temperatures.
7. Troubleshooting
This section addresses common issues you might encounter. If the problem persists, contact customer support.
| Problem | Possible Cause | Solution |
|---|---|---|
| No power | Power cable not connected; Power outlet faulty; Monitor off. | Ensure power cable is securely connected. Test the power outlet. Press the monitor's power button. |
| No signal / Blank screen | Video cable not connected; Incorrect input selected; Computer not outputting signal. | Check HDMI/DP cable connections. Select the correct input source via OSD. Ensure computer is on and outputting video. |
| Distorted image / Flickering | Incorrect resolution/refresh rate; Faulty cable; Graphics driver issue. | Set display resolution to 2560x1440 and refresh rate to 180Hz. Try a different video cable. Update graphics drivers. |
| No audio from speakers/headphones | Volume too low; Audio cable not connected; Incorrect audio output selected on PC. | Increase monitor volume via OSD. Ensure headphones/speakers are connected. Select monitor as audio output device in PC settings. |
8. Specifications
Detailed technical specifications for the Thomson M27QG5Y14 monitor.
| Feature | Specification |
|---|---|
| Brand | Thomson |
| Model | M27QG5Y14 |
| Screen Size | 27 Inches |
| Panel Type | IPS |
| Resolution | 2560 x 1440 (QHD) |
| Refresh Rate | 180 Hz |
| Response Time | 1 Millisecond (OD) / 5 Milliseconds (GtG) |
| Brightness | 350 Nits |
| Contrast Ratio | 1200:1 |
| Viewing Angle | 178 Degrees (Horizontal/Vertical) |
| Color Gamut | 120% sRGB |
| HDR Support | HDR10 (10-bit) |
| Adaptive Sync | Yes |
| Connectivity | 2x HDMI 2.1, 1x DisplayPort 1.2, 1x USB 3.0 Type-B (upstream), 3x USB 3.0 Type-A (downstream), 1x Earphone Plug (3.5mm) |
| Built-in Speakers | Yes (2x2W) |
| VESA Mount Compatibility | 100x100mm |
| Product Dimensions (with stand) | 61 x 54 x 24 cm (W x H x D) |
| Weight (with stand) | 7.3 kg |
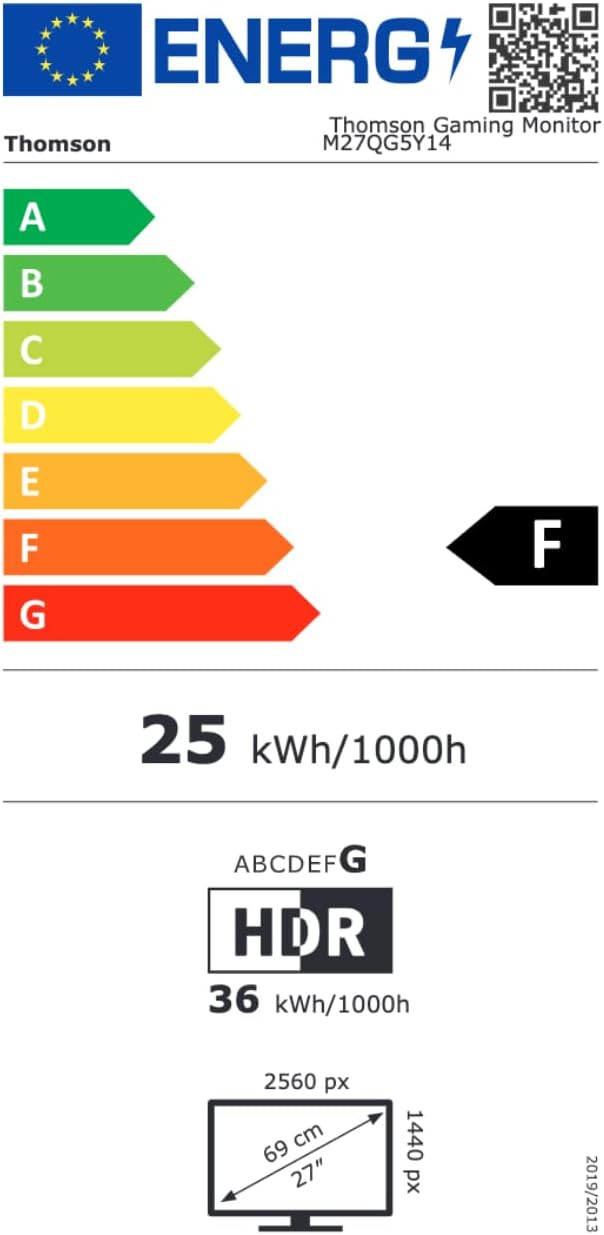
Image 8.1: EU Energy Label for the Thomson M27QG5Y14 monitor. For more details, visit the EPREL database.
9. Warranty and Support
Thomson products are designed for reliability and performance. This monitor typically comes with a 3-year warranty from the date of purchase, covering manufacturing defects. Please retain your proof of purchase for warranty claims.
For technical assistance, troubleshooting beyond this manual, or warranty inquiries, please contact Thomson customer support or your local retailer. Refer to the official Thomson website or your product packaging for specific contact details.
You can also visit the official Thomson store on Amazon for more information: Thomson Store.


