
1. Introduction
Thank you for choosing the DYONDER Wireless Switch Pro Controller. This controller is designed to enhance your gaming experience across multiple platforms, including Nintendo Switch, Switch Lite, Switch OLED, PC, Android, and iOS devices. It features advanced functionalities such as RGB lighting, Turbo function, adjustable vibration, and precise Hall Effect joysticks.

Image 1.1: Front view of the DYONDER Wireless Switch Pro Controller, showcasing its ergonomic design and button layout.
2. Package Contents
- 1 x DYONDER Wireless Switch Pro Controller
- 1 x USB-C Charging Cable
- 1 x User Manual
3. Controller Layout
Familiarize yourself with the buttons and features of your DYONDER controller:
- Left/Right Analog Sticks: For precise movement and camera control. Features Hall Effect technology for enhanced durability and accuracy.
- D-Pad: Directional input.
- A/B/X/Y Buttons: Standard action buttons.
- L/R Buttons: Shoulder buttons.
- ZL/ZR Triggers: Linear triggers for nuanced input, especially in racing games.
- + (Start) / - (Select) Buttons: System function buttons.
- Home Button: Returns to the system home screen.
- Screenshot Button: Captures screenshots.
- Turbo Button: Activates/deactivates Turbo function.
- Light Mode Button: Cycles through RGB lighting modes.
- Vibration Adjustment Button: Adjusts vibration intensity (located on the back).
- USB-C Port: For charging and wired connection.

Image 3.1: Detailed view of key controller components, highlighting the 3D joysticks, Hall triggers, D-pad, and screenshot button.
4. Setup
4.1 Charging the Controller
Before first use, fully charge the controller. Connect the provided USB-C cable to the controller's charging port and the other end to a USB power source (e.g., Nintendo Switch dock, PC, USB wall adapter). The charging indicator will show the charging status.
- Charging Time: Approximately 2-3 hours.
- Battery Life: Approximately 15-18 hours of gameplay on a full charge.

Image 4.1: The controller charging via USB-C, illustrating its battery capacity and usage duration.
4.2 Connecting to Nintendo Switch/Lite/OLED (Wireless)
- On your Nintendo Switch console, go to the HOME Menu.
- Select 'Controllers' > 'Change Grip/Order'.
- Press and hold the Home button on the DYONDER controller for 3-5 seconds until the LED indicators start flashing rapidly.
- Once connected, the corresponding player LED(s) on the controller will light up solid.
4.3 Connecting to PC (Wireless/Wired)
Wireless Connection (Bluetooth):
- Ensure your PC has Bluetooth enabled.
- Go to 'Bluetooth & other devices' settings on your PC.
- Select 'Add Bluetooth or other device' > 'Bluetooth'.
- Press and hold the Home button on the DYONDER controller for 3-5 seconds until the LED indicators flash rapidly.
- Select the controller from the list of available devices to pair.
Wired Connection:
- Connect the controller to your PC using the USB-C cable.
- The controller should be automatically recognized as a game controller.
4.4 Connecting to Android/iOS (Wireless)
The controller supports Android HID mode and iOS games.
- Enable Bluetooth on your Android or iOS device.
- Go to Bluetooth settings.
- Press and hold the Home button on the DYONDER controller for 3-5 seconds until the LED indicators flash rapidly.
- Select the controller from the list of available devices to pair.

Image 4.2: Visual representation of the controller's wide compatibility across various gaming platforms.
5. Operating Instructions
5.1 Power On/Off
- Power On: Press the Home button once.
- Power Off: Press and hold the Home button for 5 seconds. The controller will also power off automatically after 5 minutes of inactivity.
5.2 RGB Lighting Modes
The controller features an embedded RGB strip with 8 colors and 3 lighting modes. Press the dedicated Light Mode button to cycle through the modes:
- Strobe Mode: Rapid flashing of colors.
- Breathing Mode: Colors fade in and out.
- Static Mode: A single, constant color.
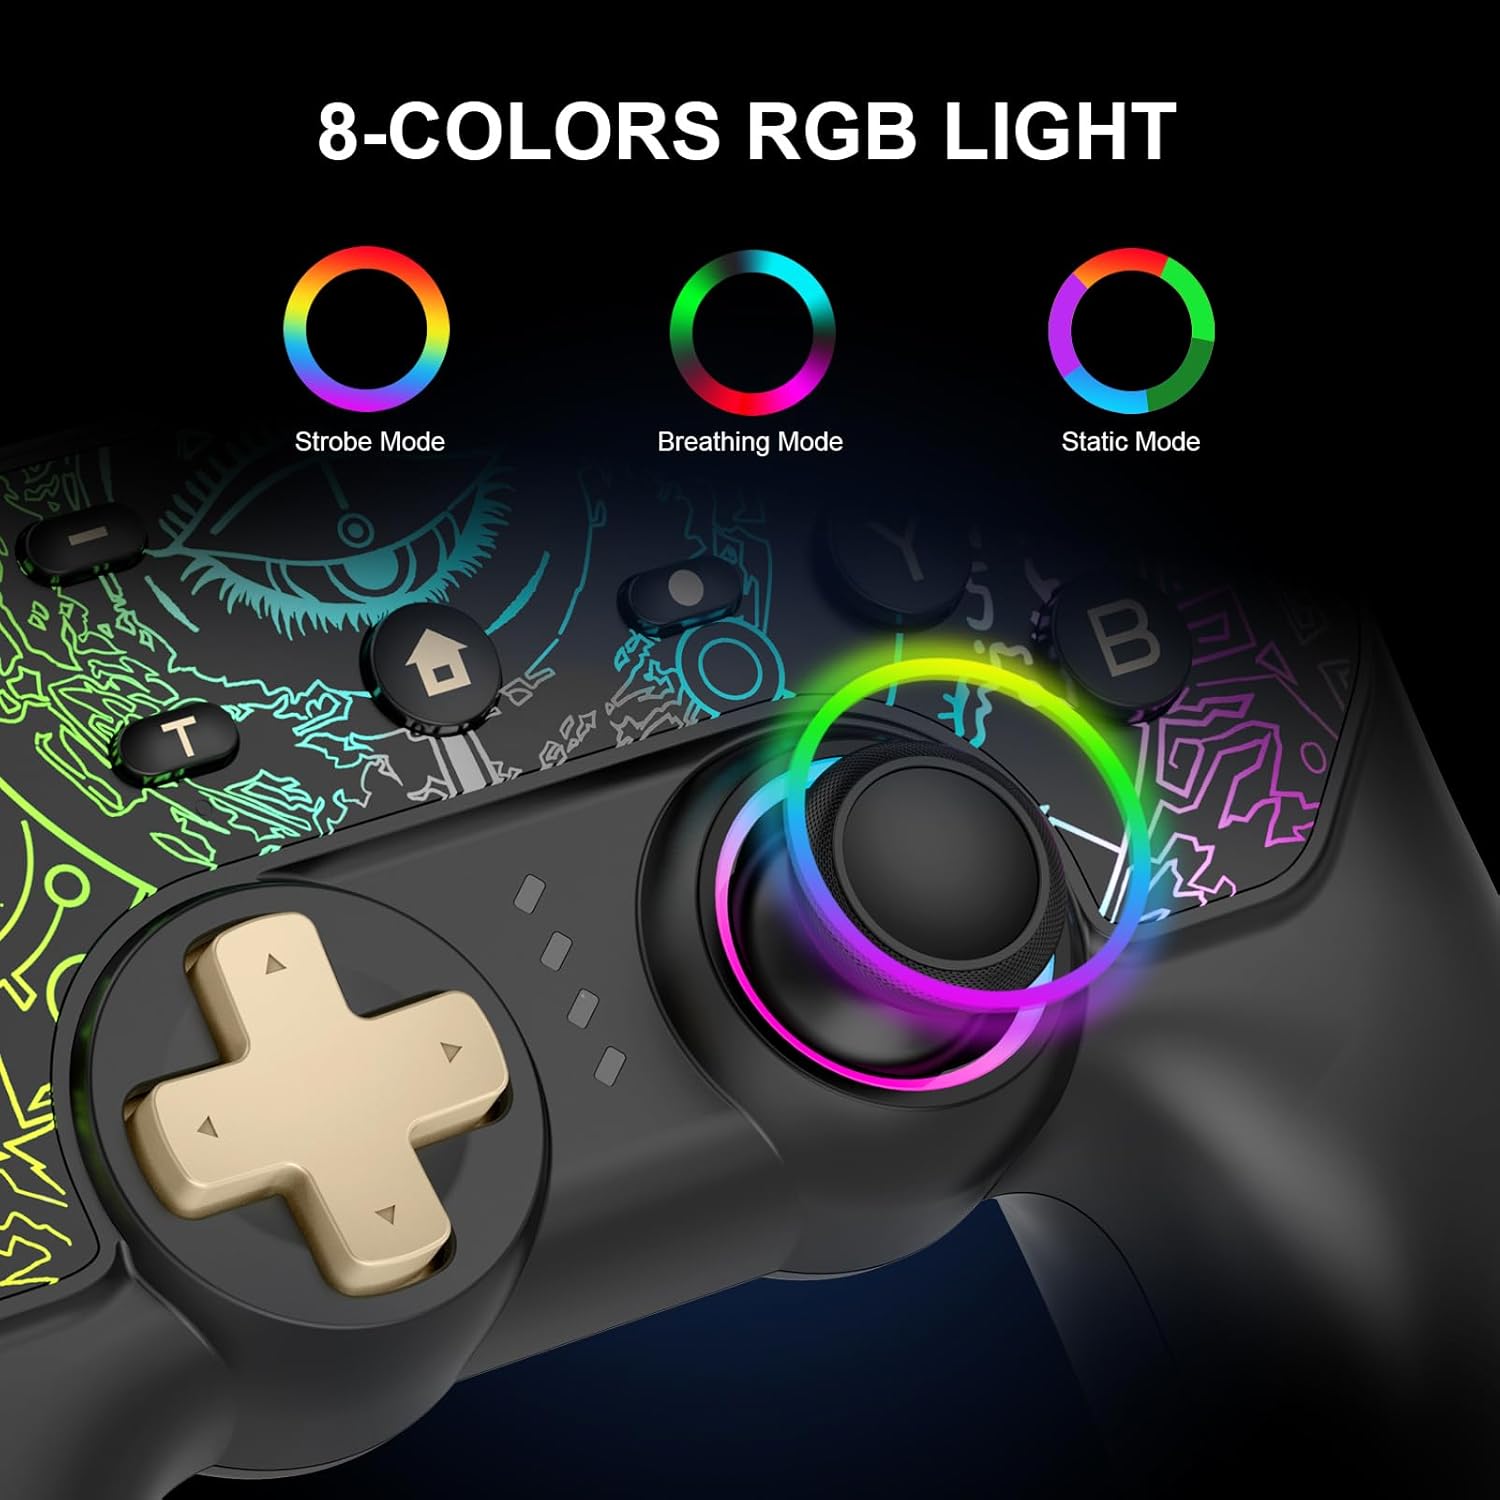
Image 5.1: Illustration of the 8-color RGB lighting and its three distinct modes.

Image 5.2: Another view of the RGB lighting, detailing the Breathing, Constant Light, and Flashing modes.
5.3 Turbo Function
The Turbo function allows for continuous rapid firing of a button. To activate or deactivate:
- Press and hold the Turbo button, then press the desired action button (A/B/X/Y, L/R, ZL/ZR) to set Turbo.
- Repeat the process to deactivate Turbo for that button.
You can also adjust the Turbo speed:
- Press 'T' button + Right Stick Up: Increase Turbo speed.
- Press 'T' button + Right Stick Down: Decrease Turbo speed.
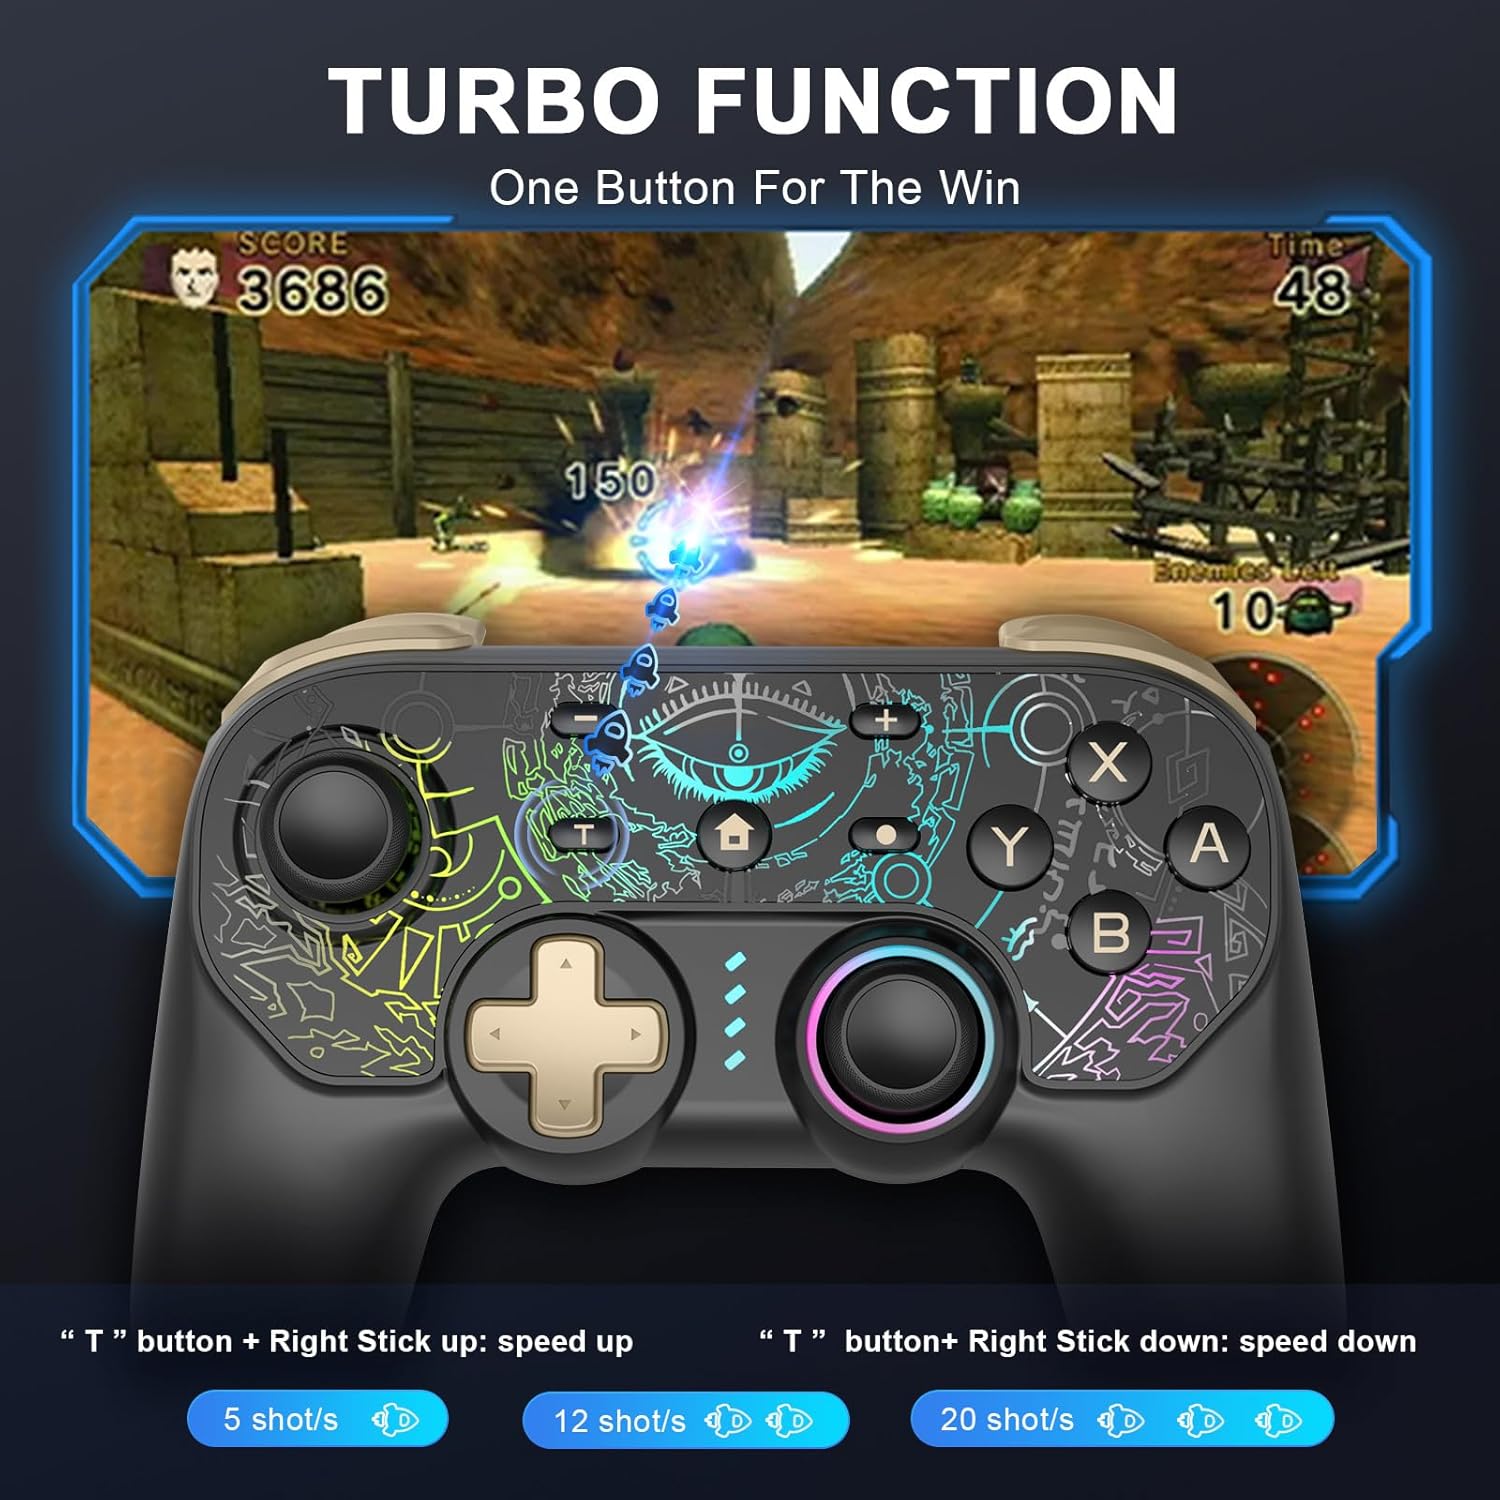
Image 5.3: Visual guide to activating and adjusting the Turbo function for rapid input.
5.4 Vibration Adjustment
The controller features 5 adjustable vibration modes. Use the Vibration Adjustment button on the back of the controller to cycle through the intensity levels.

Image 5.4: Depiction of the controller's 5-level vibration feedback system.
5.5 Hall Effect Joysticks and Linear Triggers
The controller is equipped with Hall Effect joysticks, which utilize magnetic sensors for enhanced precision and to prevent drift over time. The linear triggers provide accurate input, ranging from weak to strong, ideal for games requiring nuanced control like racing simulations.

Image 5.5: An illustration demonstrating the internal mechanism and benefits of the Hall Effect joystick technology.
5.6 6-Axis Gyro Motion Control
The integrated 6-axis gyroscope allows for precise motion control, enabling intuitive direction and view adjustments in compatible games.
Image 5.6: Visual representation of the 6-axis gyro motion control capability.
5.7 Screenshot Function
Press the dedicated Screenshot button to capture in-game moments instantly.
6. Maintenance
- Keep the controller dry and away from extreme temperatures.
- Clean the controller with a soft, dry cloth. Avoid using harsh chemicals or abrasive materials.
- Store the controller in a safe place to prevent damage when not in use.
7. Troubleshooting
- Controller not connecting: Ensure the controller is charged. Try re-pairing the controller by following the connection steps for your specific device. Ensure Bluetooth is enabled on your device.
- Input lag or unresponsiveness: Ensure the controller is fully charged. Move closer to your device to reduce potential interference. For PC, try a wired connection.
- Buttons not working: Ensure the controller is properly connected. If specific buttons are unresponsive, contact customer support.
- Vibration not working: Check if vibration is enabled in your game settings. Ensure the vibration intensity is not set to the lowest level on the controller.
- RGB lights not working: Press the Light Mode button to cycle through modes. Ensure the controller has sufficient battery.
8. Specifications
| Feature | Detail |
|---|---|
| Model | B0DKT5Q16N |
| Connectivity | Wireless (Bluetooth), Wired (USB-C) |
| Compatibility | Nintendo Switch/Lite/OLED, PC (Windows 7/8/10), Android (HID mode), iOS |
| Battery Capacity | 1000mAh Lithium Polymer (included) |
| Charging Time | 2-3 hours |
| Playing Time | 15-18 hours |
| Special Features | 8-Color RGB Lighting (3 modes), Turbo Function, 5-Level Vibration, Hall Effect Joysticks, 6-Axis Gyro Motion Control, Linear Triggers |
| Item Weight | 10.6 ounces |
| Package Dimensions | 6.5 x 5.12 x 2.64 inches |
9. Warranty and Support
DYONDER provides after-sales support for its products. If you encounter any issues or have questions regarding your controller, please contact our professional after-sales team. We are dedicated to ensuring your complete satisfaction.
For assistance, please refer to the contact information provided with your purchase or visit the official DYONDER support website.
