1. Introduction
This manual provides essential information for the safe and effective operation of your Donner DDA-1000 Electric Drum Amplifier. Please read this manual thoroughly before use and retain it for future reference. The DDA-1000 is designed to deliver powerful and clear sound for electronic drums and other instruments, featuring versatile connectivity and robust construction.
2. Safety Information
- Power Supply: Use only the specified power adapter. Ensure the voltage matches the requirements of your region.
- Water and Moisture: Do not expose this appliance to rain or moisture. Do not place objects filled with liquids, such as vases, on the apparatus.
- Heat Sources: Do not place near any heat sources such as radiators, heat registers, stoves, or other apparatus (including amplifiers) that produce heat.
- Ventilation: Ensure proper ventilation. Do not block any ventilation openings.
- Cleaning: Clean only with a dry cloth.
- Servicing: Do not attempt to service this product yourself. Refer all servicing to qualified service personnel.
- Placement: Place the amplifier on a stable, level surface. Avoid placing it in direct sunlight or in areas with excessive dust or vibration.
3. Package Contents
Verify that all items are present in the package:
- Donner DDA-1000 Electric Drum Amplifier
- Power Adapter
- User Manual (this document)
4. Product Overview
4.1 Key Features
- Powerful Output: Delivers 1000W peak output for immersive sound.
- Optimized for E-Drums: Tuned for electronic drums with deep bass and crisp highs (25Hz-20kHz frequency response).
- Stereo Sound System: Features a 10-inch woofer and a 1-inch tweeter for dynamic audio.
- Versatile Connectivity: Includes dual 1/4'' XLR inputs with independent volume and EQ, USB, and Bluetooth connectivity.
- Sound Expansion: XLR output allows connection to other audio devices.
- Audio Optimization: HPF (High-Pass Filter) EQ switch for sound adaptation and GND (Ground) switch to eliminate ground loop noise.
- Durable Construction: Sturdy wooden enclosure designed for enhanced sound performance and longevity.
4.2 Physical Characteristics

The amplifier measures approximately 15.96 inches (44.6 cm) in width, 12 inches (30.5 cm) in height, and 12.13 inches (30.8 cm) in depth.

The amplifier can be positioned at a 15-degree angle for optimal sound projection, suitable for various performance or practice settings.
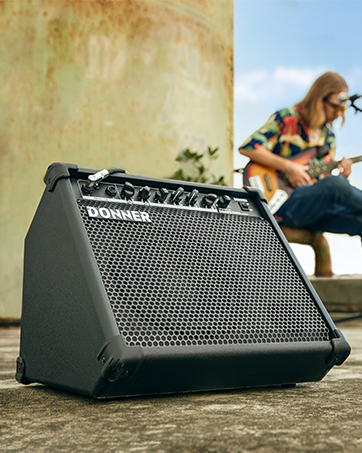
The amplifier features an integrated handle for easy transport, making it convenient for multi-scene use.
The DDA-1000 can be used as a floor monitor or mounted on a speaker stand (stand not included) for diverse setups.
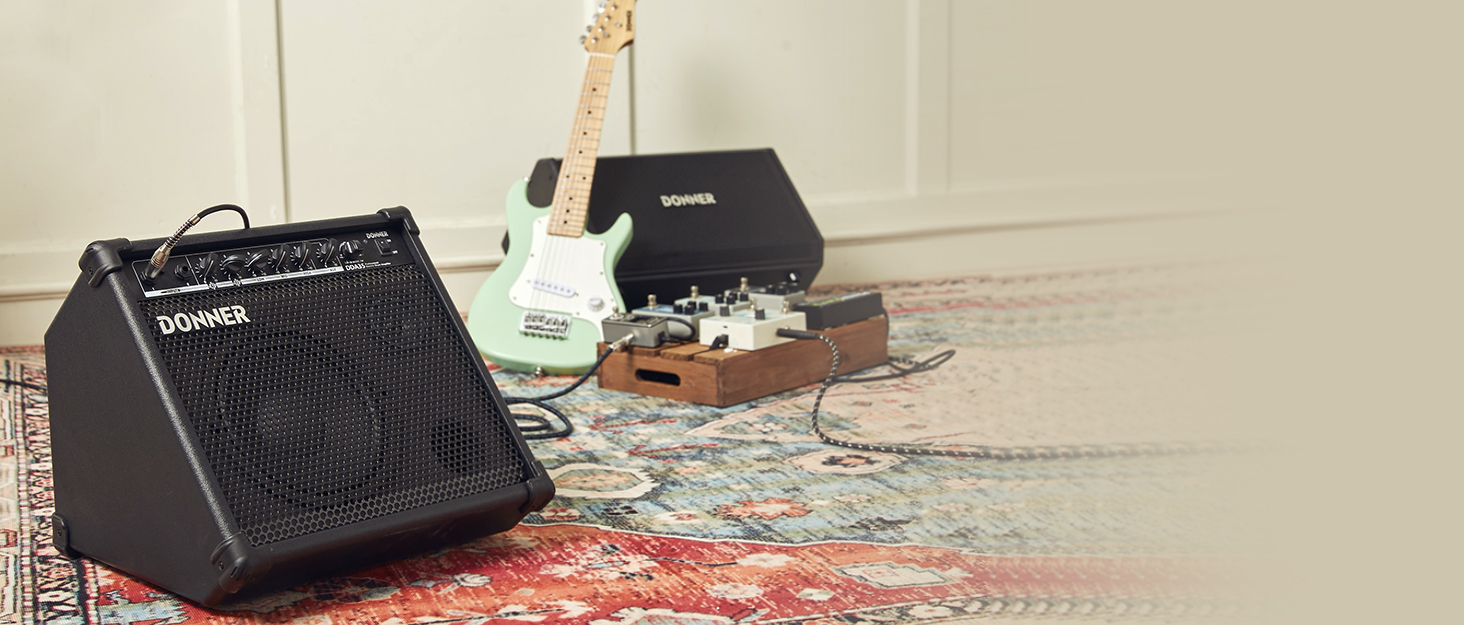
4.3 Controls and Connections

The main control panel features inputs, EQ controls, and various connectivity options.

These switches provide advanced audio control for optimal sound and noise reduction.
- CH1 / CH2 Inputs: Dual 1/4" XLR combo jacks for connecting instruments like electronic drums or microphones.
- Volume Controls: Independent volume knobs for CH1 and CH2.
- EQ Controls: Independent Bass, Middle, and Treble controls for each channel to shape your sound.
- USB Port: For connecting USB devices.
- Bluetooth (BT) Button: Activates Bluetooth pairing mode.
- AUX Input: 3.5mm stereo input for external audio sources.
- LIVE / OTG: Output options for live streaming or On-The-Go recording.
- GND Switch: Eliminates ground loop hum.
- HPF (100Hz) Switch: Engages a high-pass filter at 100Hz to remove low-frequency rumble.
- OUT (BALANCE) XLR Output: Balanced XLR output for connecting to a mixer or another amplifier.
5. Setup
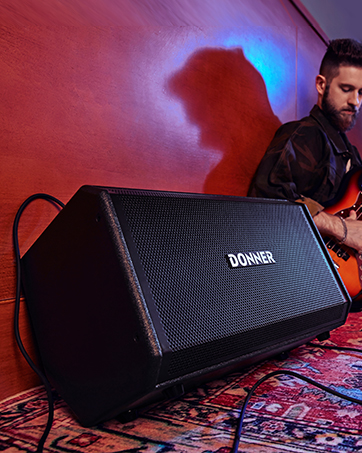
- Placement: Position the DDA-1000 on a stable surface. For optimal sound projection, consider tilting it back or placing it on a speaker stand.
- Power Connection: Connect the provided power adapter to the amplifier's power input and then to a suitable AC power outlet.
- Initial Power On: Ensure all volume knobs are set to minimum before powering on the unit. Press the power switch to turn on the amplifier.
- Instrument Connection: Connect your electronic drum kit or other instruments to the CH1 or CH2 XLR/1/4" combo inputs using appropriate cables.
- External Audio (Optional): For connecting a phone or media player, use the AUX input or Bluetooth.
- Output Connection (Optional): If connecting to a mixer or another amplifier, use the XLR OUT port.
6. Operating Instructions
6.1 Basic Operation
- Adjusting Volume: Slowly increase the volume knob for the connected channel (CH1 or CH2) to your desired listening level.
- Equalization (EQ): Use the Bass, Middle, and Treble knobs for each channel to adjust the tonal characteristics of your instrument. Turn clockwise to boost, counter-clockwise to cut.
- HPF Switch: Engage the HPF (High-Pass Filter) switch if you need to cut out low-frequency rumble, especially useful in certain performance or recording scenarios.
- GND Switch: If you experience a persistent hum or buzz, try engaging the GND (Ground) switch to eliminate ground loop noise.
6.2 Bluetooth Connectivity
- Press the BT button on the control panel. The Bluetooth indicator light will begin to flash, indicating it is in pairing mode.
- On your mobile device (smartphone, tablet, etc.), open the Bluetooth settings and search for available devices.
- Select "DDA-1000" from the list of devices to pair.
- Once successfully paired, the Bluetooth indicator light on the amplifier will remain solid. You can now play audio from your device through the amplifier.
6.3 USB / OTG Functionality
The USB port and OTG (On-The-Go) function allow for direct digital audio connection to compatible devices for recording or playback. Refer to your connected device's manual for specific setup instructions when using these features.
7. Maintenance
- Cleaning: Use a soft, dry cloth to clean the exterior of the amplifier. Do not use liquid cleaners or aerosols.
- Storage: When not in use for extended periods, store the amplifier in a cool, dry place, away from direct sunlight and extreme temperatures.
- Ventilation: Ensure the ventilation openings are free from dust and debris to prevent overheating.
8. Troubleshooting
| Problem | Possible Cause | Solution |
|---|---|---|
| No sound output | Power not connected; Volume too low; Instrument cable faulty; Incorrect input selected. | Check power connection and switch; Increase volume; Test instrument cable; Ensure instrument is connected to correct input. |
| Humming or buzzing noise | Ground loop issue; Faulty cable; Interference. | Engage the GND switch; Try a different cable; Move amplifier away from other electronic devices. |
| Bluetooth not pairing | Amplifier not in pairing mode; Device too far; Interference. | Press the BT button to activate pairing mode (flashing light); Ensure device is within range; Restart both amplifier and device. |
| Sound distortion | Input signal too high; Volume too high; EQ settings extreme. | Reduce input gain from instrument; Lower amplifier volume; Adjust EQ settings to a more neutral position. |
| Delay when adjusting knobs | Normal operational characteristic for digital controls. | This is a known characteristic. Make adjustments slowly and allow a brief moment for the change to register. |
9. Specifications

Key performance metrics of the DDA-1000 amplifier.
The DDA-1000 features a 10-inch woofer and a 1-inch tweeter.
- Model: DDA-1000
- Output Wattage: 1000 Watts (Peak)
- Item Weight: 15.35 pounds
- Product Dimensions: 17.56 x 12.13 x 12.01 inches
- Color: Black
- Material: Metal, Plastic, Wood
- Compatible Devices: Drum
- Connector Type: USB, XLR
- Power Source: AC adapter
- Frequency Response: 25Hz-20kHz
- Max SPL: 105 dB
- Woofer Size: 10 inches
- Tweeter Size: 1 inch
10. Warranty Information
Donner products are designed and manufactured to high-quality standards. For specific warranty details, including coverage period and terms, please refer to the warranty card included with your product or visit the official Donner website. Keep your purchase receipt as proof of purchase for any warranty claims.
11. Support
If you encounter any issues or have questions not covered in this manual, please contact Donner customer support. Contact information can typically be found on the official Donner website or on the product packaging.
Website: www.donnerdeal.com