
STARLYF STARLYF Climate Control
STARLYF Portable Air Conditioner User Manual
Model: STARLYF Climate Control
1. Product Overview
The STARLYF Climate Control unit is a versatile appliance designed to provide both heating and fan functions for your indoor environment. It features a compact, wall-mountable design, digital temperature control, and a convenient remote control for ease of use. This manual provides essential information for the safe and efficient operation of your unit.

Image 1.1: STARLYF Climate Control unit and its remote control.
2. Important Safety Instructions
Please read all instructions carefully before using this appliance and retain them for future reference. Failure to follow these instructions may result in electric shock, fire, or serious injury.
- Ensure the power supply voltage matches the rating label on the appliance.
- Do not operate the appliance with a damaged cord or plug.
- Do not insert any objects into the air vents.
- Keep flammable materials at least 1 meter away from the appliance.
- This appliance is for indoor use only.
- Always unplug the appliance before cleaning or maintenance.
- Do not cover the appliance during operation.
- The appliance features an automatic shut-off function for overheat protection. If it shuts off, unplug it and allow it to cool before restarting.
3. Package Contents
Verify that all items listed below are present in your package:
- 1 x STARLYF Climate Control Unit
- 1 x Remote Control
- 1 x Remote Control Holder
- 1 x Set of Installation Accessories (screws, wall plugs)
- 1 x Instruction Manual (this document)

Image 3.1: Included components and dimensions of the STARLYF Climate Control unit.
4. Installation and Setup
The STARLYF Climate Control unit is designed for wall mounting. Choose a suitable location away from direct sunlight, heat sources, and areas with high humidity. Ensure there is sufficient clearance around the unit for proper airflow.
4.1 Wall Mounting
- Select Location: Choose a sturdy wall surface. Ensure the mounting height allows for optimal air circulation and easy access to controls.
- Mark Drilling Points: Use the provided mounting template or measure the distance between the mounting holes on the back of the unit. Mark these points on the wall.
- Drill Holes: Drill holes at the marked points using an appropriate drill bit for your wall type. Insert the wall plugs (if required).
- Secure Unit: Align the unit with the drilled holes and secure it to the wall using the provided screws. Ensure the unit is level and firmly attached.
- Power Connection: Plug the power cord into a suitable electrical outlet.

Image 4.1: Example of the unit mounted on a wall.
5. Operating Instructions
The STARLYF Climate Control unit can be operated using the touch control panel on the unit or the included remote control.
5.1 Control Panel and Remote Control Overview

Image 5.1: Control panel layout and indicators.
Control Panel Indicators:
- ON/OFF Indicator: Shows if the unit is powered on.
- HEAT MODE: Indicates heating function is active.
- FAN MODE: Indicates fan-only function is active.
- TIMER IN USE: Indicates the timer function is active.
Control Panel Buttons:
- ON/OFF (Power Button): Turns the unit on or off.
- HEAT/FAN (Mode Button): Toggles between heating mode and fan-only mode.
- TIMER Button: Activates and sets the timer for automatic shut-off (up to 6 hours).
- Temperature +/- Buttons: Adjusts the desired temperature setting.
5.2 Basic Operation
- Power On/Off: Press the ON/OFF button on the unit or remote control.
- Select Mode: Press the HEAT/FAN button to switch between heating and fan modes. The corresponding indicator light will illuminate.
- Set Temperature (Heating Mode): In heating mode, use the Temperature +/- buttons to set your desired temperature. The digital display will show the set temperature.
- Set Timer: Press the TIMER button repeatedly to set the desired operating time (e.g., 1 hour, 2 hours, up to 6 hours). The unit will automatically turn off after the set time.
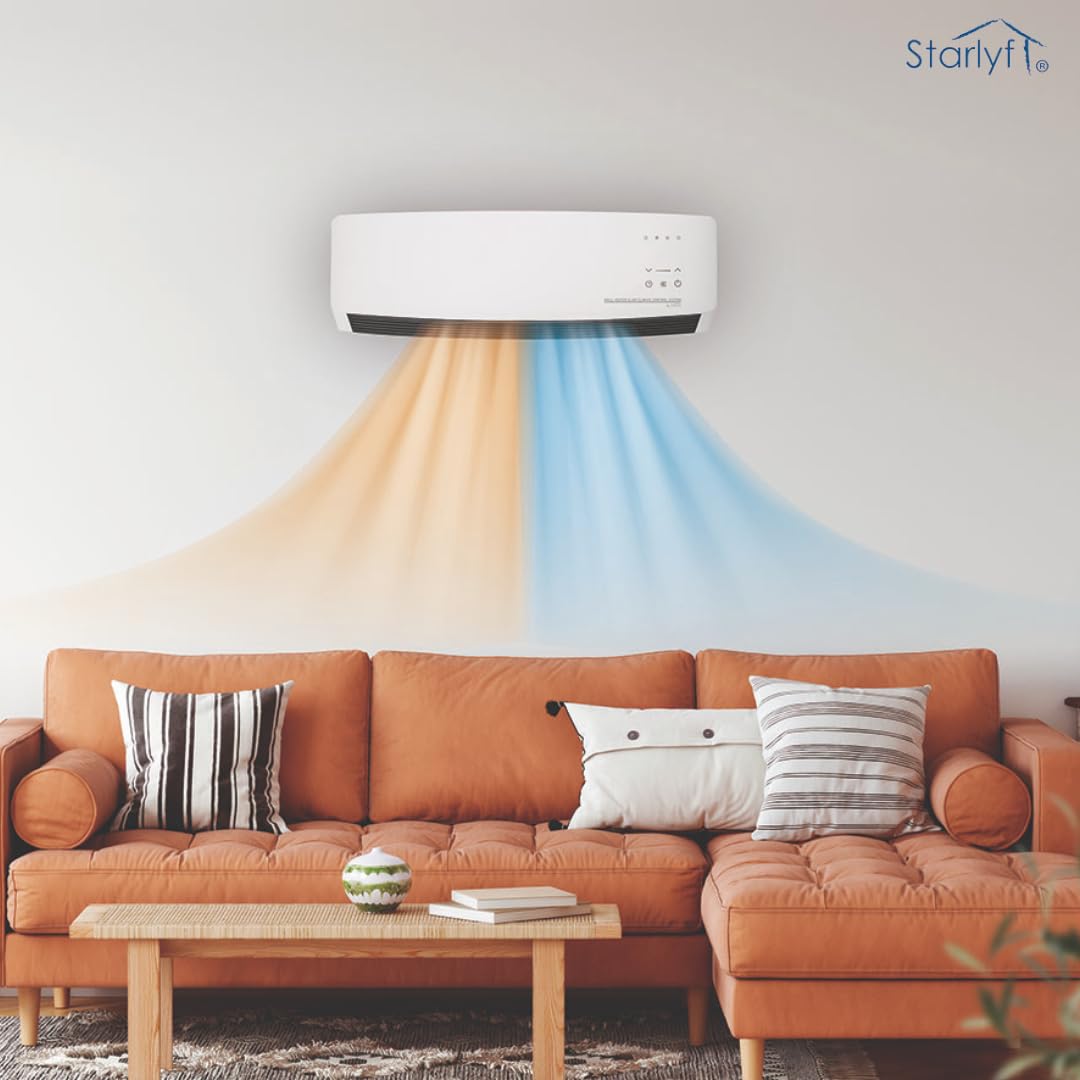
Image 5.2: The unit provides both heating (orange) and fan (blue) functions.
6. Maintenance
Regular maintenance ensures optimal performance and extends the lifespan of your STARLYF Climate Control unit.
6.1 Cleaning
- Always unplug the unit before cleaning.
- Wipe the exterior of the unit with a soft, damp cloth. Do not use abrasive cleaners or solvents.
- Use a vacuum cleaner with a brush attachment to gently remove dust from the air intake and outlet grilles.
- Do not immerse the unit in water or spray water directly onto it.
6.2 Storage
If storing the unit for an extended period, unplug it, clean it thoroughly, and store it in a cool, dry place, preferably in its original packaging.
7. Troubleshooting
Refer to the table below for common issues and their potential solutions.
| Problem | Possible Cause | Solution |
|---|---|---|
| Unit does not turn on. | No power supply. Overheat protection activated. | Check if the unit is properly plugged into a working outlet. Unplug the unit, wait 30 minutes for it to cool down, then plug it back in. Ensure vents are not blocked. |
| No heat/fan output. | Incorrect mode selected. Air vents blocked. | Ensure the correct mode (HEAT or FAN) is selected. Check for obstructions around the air intake and outlet. |
| Remote control not working. | Batteries are dead or incorrectly inserted. Obstruction between remote and unit. | Replace batteries (ensure correct polarity). Remove any objects blocking the signal path. |
| Unit makes unusual noise. | Loose components. Dust accumulation. | Unplug the unit and check for any loose parts. If noise persists, contact customer support. Clean the unit as per maintenance instructions. |
8. Specifications
| Feature | Detail |
|---|---|
| Brand | STARLYF |
| Model | Climate Control |
| ASIN | B0DKK69H2X |
| Type | Wall-mounted Heater and Fan |
| Power (Heating) | 1600W (as per image `61-nN7PkiVL._SL1080_.jpg`) |
| Dimensions (LxWxH) | 54 x 9 x 18 Centimeters |
| Item Weight | 2 kg 790 g |
| Color | White |
| Special Features | Remote Controlled, Digital Temperature Setting, Timer, Overheat Protection |
9. Warranty and Support
For warranty information or technical support, please refer to the contact details provided with your purchase documentation or visit the official STARLYF website. Keep your proof of purchase for any warranty claims.
Related documentsSTARLYF Climate Control


Ask a question about this manual
Ask about setup, troubleshooting, compatibility, parts, safety, or missing instructions. Manuals+ will review the question and use this page’s manual context to help answer it.