
Introduction
Thank you for choosing the Hicarer Decorative Round Wall Mirrors. This manual provides essential information for the safe and proper installation, use, and maintenance of your new wall art. Please read these instructions carefully before installation and retain them for future reference.
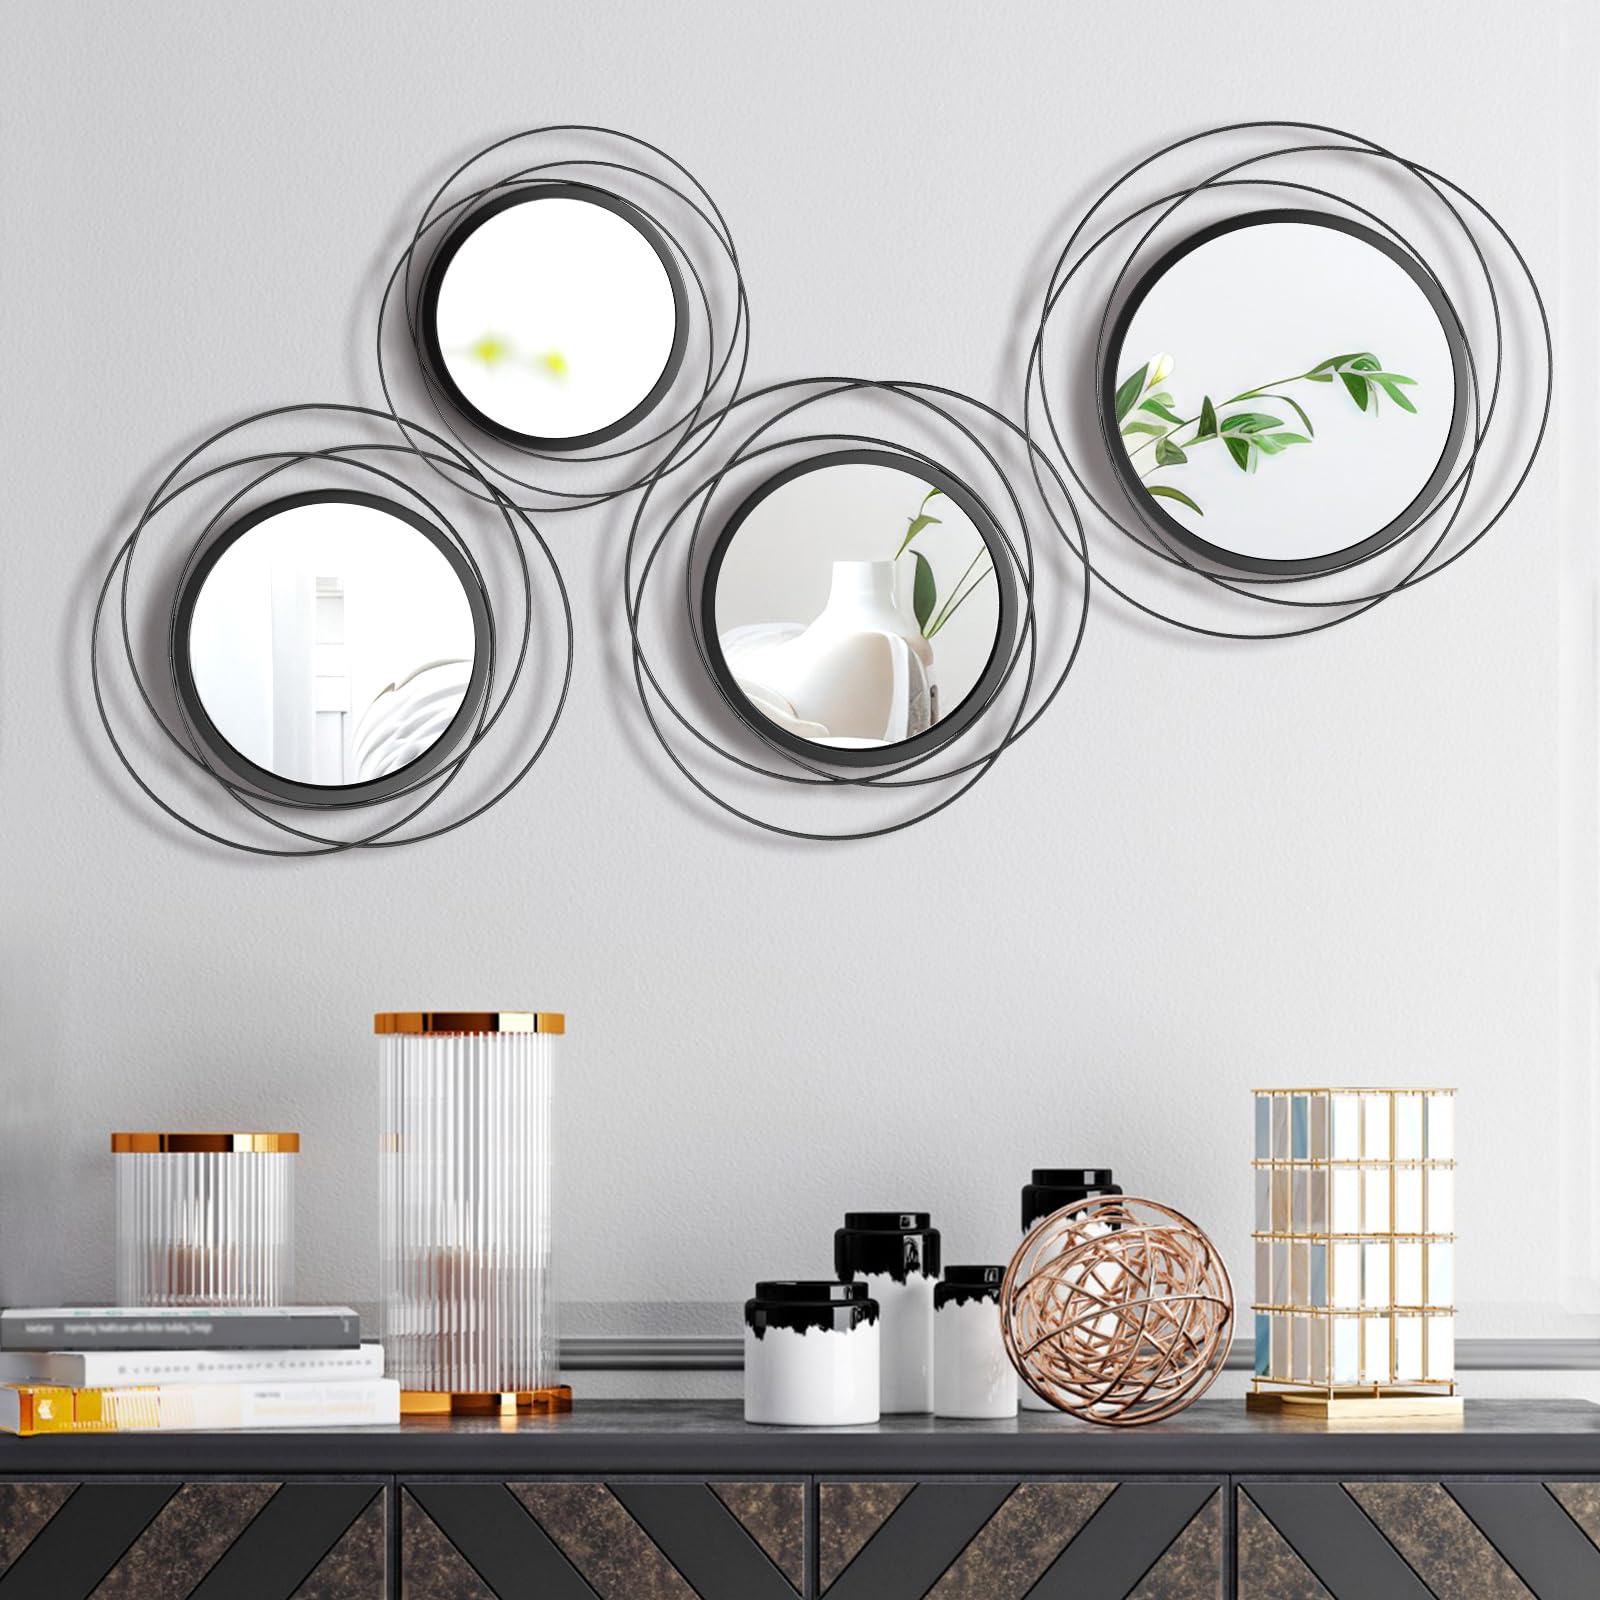
Image: Four Hicarer decorative round wall mirrors with black metal frames, arranged artistically on a white wall.
Safety Information
Handle with care during installation to avoid injury from sharp edges. Ensure the wall can support the weight of the mirrors before mounting. Always use appropriate mounting hardware for your specific wall type (e.g., drywall anchors, stud screws) to ensure secure installation. Keep mirrors out of reach of children and pets to prevent accidental damage or injury.
Package Contents
Your package includes:
- 4 x Hicarer Decorative Round Wall Mirrors (Black)
- Installation hardware (e.g., keyhole hooks are integrated into the mirror frame; mounting screws/nails are typically not included and must be selected based on wall type).

Image: Diagram illustrating the four Hicarer decorative round wall mirrors with their individual dimensions (12 inches, 12 inches, 14 inches, and 10 inches).
Setup and Installation
- Choose Location: Select a suitable wall location in your living room, bedroom, entryway, dining room, or hallway. Consider the overall aesthetic and ensure the wall surface is clean and dry.
- Plan Arrangement: Before drilling, experiment with different arrangements of the four mirrors on the floor or by temporarily taping paper cutouts to the wall to visualize the final look.
- Mark Mounting Points: Once you have decided on the arrangement, carefully measure and mark the precise points on the wall where each mirror's keyhole hook will align with your chosen mounting hardware (e.g., screw heads).
- Install Mounting Hardware: Install appropriate screws or nails into the marked points on the wall. Ensure they are securely fastened and protrude enough to engage with the keyhole hooks but not so much that the mirror stands off the wall. For drywall, use suitable anchors.
- Hang Mirrors: Carefully align the keyhole hook on the back of each mirror with the installed mounting hardware and gently lower the mirror into place. Ensure it is stable and level.

Image: Close-up view of the keyhole hanging hook on the back of a Hicarer decorative mirror.
Installation Video Guide
Video: This video demonstrates the Hicarer decorative wall mirrors, showcasing their design, the keyhole hanging mechanism on the back, and various arrangement possibilities.
Operating Instructions (Display)
The Hicarer Decorative Round Wall Mirrors are designed to enhance your living space with a modern, minimalist aesthetic. Once installed, they serve as a striking visual element. You can arrange them in various configurations to suit your personal style and room layout. They are suitable for a wide range of applications, including:
- Living Rooms: Above a sofa or console table.
- Bedrooms: As a decorative headboard accent or on an empty wall.
- Entryways: To create an inviting first impression.
- Dining Rooms: To add depth and light.
- Hallways: To break up long wall spaces.
Their reflective surfaces can also help to make rooms feel more spacious and brighter by reflecting natural or artificial light.
Maintenance
- Mirror Cleaning: Use a soft, lint-free cloth and a non-abrasive glass cleaner. Spray the cleaner onto the cloth, not directly onto the mirror, to prevent liquid from seeping behind the glass. Wipe gently until clean and streak-free.
- Frame Cleaning: Wipe the metal frame with a soft, dry cloth to remove dust. For stubborn marks, a slightly damp cloth can be used, followed immediately by a dry cloth to prevent water spots or rust. Avoid harsh chemicals or abrasive cleaners.
- Regular Checks: Periodically check the mounting hardware to ensure the mirrors remain securely attached to the wall. Tighten screws if necessary.
Troubleshooting
| Problem | Possible Cause | Solution |
|---|---|---|
| Mirror appears unstable or loose on the wall. | Mounting hardware is not fully engaged with the keyhole hook, or the hardware is loose. | Carefully remove the mirror and re-engage the keyhole hook with the mounting hardware. Ensure the screw/nail is securely fastened into the wall. If necessary, use stronger or more appropriate wall anchors. |
| Streaks or residue on the mirror surface after cleaning. | Using too much cleaner, an unsuitable cleaner, or a non-lint-free cloth. | Use a minimal amount of glass cleaner applied to a clean, soft, lint-free microfiber cloth. Wipe in one direction for best results. Avoid paper towels. |
| Damage to mirror or frame during installation. | Improper handling or accidental impact. | Handle mirrors with extreme care. If damage occurs, assess if the mirror is still safe to use. Sharp edges from broken glass pose a significant hazard. Contact customer support if the product arrived damaged. |
Specifications
| Feature | Detail |
|---|---|
| Brand | Hicarer |
| Model Number | B0DKJV8PDS |
| Product Type | Decorative Wall Mirrors |
| Quantity | 4 pieces |
| Shape | Round |
| Color | Black |
| Frame Material | Iron |
| Mounting Type | Wall Mount (Keyhole Hook) |
| Approximate Dimensions (Individual Mirrors) | 10 inches, 12 inches, 12 inches, 14 inches (diameter) |
| Required Assembly | No (installation required) |
Warranty Information
Specific warranty details for the Hicarer Decorative Round Wall Mirrors are not provided within this manual. For information regarding product warranty, please refer to the product packaging or contact Hicarer customer support directly.
Customer Support
If you have any questions, concerns, or require assistance with your Hicarer Decorative Round Wall Mirrors, please contact the manufacturer or retailer from whom you purchased the product. Please have your model number (B0DKJV8PDS) and purchase date available when contacting support.