
Introduction
The Biling DG10902 Solar Drip Irrigation System 2.5W is designed to provide automated watering for your plants, utilizing solar power for efficient and convenient operation. This manual provides detailed instructions for installation, operation, and maintenance to ensure optimal performance of your irrigation system.
Product Overview and Components
Familiarize yourself with the components included in your Biling DG10902 Solar Drip Irrigation System package:

Image: Package contents of the Biling DG10902 Solar Drip Irrigation System. This image displays all components included in the Biling DG10902 Solar Drip Irrigation System package. It shows the solar panel, controller, drippers, support stake, 15m hose, three-way connectors, water level detection sensor, screws, filter, and siphon prevention device.
- Solar Panel: 1 unit
- Controller: 1 unit
- Drippers: 15 units
- Support Stake: 1 unit
- 15m Hose: 1 unit
- Three-way Connectors: 15 units
- Water Level Detection Sensor: 1 unit
- Screws: 2 units
- Filter: 1 unit
- Siphon Prevention Device: 1 unit
Setup Instructions
Follow these steps to correctly set up your solar drip irrigation system:

Image: Diagram of the Biling DG10902 Solar Drip Irrigation System setup. This comprehensive diagram illustrates the complete setup of the Biling DG10902 automatic drip irrigation kit, including the solar panel, controller, water reservoir, hoses, drippers, and the siphon prevention device. It also advises placing the controller higher than the water source.
- Prepare Water Source: Place a water container (e.g., a bucket or reservoir) in a suitable location near your plants.
- Install Controller: Mount the controller securely. It is crucial to place the controller higher than the water source to prevent backflow and ensure proper operation.
- Connect Water Level Sensor: Connect the water level detection sensor cable to the designated port on the controller (labeled '7' in the control panel image) and place the sensor inside your water container.
- Connect Solar Panel: Connect the solar panel cable to the solar panel input port on the controller (labeled '8' in the control panel image). Position the solar panel in a location that receives maximum direct sunlight throughout the day for optimal charging.
- Install Filter: Attach the filter to the 'In' port (suction port, labeled '6' in the control panel image) of the controller. Ensure the filter is submerged in the water container to prevent debris from entering the system.
- Connect Hose and Drippers:
- Cut the 15m hose into appropriate lengths to reach your plants.
- Use the three-way connectors to create the desired irrigation layout, distributing water to multiple plants.
- Attach drippers to the end of each hose segment, positioning them near the plant roots.
- Connect the main hose line from your dripper network to the 'Out' port (water supply port, labeled '5' in the control panel image) on the controller.
- Secure Drippers: Use the provided support stakes to secure the drippers in place, ensuring they remain close to the plant roots for efficient watering.
- Install Siphon Prevention Device: Integrate the siphon prevention device into your main hose line as indicated in the system diagram. This prevents continuous water flow due to siphoning when the pump is off.

Image: Biling DG10902 Controller with labeled ports and buttons. This image highlights the connection points on the Biling DG10902 controller. 'Out' (5) is the water supply port, 'In' (6) is the suction port, (7) is the water level detection sensor cable connection, and (8) is the solar panel connection cable. The display shows (1) Interval Time, (2) Watering Time, (3) Plus button for value adjustment, and (4) SET/ON/OFF button for mode switching and power control.
Operating Instructions
Once the system is set up, follow these steps to operate your Biling DG10902 irrigation system:
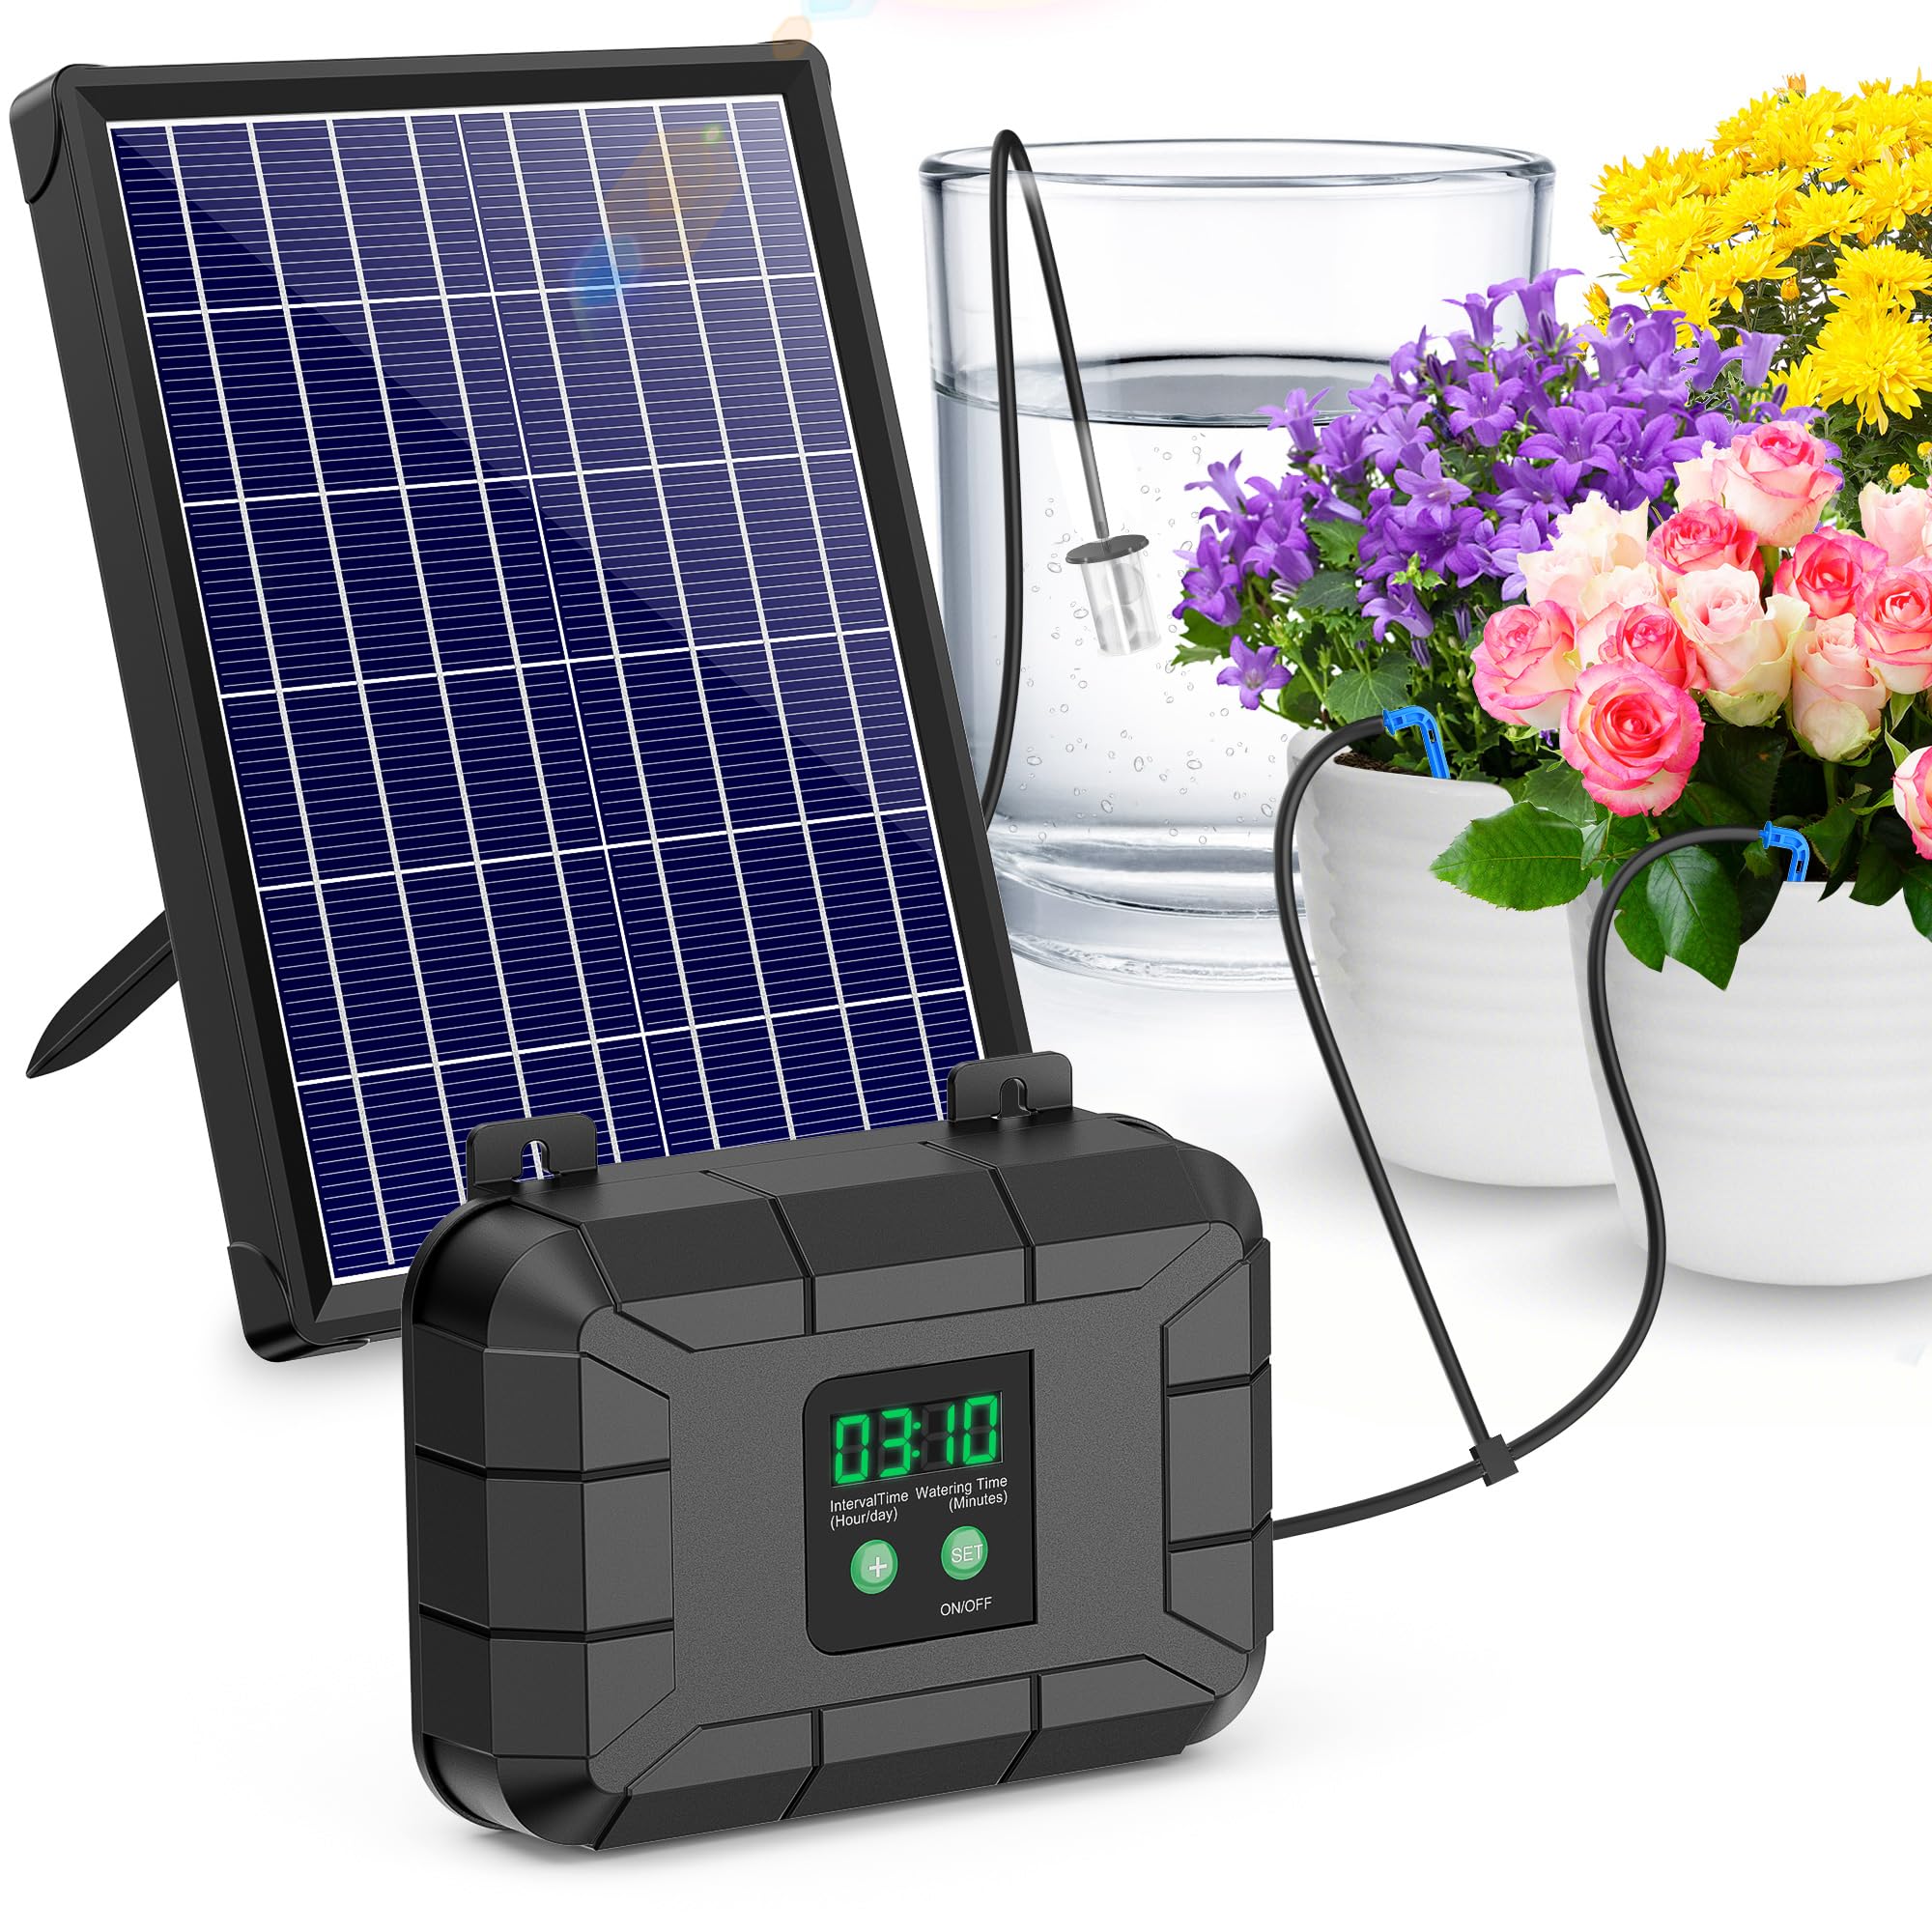
Image: Biling DG10902 Solar Drip Irrigation System in a garden. The Biling DG10902 Solar Drip Irrigation System in operation, showing the solar panel charging, the control unit, and hoses delivering water to potted plants in a garden setting.
- Power On/Off: To turn the system ON or OFF, press and hold the 'ON/OFF' button (4) on the controller for approximately 3 seconds.
- Switching Modes: Briefly press the 'SET' button (4) to toggle between setting the watering interval time (1) and the watering duration (2).
- Adjusting Values: Use the '+' button (3) to increase the numerical value for either the interval time or the watering duration, depending on the currently selected mode.
- Deep Irrigation: The system is designed for deep irrigation, delivering water directly to the plant roots. This method promotes efficient water usage and reduces evaporation.

Image: Illustration of deep irrigation for water saving. An illustration of deep irrigation, showing a dripper delivering water directly to the root zone of a plant, emphasizing water conservation and efficient nutrient delivery.

Image: Biling DG10902 system automatically watering plants. The Biling DG10902 system automatically watering plants in pots, demonstrating its utility for consistent plant care. A note reminds users to ensure sufficient water in the reservoir.
Maintenance
Regular maintenance ensures the longevity and efficiency of your Biling DG10902 system:
- Filter Cleaning: Periodically check and clean the water filter to prevent blockages and ensure consistent water flow.
- Hose Inspection: Inspect all hoses and drippers for any kinks, leaks, or blockages. Clear any debris that may impede water flow.
- Solar Panel Cleaning: Keep the solar panel clean from dust, dirt, and other obstructions to maximize sunlight absorption and charging efficiency.
- Water Source Monitoring: Regularly monitor the water level in your container. Ensure the water container always has sufficient water, especially during extended periods of use or absence.
Troubleshooting
If you encounter issues with your Biling DG10902 system, refer to the following common problems and solutions:
- No Water Flow:
- Check the water level in the container; refill if necessary.
- Ensure the filter is not clogged. Clean if dirty.
- Inspect hoses for kinks or blockages.
- Verify the pump is operating (listen for a faint sound).
- System Not Powering On:
- Check all solar panel connections to the controller.
- Ensure the solar panel is receiving adequate direct sunlight.
- Allow time for the solar panel to charge the internal battery.
- Uneven Watering:
- Check individual drippers for blockages or debris.
- Ensure all hose connections are secure and not leaking.
- Adjust dripper placement for optimal water distribution to each plant.
- Continuous Water Flow (Siphoning):
- Ensure the controller is positioned higher than the water source.
- Verify the siphon prevention device is correctly installed and functioning.
Specifications
| Brand | Biling |
| Model Number | DG10902 |
| Power | 2.5W (Solar Panel) |
| Number of Items | 1 (Complete System) |
| Included Components | Solar panel, Controller, Drippers, Hose, Connectors, Water Level Sensor, Filter, Siphon Prevention Device |
Warranty and Support
For warranty information and technical support regarding your Biling DG10902 Solar Drip Irrigation System, please refer to the product packaging or contact Biling customer service directly. It is recommended to keep your purchase receipt for any warranty claims.