
Electactic Z5812KH-W-ELEC-01
Electactic Ice Maker Machine
User Manual
Model: Z5812KH-W-ELEC-01
Brand: Electactic
Introduction
This manual provides detailed instructions for the safe and efficient operation, setup, and maintenance of your Electactic portable countertop ice maker machine. Designed for convenience, this compact unit features a digital screen, self-cleaning function, and produces bullet ice in two sizes (S and L), making it ideal for homes, offices, camping, and parties. Please read this manual thoroughly before first use and retain it for future reference.
Product Overview
What's in the Box
- Ice Maker Unit
- Ice Scoop
- Ice Basket
- Handle (integrated)
Key Features
- Fast Ice Making: Produces 9 ice cubes in as little as 6 minutes, with a capacity of up to 26 pounds of ice in 24 hours.
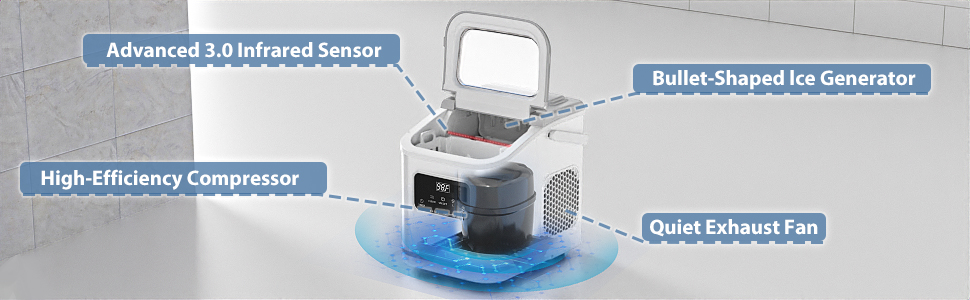
- Low Noise Operation: Operates quietly with noise levels below 35 dB.
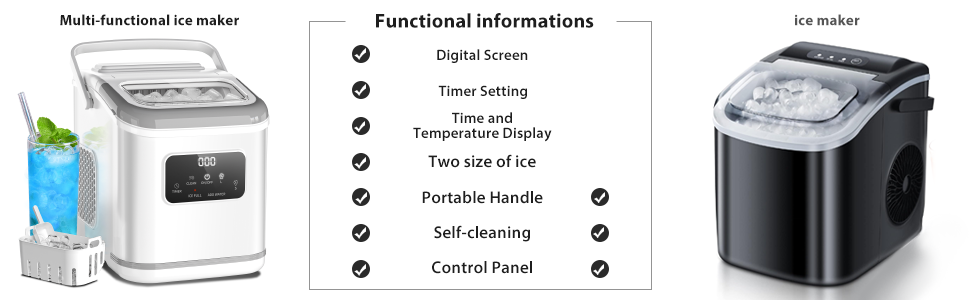
- Two Ice Sizes: Offers small (S) and large (L) bullet-shaped ice cubes for various needs.
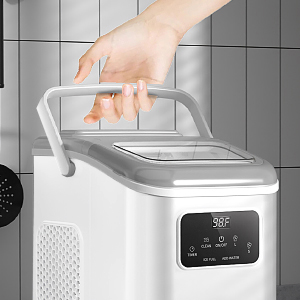
- Portable & Compact: Lightweight (14.08 lbs) with a convenient handle for easy transport. Dimensions: D11.57*W8.74*H11.42 inches.
- Self-Cleaning Function: Automated 30-minute self-cleaning cycle for easy maintenance.
- Removable Top Cover: Designed for easier access and thorough cleaning of internal components.
- Digital Screen & Simple Operation: LED control panel with timer function (1-24 hours) and indicators for 'ICE FULL' and 'ADD WATER'.

Setup
Initial Setup
- Unpack the ice maker and all accessories. Remove any packaging materials or tape.
- Clean the ice basket, ice scoop, and the interior of the water reservoir with a soft cloth and mild detergent. Rinse thoroughly.
- Place the ice maker on a stable, level surface away from direct sunlight and heat sources. Ensure adequate ventilation around the unit.
- Insert the ice basket into its designated position inside the unit.
- Fill the water reservoir with clean, potable water up to the 'MAX' fill line. Do not overfill.
- Plug the power cord into a grounded electrical outlet.
Operating Instructions
Basic Operation
- Ensure the unit is properly set up and filled with water.
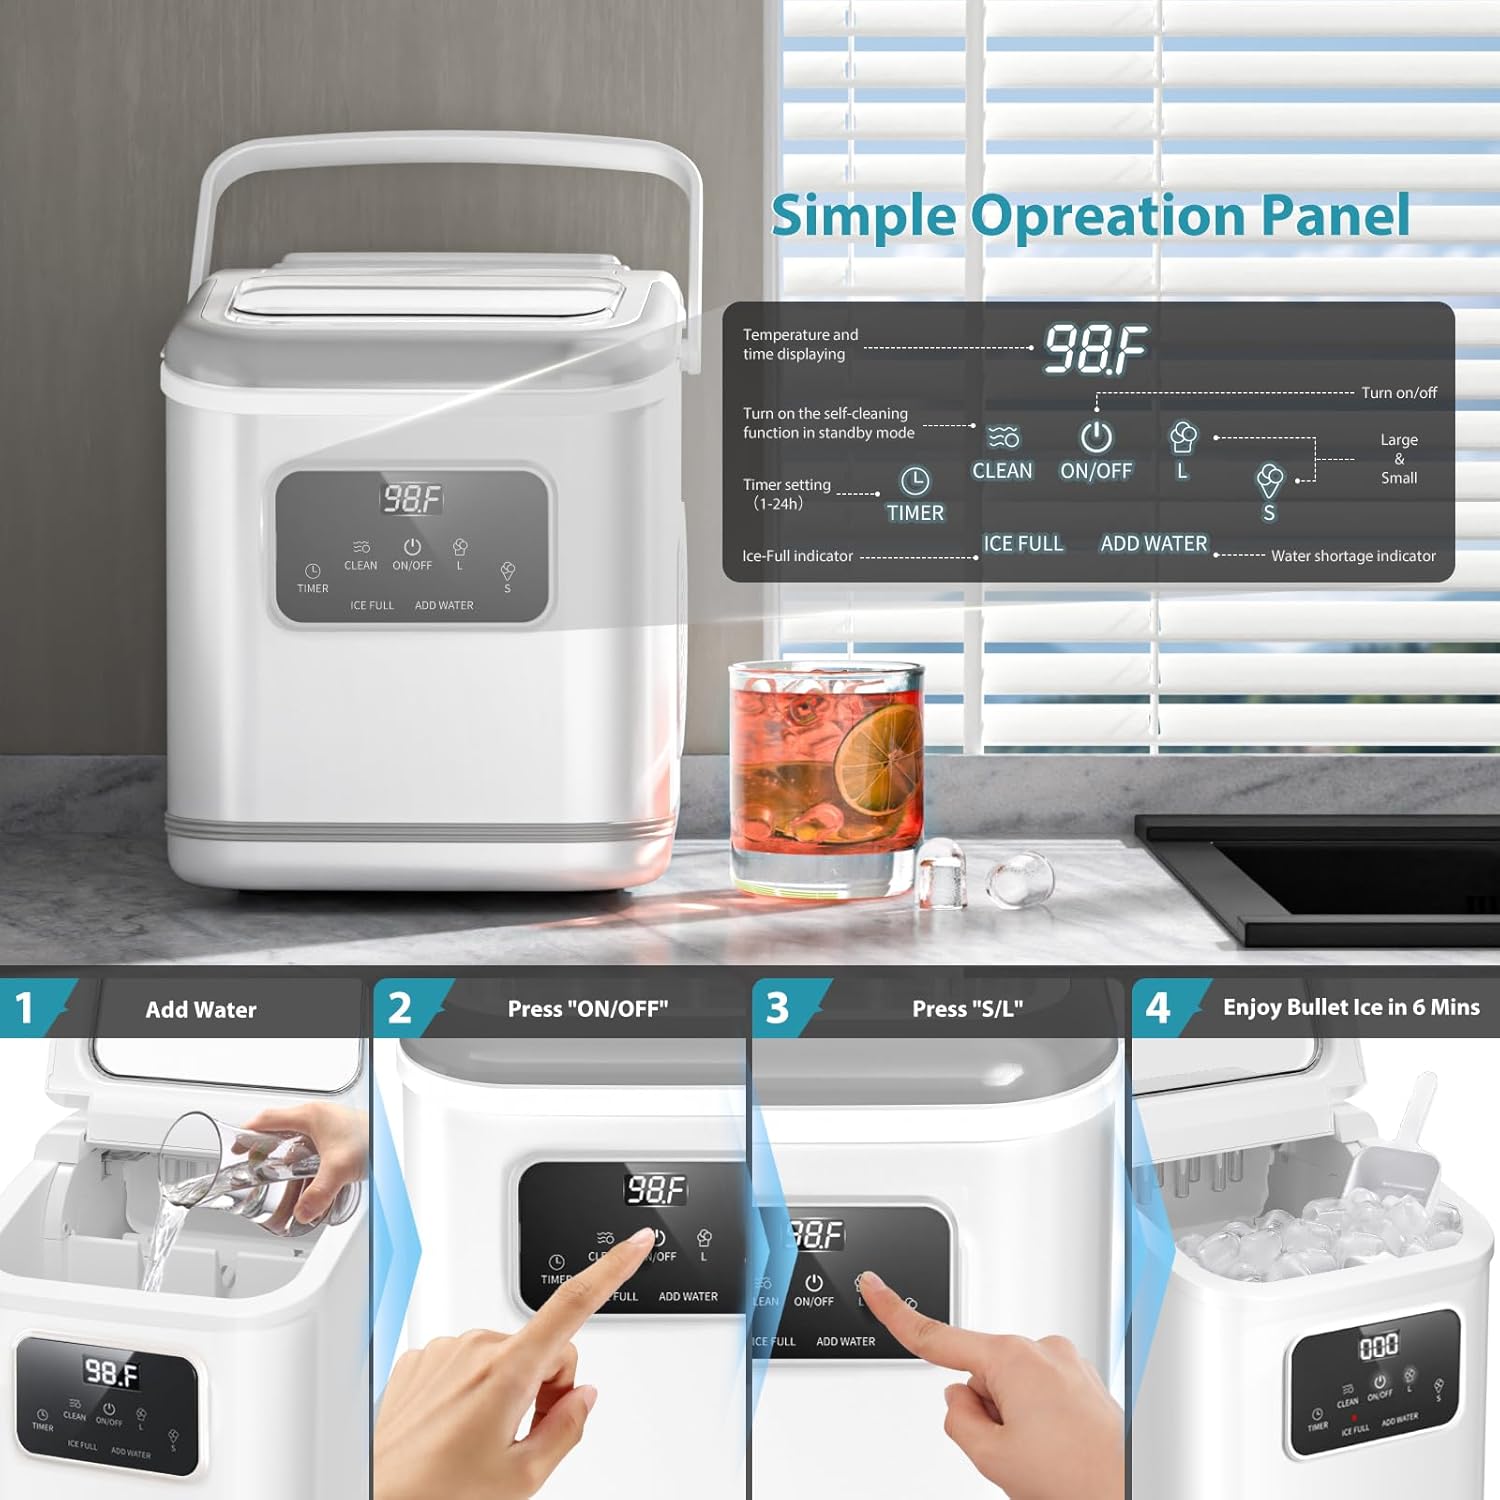
- Press the ON/OFF button on the digital control panel to turn on the ice maker.
- Select your desired ice cube size (S for Small, L for Large) by pressing the S/L button.
- The ice making process will begin automatically. The digital screen will display a countdown indicating the remaining time for the current ice-making cycle (in seconds).
- Once ice is made, it will be automatically transferred to the ice basket.
Digital Screen Indicators
- ICE FULL: This indicator light will illuminate when the ice basket is full, and the machine will automatically pause ice production. Remove ice to resume operation.
- ADD WATER: This indicator light will illuminate when the water level in the reservoir is low. Add more water to resume ice production.
- TIMER: Use the TIMER button to set an automatic shut-off time for the ice maker, ranging from 1 to 24 hours.
Maintenance and Cleaning
Self-Cleaning Function
- Ensure the ice maker is in standby mode (plugged in but not actively making ice).
- Press the CLEAN button on the control panel. The digital screen will display the remaining time for the 30-minute self-cleaning cycle.
- During the cycle, the internal components will be rinsed.
- Once the cycle is complete, drain the water from the reservoir.
Manual Cleaning
- Always unplug the unit before cleaning.
- Remove the ice basket and ice scoop.
- The top cover is removable for easier access to the ice-making area. Carefully detach it.
- Clean the interior of the water reservoir and ice-making components with a soft cloth and a solution of water and mild detergent or vinegar.
- Rinse all cleaned parts thoroughly with clean water.
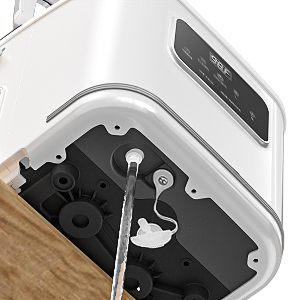
- To drain excess water from the reservoir, locate the drain plug at the bottom of the unit. Open the plug to allow water to flow out.
- Dry all parts completely before reassembling and storing the unit.
Troubleshooting
If you encounter issues with your ice maker, please refer to the following common troubleshooting steps:
- No Ice Production: Check if the 'ADD WATER' indicator is on. Ensure the water reservoir is filled. Verify the unit is plugged in and powered on.
- Ice Basket Full Indicator On, But Not Full: Ensure the ice basket is properly seated. Clean the infrared sensors if they are obstructed or dirty (refer to the video for sensor location).
- Ice Cubes are Small/Melt Quickly: Ensure the room temperature is not excessively high. Use cold water for better ice production.
- Unusual Noise: Check for any obstructions in the ice-making area. Ensure the unit is on a stable, level surface.
- Self-Cleaning Not Starting: Ensure the unit is in standby mode before pressing the 'CLEAN' button.
For persistent issues not resolved by these steps, please contact customer support.
Specifications
| Specification | Detail |
|---|---|
| Model Name | Z5812KH-W-ELEC-01 |
| Product Dimensions | 8.66"D x 11.22"W x 11.4"H |
| Weight | 12.76 Pounds |
| Capacity | 1.4 Liters (Water Reservoir) |
| Ice Production | 26 lbs per 24 hours |
| Ice Cycle Time | 6-13 minutes per cycle (9 cubes) |
| Wattage | 170 watts |
| Noise Level | Below 35 dB |
Warranty and Support
For warranty information or technical support, please refer to the product packaging or contact Electactic customer service directly. Keep your purchase receipt for warranty claims.
Related documentsZ5812KH-W-ELEC-01


Ask a question about this manual
Ask about setup, troubleshooting, compatibility, parts, safety, or missing instructions. Manuals+ will review the question and use this page’s manual context to help answer it.