1. Product Overview
The Srliya BHT-8000-RF-VA-GCW is a smart, programmable home remote controller thermostat designed for various heating systems. It offers precise temperature control, flexible placement, and smart home integration.
Key Features:
- Versatile Application: Suitable for electric heating, water heating, wall-mounted boilers, and general boiler temperature control systems.
- Flexible Installation: The control panel is movable and does not require fixed wall mounting or drilling.
- Accurate Temperature Control: Maintains temperature with an accuracy of ±0.5°C.
- Power Failure Protection: Retains settings and data in case of power interruptions.
- Programmable Modes: Features a 6-hour daily programmable setting for energy efficiency.
- Smart Home Integration: Compatible with Tmall Genie, Yandex Alice, and Duer OS smart speakers, and supports APP remote control.


2. Setup Instructions
This section guides you through the initial setup of your Srliya Smart Thermostat, which consists of a display unit and a receiver unit.
2.1 Unpacking and Components
Carefully unpack all components and ensure the following items are present:
- Temperature Controller Display Unit
- Temperature Controller Receiver Unit
- Supply Cord (USB cable)
- Bracket
- 2 x Screws
- 2 x Wall Plugs

2.2 Receiver Unit Installation
The receiver unit connects directly to your heating system. It should be installed by a qualified professional to ensure correct and safe wiring.
- Power Disconnection: Before installation, ensure the main power supply to your heating system is turned off at the circuit breaker.
- Mounting: Choose a suitable location near your heating system. Use the provided screws and wall plugs to securely mount the receiver unit to the wall.
- Wiring: Connect the receiver unit to your heating system's control wiring according to the specific instructions provided with your heating appliance. The receiver requires a 95-240V AC power supply.
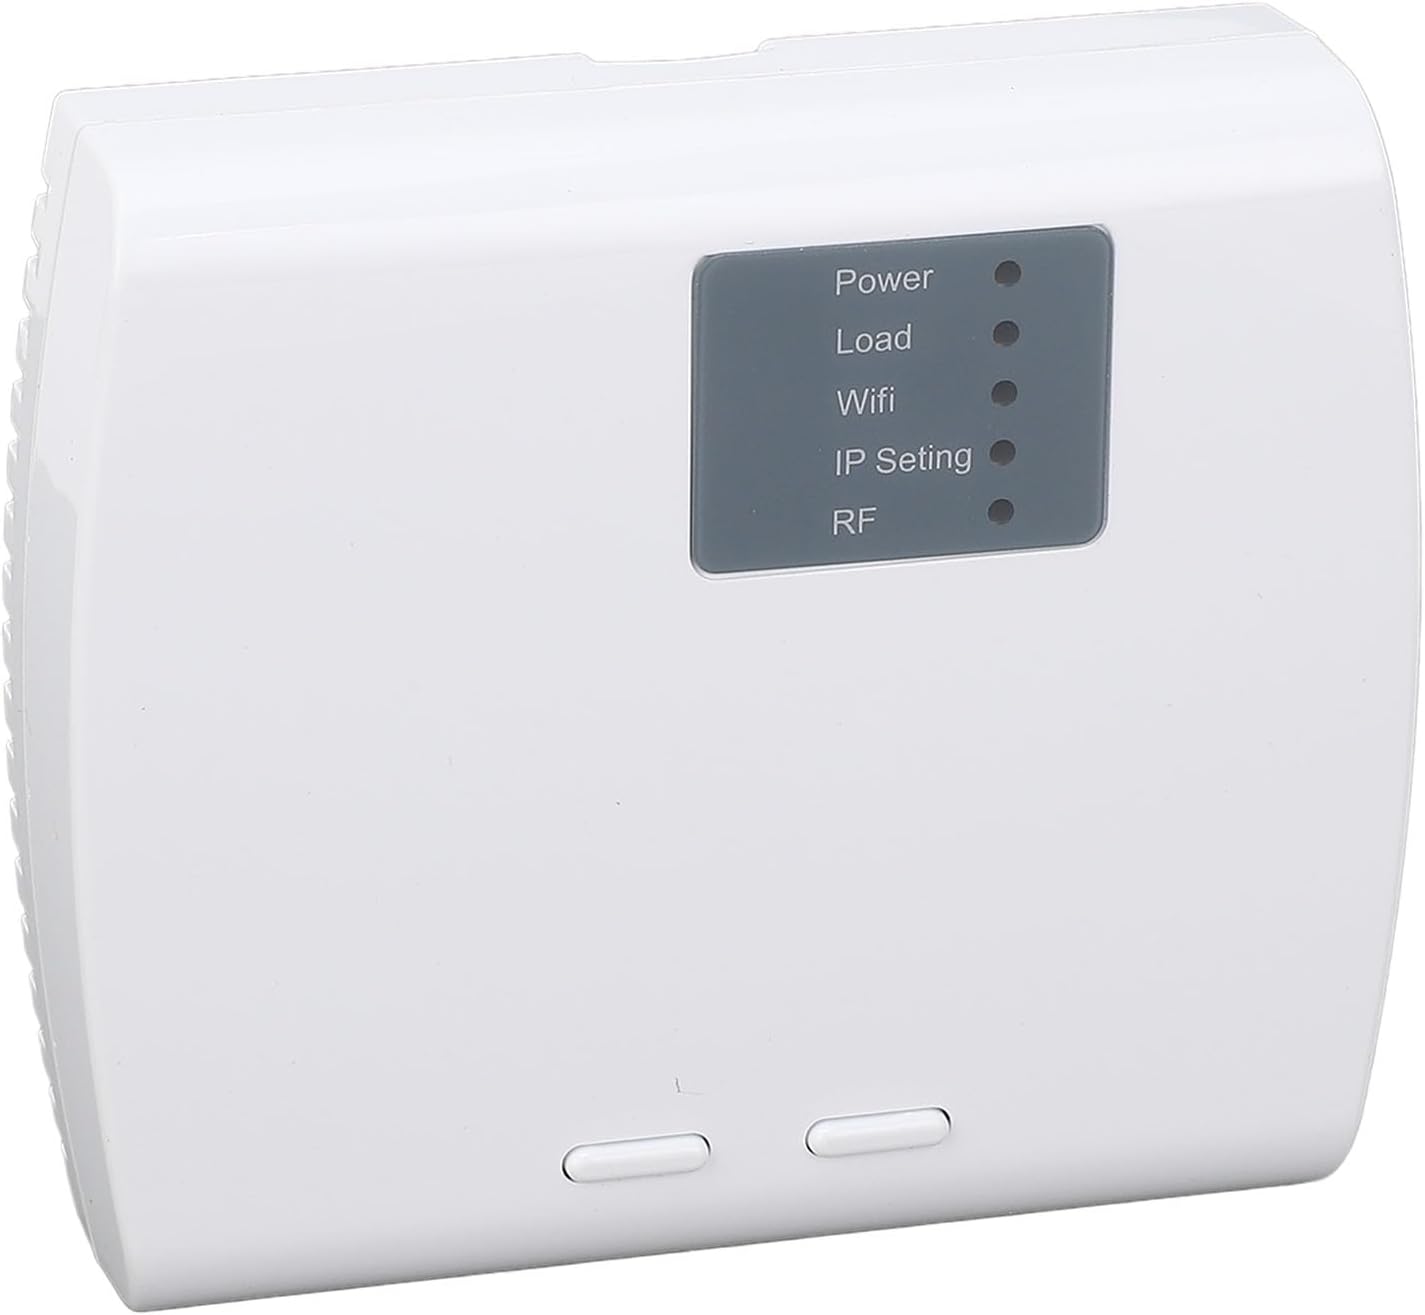
- Power On: Once wiring is complete and secure, restore power to your heating system. The receiver unit's indicator lights (Power, Load, Wifi, IP Setting, RF) will illuminate.
2.3 Display Unit Setup
- Battery Installation: Open the battery compartment on the back of the display unit and insert 2 x AA batteries (not included), observing correct polarity.
- Placement: The display unit can be placed on a flat surface using the included bracket or mounted on a wall. Its wireless nature allows for flexible positioning within range of the receiver.
- Initial Power On: The display unit will power on automatically after battery installation.

2.4 Pairing the Display and Receiver
The display unit and receiver communicate wirelessly. They typically come pre-paired, but if not, or if you need to re-pair them:
- Enter Pairing Mode on Receiver: Refer to the receiver unit's specific instructions or a small button on the receiver for initiating pairing mode. The RF indicator light may flash.
- Initiate Pairing on Display: On the display unit, navigate to the 'Matching' setting (parameter 1). Set it to '01' to start code alignment.
- Confirmation: The display will indicate '01' for successful pairing (parameter 3). If pairing fails, it will show '00'. Repeat the process if unsuccessful.
3. Operating Instructions
The thermostat features capacitive touch keys for easy operation and a clear digital display.

3.1 Basic Operation
- Power On/Off: Use the designated power touch key to turn the thermostat on or off.
- Adjusting Temperature: Use the up/down arrow touch keys to set your desired temperature. The set temperature range is 5°C to 35°C.
- Display Information: The display shows current time, current room temperature, set temperature, and operational status icons (e.g., heating active, battery level).
3.2 Programmable Mode
The thermostat supports a programmable mode for energy saving. This typically involves setting different temperatures for various times of the day over a 6-hour period.
- Access Programming: Press the 'Mode' or 'Program' touch key (refer to display icons) to enter programming settings.
- Set Schedule: Use the up/down arrows and navigation keys to adjust the time and temperature for each programmable period.
- Save Settings: Confirm and save your schedule before exiting the programming mode.
3.3 Advanced Settings (Parameters)
The thermostat offers several advanced settings accessible through a specific menu. Consult the on-screen interface for navigation.
| No. | Function | Description | Default Value |
|---|---|---|---|
| 1 | Matching | 00: Stop coding; 01: Starts code alignment | 0 |
| 2 | Device ID | 0-99 | 0 |
| 3 | Code matching success | 00: Code alignment fails; 01: The code is successfully paired | Read only |
| 4 | Compensating temperature | -9~9°C | -2 |
| 5 | Dead zone temperature | 1~5°C | 1 |
| 6 | Minimum temperature range | 5~15°C | 5°C |
| 7 | Maximum temperature range | 15~35°C | 35°C |
| 8 | Standby brightness | 0~7 | 0 |
| 9 | Energy saving mode | 00: Disables the energy saving mode. 01: enables the energy saving mode | 0 |
| 10 | Energy saving temperature | 5~30°C | 20 |
| 11 | All ICONS are displayed upon startup | 00: Close 01: Open | 0 |
| 12 | Factory data reset | 00: Normal mode. 01: Restores the factory defaults. | 0 |
| 13 | Version number | U2 |
3.4 Mobile App and Smart Speaker Control
The thermostat can be controlled remotely via a dedicated mobile application and integrated with smart speakers.
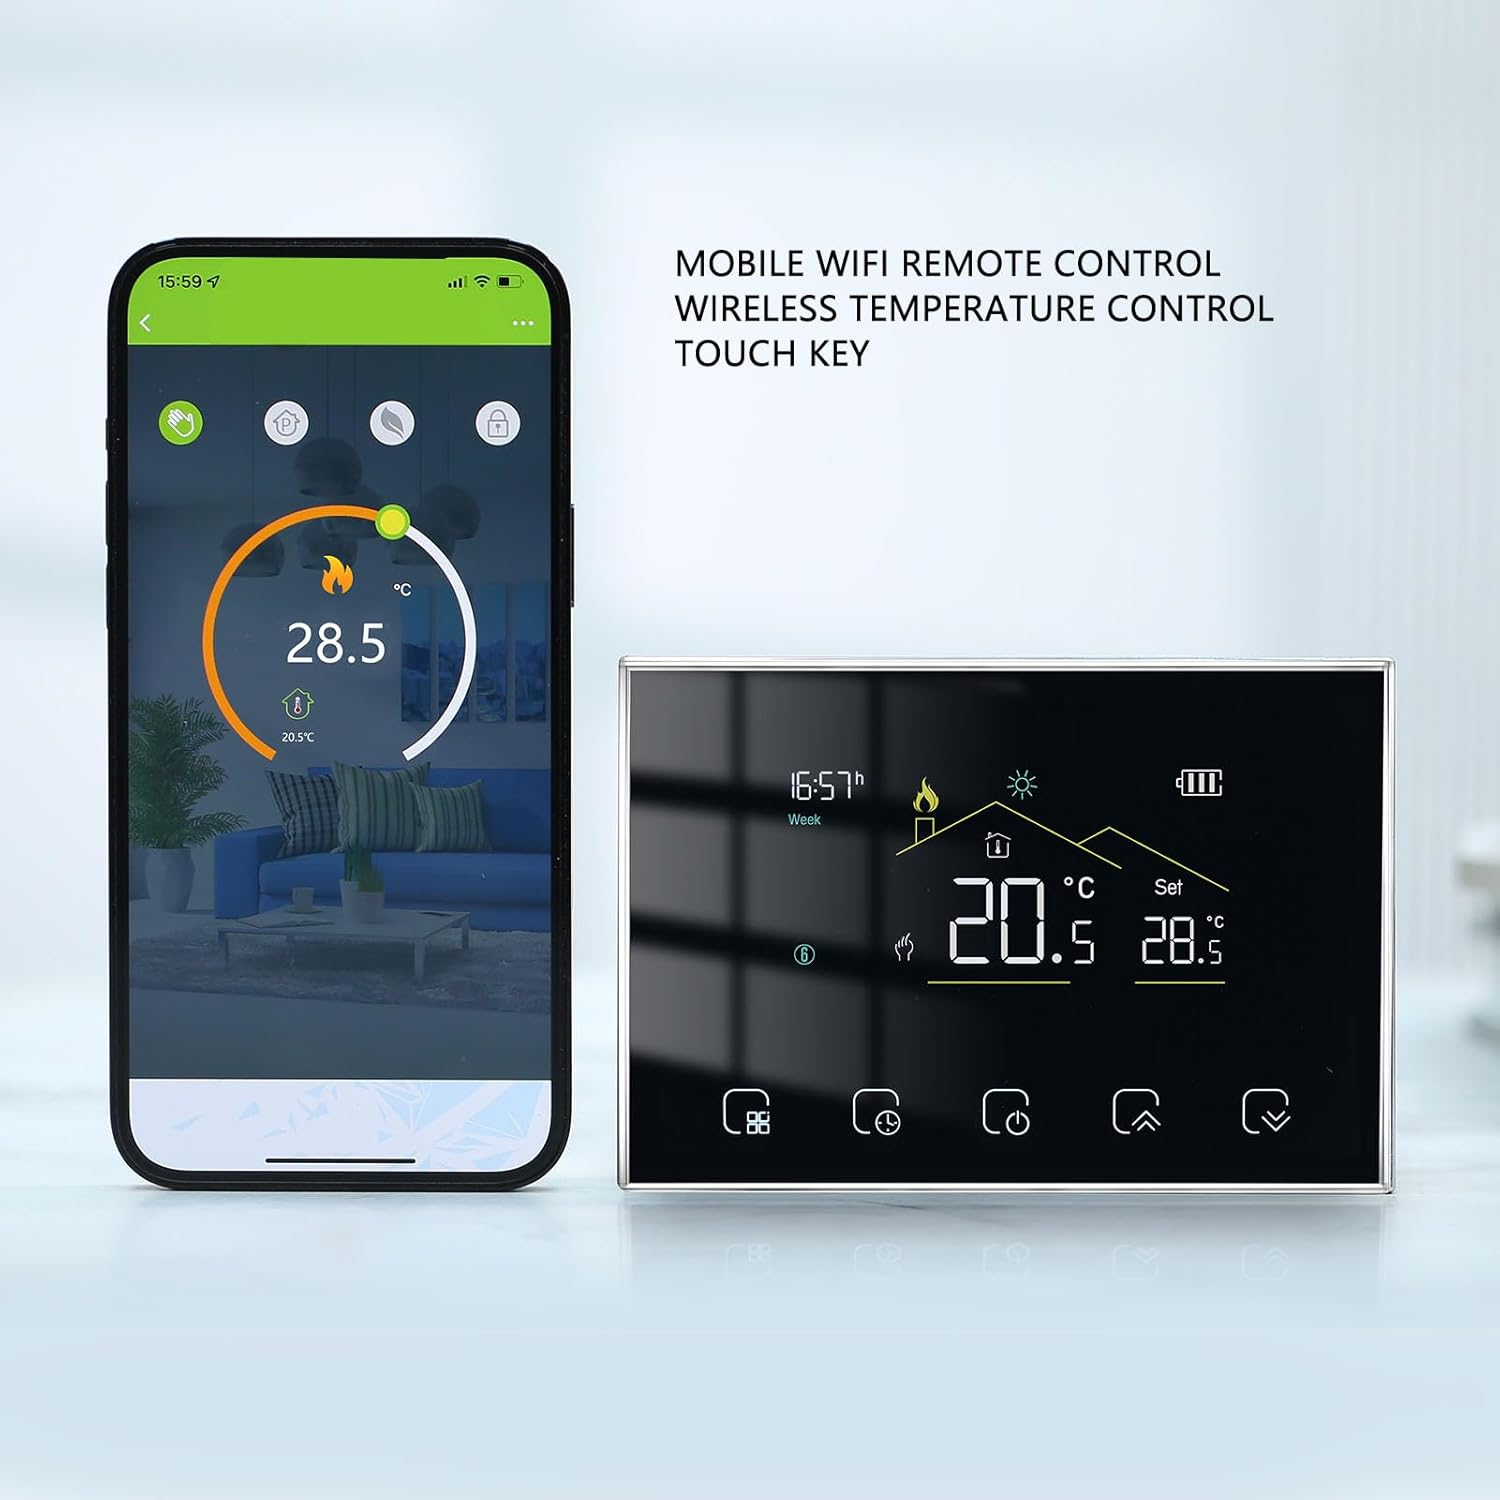
- App Download: Download the compatible mobile application (e.g., for Tmall Genie, Yandex Alice, Duer OS) from your device's app store.
- Device Pairing: Follow the in-app instructions to connect your thermostat to the application. This usually involves creating an account and adding the device.
- Smart Speaker Integration: Once connected to the app, you can link the thermostat to compatible smart speakers by enabling the relevant skill or service in your smart speaker's app.
- Remote Control: Use the app or voice commands through your smart speaker to adjust temperature, change modes, and manage schedules from anywhere.
4. Maintenance
Proper maintenance ensures the longevity and optimal performance of your thermostat.
- Cleaning: Gently wipe the display and receiver units with a soft, dry cloth. Avoid using abrasive cleaners, solvents, or excessive moisture, which can damage the device.
- Battery Replacement: When the low battery indicator appears on the display unit, replace the 2 x AA batteries promptly to ensure continuous operation.
- Environmental Conditions: Ensure the thermostat is not exposed to extreme temperatures, direct sunlight, or high humidity, which can affect its accuracy and lifespan. The operating humidity range is 5-95% RH (non-condensing).
5. Troubleshooting
If you encounter issues with your Srliya Smart Thermostat, refer to the following common troubleshooting steps.
- No Power to Display Unit: Check if the AA batteries are correctly installed and not depleted. Replace if necessary.
- No Power to Receiver Unit: Verify that the main power supply to your heating system is on and that the receiver is correctly wired and receiving 95-240V AC. Check the 'Power' indicator light on the receiver.
- Display Not Communicating with Receiver: Ensure both units are within wireless range. Re-attempt the pairing process as described in Section 2.4. Check the 'RF' indicator light on the receiver.
- Incorrect Temperature Readings: If the displayed temperature seems inaccurate, you can adjust the 'Compensating temperature' (parameter 4) in the advanced settings.
- Heating System Not Responding: Check the 'Load' indicator light on the receiver. If it's not active when heating should be on, verify wiring to the heating system. Ensure the thermostat is not in 'Energy saving mode' (parameter 9) if unexpected temperature limits are observed.
- App Connectivity Issues: Ensure your home Wi-Fi network is active and the receiver's 'Wifi' indicator light is on. Re-check app pairing and smart speaker integration steps.
- Reset to Factory Defaults: If persistent issues occur, you can perform a factory reset. Navigate to 'Factory data reset' (parameter 12) in the advanced settings and set it to '01'. Note: This will erase all custom settings.
6. Specifications
Detailed technical specifications for the Srliya Smart Thermostat BHT-8000-RF-VA-GCW.
| Feature | Specification |
|---|---|
| Item Type | Smart Thermostat |
| Model | BHT-8000-RF |
| Material | ABS and PC |
| Display Power Supply | 2 x AA battery (not included) |
| Receiver Power Supply | 95-240V AC |
| Sensor | 3950, 10K |
| Set Temperature Range | 5 - 35°C |
| Accuracy | ±0.5°C (Product Feature Bullet) / ±1°C (Specification) - Using ±0.5°C as it's a feature highlight. |
| Display Temperature Range | 5 - 99°C |
| Operating Temperature | 0 - 45°C |
| Operating Humidity | 5 - 95% RH (non-condensing) |
| Power Consumption | <1.5W |
| Protecting Level | IP20 |
| Key Type | Capacitive touch key |
| Package Dimensions | 6.3 x 4.33 x 2.76 inches |
| Item Weight | 12.6 ounces |
| Manufacturer | Srliya |
7. Warranty and Support
For warranty information and technical support, please refer to the documentation provided at the time of purchase or contact your retailer. Specific warranty terms may vary by region and retailer.


