
Introduction
This manual provides detailed instructions for the proper use and maintenance of your HOMVILLA Digital Indoor Thermometer Hygrometer. Please read this manual thoroughly before operating the device to ensure accurate readings and optimal performance.
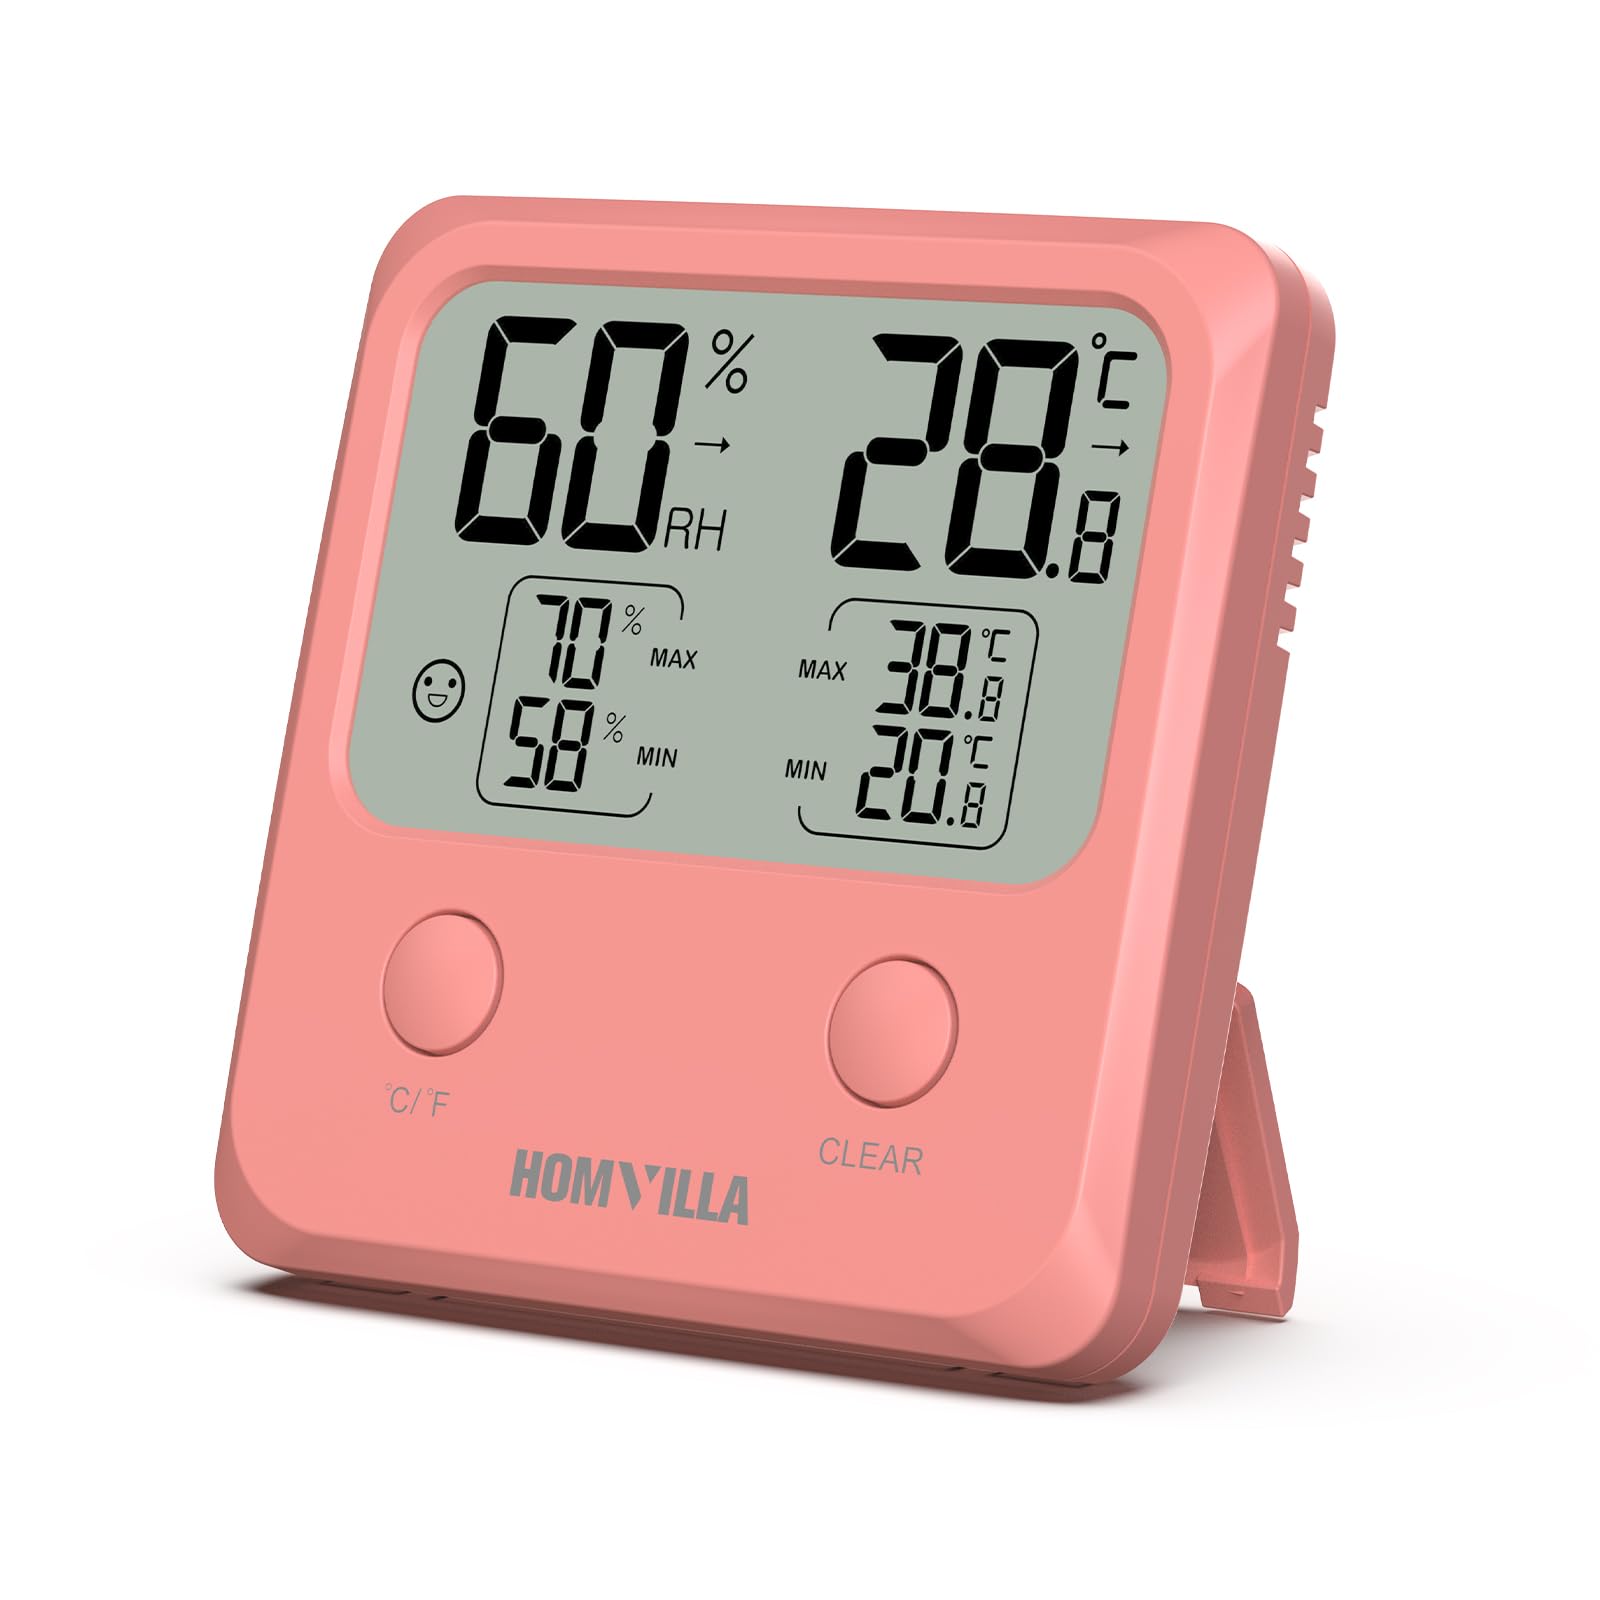
Image: Front view of the HOMVILLA Digital Indoor Thermometer Hygrometer.
Product Features
The HOMVILLA Digital Indoor Thermometer Hygrometer offers several key features for monitoring your indoor environment:
- Temperature Monitoring: Displays current indoor temperature.
- Humidity Monitoring: Displays current indoor relative humidity.
- Comfort Level Indicator: Provides a visual indication of comfort based on temperature and humidity levels.
- MAX/MIN Records: Automatically records the highest and lowest temperature and humidity readings over a 24-hour period.
- Temperature Unit Switch: Easily switch between Celsius (℃) and Fahrenheit (℉).
- Fast Refresh Rate: Updates readings every 10 seconds for near real-time data.
- Multiple Placement Options: Features strong magnets for metal surfaces, a foldable stand for tabletop use, and a hanging hole for wall mounting.

Image: Overview of the device's main functions and features.
Package Contents
- 1 x HOMVILLA Digital Indoor Thermometer Hygrometer
- 1 x CR2032 Battery (pre-installed)
- 1 x User Manual
Setup
- Battery Installation: The device comes with a pre-installed CR2032 battery. Before first use, open the battery compartment cover on the back of the device and remove the plastic insulation strip. Close the battery compartment securely.
- Initial Placement: Place the device in your desired location. Ensure it is not exposed to direct sunlight, heat sources, or strong drafts, which can affect accuracy.


Image: Examples of device placement: on a table, magnetically attached to a refrigerator, and wall-mounted.
Operating Instructions
1. Power On/Off
The device automatically powers on once the battery insulation strip is removed. There is no manual power on/off button.
2. Switching Temperature Units (℃/℉)
Press the "℃/℉" button located on the front of the device to toggle between Celsius and Fahrenheit temperature displays.
3. MAX/MIN Records
The device automatically records the maximum and minimum temperature and humidity values over a 24-hour period. These values are displayed below the current readings.

Image: Display showing current, maximum, and minimum temperature and humidity values.
4. Clearing MAX/MIN Records
To clear the recorded MAX/MIN values and start a new 24-hour recording cycle, press and hold the "CLEAR" button on the front of the device for approximately 3 seconds.
5. Comfort Level Indicator
The device displays a comfort icon based on the current humidity level:
- Dry: Humidity below 40%
- Comfort: Humidity between 40% and 70%
- Wet: Humidity above 70%

Image: Visual guide to comfort level indicators based on humidity.
6. Humidity Fluctuation Trend
An arrow indicator next to the humidity reading shows the trend of humidity change:
- No arrow: No significant change in humidity.
- Up arrow: Humidity has increased by 5% compared to the last reading or increased by 5% overall in one hour.
- Down arrow: Humidity has decreased by 5% compared to the last reading or decreased by 5% overall in one hour.

Image: Explanation of humidity trend arrows on the display.
Maintenance
- Cleaning: Wipe the device with a soft, dry cloth. Do not use abrasive cleaners or immerse the device in water.
- Battery Replacement: When the display becomes dim or inaccurate, replace the CR2032 battery. Open the battery compartment on the back, remove the old battery, and insert a new CR2032 battery with the positive (+) side facing up.
- Storage: If storing the device for an extended period, remove the battery to prevent leakage. Store in a cool, dry place.
Troubleshooting
| Problem | Possible Cause | Solution |
|---|---|---|
| No display or dim display | Battery is dead or insulation strip not removed. | Remove the plastic insulation strip from the battery. Replace the CR2032 battery. |
| Inaccurate readings | Device placed near heat/cold sources, direct sunlight, or strong drafts. | Relocate the device to a stable indoor environment away from extreme conditions. Allow 15-30 minutes for readings to stabilize. |
| MAX/MIN values not resetting | "CLEAR" button not held long enough. | Press and hold the "CLEAR" button for approximately 3 seconds until values reset. |
Specifications
| Model Number | 075009 |
| Manufacturer | HOMVILLA |
| Power Source | 1 x CR2032 Battery (included) |
| Dimensions (Package) | 9.4 x 9.1 x 2.4 cm |
| Weight (Package) | 90 grams |
| Temperature Unit | Celsius (℃) / Fahrenheit (℉) |
| Refresh Rate | Every 10 seconds |
| Operating Temperature Range (Lower Limit) | 10°C (Upper limit not specified) |
Warranty and Support
For warranty information or technical support, please refer to the contact details provided with your purchase or visit the official HOMVILLA website. Keep your purchase receipt as proof of purchase for warranty claims.