
Linq LQ49081
LINQ 8in1 PRO USB-C Multiport Hub 140W Instruction Manual
Model: LQ49081
Introduction
Thank you for purchasing the LINQ 8in1 PRO USB-C Multiport Hub 140W. This manual provides detailed instructions for setting up, operating, and maintaining your device. Please read this manual thoroughly before use to ensure optimal performance and longevity of your product.
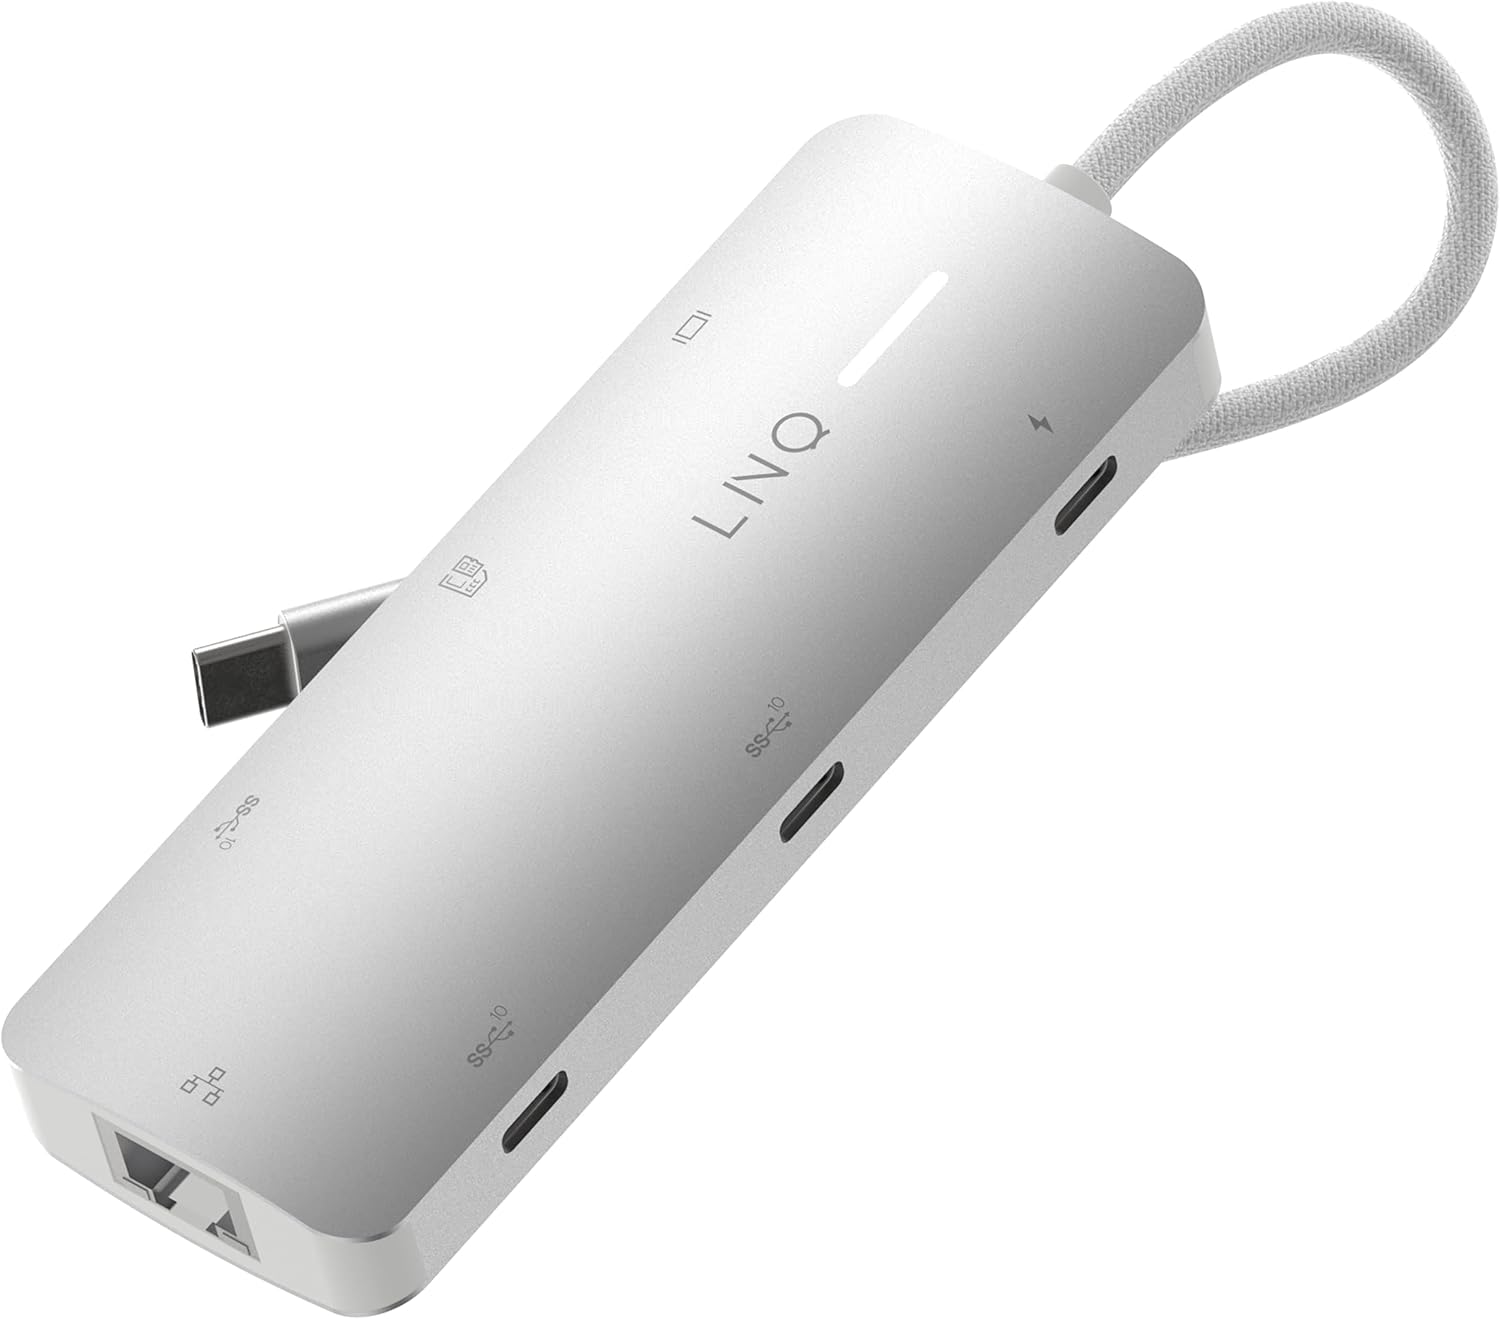
Image: The LINQ 8in1 PRO USB-C Multiport Hub 140W, a compact gray device with a braided USB-C cable, showcasing its sleek design and multiple ports.
Key Features
- Expands one USB-C port into eight versatile connections.
- HDMI 2.0 Output: Supports up to 4K resolution at 60Hz with HDR for high-quality video output.
- USB-C PD3.1 Charging: Delivers up to 140W Power Delivery, ensuring fast charging for connected devices. (Note: The hub requires 15W for its own operation).
- USB-A Data Port: One USB-A port with 10Gbps data transfer speed (USB 3.2 Gen 2).
- USB-C Data Ports: Two USB-C ports, each offering 10Gbps data transfer speed (USB 3.2 Gen 2).
- Multi-Gigabit Ethernet: Provides a stable wired internet connection up to 2500Mbps (2.5Gbps).
- TF/Micro SD Card Reader: Integrated slot for reading TF/Micro SD memory cards.
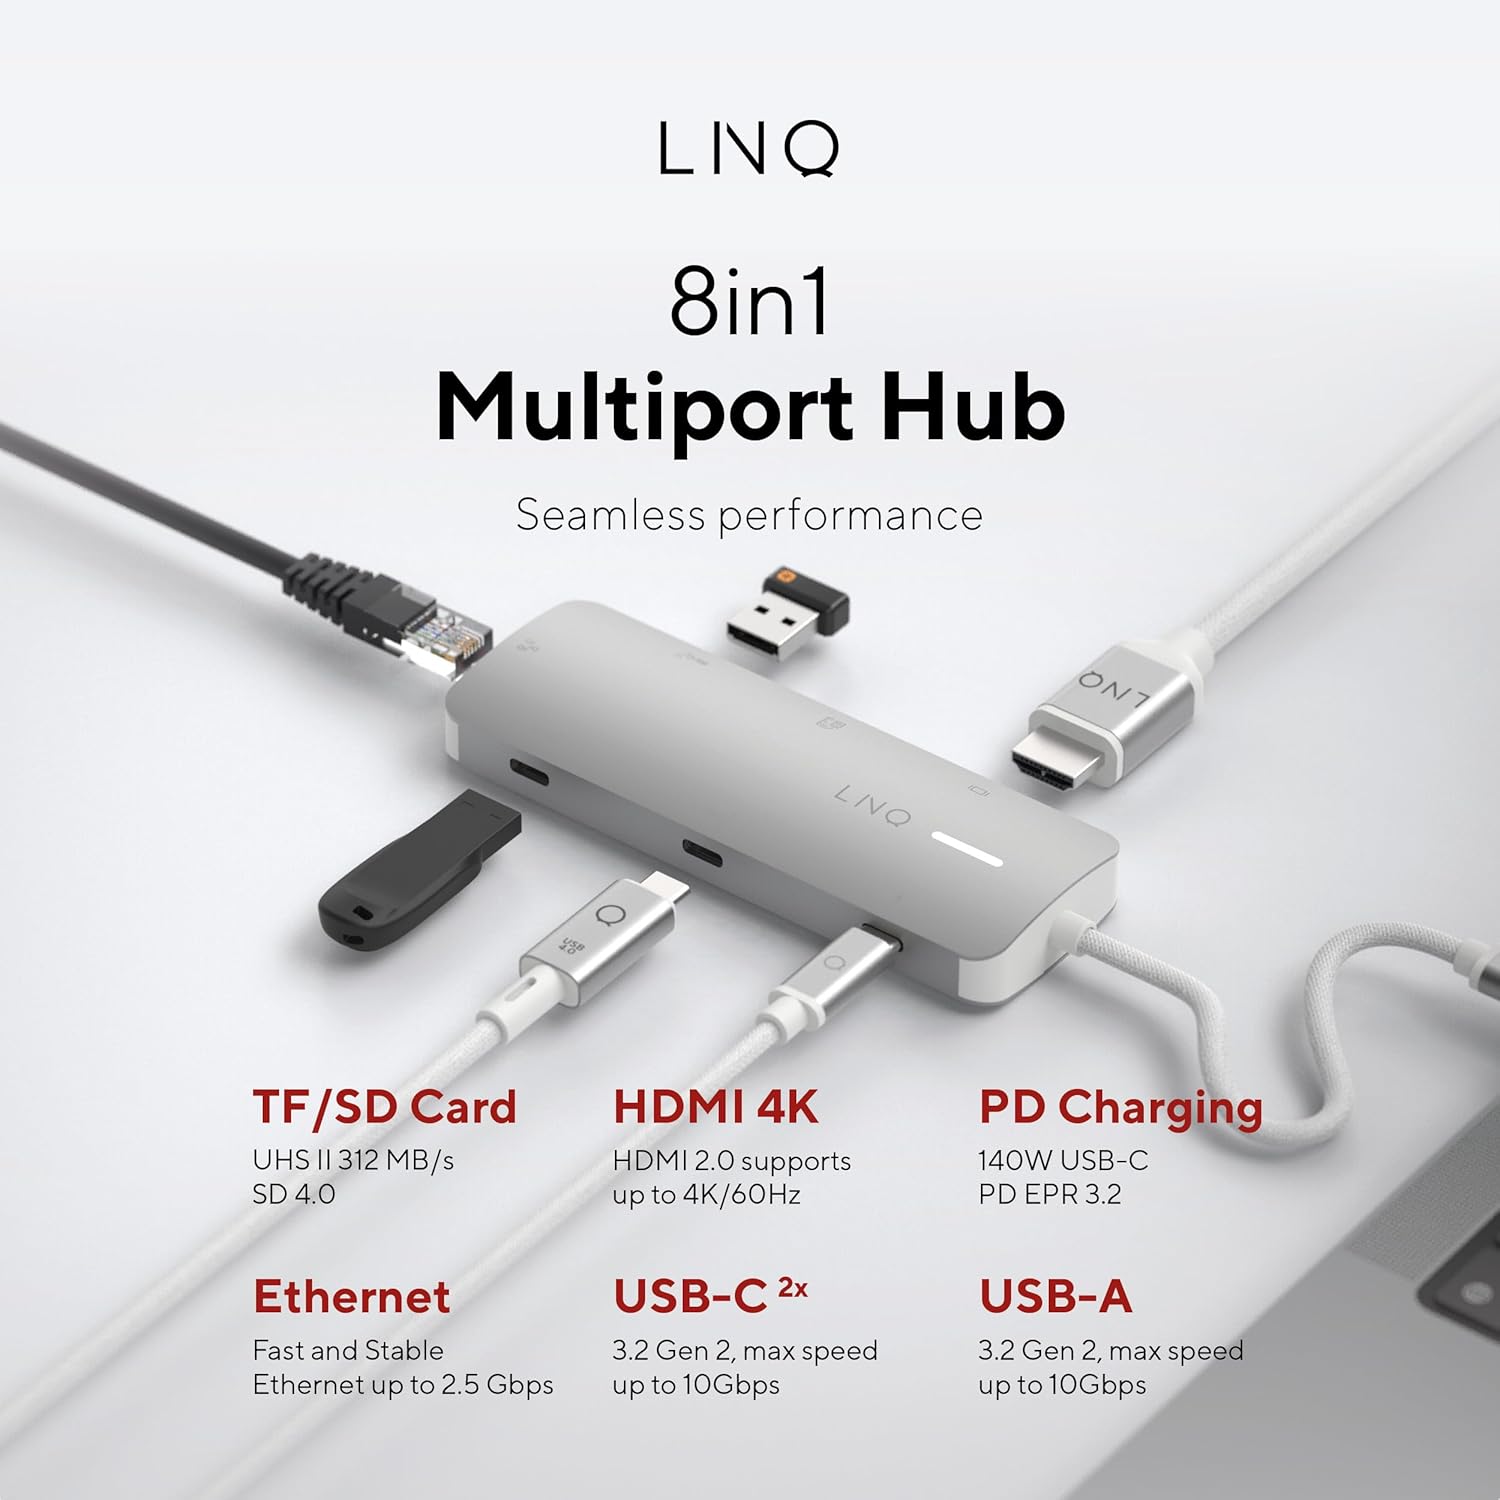
Image: An overhead view of the LINQ 8in1 PRO USB-C Multiport Hub, illustrating its various ports including TF/SD Card, HDMI 4K, PD Charging, Ethernet, USB-C (2x), and USB-A, with their respective functionalities.
Setup Guide
Follow these steps to set up your LINQ 8in1 PRO USB-C Multiport Hub:
- Connect to Host Device: Plug the integrated USB-C cable of the hub into an available USB-C port on your laptop, tablet, or smartphone. Ensure the USB-C port on your host device supports video output (DisplayPort Alternate Mode) and Power Delivery for full functionality.
- Power Connection (Optional but Recommended): For optimal performance and to charge your host device, connect a USB-C Power Delivery charger (up to 140W) to the USB-C PD3.1 port on the hub.
- Connect Peripherals:
- HDMI Display: Connect an HDMI cable from the hub's HDMI 2.0 port to your monitor or TV.
- Ethernet: Connect an Ethernet cable from your router or modem to the hub's Multi-Gigabit Ethernet port.
- USB Devices: Plug in your USB-A and USB-C peripherals (e.g., external hard drives, keyboards, mice, flash drives) into the corresponding data ports.
- Memory Cards: Insert your TF/Micro SD card into the card reader slot.
- Driver Installation: The hub is typically plug-and-play and does not require specific drivers for most operating systems (Windows, macOS, Chrome OS, Linux). If you encounter issues, ensure your operating system is up to date.

Image: The LINQ 8in1 PRO USB-C Multiport Hub with various cables connected, demonstrating its ability to expand connectivity for a laptop, including an HDMI display, Ethernet, and USB devices.
Operating Instructions
Once connected, the LINQ 8in1 PRO USB-C Multiport Hub operates automatically. Here are specific instructions for using its various functions:
Video Output (HDMI)
Connect an HDMI cable from the hub to your external display. Your operating system should automatically detect the new display. You can configure display settings (e.g., extend, duplicate, resolution) through your computer's display settings.

Image: A close-up of a computer monitor displaying a vibrant image, illustrating the high-quality video output achieved via the hub's HDMI connection.
Data Transfer (USB-A, USB-C, SD/TF Card)
Simply plug your USB devices or memory cards into the respective ports. They will appear as removable storage or connected peripherals on your host device. For optimal data transfer speeds, ensure your devices and cables support USB 3.2 Gen 2 (10Gbps) and SD 4.0 (UHS-II).
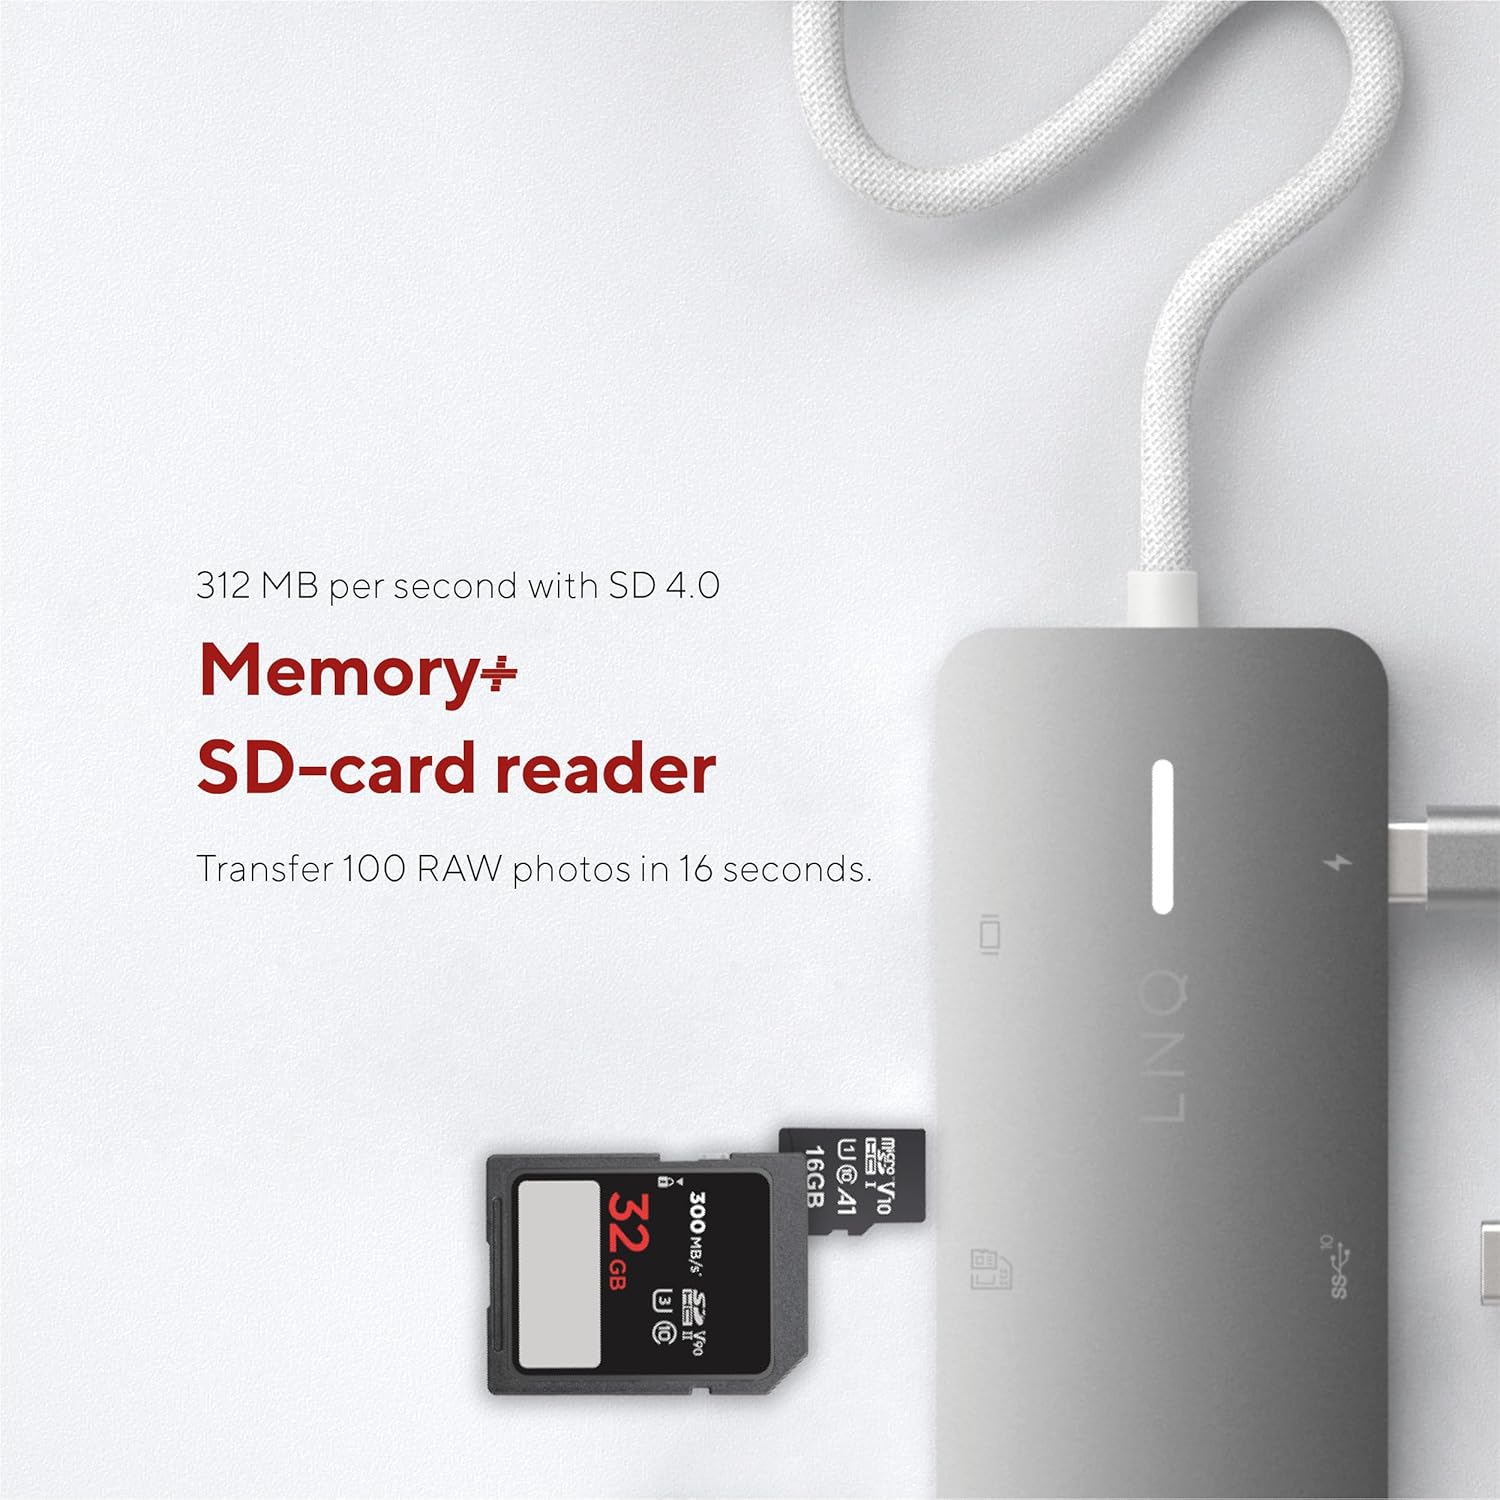
Image: A close-up of an SD card being inserted into the hub's card reader slot, highlighting its memory expansion capability.
Network Connection (Ethernet)
Connect an Ethernet cable to the hub's Ethernet port. Your host device will automatically detect the wired network connection. This provides a stable and fast internet connection, ideal for large file transfers or online gaming.

Image: An Ethernet cable plugged into the hub's Ethernet port, demonstrating its network connectivity feature.
Power Delivery (USB-C PD)
When a compatible USB-C PD charger is connected to the hub's PD port, it will pass power through to your host device and other connected peripherals. This allows you to charge your laptop while using the hub's other functions.
Maintenance
- Cleaning: Use a soft, dry cloth to clean the surface of the hub. Do not use liquid cleaners or aerosols.
- Storage: Store the hub in a cool, dry place away from direct sunlight and extreme temperatures.
- Handling: Avoid dropping the hub or subjecting it to strong impacts. Do not attempt to disassemble the device.
- Cable Care: Do not bend or crimp the integrated USB-C cable excessively.
Troubleshooting
| Problem | Possible Cause | Solution |
|---|---|---|
| No display output via HDMI. |
|
|
| USB devices not recognized. |
|
|
| Slow Ethernet speed or no connection. |
|
|
| Host device not charging. |
|
|
Specifications
| Feature | Detail |
|---|---|
| Model Number | LQ49081 |
| Dimensions (LxWxH) | 4.41 x 1.69 x 0.63 inches |
| Weight | 2.43 ounces |
| Color | Gray |
| HDMI Output | 1x HDMI 2.0 (up to 4K@60Hz, HDR support) |
| USB-C PD Port | 1x USB-C PD3.1 (up to 140W charging input, 15W reserved for hub) |
| USB-A Data Port | 1x USB-A (10Gbps, USB 3.2 Gen 2) |
| USB-C Data Ports | 2x USB-C (10Gbps, USB 3.2 Gen 2) |
| Ethernet Port | 1x Multi-Gigabit Ethernet (up to 2.5Gbps) |
| Card Reader | 1x TF/Micro SD (UHS-II, SD 4.0 compatible) |
| Compatible Devices | Universal (USB-C enabled devices with DisplayPort Alt Mode and Power Delivery support) |
Warranty Information
LINQ products typically come with a limited manufacturer's warranty. Please refer to the warranty card included with your product or visit the official LINQ website for detailed warranty terms and conditions. Keep your purchase receipt as proof of purchase for warranty claims.
Customer Support
For technical assistance, troubleshooting, or general inquiries regarding your LINQ 8in1 PRO USB-C Multiport Hub 140W, please contact LINQ customer support through their official website or the contact information provided in your product packaging.
Website: www.linqbyelements.dk (Please note: This is a placeholder URL, refer to actual product documentation for correct support contact.)
Ask a question about this manual
Ask about setup, troubleshooting, compatibility, parts, safety, or missing instructions. Manuals+ will review the question and use this page’s manual context to help answer it.