
1. Introduction
Thank you for choosing the RIGDOO HT20 Trail Camera. This advanced game camera is designed for wildlife monitoring, security surveillance, and outdoor exploration, offering high-resolution imaging, rapid trigger speed, and robust weather resistance. This manual provides detailed instructions for setup, operation, maintenance, and troubleshooting to ensure optimal performance of your camera.
2. Package Contents
Please check the package to ensure all items are present:
- RIGDOO HT20 Trail Camera
- Mounting Strap
- USB Cable
- 32GB SD Card
- AA Batteries (4 included, 8 recommended for extended use)
- User Manual

Image: RIGDOO HT20 Trail Camera, showing the camera unit, a 32GB SD card, and four AA batteries.
3. Product Overview
Familiarize yourself with the camera's components:

Image: Close-up view of the camera's internal components, highlighting the 2.4-inch LCD color screen, mechanical buttons for navigation, the auto mode switch, and the protruding SD card slot.
- Lens: Main camera lens.
- PIR Sensors: Passive Infrared sensors for motion detection.
- Infrared LEDs: 50pcs no-glow LEDs for night vision illumination.
- LCD Screen: 2.4-inch color display for menu navigation and playback.
- Control Buttons: MENU, REPLAY, SHOT, OK, and directional buttons for settings adjustment.
- SD Card Slot: For inserting the memory card (supports up to 256GB).
- USB-C Port: For connecting to a computer.
- Auto Mode Switch: Internal switch to automatically turn on motion capture when the unit is closed.
- Battery Compartment: Holds 4 or 8 AA batteries.
4. Setup
4.1. Battery Installation
- Open the camera's casing latches.
- Locate the battery compartment.
- Insert 4 or 8 new AA batteries, ensuring correct polarity (+/-). For optimal performance and longer standby time (up to 180 days), 8 AA batteries are recommended.
- Close the battery compartment cover securely.
4.2. SD Card Installation
- With the camera powered off, locate the SD card slot.
- Insert the provided 32GB SD card (or another compatible SD card up to 256GB) into the slot with the metal contacts facing down, until it clicks into place.
- To remove, push the card in until it clicks, then release, and it will spring out.
4.3. Mounting the Camera
- Select a suitable location, such as a tree or pole, ensuring a clear view of the area you wish to monitor.
- Thread the provided mounting strap through the slots on the back of the camera.
- Securely fasten the camera to the desired object using the strap. Ensure the camera is stable and pointed correctly.
- Adjust the camera angle as needed. The 120° wide-angle detection allows for a broad field of view.

Image: The RIGDOO HT20 Trail Camera mounted on a tree, illustrating its 120° wide-angle PIR detection range over a natural landscape.
5. Operating Instructions
5.1. Powering On/Off
- To power on, open the camera casing and slide the auto mode switch to the ON position. The camera will enter test mode.
- To power off, slide the switch to the OFF position.
- When the casing is closed, the camera will automatically switch to active monitoring mode if the auto mode switch is in the ON position.
5.2. Menu Navigation
Use the 2.4-inch LCD screen and mechanical buttons to navigate the menu and adjust settings:
- Press the MENU button to enter the settings menu.
- Use the UP/DOWN directional buttons to scroll through options.
- Use the LEFT/RIGHT directional buttons to change values or select sub-menus.
- Press the OK button to confirm selections.
5.3. Photo and Video Modes
The camera supports various capture modes:
- Photo Mode: Captures still images.
- Video Mode: Records video clips.
- Photo + Video Mode: Captures a still image followed by a video clip.
5.4. Key Settings
- Photo Resolution: Set to 48MP for ultra-clear images.
- Video Resolution: Select 4K (2160P) for high-definition video recording.
- Trigger Speed: The camera features an ultra-fast 0.1s trigger speed. This can be adjusted to capture 1, 2, 3, or 10 consecutive shots per trigger event.
- PIR Sensitivity: Adjust the sensitivity of the motion sensors (Low, Medium, High) based on the environment to avoid false triggers.
- Night Vision: The 50pcs no-glow infrared LEDs provide clear night vision up to 65 feet without disturbing wildlife.
- Time Lapse: Set intervals for capturing images over extended periods.
- Date/Time Stamp: Enable to imprint date, time, temperature, and moon phase on photos/videos.
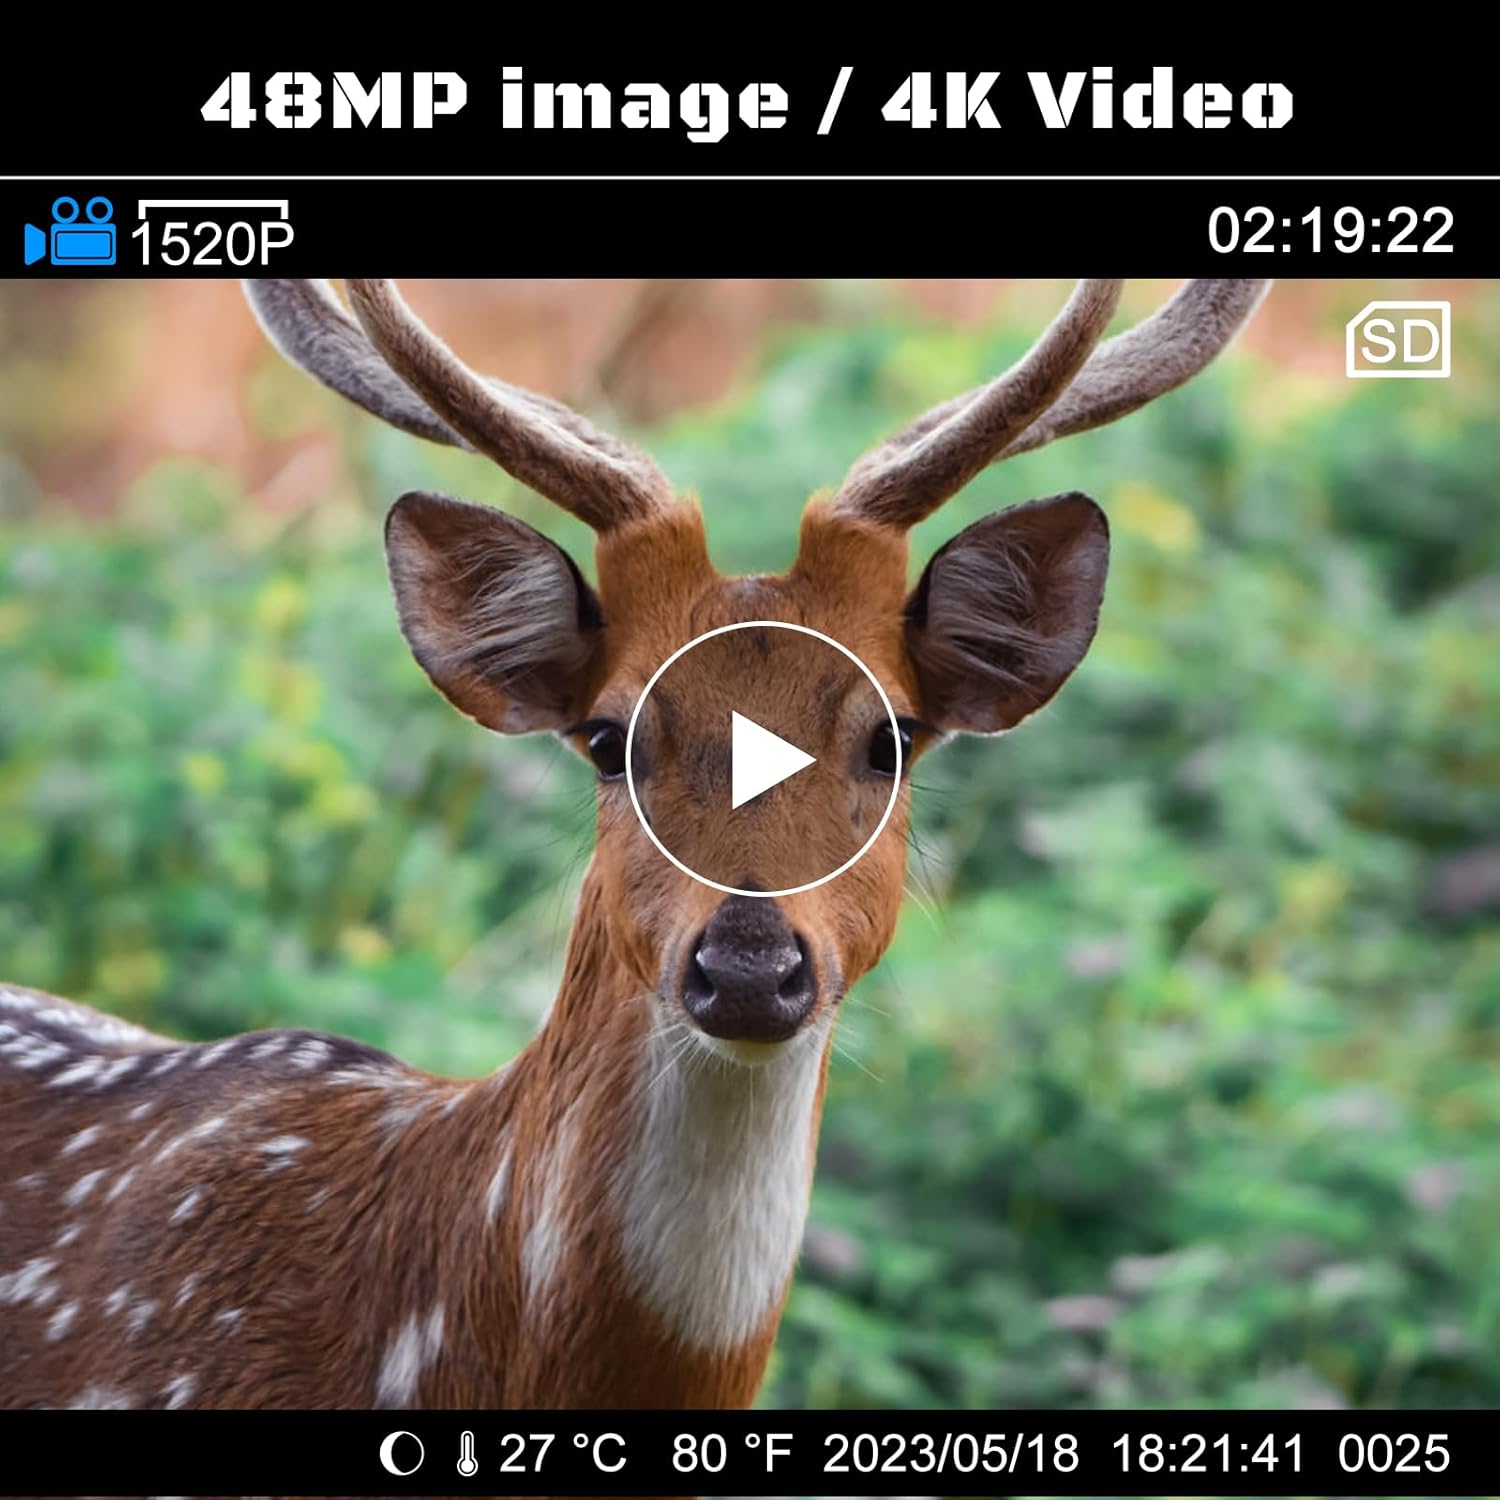
Image: A still frame from a 4K video, demonstrating the 48MP image quality, featuring a deer in its natural habitat.

Image: A split image comparing the clear night vision capabilities of the RIGDOO camera (left) with 48pcs 940nm IR LEDs against other cameras (right) with fewer normal IR LEDs, showing a leopard at night.

Image: A visual comparison demonstrating the 0.1s trigger speed of the RIGDOO camera (top) capturing a sharp image of an eagle in flight, versus a slower 0.5s trigger speed (bottom) resulting in a blurred image.
5.5. Viewing Files
- On Camera: In test mode, press the REPLAY button to view captured photos and videos on the LCD screen. Use directional buttons to navigate.
- On Computer: Connect the camera to a computer using the USB cable, or remove the SD card and insert it into a card reader. The camera/SD card will appear as a removable disk, allowing you to access and transfer files.
6. Maintenance
- Cleaning: Use a soft, dry cloth to clean the camera lens and casing. Avoid abrasive cleaners or solvents.
- Battery Care: Replace all batteries at the same time. Do not mix old and new batteries or different types of batteries. Remove batteries if the camera will not be used for an extended period.
- SD Card: Format the SD card periodically to maintain optimal performance and prevent data corruption.
- Storage: Store the camera in a cool, dry place when not in use.
7. Troubleshooting
| Problem | Possible Cause | Solution |
|---|---|---|
| Camera not powering on | Low or dead batteries; incorrect battery polarity; switch in OFF position. | Replace all batteries with new ones, ensuring correct polarity. Check that the power switch is in the ON position. |
| Poor image/video quality | Dirty lens; low light conditions; incorrect resolution settings. | Clean the lens. Ensure sufficient lighting or rely on night vision. Check resolution settings in the menu (set to 48MP/4K). |
| Camera not detecting motion | PIR sensitivity too low; obstruction in front of PIR sensors; camera placed too high/low. | Increase PIR sensitivity. Ensure clear line of sight for sensors. Adjust camera height and angle. |
| Short battery life | Frequent triggers; extreme temperatures; low-quality batteries. | Reduce trigger frequency if possible. Use high-quality alkaline or rechargeable AA batteries. Consider using 8 AA batteries for longer runtime. |
| Buttons freeze up / unresponsive | Moisture ingress; extreme cold. | Ensure camera is properly sealed. If exposed to moisture/cold, bring indoors and allow to dry/warm up before attempting to use. |
8. Specifications
| Feature | Specification |
|---|---|
| Model | HT20 |
| Effective Still Resolution | 48 MP |
| Video Capture Resolution | 4K (2160P) |
| Trigger Speed | 0.1 seconds |
| Viewing Angle | 120 Degrees |
| Night Vision Range | 65 Feet |
| Number of IR LEDs | 50 (No Glow) |
| Water Resistance Level | IP66 Waterproof |
| Power Source | Battery Powered (4 or 8 AA batteries) |
| Flash Memory Supported Size Maximum | 256 GB |
| Display | 2.4-inch LCD Color Screen |
| Connectivity Technology | USB (Type-C) |
| Dimensions (L x W x H) | 3.39 x 5.19 x 8.19 inches |
| Item Weight | 1.48 pounds |
| Material | Acrylonitrile Butadiene Styrene (ABS) |
9. Warranty and Support
RIGDOO provides comprehensive customer support for your trail camera:
- Warranty: Enjoy a 3-year warranty from the date of purchase.
- Returns & Exchanges: A 30-day free return and exchange policy is available.
- Customer Service: If you encounter any problems when using the hunting trail camera, please feel free to contact RIGDOO's professional customer service team. They are committed to helping you within 24 hours.
For support, please refer to the contact information provided on the product packaging or the official RIGDOO website.