
1. Introduction
The VNN Shed Ramp (Model VNSR-02) is designed to provide safe and easy access for various equipment into sheds, barns, garages, or over curbs. Constructed from high-quality alloy aluminum, these ramps offer a robust 1500 lb capacity while maintaining a lightweight design. The anti-slip punch plate surface ensures reliable traction in diverse weather conditions, making it ideal for riding mowers, ATVs, motorcycles, and other lawn or garden equipment.
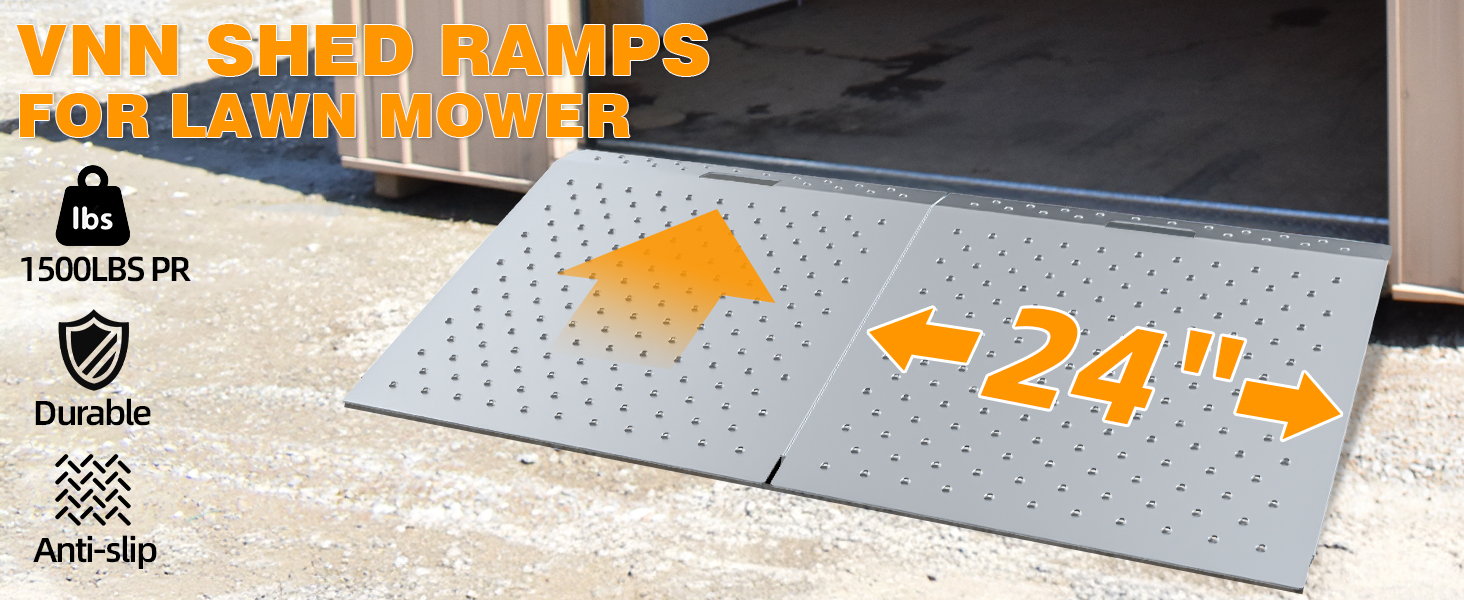
Image: VNN Shed Ramps are designed for various vehicles, including hand carts, lawn mowers, motorcycles, cars, and tractors, with a maximum capacity of 1500 lbs.
2. Safety Information
- Always ensure the ramps are placed on a stable, level surface before use.
- Verify that the ramps are securely positioned against the shed or entry point to prevent shifting during loading or unloading.
- Do not exceed the maximum load capacity of 1500 lbs.
- Distribute weight evenly across the ramps when loading or unloading equipment.
- Exercise caution and maintain a slow, controlled speed when moving equipment up or down the ramps.
- Keep hands and feet clear of moving parts and pinch points.
- Inspect ramps for any damage, wear, or loose components before each use. Do not use damaged ramps.
- Clean ramps regularly to ensure the anti-slip surface remains effective.
3. Package Contents
Your VNN Shed Ramp package includes the following items:
- 2 x VNN Shed Ramp sections (29" L x 48" W each)
- Mounting hardware (screws for assembly)
4. Specifications
| Feature | Detail |
|---|---|
| Brand | VNN |
| Model Number | VNSR-02 |
| Material | Aluminum Alloy |
| Color | Slivery |
| Product Dimensions (per piece) | 29" L x 48" W x 2" H |
| Load Capacity | 1500 Pounds |
| Item Weight | 20.73 Kilograms |
| Slope Angle | 12.7° |
| Rise | 6.5" |
| Foldable | No |

Image: Detailed dimensions and slope angle of the VNN Shed Ramp.
5. Setup
The VNN Shed Ramps are designed for quick and easy installation. Follow these steps to set up your ramps:
- Unpack Components: Carefully remove all ramp sections and hardware from the packaging.
- Position Ramps: Place the ramp sections in front of the shed, barn, or desired entry point. Ensure the top edge of the ramp sits flush against the threshold.
- Secure Ramps: Use the provided screws to secure the ramp sections to the ground or the threshold through the pre-drilled holes. Typically, 3 screws are sufficient per ramp section for secure placement.
- Verify Stability: Before use, gently test the ramps to ensure they are stable and do not shift or wobble.

Image: The anti-slip punch plate design with pre-bored holes for easy installation and a handle for portability.
Installation Video
Video: This video demonstrates the easy installation process of the VNN Shed Ramp, showing how to secure it for stable access.
6. Operating Instructions
Once the ramps are securely installed, you can use them to load and unload your equipment. Always prioritize safety and follow the guidelines below:
- Approach Ramps: Align your equipment (e.g., riding mower, ATV) directly with the center of the ramps.
- Engage Slowly: Drive or push the equipment onto the ramps slowly and steadily. Avoid sudden movements or excessive speed.
- Maintain Control: Keep a firm grip on the equipment and maintain control throughout the loading or unloading process.
- Even Weight Distribution: Ensure the weight of the equipment is distributed as evenly as possible across both ramp sections.
- Clear Path: Make sure the path at the top and bottom of the ramps is clear of obstacles.

Image: A riding mower ascending the VNN Shed Ramp, showcasing its robust support for heavy equipment.

Image: Examples of VNN Shed Ramps used for sheds, barns, curbs, and garages.
Product Overview Video
Video: This video highlights the rugged and portable design of the VNN Loading Ramps, demonstrating their strength and ease of use.
7. Maintenance
Proper maintenance ensures the longevity and safe operation of your VNN Shed Ramps:
- Regular Cleaning: Clean the ramps periodically with water and a mild detergent to remove dirt, mud, and debris. This helps maintain the effectiveness of the anti-slip surface.
- Inspection: Before each use, visually inspect the ramps for any signs of damage, such as cracks, bends, or loose fasteners. Pay close attention to the punch plate surface for excessive wear.
- Storage: When not in use, store the ramps in a dry, protected area to prevent exposure to harsh weather conditions, which can prolong their lifespan.
- Fastener Check: Periodically check all screws and fasteners to ensure they are tight. Tighten if necessary.

Image: Key features of the VNN Shed Ramp, including enhanced anti-slip holes, durable sprayed surface, smooth edges, and strengthened structure.
8. Troubleshooting
If you encounter any issues with your VNN Shed Ramps, refer to the following common troubleshooting tips:
- Ramps are Slipping:
- Ensure the ramps are securely fastened to the ground or threshold using all provided screws.
- Check the ramp surface for excessive dirt, mud, or ice that may reduce traction. Clean as necessary.
- Verify that the ground surface beneath the ramps is firm and level.
- Equipment is Difficult to Load/Unload:
- Confirm that the equipment's weight does not exceed the 1500 lb capacity.
- Ensure the approach angle is straight and aligned with the ramps.
- Check for any obstructions on the ramp surface or at the entry point.
- Ramps Appear Damaged:
- Discontinue use immediately if any structural damage (cracks, severe bends) is observed.
- Contact customer support for assistance or replacement parts.
9. Warranty Information
VNN stands behind the quality of its products. While specific warranty terms may vary, VNN offers a customer-first guarantee, ensuring complete satisfaction. If your ramp is found to be defective or experiences quality problems, please contact customer support for a satisfactory solution.
10. Customer Support
For any questions, concerns, or assistance with your VNN Shed Ramp, please contact our customer support team. We are committed to providing 24-hour support to ensure your complete satisfaction.
Contact Information:
- Refer to the contact details provided with your purchase or visit the official VNN website.
- When contacting support, please have your model number (VNSR-02) and purchase information readily available.