
1. Introduction
The Roxicosly Digital Calendar Day Clock is designed to provide clear and comprehensive time and date information, along with advanced reminder features. Its large 7-inch 1024x600P HD LCD display ensures excellent visibility for all users. This manual provides detailed instructions for setting up, operating, and maintaining your device.
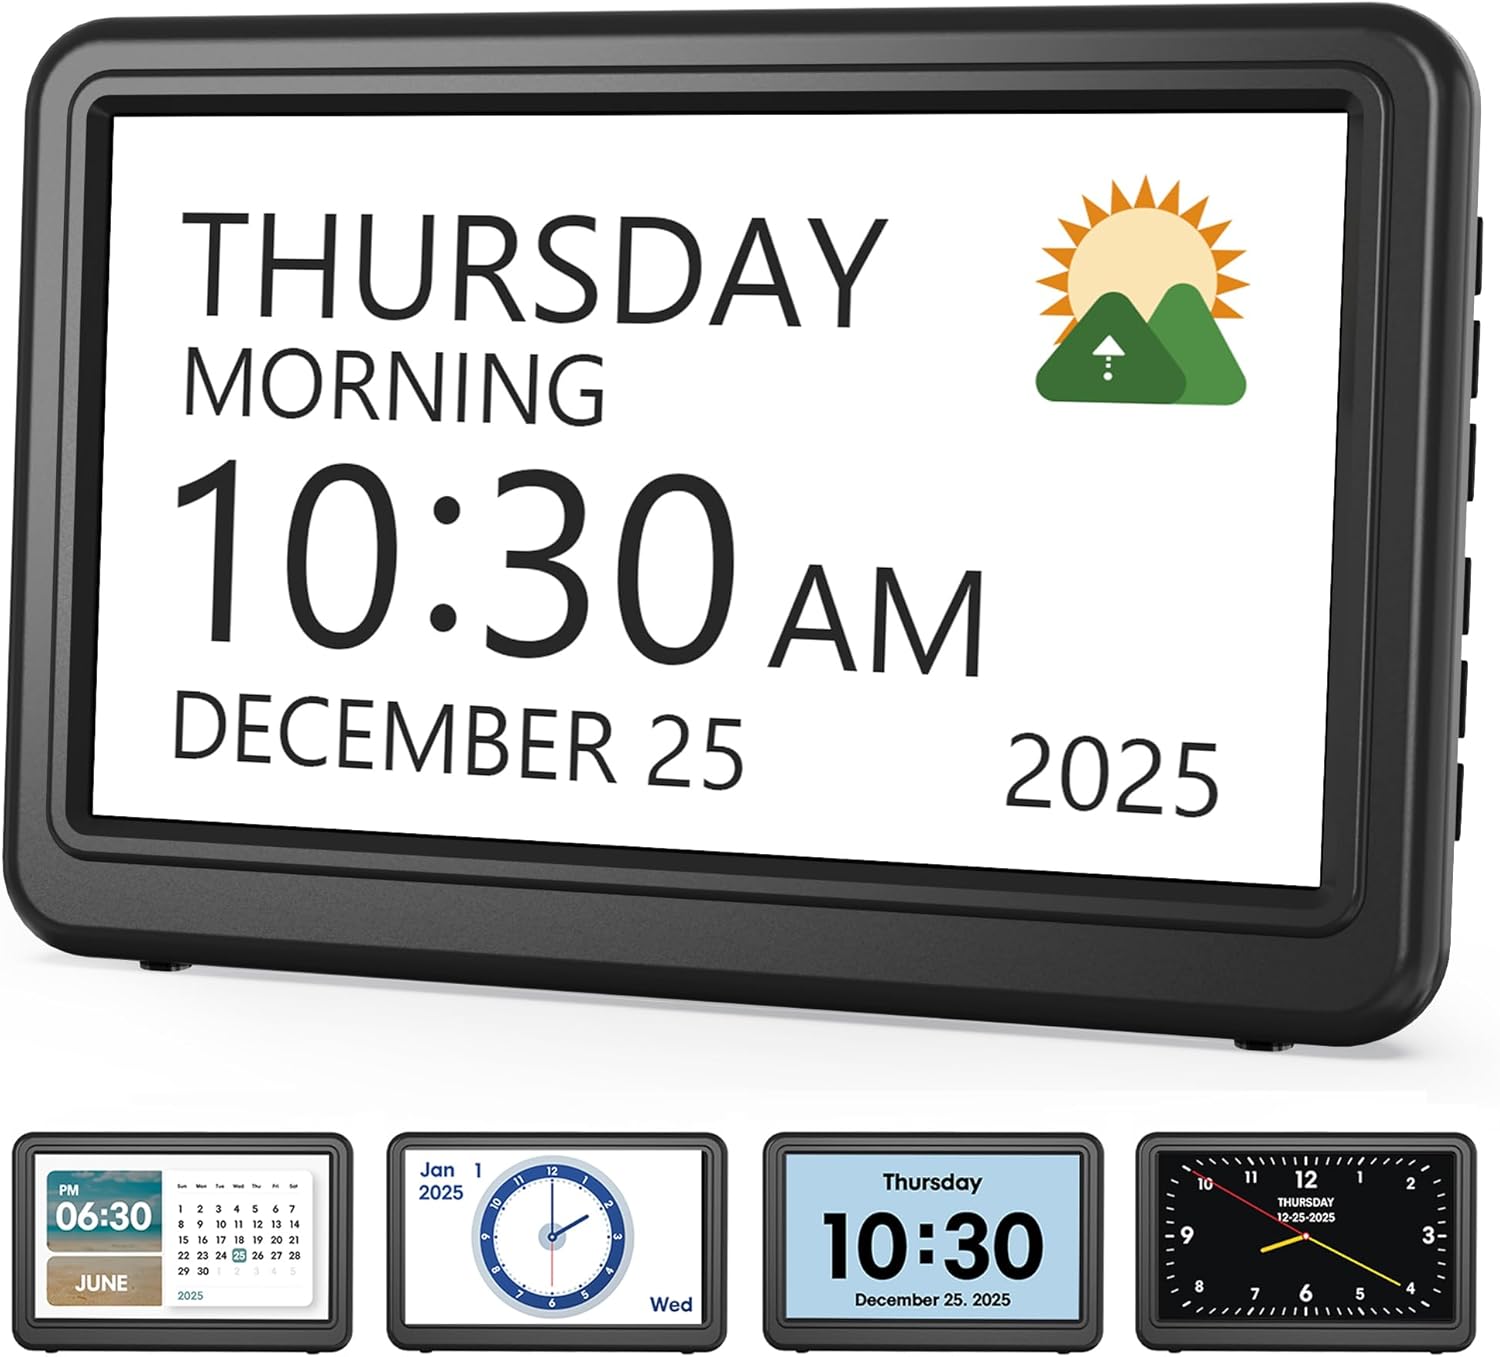
Figure 1: Front view of the Digital Calendar Day Clock displaying time and date.
2. What's Included
Please check the package contents to ensure all items are present:
- Digital Calendar Day Clock (1 unit)
- AC Adapter (1 unit)
- USB Charging Cable (1 unit)
- User Manual (this document)

Figure 2: Package contents of the Digital Calendar Day Clock.
3. Setup
3.1 Power Connection
The clock is primarily powered by an electrical outlet. Connect the provided USB charging cable to the clock and the AC adapter, then plug the adapter into a standard wall outlet.

Figure 3: Connecting the clock to power via the AC adapter.
3.2 Battery Backup (Optional)
For retaining time and alarm settings during unexpected power outages, insert 2 AAA batteries (not included) into the battery compartment on the back of the clock. Note that the display will not be active and alarms will not sound when operating on battery backup alone.

Figure 4: Battery backup feature for retaining settings.
3.3 Stand Setup
The clock features a built-in stand on the back for tabletop placement. Extend the stand to prop up the device for optimal viewing.
Video 1: Demonstrates the initial setup of the clock, including connecting power and adjusting the stand.
4. Operating Instructions
The clock features control buttons on the side for navigation and settings adjustment. These include Up, Down, Left, Right, Back, and Select buttons.
4.1 Display Modes and Themes
The clock offers 12 distinct display themes and various color options to suit different preferences and environments. To change the theme:
- Press the 'Select' button (circular button at the bottom) to enter the main menu.
- Use the Up/Down buttons to navigate to 'Themes' and press 'Select'.
- Browse through the 12 themes using the Left/Right buttons.
- Press 'Select' to confirm your chosen theme.

Figure 5: Examples of the 12 available display themes and color variations.
4.2 Setting Time and Date
The clock allows for manual adjustment of time and date, as well as selection of time and date formats:
- From the main menu, navigate to 'Date & Time' and press 'Select'.
- Use the Up/Down buttons to select 'Set Time' or 'Set Date' and adjust using Left/Right buttons.
- Choose 'Time Format' (12H/24H) and 'Date Format' (Month-Day-Year, etc.) as desired.
- The clock also features a manual DST button for easy adjustment during daylight saving changes.
4.3 Alarms and Reminders
The clock supports up to 20 normal alarms and 20 custom reminders. Alarms can be set for everyday, weekdays, weekends, or specific dates. Reminders can be customized for various needs, such as medication, daily activities, or special events.
- From the main menu, select 'Alarms' or 'Schedule'.
- For alarms, set the time, repetition (Mon-Sun, Mon-Fri, Sat-Sun), ringtone, and volume.
- For schedule reminders, select 'Add new event' and choose the type (Medication, Daily Activity, Visit, Entertainment, Birthday/Holiday, or Customize).
- Follow the on-screen prompts to set the specific time, date, and message for the reminder.

Figure 6: The clock displaying a medication reminder, highlighting its utility for daily routines.
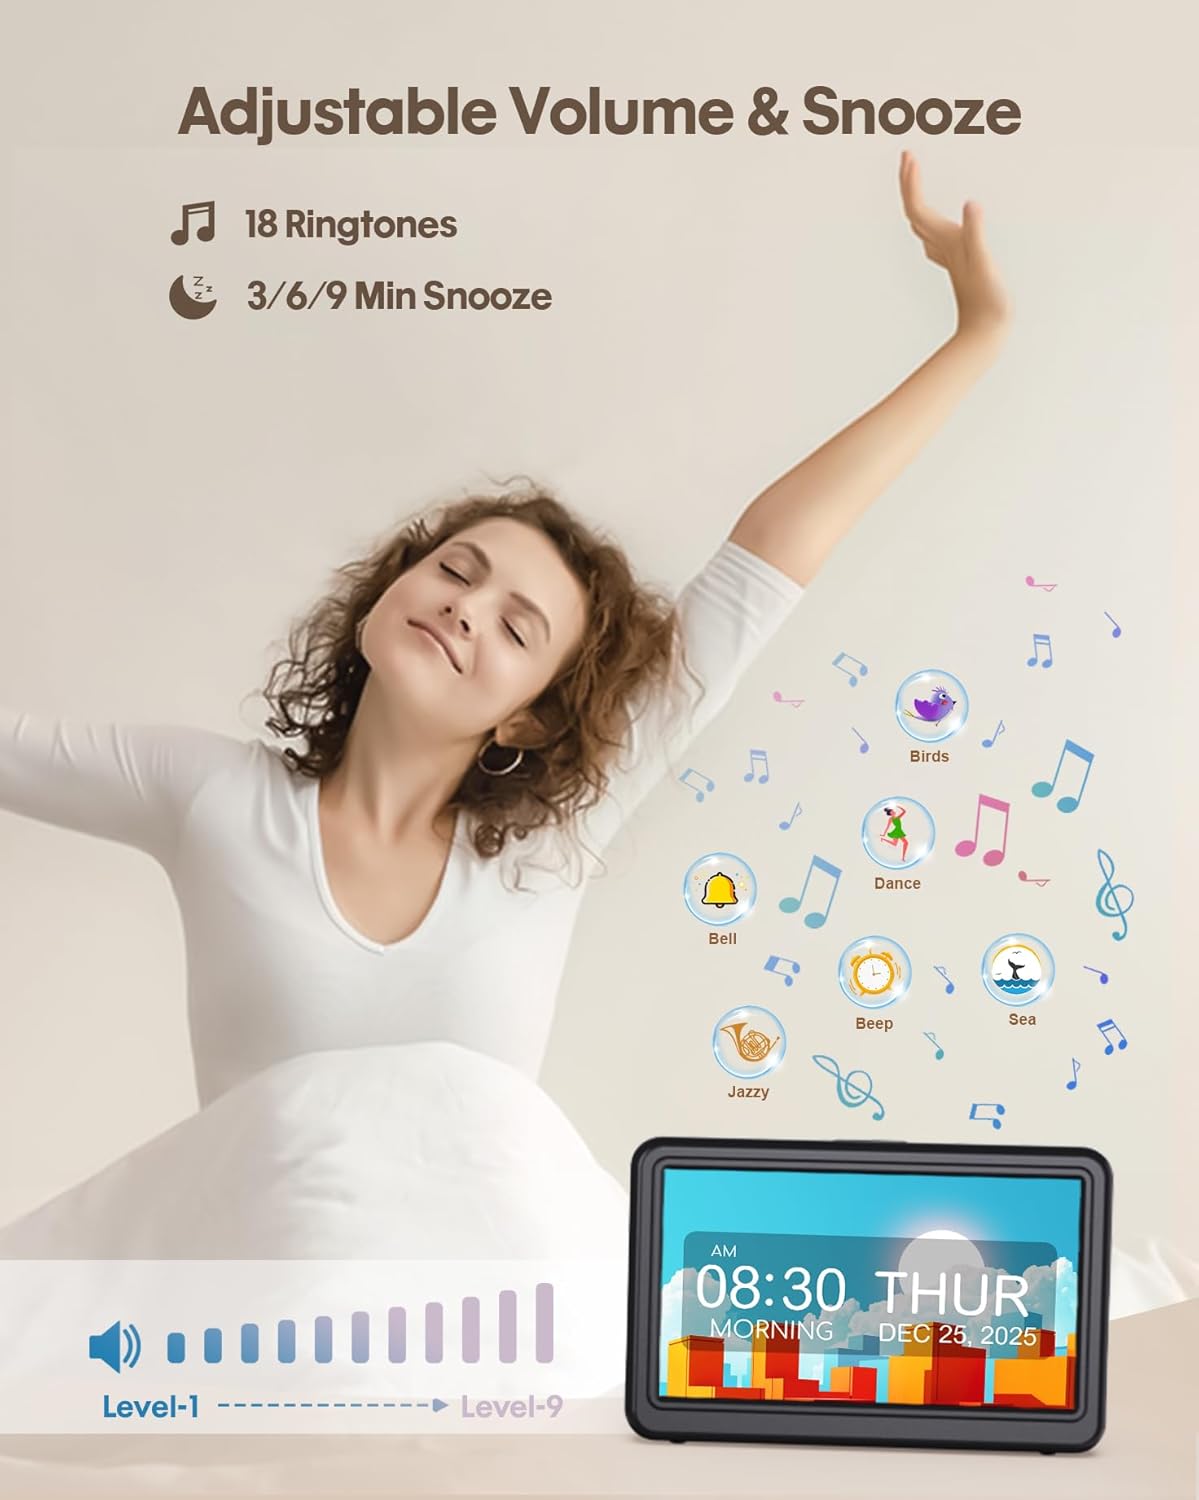
Figure 7: Adjustable volume levels and 18 ringtones for alarms.
4.4 Brightness Adjustment
The display brightness can be adjusted across 10 levels (5% to 100%). You can also set different brightness levels for different times of the day.
- From the main menu, navigate to 'Brightness' and press 'Select'.
- Use the Left/Right buttons to adjust the brightness level.
- Confirm your selection by pressing 'Select'.

Figure 8: Illustration of 10 adjustable brightness levels.
4.5 Photo Playback Function
The clock can function as an HD electronic photo frame. Simply insert an SD card or USB flash drive (up to 64GB, not included) into the designated slot on the back of the clock to display photos.
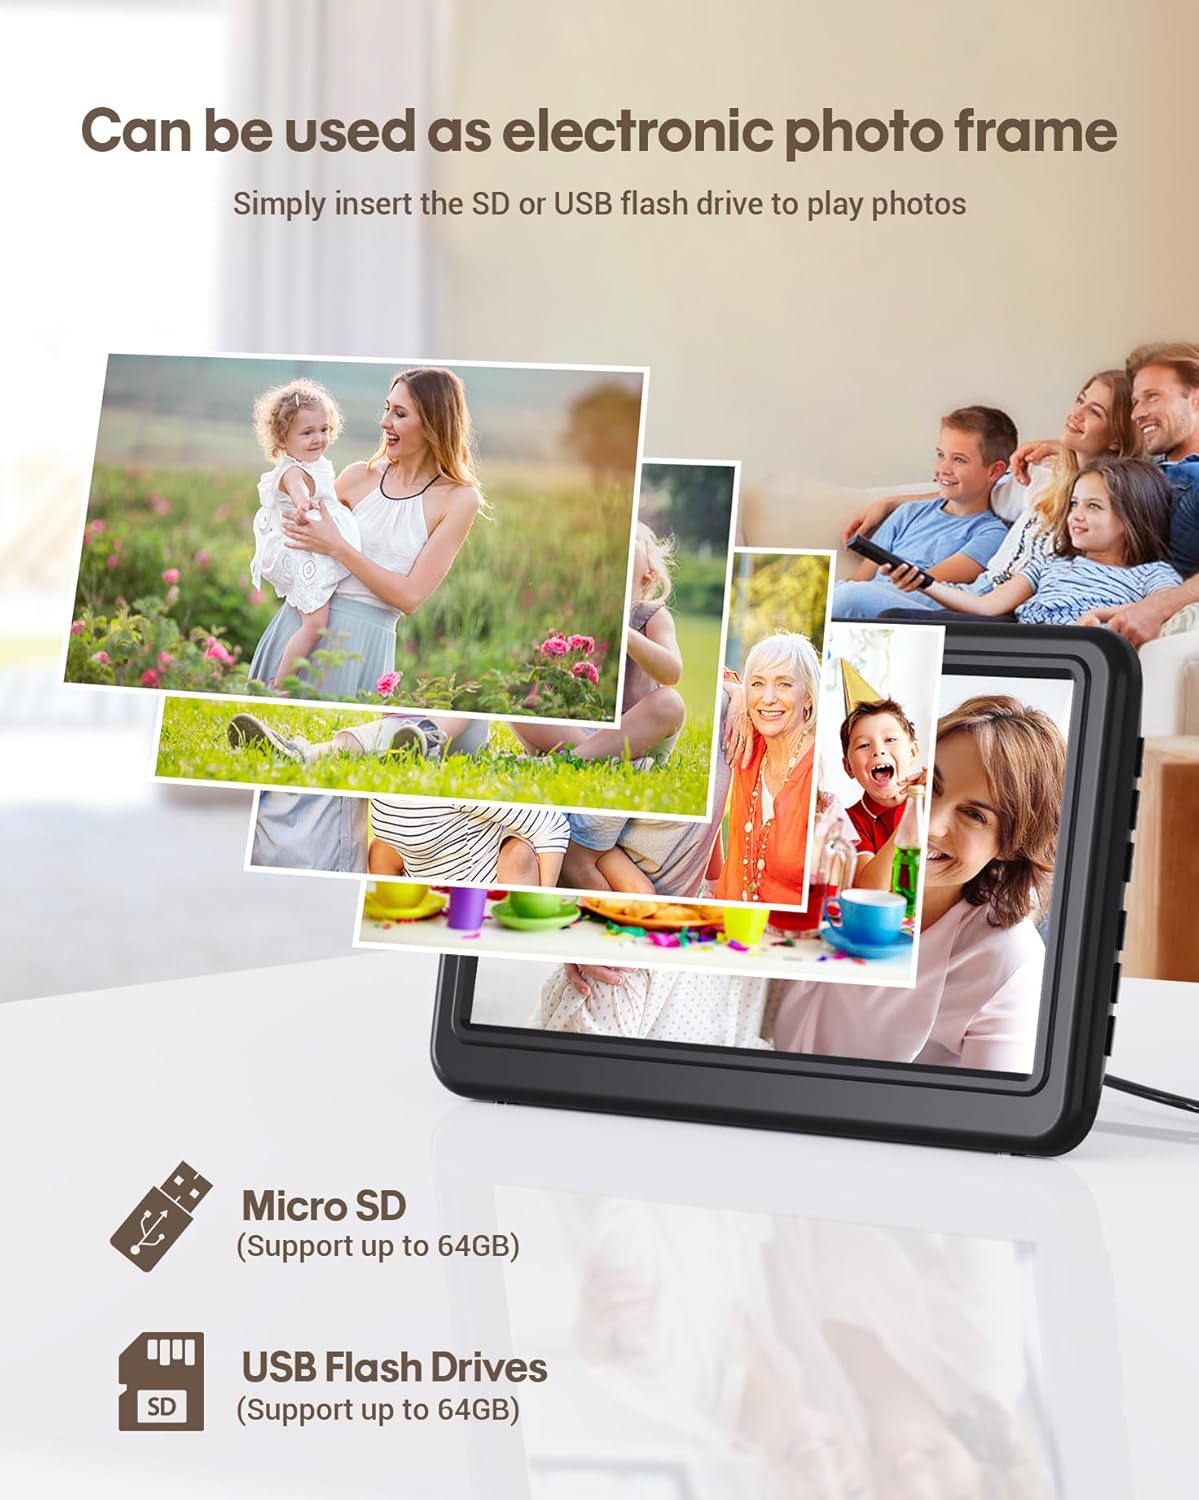
Figure 9: The clock's capability to play back photos from external storage.
4.6 Language Support
The clock supports 6 languages: English, French, German, Italian, Spanish, and Japanese. To change the language:
- From the main menu, navigate to 'Settings' and press 'Select'.
- Select 'Language' and use the Left/Right buttons to choose your preferred language.
- Press 'Select' to confirm.
5. Maintenance
To ensure the longevity and optimal performance of your Digital Calendar Day Clock, follow these simple maintenance guidelines:
- Cleaning: Gently wipe the display and casing with a soft, dry, lint-free cloth. Avoid using abrasive cleaners, solvents, or aerosol sprays, as they may damage the surface.
- Placement: Place the clock on a stable, flat surface away from direct sunlight, excessive heat, moisture, or strong magnetic fields.
- Power: Always use the provided AC adapter and USB cable. Disconnect power during electrical storms or when unused for extended periods.
6. Troubleshooting
If you encounter any issues with your clock, please refer to the following common problems and solutions:
- Clock not turning on: Ensure the AC adapter is securely plugged into both the clock and a working electrical outlet. Check if the outlet is receiving power.
- Display is dim or unreadable: Adjust the brightness settings in the menu (refer to Section 4.4). Ensure the clock is not in direct sunlight, which can make the display appear dim.
- Alarms not sounding: Check the alarm settings to ensure they are enabled and the volume is set to an audible level (refer to Section 4.3).
- Time/Date is incorrect: Manually set the time and date through the 'Date & Time' menu (refer to Section 4.2). If using battery backup, ensure batteries are fresh.
- Buttons are unresponsive: Disconnect the power for a few minutes, then reconnect to perform a soft reset. If the issue persists, contact customer support.
7. Specifications
| Feature | Description |
|---|---|
| Brand | Roxicosly |
| Model Number | CR1029 |
| Display Type | Digital LCD |
| Display Size | 7 inches (1024x600P HD) |
| Product Dimensions | 7.17"W x 4.6"H |
| Power Source | Corded Electric (AC adapter included) |
| Battery Backup | 2 x AAA batteries (not included) for settings memory |
| Brightness Levels | 10 (5% to 100%) |
| Alarm Quantity | Up to 20 normal alarms |
| Reminder Quantity | Up to 20 custom reminders |
| Ringtones | 18 options |
| Volume Levels | 9 adjustable levels |
| Snooze Function | 3, 5, or 9 minutes |
| Language Support | English, French, German, Italian, Spanish, Japanese |
| Photo Playback | Supports SD/USB Flash Drive (Max 64GB) |
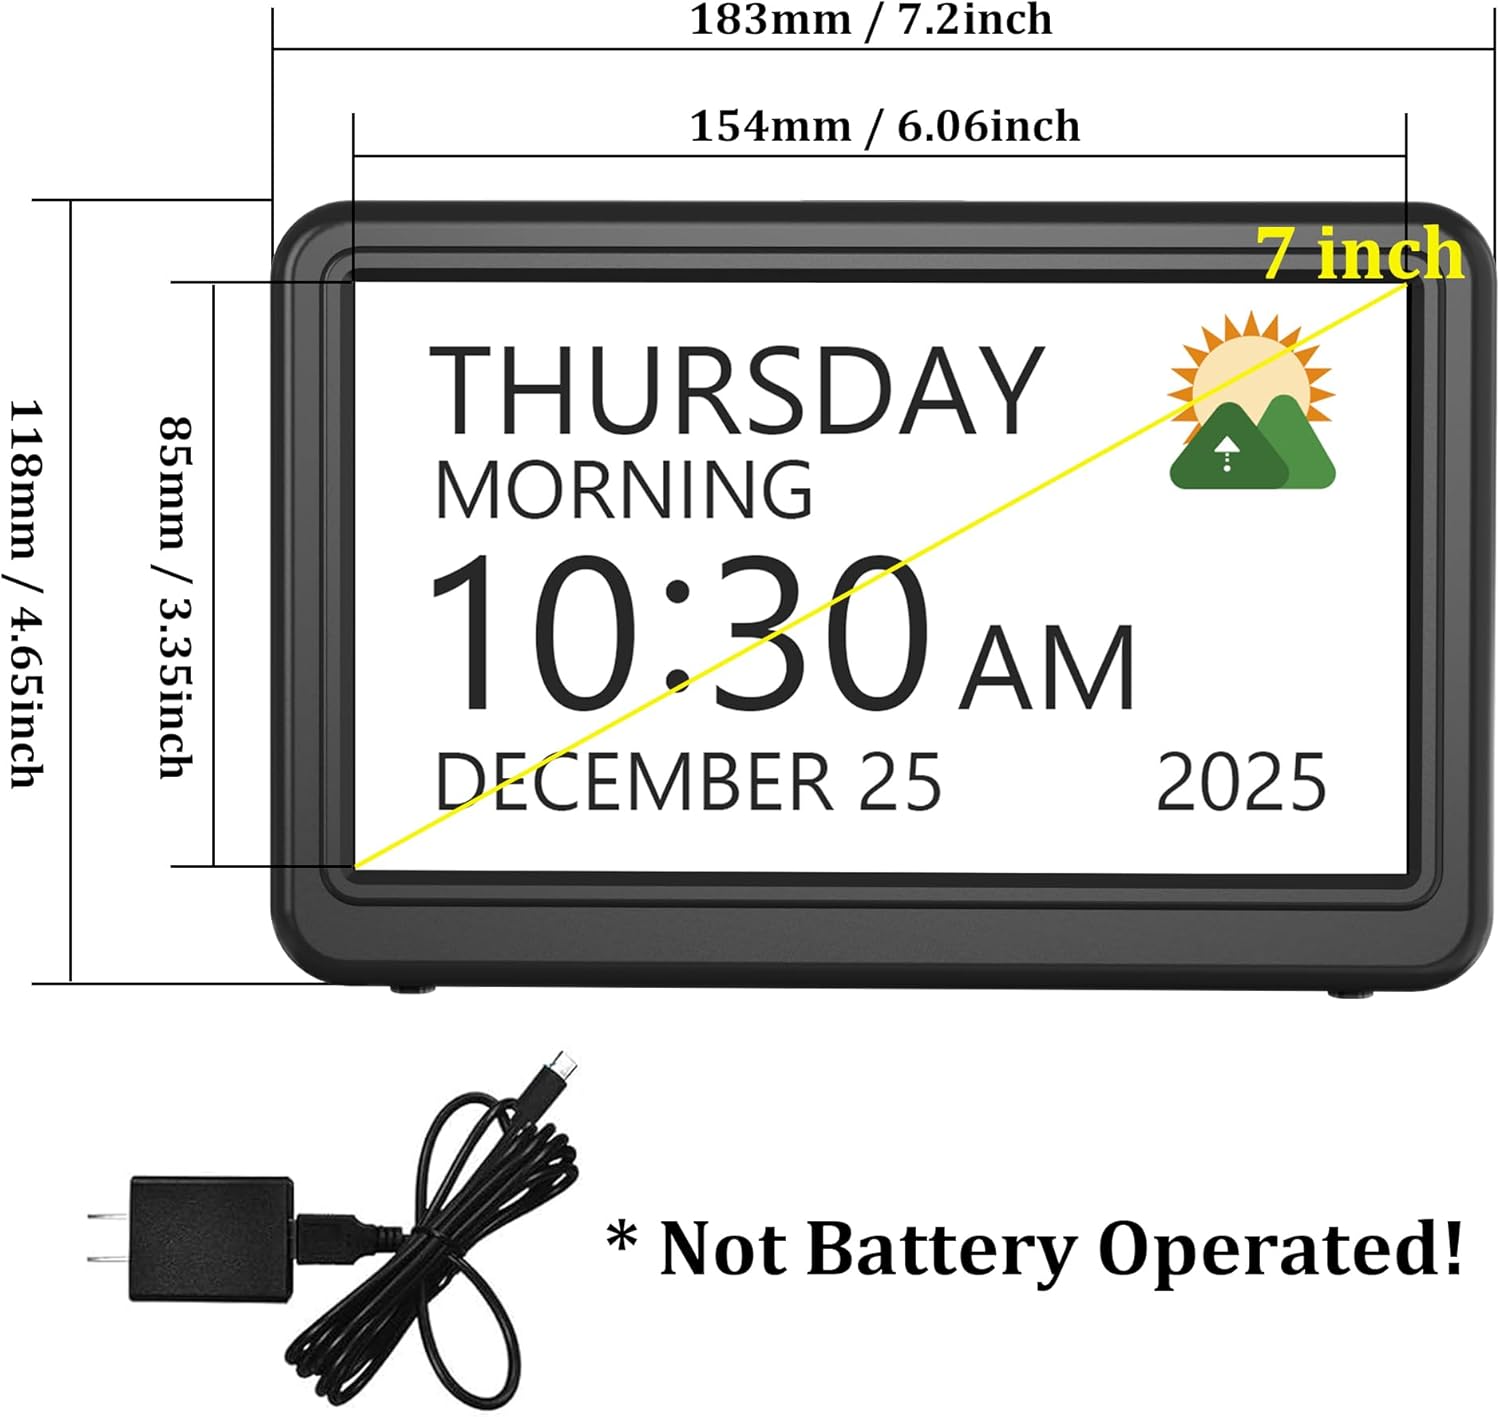
Figure 10: Product dimensions and power adapter details.
8. Warranty and Support
For warranty information, technical support, or any inquiries regarding your Roxicosly Digital Calendar Day Clock, please refer to the contact details provided on the product packaging or visit the official Roxicosly website. Keep your purchase receipt as proof of purchase for warranty claims.