
1. Introduction
Thank you for choosing the GUAEVER BP351A Upper Arm Blood Pressure Monitor. This device is designed for convenient and accurate measurement of blood pressure and pulse rate at home. Please read this manual thoroughly before use to ensure proper operation and to obtain the most accurate readings.
2. Important Safety Information
Legal Disclaimer:
Statements regarding dietary supplements have not been evaluated by the FDA and are not intended to diagnose, treat, cure, or prevent any disease or health condition. This blood pressure monitor is intended for home use and should not replace professional medical advice or treatment. Consult your physician for interpretation of blood pressure readings.
- Do not self-diagnose or self-medicate based on measurement results. Always consult a healthcare professional.
- Keep the device out of reach of children.
- Do not use the device on an injured arm or an arm undergoing medical treatment.
- Avoid taking measurements immediately after exercise, bathing, or consuming caffeine/alcohol.
3. Package Contents
- GUAEVER BP351A Blood Pressure Monitor Unit
- Standard Upper Arm Cuff (9"-17")
- Large Upper Arm Cuff (15"-21.6")
- USB Charging Cable
- User Manual
- Storage Pouch

4. Product Features
- Fast and Accurate Readings: Utilizes advanced chip technology and AI algorithms for precise blood pressure and heart rate measurements. Detects abnormal heartbeats.
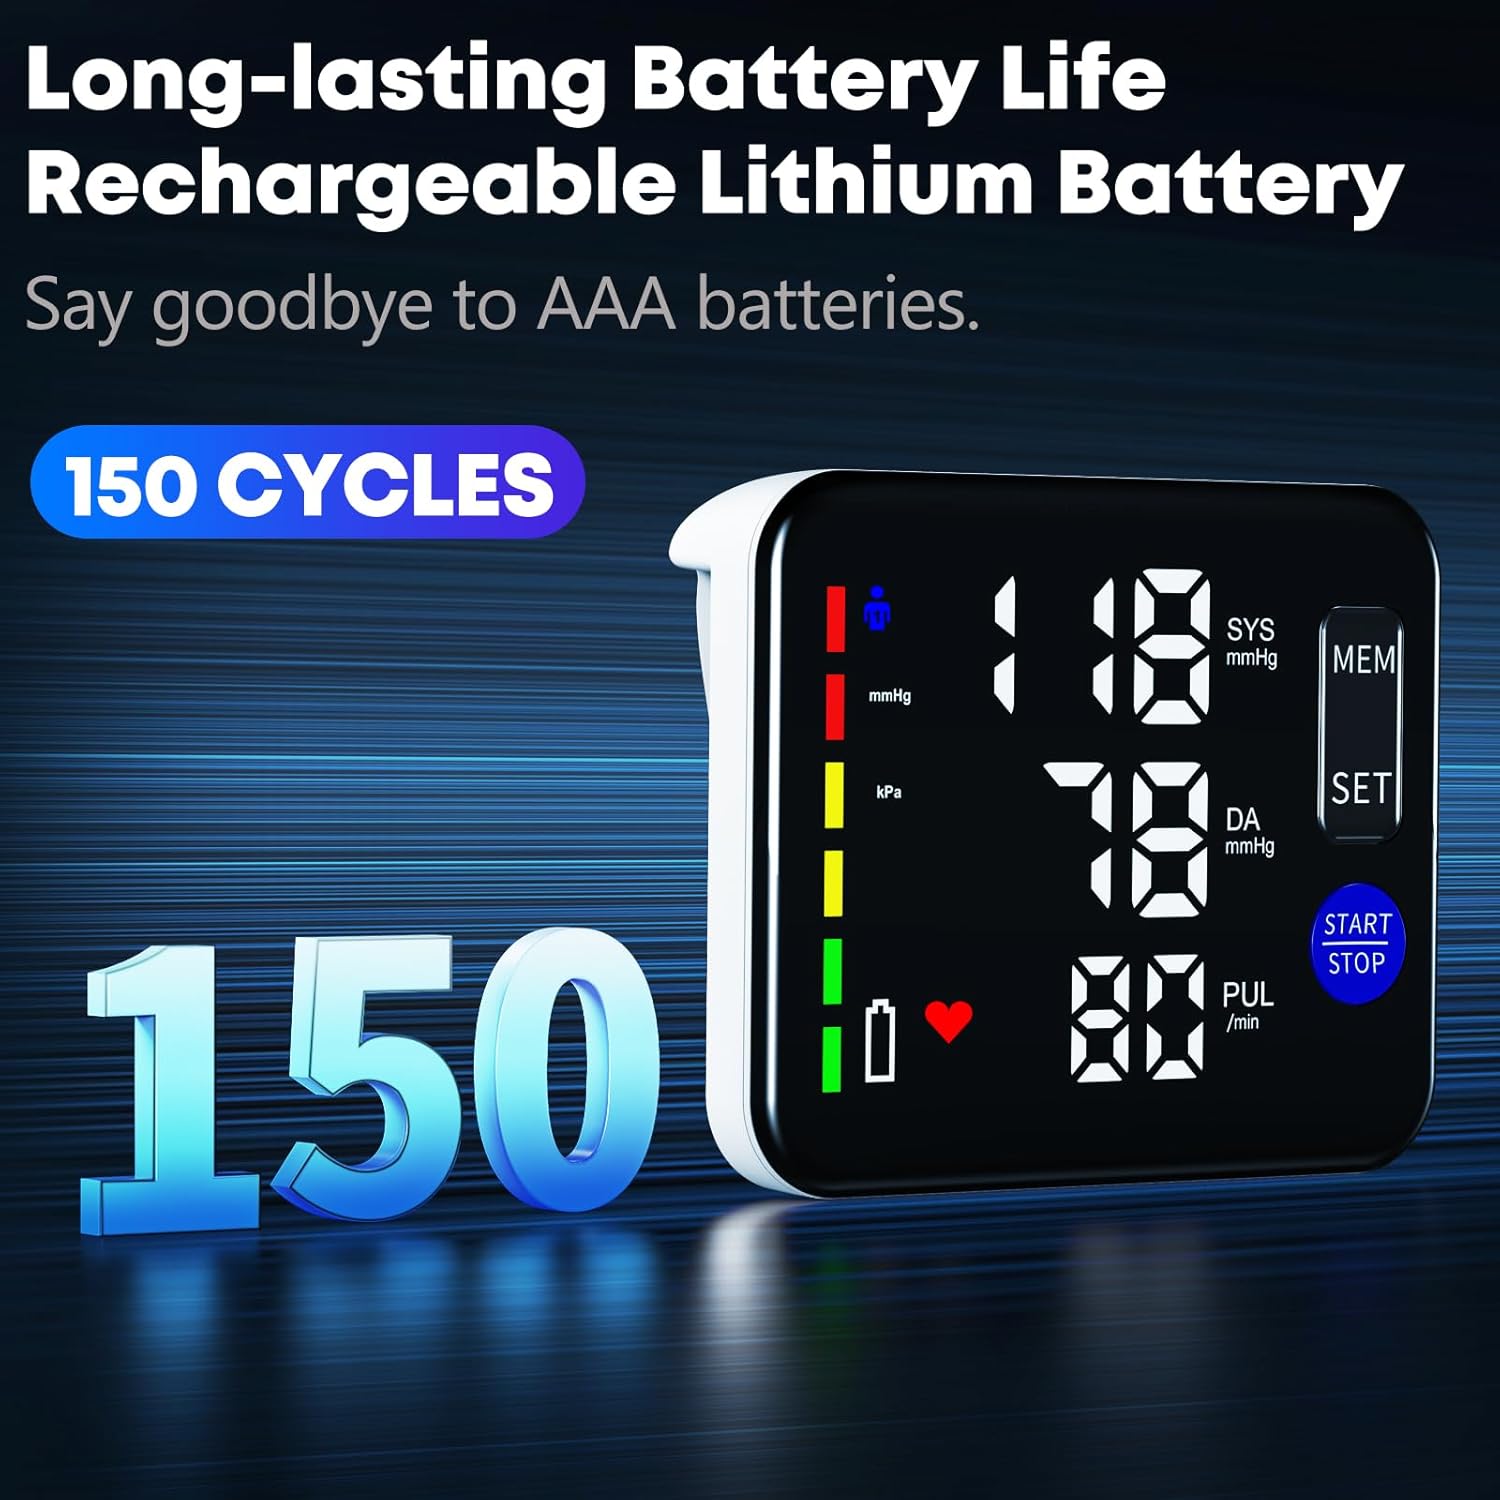
- Rechargeable Lithium Battery: Built-in battery provides up to 150 uses on a single charge, eliminating the need for frequent battery replacements.
- Large LED Screen & Voice Prompts: Clear, easy-to-read display and optional voice guidance for results, suitable for users with varying vision or hearing.
- Dual User Mode with 240 Memory Records: Supports two users, each with 120 memory slots, to track blood pressure trends over time.
- Adjustable Cuffs: Includes two cuffs (9"-17" and 15"-21.6") to accommodate a wide range of arm sizes.

5. Device Layout
The monitor features a large LED display, control buttons, and a cuff connection port.
- Display: Shows Systolic (SYS), Diastolic (DIA), Pulse (PUL), user indicator, battery level, and a color-coded blood pressure indicator.
- START/STOP Button: Initiates and stops measurements.
- MEM Button: Accesses memory records.
- SET Button: Used for setting date, time, and user selection.
- Cuff Port: Connects the air tube from the cuff to the monitor.
- USB Charging Port: Located on the side for recharging the internal battery.
6. Setup
6.1 Charging the Device
- Connect the provided USB cable to the monitor's charging port.
- Plug the other end into a USB power adapter (not included) or a computer USB port.
- The battery indicator on the display will show charging status. A full charge provides approximately 150 measurements.
6.2 Attaching the Cuff
- Select the appropriate cuff size for your arm (9"-17" or 15"-21.6"). The cuff should fit snugly but not too tightly.
- Insert the air tube connector firmly into the cuff port on the side of the monitor.
- Wrap the cuff around your upper arm, ensuring the air tube is positioned towards the inside of your arm and aligned with your brachial artery. The bottom edge of the cuff should be about 1-2 cm above your elbow.
- Secure the cuff with the hook-and-loop fastener. Ensure there is enough space to insert two fingers between the cuff and your arm.

6.3 Setting Up User Profiles
The monitor supports two users (User A and User B), each with 120 memory slots.
- Press the SET button to enter settings mode.
- Use the MEM button to toggle between User A and User B.
- Press SET again to confirm your selection.
- You can also set the date and time in this mode using the MEM button to adjust values and SET to confirm.
7. Operating Instructions
7.1 Taking a Measurement
- Sit comfortably with your back supported and feet flat on the floor. Rest your arm on a table so the cuff is at heart level.
- Ensure the correct user profile (A or B) is selected.
- Press the START/STOP button. The cuff will begin to inflate automatically.
- Remain still and silent during the measurement.
- Once the measurement is complete, the cuff will deflate, and your systolic pressure, diastolic pressure, and pulse rate will be displayed on the screen. The voice broadcast feature will announce the results if enabled.

7.2 Understanding the Display
The large LED screen provides clear readings:
- SYS (Systolic Pressure): The top number, indicating the pressure in your arteries when your heart beats.
- DIA (Diastolic Pressure): The middle number, indicating the pressure in your arteries between beats.
- PUL (Pulse Rate): The bottom number, indicating your heart rate per minute.
- Color-Coded Indicator: A vertical bar on the left side of the screen changes color (green, yellow, red) to visually categorize your blood pressure reading according to WHO/ISH guidelines.
- Voice Broadcast: The monitor can announce your readings for enhanced accessibility. This feature can be turned off via the settings.

7.3 Accessing Memory Records
The monitor stores 120 readings for each of the two users.
- With the device off or displaying current readings, press the MEM button.
- The display will show the average of the last three readings.
- Press MEM repeatedly to scroll through individual past readings, displayed with date and time.
- To switch between User A and User B memory, press the SET button while viewing memory records.

8. Maintenance and Care
- Cleaning: Wipe the monitor and cuff with a soft, dry cloth. Do not use abrasive cleaners or immerse the device in water.
- Storage: Store the device in a cool, dry place, away from direct sunlight and extreme temperatures. Use the provided storage pouch.
- Battery Care: Recharge the built-in lithium battery when the low battery indicator appears. Avoid fully discharging the battery for extended periods.
- Cuff Care: Ensure the cuff is clean and free from damage. Do not bend or crease the air tube excessively.
9. Troubleshooting
| Problem | Possible Cause | Solution |
|---|---|---|
| No display when powered on | Battery is low or depleted. | Recharge the device using the USB cable. |
| Cuff does not inflate or inflates insufficiently | Cuff not connected properly; air leakage; cuff placed incorrectly. | Ensure air tube is securely connected. Check cuff for damage. Re-apply cuff correctly. |
| Inaccurate readings | Incorrect cuff placement; movement during measurement; talking during measurement; recent activity. | Ensure proper cuff placement at heart level. Remain still and silent. Wait 5 minutes after activity before measuring. |
| Error message on display | Measurement error; irregular heartbeat detected. | Repeat the measurement after a few minutes. If errors persist, consult a healthcare professional. |
10. Specifications
| Feature | Detail |
|---|---|
| Model Number | BP351A Monitor |
| Measurement Method | Oscillometric |
| Measurement Range | Pressure: 0-299 mmHg; Pulse: 40-199 beats/minute |
| Accuracy | Pressure: ±3 mmHg; Pulse: ±5% of reading |
| Cuff Size Range | 9"-17" (22-42 cm) and 15"-21.6" (38-55 cm) |
| Memory | 2 users x 120 readings |
| Power Source | Built-in Rechargeable Lithium Battery |
| Display Type | Large LED Display |
| Product Dimensions | 6.3 x 4.33 x 3.94 inches |
| Item Weight | 1 Pound (16 ounces) |
| Manufacturer | SHENZHEN JIACOM TECHNOLOGY CO., LTD. |
11. Customer Support
For any questions, concerns, or assistance with your GUAEVER BP351A Blood Pressure Monitor, please contact our customer service team. We are dedicated to providing support and ensuring your satisfaction.
You can typically find contact information on the product packaging or through the retailer where you purchased the device.